Wednesday, January 31, 2018

Valentine Card

Yesterday the design team had a challenge to create a Valentine card.  I created two cards and saved this one for today.  Valentine cards are so fun to design.  Here is how I created this card.


This is a 6 inch square card.

1.  Cut a piece of the ModaScrap Sweet Vintage Rose paper.

2.  Use the Lace Pocket die set and die cut one pink pocket.  Attach the pocket tabs around the Sweet Vintage Rose card stock.  Attach the pocket to the front of the card.

3.  Use the Dotted Scallop die set to die cut three hearts.  

4.  Use the Lace Heart Die set and die cut one white heart.  Sponge lightly with light pink ink.  Attach to the larger Dotted Scallop Heart.

5.  Use the A Way With Words Calligraphic Elements 3 die set and die cut the little heart with the bow string.  Sponge on light pink ink.  Glue the heart from the Calligraphic Elements 3 die set to the center of the smallest die cut heart.  Attach the hearts to the side of the Lace Heart die cut has shown in the picture.  Attach these hearts inside the upper left side of the Lace Pocket, as shown.

6.  Use the Entwined Heart die set and die cut the smaller heart. Sponge the heart with light pink ink.    Attach it to the middle size die cut heart. 

7.  Use the love from the Love Sentiments die set and die cut two sentiments.  Glue the two sentiments together.  Sponge with light pink ink.  Attach the sentiment inside the Entwined Heart.  Glue these hearts over the front of the Lace Pocket as shown.

8.  Uses Susan's Garden Rose 1 die set and create a pink and white rose.  Use Pink PanPastels to color the base of the petals.  Shape the petals with the flower tool kit and assemble the the flower.  Shape the leaves and color with light green PanPastels.  

9.  Use the Garden Notes Maidenhair Fern die set and die cut two ferns.  

10.  Attach the ferns and rose to the lower left corner of the Lace Pocket.

11.  For mailing, use a 6 3/8 x 6 5/16  clear plastic box.
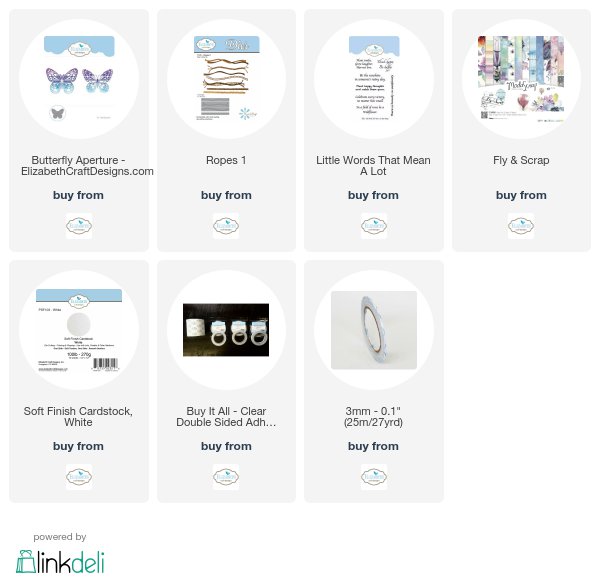
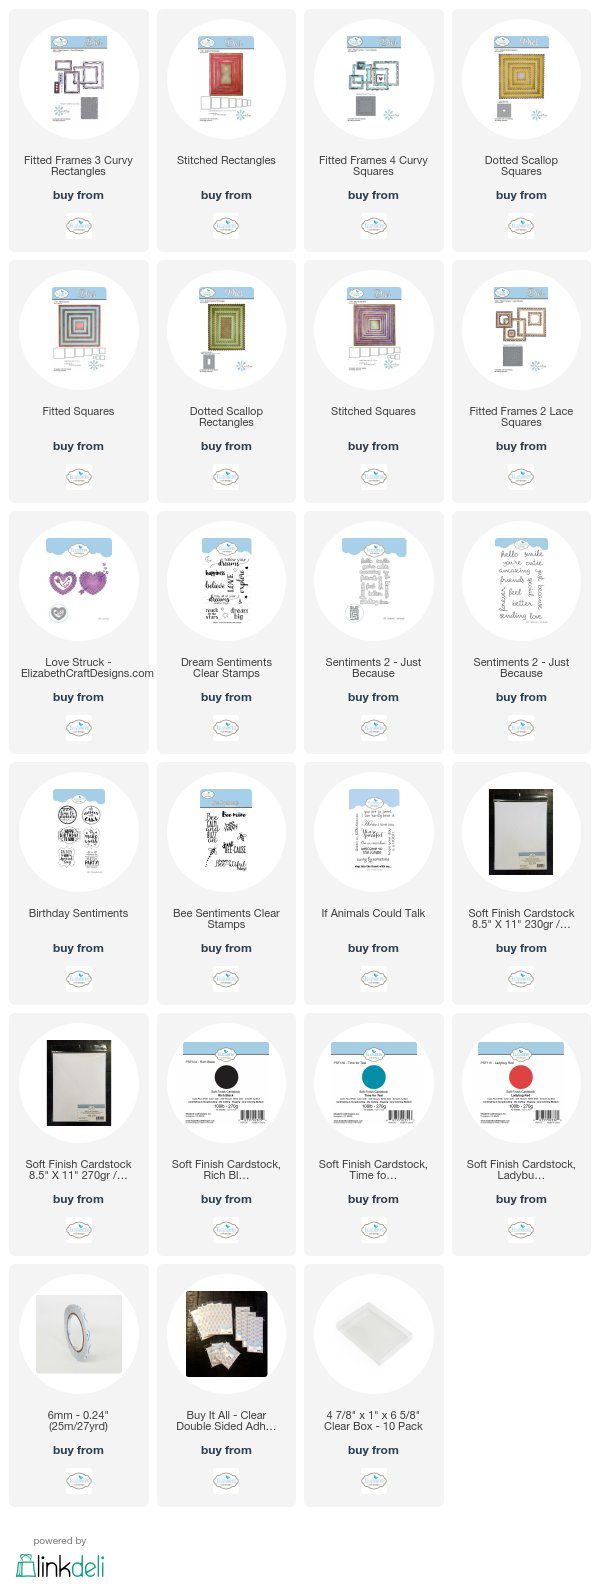
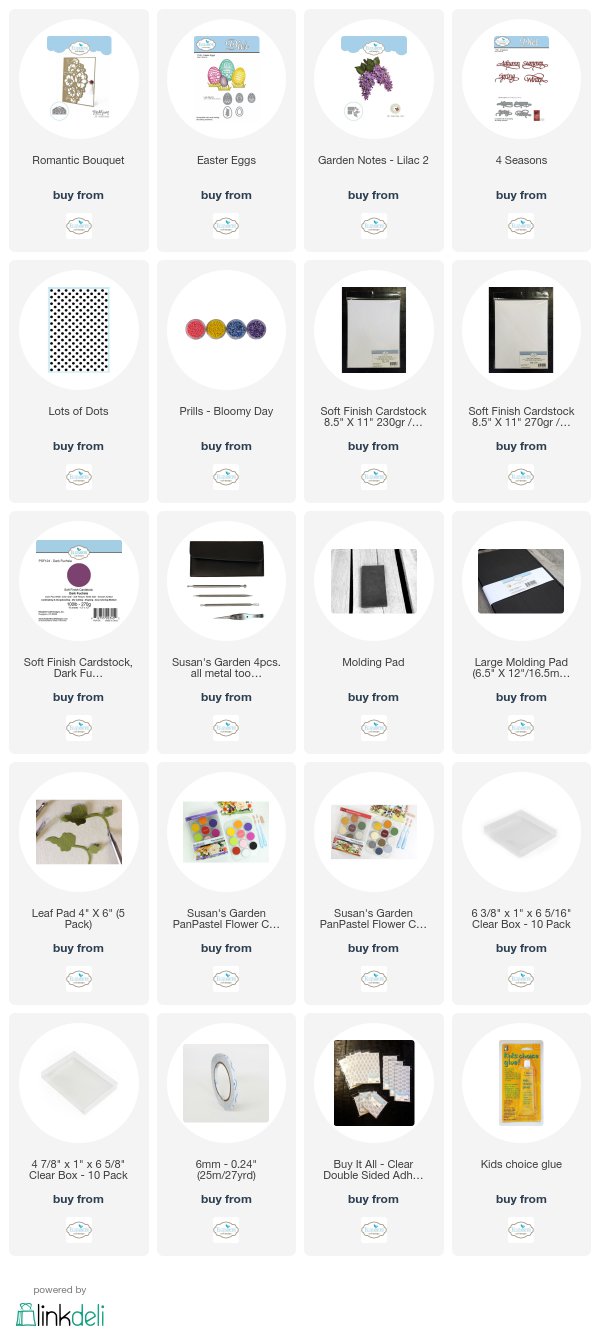
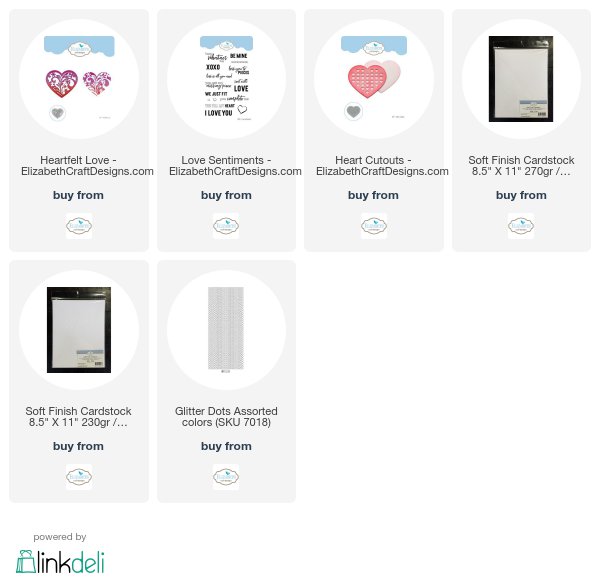
You can shop for the products used by clinking on the links below.


Tuesday, January 30, 2018

Valentine - Design Team Challenge


Valentine's Day is just a couple of weeks away.  Have you created your Valentine's yet?  To help give you inspiration, the Elizabeth Craft Design Team was challenged to create a card that would be suitable for Valentine's Day.  You can view all the beautiful Valentines created by the design team by going to this LINK.

As with all challenges, Elizabeth Craft Designs is giving you a chance to win a great prize.


****************

For today's challenge Elizabeth Craft Designs is giving away a $20 Gift Card, to use on their  website, to 3 winners


To enter simply leave a comment on the Elizabeth Craft Designs Challenge posand tell us "What Elizabeth Craft Designs dies or stamp sets would you use to create a Valentine’s Card??”

Elizabeth Craft Designs will select 3 lucky winners in a random drawing 

The winners will be announced on Friday, February 1st on the Elizabeth Craft Designs blog.

****************


Here is how I created my Valentine.

1.  Start with a 6 - inch square card.  Cut a piece of pink card stock 6 inches square and attach to the front.  

2.  Use the Flowers Lace Frame die and die cut one white frame, using white Soft Finish Cardstock.  Attach to the center of the front of the card.  


3.  Use the Love Struck die set and die cut the large heart and the smaller insert heart, using Soft Finish White Cardstock.   Use Clear Double Sided Adhesive on the back of only the large heart.  


4.  To create a colored background to the Love Struck Heart,  use the large Love Struck die and place it on pink card stock.  Use a pencil to trace around the outside edge of the die.  Use scissors to cut out this heart.  By tracing around the outside of the die, it will give you a small border around the white die cut heart.

 5.  Remove the covering off the adhesive and center the white die cut heart over the pink heart you cut out, leaving an even border around the edges of the white heart.  Attach the heart in the center of the Flower Lace Frame, using dimensional tape.

6.  Use the Love & Hearts Collection stamp set and stamp the sentiment in the center of the smaller heart you die cut using the Love Struck die set.  Use black VersaFine ink and clear emboss the sentiment.  Lightly sponge light pink ink around the edges of this heart.

7.  Attach the heart with dimensional tape on the large heart. 

8.  Use the Hearts Cutouts die set and die cut it using pink card stock.  Glue some of the small hearts around the sentiment.

9.  Use the Garden Notes All In A Mist die set and create three lavender flowers.  Use Susan's Flower Tool Kit to shape the flowers.  Assemble and attach the flowers to the lower left corner of the card.

I hope you like my Valentine.  Be sure to go over the the Elizabeth Craft Designs blog to see all the other Valentines created by the design team.  Be sure to leave your comment to be eligible for the drawing for a $20 gift card.

You can shop for the products I used by clicking on the product links below.

Thanks for stopping by.


Monday, January 29, 2018

Yellow Pansies


I love these cute little pansies!   I die cut a lot of the Garden Notes Pansies using white card stock and have had fun coloring them.  

To create this card, start with a 6-inch square card.  Cut a piece of the ModaScrap Wood Effects card stock to cover front of card.  

Use the Postage Stamp Square die to die cut the white square and use the Fitted Frames Square die set for the green insert.  Attach to the upper right corner of the card.

Use Susan's Garden Notes Pansy die set and die cut the pansies and color with markers and/or sponging.  

Use the Garden Notes Gathering Basket to die cut the basket and sponge on color.

Use the Garden Notes Lavender die set to die cut the Lavender.  I die cut the branch using white card stock and sponged on green ink.  The little flowers were die cut using purple card stock.  Glue the flowers on using Kids Glue.  It is easy to attach the little flowers if you use the Elizabeth Craft Designs Fine Point Tweezers.

Use the Garden Notes Ladder die set and die cut one Fern.  

Use the Leafy Branch 4 die set to die cut one branch.

Use the Dancing Butterfly die set to die cut one yellow butterfly.  Sponge rust ink on body and antennas.  

Attach the Gathering Basket to the lower left corner of the card.  Tuck in the Lavender, Ladder Fern and Leafy branch.  Attach the Pansies and Pansy Leaves.

Attach the Butterfly as shown.

Use Joset's Sentiments 1 stamp set and stamp the sentiment using VersaFine Black Ink and clear emboss.  Die cut using the matching die.  I die cut a second background and glued to the back to give it more dimension.  Attach to the card.  

There are many different colors of Pansies.  What is your favorite color?  

You can shop for the products I used by clicking on the products below.

Thanks for stopping by today.


Sunday, January 28, 2018

Purple and White Pansies


Pansies are a happy flower!  I love creating them using Susan's Pansy die sets from Elizabeth Craft Designs.  There are two pansy die sets - Garden Notes Pansy and Garden Notes Pansy 2.  The Pansy 2 die set creates larger flowers.  I used the smaller pansy die set for this card.

Die Cut six little purple and white pansies  using the Garden Notes Pansy die set, color and shape with Susan's Flower Tool Kit.  Add a yellow Prill to the center of the flower.

Use the Garden Notes Maidenhair Fern die set and die cut one fern, color and shape.

Use the Garden Notes Leafy Berry Branch and die cut one branch.  Color green.

Use the Garden Notes Lilac die set and die cut the small purple flowers.  Shape the petals and glue to the Leafy Berry Branch.  

Use the Garden Notes Potted die set and die cut the pot.  Color the pot and attach to the bottom of the card.

Use PanPastels to add the Yellow shadow behind where the flowers will be.  Sponge gray down at the base of the Pot.  Pan Pastels are easy to sponge on and if you don't like where you have placed the color, you can erase it.  

Use Kirista's Fashionable Phrases stamp set and stamp the sentiment at the top of the card.  I used VersaMark black ink and clear embossed it.

Cut the Maidenhair Fern apart and glue pieces so they will show from under the flowers. 

Cut the Leafy Berry Branch apart and add to the top of the card, under the sentiment.

Attach the Pansies to fill the pot, adding the leaves around the flowers.  Add a few additional little purple flowers around the pansies.  

You will have fun creating your Pansies.  There are so many different colors and color combinations to duplicate.

Below you can shop for the products I used.


Wednesday, January 24, 2018

Beautiful Butterfly


Isn't this a beautiful butterfly!   This is one of the new Becky Seddon die sets called Butterfly Aperture from Elizabeth Craft Designs.  This was a very quick and easy card to create.

This is a 6-inch square card.  

1.  Cut a piece of White Soft Finish Cardstock for the front of the card and score around the edges with a Score Board for a finished look.  Attach to front of card.

2.  Use a piece of  White 6 x 5 inch Soft Finish Cardstock and score around the edges, using a Score Board.  

3.   Use the Butterfly Aperture Butterfly to die cut the butterfly in the center of the 6 x 5 piece of cardstock.

4.  Cut a piece of ModaScrap Fly & Scrap design paper to fit behind butterfly.  Attach with Clear Double Sided Adhesive.  Attach this die cut piece to front of card.

5.  Die cut the body of the butterfly, using light gray cardstock.  Use a pencil to draw light lines across bottom of body and add two black eyes using a fine point black marker.  Add to the die cut butterfly.

6.  Use Susan's Little Words That Mean A Lot stamp set and stamp the sentiment just below the die cut butterfly panel.

7.  Use the Ropes 1 die set and die cut three white ropes.  Add them to the front of the card, as shown, trimming as needed.

This Butterfly card could be used for just about any occasion.


You can shop for the products used by clicking on the links below.


Tuesday, January 23, 2018

Krista Schneider Note Cards


Elizabeth Craft Designs has a new release of Krista Schneider stamps and coordinating dies.  I have used four of the stamp sets and coordinating dies to create 4.25 x 5 inch note cards.  Creating these note cards was fun because I was able to use a lot of previously die cut frames.  All the cute stamps fit perfectly in the smaller Stitched Squares.  

For the cards above I used the Elephant from the  Patchwork stamp set.  It was die cut using the coordinating die.  The sentiment is from Joset's Sentiments 2 - Just Because; it was stamped using black ink, die cut with the coordinating die.  The red rectangle was die cut using Els van de Burgt Studio Stitched Rectangles.

The mouse on the card on the right is from the Patchwork stamp set.  It was colored and die cut using the coordinating die set.  The Stitched Square die cut was used for both the glittered and small white square.  The turquoise frame was die cut using the Fitted Frames 3 - Curvy Squares.


For the note card on the left, stamp the bird from the Patchwork stamp set, color and cut out with the coordinating die.  Use the Stitched Square die set to die cut the small white frame and lightly color the bottom with green ink and the top with light blue ink.  Attach the die cut bird.  Use the Fitted Frames 3 Curvy Square die set and die cut the black frame.  Use Joset's Birthday Sentiments stamp set and stamp the sentiment and die cut with matching die.  Attach to the bottom of the frame.

For the note card on the right,  stamp the bee from the Patchwork stamp set, color and die cut using the coordinating die.  Use the Stitched Square die set and die cut one white square.  Use Joset's Bee Sentiments stamp set and stamp the sentiment on the bottom of the white square.  Attach the Bee above the sentiment, using dimensional tape.  Use the Fitted Frames 2 Lace Square die set and die cut the red frame.  Attach the frame over the white Stitched Frame.


For the card on the left, use the Puppies die set and stamp the Dog and the Dog House.  Color and die cut using the coordinating dies.  Use the Stitched Square die set and die cut one square. Attach the Dog House and the Dog as shown.  Use a brown marker to ground both die cuts.  Use the Fitted Frames 3 Curvy Squares and die cut the black frame.   Use the If Animals Could Talk stamp set to stamp the sentiment.

For the card on the right, use the Puppies die set and stamp the Dog, the bones and small sentiment.  Color and die cut using the coordinating die set.  Use the Stitched Square die set and die cut one square.  Use the Fitted Frames 3 Curvy Squares die set and die cut the black frame.  Use Joset's Dream Sentiments die set for the the sentiment.


Use the Love Struck die set and die cut the large white Heart.  Use the Cute Food stamp set and stamp the Olives and the sentiment.  Color and die cut using the coordinating dies.  Use the Love Struck die set and die cut the small hearts, using red card stock.  Attach the larger red heart as shown.

Use the Cute Food stamp set and stamp the Oranges and the sentiment.  Color and die cut using the coordinating die set.  Use the Stitched Rectangle die set and die cut the white square.  Use the Dotted Stitched Rectangle die set and die cut the rectangle.  This was a piece of card stock I had in my stash.


Use the Gift Wrapped stamp set to stamp the gifts.  Color and die cut using the coordinating die.  Use the Fitted Frames 3 Curvy Squares die set and die cut the turquoise frame.  Use the stamp from the Gift Wrapped stamp set for the sentiment.

You can shop for the products used by clicking on the links below.


Monday, January 22, 2018

Easter Card


Today the design team created cards using Joset's new release.  I used her new Color My Easter Egg stamp set and coordinating dies, along with other Elizabeth Craft Designs dies and stamps. 

This is a 6-inch card. 

Cut a piece of white 6 inch square card stock and emboss it with the Lots of Dots embossing folder.  Attach it to the front of the card.

Use the Romantic Bouquet die set and die cut it, using White Soft Finish Cardstock, for the top of the card.  Attach over the embossed card stock.

Use the Color My Easter Egg stamp set to stamp, color and  four eggs. Die cut using the coordinating die set.   I colored the eggs with colored pencils then tapped the eggs onto a VersaMark pad and clear embossed them, for a shinny finish.  Attach the eggs to the lower left side of the card.  Attach the eggs only at the bottom of the egg.

Use the Joset Easter Egg die set and die cut three grass pieces.  Attach the grass in front of the Easter Eggs.

Use the Patchwork stamp set and stamp the Rabbit, color, and die cut with the coordinating die set.  Tuck the rabbit behind the eggs as shown. 

Use the Garden Notes Lilac 2 die set and die cut enough pieces to create one lilac.  Shape the petals with the Flower Tool Kit, assemble and add Prills to the center of the flowers.  Attach to the lower left corner.  Add a small bow at the bottom of the lilac.

Use the A Way With Words 4 Seasons die set and die cut  'Spring' , using Dark Fuchsia Soft Finish Cardstock.  Attach the sentiment at the top of the card.

You can shop for the products used by clicking on the pictures below.


Color My Easter Egg Stamps and dies
Patchwork Stamps


Friday, January 19, 2018

Gold & White Valentine


Today I have an elegant Valentine card created with the new Becky Seddon Heartfelt Love die set.  Isn't that a beautiful heart!

This is a 6 inch card.

Use a piece of white card stock 6 inches square and tape down the Heartfelt Love die without the outer heart die.  Run through your die cut machine.  This will die cut the intricate design into the card stock.

Use the Heartfelt Love die set and die cut the intricate heart with the larger heart die on the outside to cut out the heart.  Glue the die cut heart over the design die cut into the 6 inch square.  Line it up so all of the design matches.  

Use the Heartfelt Love die set and use only the outline die to die cut one gold heart.  Attach the gold heart to the back of the intricate heart .  

Attach the heart panel to the front of the card using double sided dimensional tape.

Use the Love Sentiments stamp set and gold emboss the sentiment on the lower right corner of the card.

Use the Hearts Cutouts die set and die cut gold hearts.  Add the small hearts on the lower portion of the card, as shown.

Add Gold Corner Peel Off Stickers to the upper corners.

Add glitter Dots to the center of the die cut flowers in the design.

You can shop for the products used from Elizabeth Craft Designs by clicking on the products shown below.


Thursday, January 18, 2018

Garden Notes Basket of Pansies


Susan's Garden Note Pansies are so much fun to create.  There are many different colors of pansies and they are very easy to create with the Pansy 2 die set.

1.  Start with a 6 inch square card.  Cover the front with a piece of the ModaScrap Fly & Scrap design paper.  

2.  Use the Els van de Burgt Studio Fitted Oval and Stitched Oval die sets to create the background.

3.  Use the Garden Notes Pansy 2 die set and die cut enough pieces to create 11 pansies.  Color the pansies with markers in the color of your choice.  Add yellow Prills to the center of each flower.

4.  Use the Garden Notes Gathering Basket and die cut one basket.  Color with markers.

5.  Use the Garden Notes Ladder Fern die set and die cut four ferns.

6.  Use the Garden Notes Ivy Vine die set and die cut four ivy vines.

7.  Use the Sentiments 2 - Just Because stamp set and stamp the sentiment, using Black VersaFine Ink.  Clear Emboss.  Die cut the sentiment using the matching die set.

8.  Attach the ovals to the right side of the card front.

9.  Attach the Gathering Basket at an angle, on the lower left side.

10.  Attach the Ladder Fern , pansies, and ivy to fill the overflowing basket.

11.  Attach the sentiment.  

You can shop for these products by clicking on the links below.


Wednesday, January 17, 2018

Bachelor Button - Plant Happy Thoughts

Today I have a card with a mixture of flowers.  The new Garden Notes Bachelor Button, Love In A Mist and Cosmos flower create this bouquet.

This is a 6 inch square card.  Cover the front with a piece of the ModaScrap Wood Effect Design Paper.
  
Use the Garden Notes Cornflower Bachelor Button die set and create three Bachelor Button flowers.

Use the Garden Notes Love In a Mist die set and create 3 white flowers.

Use the Garden Notes Cosmos die set and create 2 pink Cosmos.  Add Susan's Pollen to the stamens.

Use the Garden Notes Ostrich Fern die set and die cut two green ferns.

Use the Garden Notes Berry Spray to die cut 2 Berry Sprays.  Add Nuvo Crystal Dropsto create the berries.

Use the Lace Pocket to die cut one white pocket.  Trim off the tabs and attach to the front bottom of the card.  

Use Susan's Little Words That Mean A Lot stamp set and stamp the sentiment on white card stock, using black VersaFine Ink.  Clear Emboss the sentiment.  

Use the Stitched Fishtails die set and die cut the stamp sentiment.

Arrange the ferns, berry spray and flowers on the left side of the card.  Attach the sentiment as shown.  

You can shop for the products used by clicking on the links provided below.


Tuesday, January 16, 2018

Garden Notes Basket of Flowers - Primrose and Lilacs


Another card using some of Susan's new Garden Notes die sets from Elizabeth Craft Designs.   One of the questions I receive about my flower cards, is how do I mail them.  I have been mailing these cards out in clear plastic boxes, that are available from Elizabeth Craft Designs - the LINK is below.  These boxes are sturdy and in my experience always arrive in perfect shape to the recipient - The flowers are never smashed.  You just add your card in the box and behind the card add a piece of paper that has the mailing information.  My cards are always 6x6 inches so the address is printed on a piece of 6x6 inch computer paper and placed behind the card.  I like to use clear mailing tape on the ends to be sure the  box stays closed. 

This is a 6 inch square card.  

1.  Use the Garden Notes Primrose die set and create eight flowers.  I used white card stock and colored the flowers with markers.  Shape the flowers using Susan's Flower Tool Kit.  Add yellow Pollen to the tips of the stamens.  Die cut, shape and color the leaves.  

2.  Use the Garden Notes Lilac 2 die set and create three branches of purple lilacs and the leaves.  Add yellow Prills to the center of the little flowers.

3.  Use the Garden Notes Gathering Basket die set and die cut one basket.  Color and slightly shape the basket.  

4.  Use the Valentine Edges die set and die cut one heart edge.  Attach this edge along the bottom of the card.  Leave about a one inch border below the pretty die cut edge.

5.  Use the Love Struck die set and die cut the large heart, using White Soft Finish Cardstock.

6.  Stamp the sentiment from Suzanne's Where The Flowers Bloom Collection stamp set, using black VersaFine ink and clear emboss.  Use scissors and trim around the sentiment and add to the upper left corner of the card.   

7.  Attach the Love Struck heart at an angle toward the top of the card.  Attach the Gathering Basket at the bottom of the card.  Glue only the edges of the basket down, creating a bow in the basket so you can insert the flowers.

8.  Add the ferns, and the flowers inside the basket.

You can shop for the products used by clicking on the product links below.


Garden Notes Dogwoods


I love to see the Dogwood trees in the Spring.  Susan has a new Dogwood 2 die set in her new release, now available from Elizabeth Craft Designs.  

1.  To create this card, start with a 6 inch card base.  Cover the front with a piece of light blue card stock.

2.  Use the Garden Scene die set to die cut the frame, using white card stock.  Attach to the card.

3.  Use Susan' new Garden Notes Dogwood 2 die set and create nine dogwood flowers.  Add Prills for the bracts.  I used yellow and  lime green Prills.

4.  Use the Dogwood 2 die set and die cut three dark brown branches.  Run back through your die cutting machine to emboss the design in the branches.  Attach them to the upper left corner of the card, inside the frame.

5.  Use Joset's Rainbow Sky die set and die cut three clouds, using white card stock.  Attach them behind the Dogwood branches as shown. Use dimensional tape to attach the clouds.

6.  Use the Stitched Fishtails die set and die cut a light blue and a white Fishtail.  Stamp the sentiment, from the Little Words That Mean A Lot stamp set, in the center of the smaller Fishtail.  Attach to the lower portion of the card.  

7.  Use the Dancing Butterfly die set to die cut one white butterfly.  Attach at the end of the Fishtail, as shown.  

Thank you for stopping by today.

Links to the products used are below.


Garden Notes Lilacs


I am always excited to create flowers with Susan Tierney-Cockburn's flower dies.  Today Elizabeth Craft Design has a new release featuring new dies in the Garden Notes Collection.  The design team has created a variety of cards featuring these new dies.  You can view all these projects at this LINK.

Here is how my card was created.

1.  Start with a 6-inch card base.

2.  Cover the front of the card with a 6 inch square piece of Soft Finish Lavender Cardstock

3.  Cut a piece of white card stock 6 inches square.  Use the Romantic Bouquet die set and die cut the top portion of this white cardstock.  Attach to the front of the card.

4.  Use Susan's Garden Notes Lilacs 2 die setr and create a light lavender lilac.  Add yellow Prills to the center of the small flowers.

5.  Use Susan's Leafy Berry Branch die set to die cut one light green branch.  Use Nuevo Crystal Lavender Drops to create the berries.  

6.  Use the Dotted Scallop Hearts die set and die cut a small heart, using lavender card stock.  Use Susan's Little Words That Mean A Lot stamp set and stamp the shown sentiment using VersaMark Ink.  Emboss using white embossing power.  Attach to the lower left corner using dimensional tape.

7.  Attach the Leafy Berry Branch and Lilacs on the right lower corner, as shown.  Attach a purple bow at the base of the flower.  

When creating cards with dimensional flowers, you can mail them out in the Clear Boxes from Elizabeth Craft Designs.  The boxes are sturdy enough to enclose your card and add a piece of paper  behind the card showing the address.  I use a strip of clear shipping tape to close each end.  I have been mailing my cards in these boxes for years and they always arrive to the recipient in great condition.  


Monday, January 15, 2018

Becky Seddon Garden Scene

Today the Elizabeth Craft Design Team has create a variety of projects/cards using the new Becky Seddon products.  You can see all the projects created on the Elizabeth Craft Designs Blog at this LINK.

For my project, I used the beautiful new die called Garden Scene.  There are two dies in this set -- the beautiful die cut Garden Scene and the die for for Scalloped Frame.

Here is how I created my card:

This is a 6 inch square card.

1.  Use 100 lb White Soft Finish Card stock and die cut the Garden Scene.

2.  Use 100 lb White Soft Finish Card Stock to die cut the Frame.  Place the Scallop frame from the Garden Scene Die Set on the card stock then place the Fitted Square Die on the inside.  Tape the two dies together to die cut an open frame to fit over the Garden Scene.

3.  Use the scallop frame from the Garden Scene die set and die cut one using Soft Sky Soft Finish Cardstock to fit behind the die cut scene.  

4.  Attach the die cut Garden Scene over the Sky Blue Frame.

5.  Attach the open White scallop frame over the top of the die cut scene.  

6.  Attach the completed die cut scene to the front of a white card front, using dimensional tape.

7.  Use Susan's Seeds of Thought,  Winter Spring, stamp set to stamp the sentiment on white card stock.  Use scissors to cut just a small border around it.  Glue the sentiment to a piece of Sky Blue Cardstock and cut a small border around the stamped sentiment.  Attach to the front of the card as shown.

Becky's Garden Scene die set is perfect for a beautiful, quick and easy card that could be used for just about any occasion.

Be sure to go over to the Elizabeth Craft Designs Blog to view all the cards/projects prepared by the design team for this new Becky Seddon release.

You can shop for the products used by clicking on the links below.


Becky Seddon Lake Scene


This card was created with a new Becky Seddon die set from Elizabeth Craft Designs.  We usually have trouble creating masculine cards, but with this die set you can quickly create a beautiful card.

1.  This is a 6-inch square card.  

2.  Using the Lake Scene die and die cut the scene using White Soft Finish Cardstock.

3.  Use the Frame die from the Lake Scene die set plus one of the Fitted Square dies to create the frame to be attached over the die cut scene.

4.  Create a background for the scene.  Use a piece of white card stock and sponge on shades of blue and lavender inks, as shown.

5.  Attach the colored background to the back of the die cut scene.  Attach the die cut frame over the top of the die cut scene.

6.  Attach the framed scene to a piece of light blue card stock.

7.  Attach the frame to the front of the card.

8.  Stamp and die cut the sentiment using the Sentiments 1 die set and matching dies.

You can shop for the products used by clinking on the product below.


LinkWithin

Related Posts with Thumbnails