Showing posts with label Els van de Burgt Studio. Show all posts

Tuesday, January 23, 2018

Krista Schneider Note Cards


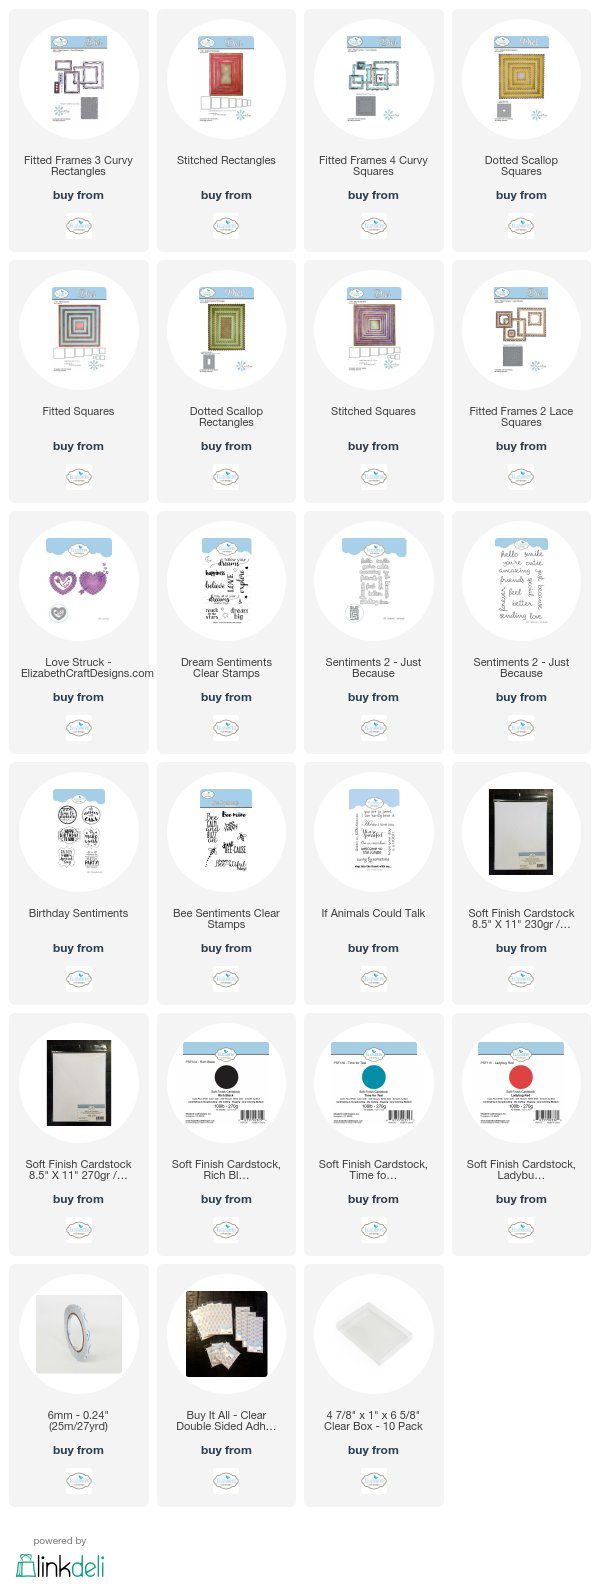
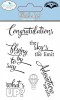
Elizabeth Craft Designs has a new release of Krista Schneider stamps and coordinating dies.  I have used four of the stamp sets and coordinating dies to create 4.25 x 5 inch note cards.  Creating these note cards was fun because I was able to use a lot of previously die cut frames.  All the cute stamps fit perfectly in the smaller Stitched Squares.  

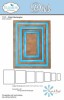
For the cards above I used the Elephant from the  Patchwork stamp set.  It was die cut using the coordinating die.  The sentiment is from Joset's Sentiments 2 - Just Because; it was stamped using black ink, die cut with the coordinating die.  The red rectangle was die cut using Els van de Burgt Studio Stitched Rectangles.

The mouse on the card on the right is from the Patchwork stamp set.  It was colored and die cut using the coordinating die set.  The Stitched Square die cut was used for both the glittered and small white square.  The turquoise frame was die cut using the Fitted Frames 3 - Curvy Squares.


For the note card on the left, stamp the bird from the Patchwork stamp set, color and cut out with the coordinating die.  Use the Stitched Square die set to die cut the small white frame and lightly color the bottom with green ink and the top with light blue ink.  Attach the die cut bird.  Use the Fitted Frames 3 Curvy Square die set and die cut the black frame.  Use Joset's Birthday Sentiments stamp set and stamp the sentiment and die cut with matching die.  Attach to the bottom of the frame.

For the note card on the right,  stamp the bee from the Patchwork stamp set, color and die cut using the coordinating die.  Use the Stitched Square die set and die cut one white square.  Use Joset's Bee Sentiments stamp set and stamp the sentiment on the bottom of the white square.  Attach the Bee above the sentiment, using dimensional tape.  Use the Fitted Frames 2 Lace Square die set and die cut the red frame.  Attach the frame over the white Stitched Frame.


For the card on the left, use the Puppies die set and stamp the Dog and the Dog House.  Color and die cut using the coordinating dies.  Use the Stitched Square die set and die cut one square. Attach the Dog House and the Dog as shown.  Use a brown marker to ground both die cuts.  Use the Fitted Frames 3 Curvy Squares and die cut the black frame.   Use the If Animals Could Talk stamp set to stamp the sentiment.

For the card on the right, use the Puppies die set and stamp the Dog, the bones and small sentiment.  Color and die cut using the coordinating die set.  Use the Stitched Square die set and die cut one square.  Use the Fitted Frames 3 Curvy Squares die set and die cut the black frame.  Use Joset's Dream Sentiments die set for the the sentiment.


Use the Love Struck die set and die cut the large white Heart.  Use the Cute Food stamp set and stamp the Olives and the sentiment.  Color and die cut using the coordinating dies.  Use the Love Struck die set and die cut the small hearts, using red card stock.  Attach the larger red heart as shown.

Use the Cute Food stamp set and stamp the Oranges and the sentiment.  Color and die cut using the coordinating die set.  Use the Stitched Rectangle die set and die cut the white square.  Use the Dotted Stitched Rectangle die set and die cut the rectangle.  This was a piece of card stock I had in my stash.


Use the Gift Wrapped stamp set to stamp the gifts.  Color and die cut using the coordinating die.  Use the Fitted Frames 3 Curvy Squares die set and die cut the turquoise frame.  Use the stamp from the Gift Wrapped stamp set for the sentiment.

You can shop for the products used by clicking on the links below.


Tuesday, June 27, 2017

Foamiran Poinsettia


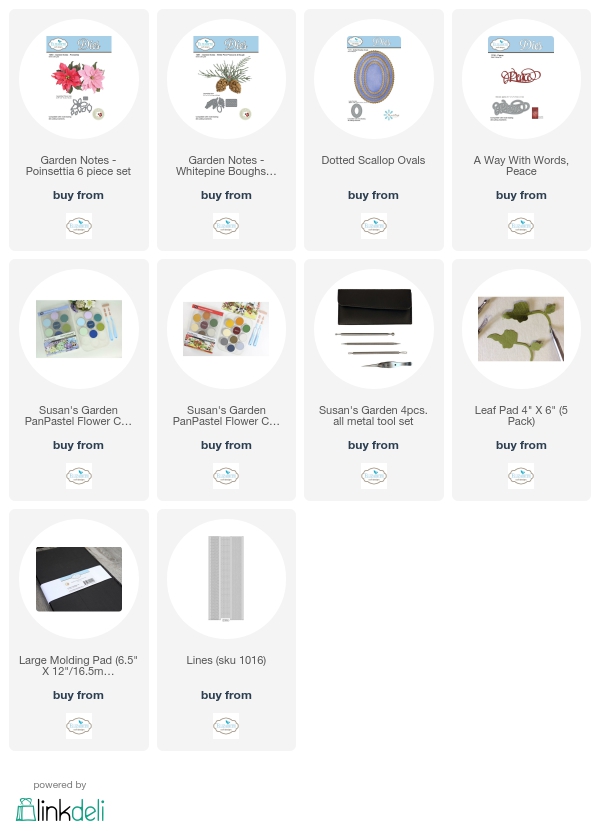
I know it is early to start Christmas cards, but I like to get an early start!  Today I used Susan's Garden Notes Poinsettia die set and and Foamiran to create this pretty flower.  I die cut the petals and shaded the red foamiran using Susan's Dark Red PanPastel, which is in Set 3.  The leaves were colored with a dark green PanPastel and blended with green in Susan's Set 1.  A little red was also added.  PanPastels blend so easily, and are my very favorite way to color Foamiran.  NOTE:  In the photos the Poinsettia leaves do not look very green, but they do in real life! The bracts (center of the poinsettia) were created with dots of Bottle Green and English Mustard Nuvo Crystal Dots.

Under the Poinsettia, Boughs from Susan's  Garden Notes Whitepine Boughs & Pinecone die set were added.  I used two large and two small boughs.

The frame for the poinsettia was die cut using Els van de Burgt Studio Dotted Scallop Ovals.  

The sentiment was die cut using the A Way With Word - Peace die set.

Gold Peel Off Sticker - Corner/Line Stickers were used to outline the design paper edge.  Left over "dots" from a Peel Off Sticker sheet was used to go around the flower.

It is never too early to get started working on Christmas cards.  The holidays always seem to come so fast.   

Thanks for stopping by today.  Links to the products used are listed below.


Friday, June 23, 2017

Second Foamiran Rose


I have created my second rose using Foamiran.  This material shapes beautifully when creating flowers.  The Foamiran I used was purchased from ScrapandCraft.

You can use any of Susan's Garden Club flower die sets to create beautiful flowers using the Foamiran.  I have always liked to die cut Susan's flower petals using white -- whether it is card stock or Foamiran.  I have tried many different products to color the flower petals and leaves, and by far, I LOVE to use Susan's PanPastels.  They are so easy to blend and always give me perfect results.  Pictured below are the three sets available from Elizabeth Craft Designs.
Susan's Garden PanPastel Flower Coloring Kit 1 (10 colors) - Die - ElizabethCraftDesigns.com

Susan's Garden PanPastel Flower Coloring Kit 2 (7 pcs.) - Die - ElizabethCraftDesigns.com
Susan's Garden PanPastel Flower Coloring Kit 3 (10 colors) - Die - ElizabethCraftDesigns.com
This is a 6-inch card.  Choose a piece of design paper of your choice for the background.  Use the Els van de Burgt Studio Entwinded Circles, Dotted Scallop Ovals and Fitted Ovals die sets to create the frame for the rose.  The little flourishes and tiny flowers on the Entwined Circles are discards from the ModaScrap Flower Lace 2 die cut.  The sentiment was die cut using the Love Sentiments die set.


Below I have I linked a couple different Susan's Garden Club die sets you can use to create beautiful flowers such as this rose.  

Thank you for stopping by today.  Happy Crafting!


Monday, June 5, 2017

Sunflowers from Susan's Garden New Release


Exciting News!  The new Susan's Garden Club Spring Release is now available from Elizabeth Craft Designs.  

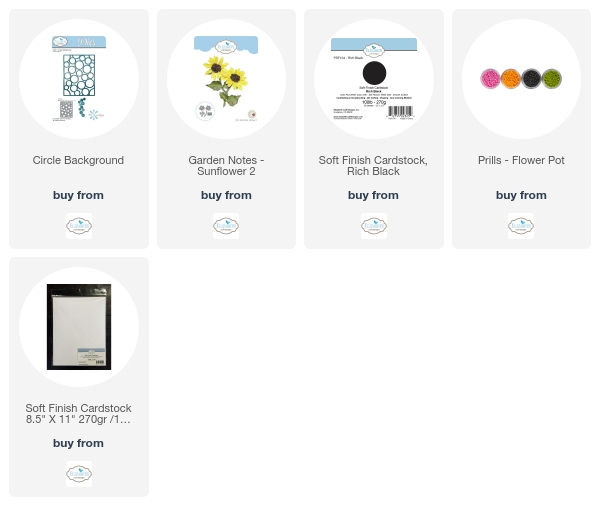
Today I am posting a card designed using the new Garden Notes Sunflower 2 die set .  

For the background I used a piece of Kraft card stock.  

The Els van de Burgt Studio Circle Background die was used to die cut the black circles.  The circles from the die cut Background are actually to be discarded or used for something else.  I used the circles to create a black polka dot background.

The new Sunflower 2 die set was used to create the three sunflowers.  The flowers were shaped using Susan's Flower Tool Kit, Molding Pad, and Leaf Pad

A small piece of gunny sack material was used behind the Sunflower arrangement.  A piece of sticky back ribbon was used at the bottom of the square.  A black twine bow was added to complete the card. 

There are 14 new products in the Susan's Garden Spring Release.

Products from  Elizabeth Craft Designs are linked below.
Thanks for stopping by today.


Wednesday, May 31, 2017

Sweet Strawberries


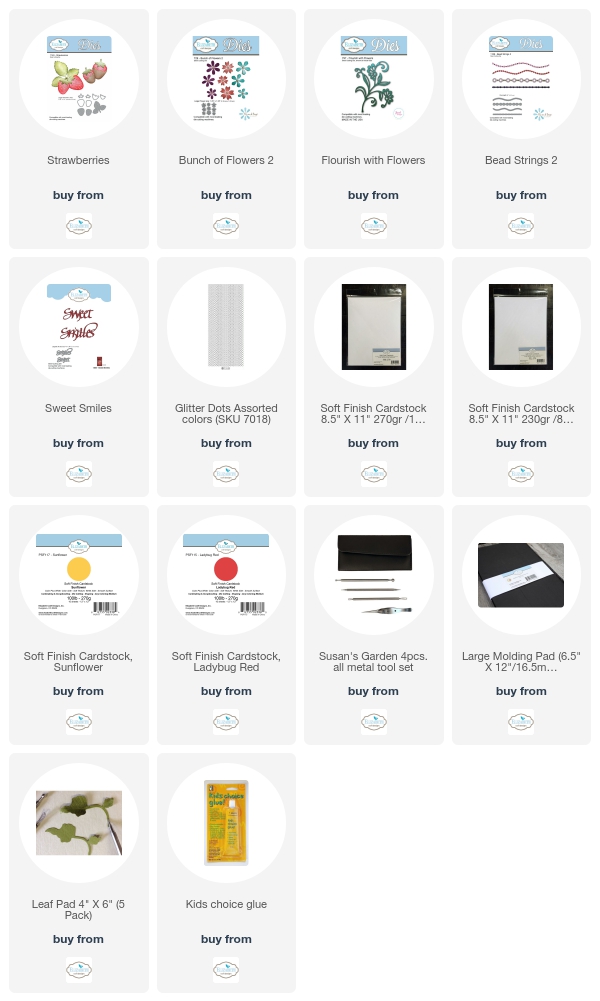
I love strawberries.  It is always fun to create a card using the Joset Designs Strawberries die set.  They were die cut using Soft Finish Ladybug Red Cardstock.  The solid piece under the red strawberry was die cut using Soft Finish Sunflower Cardstock.  The two pieces were glued together then a black marker was used to add a small dot on each of the yellow spots.  Use the large ball stylus from Susan's Flower Tool Kit to shape the strawberries.

Die cut the strawberry leaves and stems, using Soft Finish White Cardstock, and sponge on green ink.  Use the Joset Designs Flourish with Flowers die set for the Flourishes around the strawberries.  Sponge them green and cut of the flourishes you want to use.

Use the Els van de Burgt Bunch of Flowers 2 die set to die cut three flowers.  Shape with Susan's Flower Tool Kit.  Add yellow Prills to the center of the flowers.

Assemble the strawberries on the lower left corner of the card.  Add a few Red Glitter Dot Peel Off Stickers around the arrangement.  Use a very light gray marker to shade under the arrangement.

Use the A Way With Words Sweet Smiles die set to die cut 'Sweet", using Soft Finish Ladybug Red Cardstock.  Attach above the strawberries.  Use light gray marker to lightly shade under the sentiment.

Use Els van de Burgt Studio Bead Strings 2 die set to die cut one border.  Attach Red Glitter Dot Stickers on the border, as shown.

Thank you for stopping by today.

The products used are linked below.



Sunday, April 23, 2017

Feathers


I love creating cards using the Joset Designs Feather die set.  These feathers were die cut using White Soft Finish Cardstock.  I sponged on a light blue ink in the center of each feather, leaving the tips white.  A light gray marker was used for the veins in the feathers.

This is a 6 inch square card.  A piece of design paper was attached to the front.  The Els van de Burgt Studio Fitted Rectangle dies were used to create white frame.  To decorate the top of the frame, one of the die cuts from the Fitted Frames 1 Lace Rectangle dies was attached over the frame.

Two white Arrows were die cut using White Soft Finish Cardstock and were attached on each side of the framed Feathers.

The sentiment was stamped using the What's Up? Clear Stamp Set, and was die cut using the Dotted Scallop Rectangles die set.  It was attached using dimensional tape.

Thanks for stopping by today.

All the Elizabeth Craft Designs products are linked below.


Tuesday, April 18, 2017

April Design Team Color Challenge


It is time for the April Elizabeth Craft Designs, Design Team Color Challenge. This month our challenge is to design a card plus to complete the inside.  You can see all the cards created by the Design Team on the Elizabeth Craft Designs Blog at this LINK.

For today's challenge, Elizabeth Craft Designs is giving away a "$20 gift card to use on the Elizabeth Craft Designs website” to 3 winners. 

To enter simply leave a comment on the Elizabeth Craft Designs Challenge post (LINK above) and tell us "What is your favorite or most used sentiment when creating a card?

Three lucky winners will be selected in a random drawing.  The winners will be announced on Friday, April 21 on the Elizabeth Craft Designs blog.

*****************

For my card I chose the Krista Schneider Bird-day Party stamps for the theme. I also used Krista's Honey Bear stamp set.

This is a 6-inch square card. Use a 5 1/2 inch square piece of card stock for the front of the card.  Use Susan's Earth & Sky Stencil to sponge on clouds and grass, as shown in the picture above.  

 I created a Slider Card using the Joset Designs Slider and Spinners die set.  For instructions on how to create a Slider/Spinner card, you can watch the Els van de Burgt Technique Friday with Els Spinner Card Video at this LINK.  For the Slider, use the Scalloped Heart Die set to die cut the heart.  Use the sentiment from the Bird-day Party stamp set and stamp it inside the heart using black ink.  Assemble the slider as shown on the video.

Use the Bird-day Party stamp set to stamp the birds, gifts and balloons.  Color with either markers or watercolors.  Die cut the pieces using the matching dies.

Use the Honey Bear stamp set to stamp three trees.  Color and cut out with the matching dies.  (Note:  The tree i created is the branch that has the bee hive attached.  Die cut the branches and carefully cut off the bee hive, to create trees.) 

Attach all the Bird-day Party and Honey Bear tree die cut pieces to the card as shown.

Use Susan's CountryScapes Cloud & Sky die set to die cut grass for the bottom of the card.

Use the Els van de Burgt Corners 1 die set to die cut two blue corners and attach to the top of the card.


To complete the inside of the card, I used the A Way With Words Happy Birthday die set.  It was die cut using blue card stock.  One of the birds from the Bird-day Party was attached on the lower right corner.  

Links to the Elizabeth Craft Designs products are below.


LinkWithin

Related Posts with Thumbnails