Showing posts with label Boxes. Show all posts

Wednesday, March 28, 2018

Southern Magnolia Covered Cigar Box


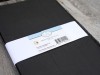
One of my favorite restaurants in Downtown Spokane is located in a renovated old flour mill that overlooks the Spokane Falls.  This mall also has some fun shops, including a Kitchen Store and fun Gift Stores.   On the way to the restaurant, you need to walk past a Cigar Store.  By the door they have a counter with empty cigar boxes for sale.  The proceeds from these boxes are all donated to a children's organization.  I can never pass this store up without checking out cigar boxes that I can decorate.  Today I have a black wooden box decorated with Susan's Garden Notes Southern Magnolias.

The top of the box was covered with a piece of black card stock that was embossed.  Gold Line Peel Off Stickers were used to make a line about one inch from the bottom edge.  Gold Peel Off Corner Stickers were added to the upper corners.

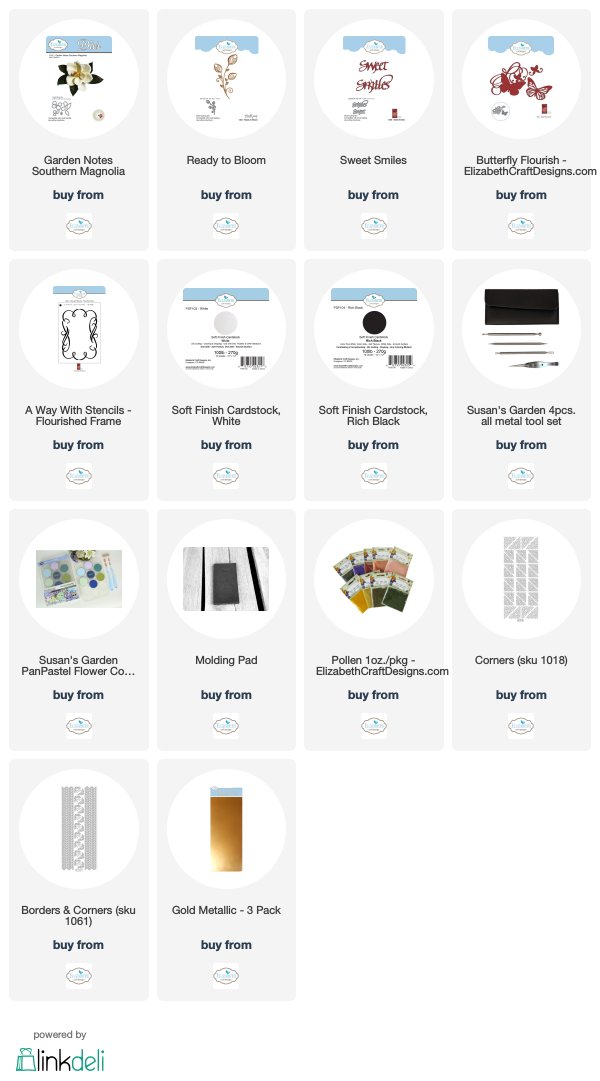
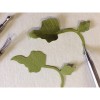
Susan's Garden Notes Southern Magnolia die set was used to create the flowers.  The base of the petals were shaded with yellow PanPastels.  The flowers were shaped using Susan's Flower Tool Kit and assembled.  Yellow Pollen was added to the center.  The leaves were colored using Green PanPastels, shaped, then pressed into a VersaMark Pad and clear embossed, to give them a waxy finished.

The large gold leaves were die cut using the ModaScrap Ready to Bloom die set.  Gold Shimmer Sheetz were used.  Two sets of leaves were die cut and cut apart to be arranged behind the flowers.

Suzanne's A Way With Words Flourished Frame was die cut using White Soft Finish Cardstock.  The A Way With Words Sweet Smiles die set was used for the gold sentiment.  Suzanne's A Way With Words Butterfly Flourish Die Set was used for the Gold Butterfly.

A decorated box could be used as a gift, or you could include a small gift inside or add some of your beautiful cards.  

I hope I inspired you to decorate a box with your favorite flowers.

You can shop for the products used to decorate this box by clicking on the products shown below.


Sunday, March 18, 2018

Chrysanthemum Covered Cigar Box


This is a project I designed back in 2015 and was asked to re-post it.  It is one of my very favorite projects.  I love creating beautiful flowers with Susan's Garden Notes flower die sets.

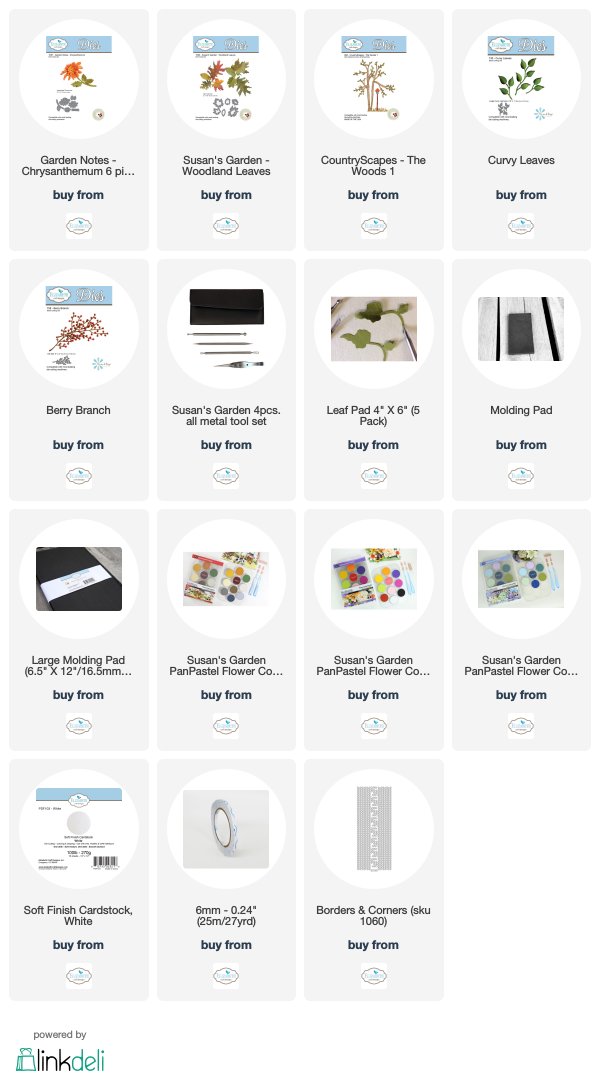
This is an old wood cigar box which I thought would be perfect to decorate with with Susan's Garden Notes Chrysanthemums and Susan's Garden Woodland Leaves.  You can pick up cigar boxes, for very little money, at most any cigar store.  These boxes make great gift boxes for birthdays or the holidays.

Here is how I transformed this box into a gorgeous box anyone would love to receive. First cover the cigar logo which is usually on the top of the box.   I created a square to cover the center of the top of the box.  (I wanted to keep as much of the wood showing as possible, so I only covered the logo.)  It was matted with a piece of black card stock, then a smaller rust mat.  I used a piece of textured off-white card stock for the next layer; this layer was sponged around the edges with Old Paper and Tea Dye Distress Inks.  Next a frame of burgundy card stock was cut and attached over the outside edge of the off-white layer using dimensional tape under it, to give it some dimension.  On top of the burgundy frame, I added one of the ECD peel off line stickers.  Once all these layers were attached to each other, the frame was attached, with 10mm Double Sided Tape, to the cigar box.

 Using the Chrysanthemum die, die cut chrysanthemums using different colors of card stock. There are a total of 13 flowers on this box top.  I used burgundy colored card stock, bright yellow card stock and the rest were die cut using white card stock and were shaded with Susan's PanPastels.

For complete instruction on how to create Susan's Garden Note Chrysanthemum, you can watch Susan's YouTube Video at this LINK.  Susan has 15 new videos on Susan's Garden Club playlist on YouTube that will be very helpful in creating your projects with her dies.

 Using Susan's  Garden Woodland Leaves,  die cut a lot of leaves using some white card stock and some Kraft card stock.  The different card stock gives a variety of shades.

All the leaves were first shaped, using Susan's Flower Tool Kit.   Working on a Teflon Craft Mat, all the leaves were colored using a variety of colors from Susan's PanPastels; yellows, greens, orange, rust, bright red and dark red.  The PanPastels blend beautifully creating such beautiful fall colors.  Use a sponge to add the colors which makes it easy to quickly color.  There will be PanPastel dust on your craft mat, so don't forget to pick this dust up with the sponge and blend it over some of the leaves.  

Layer Woodland Leaves down the left side and across the bottom of the top of the box.  Attach the Chrysanthemums with dimensional glue dots.  Add as many Elizabeth Craft Designs Curvy Leaves as you like for fillers;  they were die cut using white card stock then sponged with green PanPastel then a little rust around the edges, then  shaped with Susan's Flower Tool Kit.  There are also branches from Susan's CountryScapes Wood 1 die set that were die cut using dark brown card stock, then glued under the leaves.  There is one Elizabeth Craft Designs Berry Branch tucked in that was colored with the wine (dark red) PanPastel.

A box decorated with Susan's Garden dies would be a beautiful gift in itself, or you could add a little surprise inside too.  Do you have something you could recycle and make beautiful?

Below are the Links to products used from Elizabeth Craft Designs.


Sunday, October 8, 2017

Chrysanthemum Covered Box


This is a project I designed back in 2015 and was asked to re-post it.  It is one of my very favorite projects.  I love creating beautiful flowers with Susan's Garden Notes flower die sets.

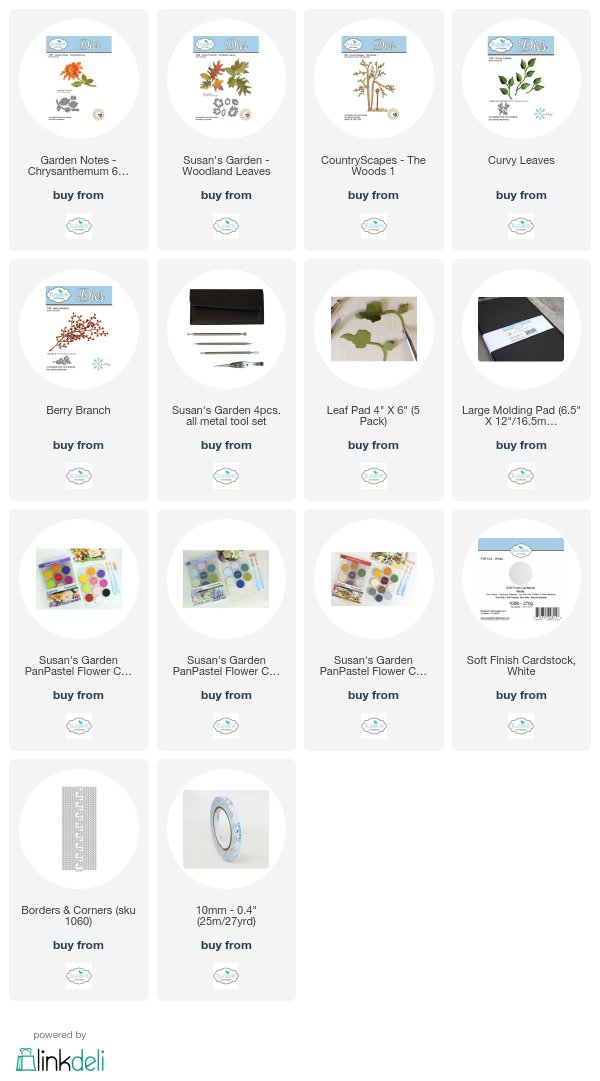
This is an old wood cigar box which I thought would be perfect to make beautiful with Susan's Garden Notes Chrysanthemums and Susan's Garden Woodland Leaves.  You can pick up cigar boxes, for very little money, at most any cigar store.  These boxes make great gift boxes for birthdays or the holidays.

Here is how I transformed this box into a gorgeous box anyone would love to receive. First cover the cigar logo which is usually on the top of the box.   I created a square to cover the center of the top of the box.  (I wanted to keep as much of the wood showing as possible, so I only covered the logo.)  It was matted with a piece of black card stock, then a smaller rust mat.  I used a piece of textured off-white card stock for the next layer; this layer was sponged around the edges with Old Paper and Tea Dye Distress Inks.  Next a frame of burgundy card stock was cut and attached over the outside edge of the off-white layer using dimensional tape under it, to give it some dimension.  On top of the burgundy frame, I added one of the ECD peel off line stickers.  Once all these layers were attached to each other, the frame was attached, with 10mm Double Sided Tape, to the cigar box.

 Using the Chrysanthemum die, die cut chrysanthemums using different colors of card stock. There are a total of 13 flowers on this box top.  I used burgundy colored card stock, bright yellow card stock and the rest were die cut using white card stock and were shaded with Susan's PanPastels.

For complete instruction on how to create Susan's Garden Note Chrysanthemum, you can watch Susan's YouTube Video at this LINK.  Susan has 15 new videos on Susan's Garden Club playlist on YouTube that will be very helpful in creating your projects with her dies.

 Using Susan's  Garden Woodland Leaves,  die cut a lot of leaves using some white card stock and some Kraft card stock.  The different card stock gives a variety of shades.

All the leaves were first shaped, using Susan's Flower Tool Kit.   Working on a Teflon Craft Mat, all the leaves were colored using a variety of colors from Susan's PanPastels; yellows, greens, orange, rust, bright red and dark red.  The PanPastels blend beautifully creating such beautiful fall colors.  Use a sponge to add the colors which makes it easy to quickly color.  There will be PanPastel dust on your craft mat, so don't forget to pick this dust up with the sponge and blend it over some of the leaves.  

Layer Woodland Leaves down the left side and across the bottom of the top of the box.  Attach the Chrysanthemums with dimensional glue dots.  Add as many Elizabeth Craft Designs Curvy Leaves as you like for fillers;  they were die cut using white card stock then sponged with green PanPastel then a little rust around the edges, then  shaped with Susan's Flower Tool Kit.  There are also branches from Susan's CountryScapes Wood 1 die set that were die cut using dark brown card stock, then glued under the leaves.  There is one Elizabeth Craft Designs Berry Branch tucked in that was colored with the wine (dark red) PanPastel.

A box decorated with Susan's Garden dies would be a beautiful gift in itself, or you could add a little surprise inside too.  Do you have something you could recycle and make beautiful?

Below are the Links to products I used from Elizabeth Craft Designs:


Halloween Treat Box


Halloween is not far away.  I am sure you have a few goblins you like to give a special treat to.  

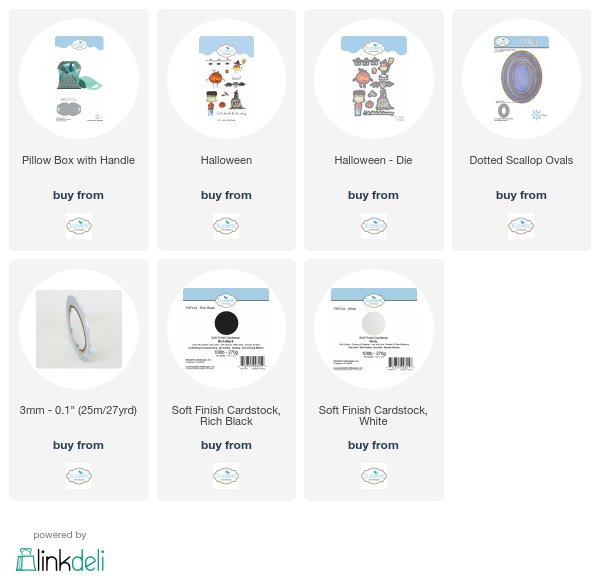
I created a very cute little box for a special treat using the Elizabeth Craft Designs Pillow Box with Handle die.  

The box was die cut using black card stock.  On the front of the box, an opening was die cut using the smallest Dotted Scallop Oval die.  

Cut a piece of acetate that will fit behind the die cut opening and attach it with 3mm Clear Double Sided Adhesive.  

Use the Halloween Clear Stamp Set and stamp the images shown.  Color with markers.  Die cut the pieces using the matching die set.

Attach the sentiment just above the scored line of the handle.  Attach the spiders just below the same scored line.  This makes it look like the spiders are handing from the sentiment.  

Attach the two die cuts at the bottom of the box, slightly over the acetate covered window.

Add Clear Double Sided Adhesive around the handle and attach both handles together.  

Create a bow and attach at the top of the box.

Fill the box with candy.   

I'm sure the recipient will love this little box as much as the treat inside.


Links to the Elizabeth Craft Designs products are linked below.


Friday, May 5, 2017

Pretty Cosmos Decorated Box


Today I am posting a picture of the top of a box I decorated to hold a gift to a friend.   A pearlized piece of card stock was attached to the center of the lid with Clear Double Sided Adhesive.  (This is a black wood cigar box that I cleaned up and decorated.  The inside and bottom of the box was lined with Velvet Adhesive Sheets.


Susan's Garden Notes Cosmos die set was used to create all the Cosmos.  The only greenery used are the Cosmos leaves.  The flowers and leaves were shaped using Susan's Flower Tool Kit.    Soft Finish Cardstock was used for the flowers and leaves.  

One of the butterflies from the Dancing Butterflies die set was die cut using a pearlized lavender card stock.

A pearl swirl element and a bow were added to complete the top of this box.


Products from Elizabeth Craft Designs are linked below.


Tuesday, March 7, 2017

It's In The Box - Design Team Challenge


It is time for a new Elizabeth Craft Designs designer challenge and the challenge this week is -- It's in the Box!  The designers have used one of the new box dies and decorated it for a special gift.  The box die set I used is the Pillow Box With Handle.  You all know that I love to use Susan's Garden Club flower dies to create realistic flowers for my cards and projects.  For this box I used the Garden Notes Cherry Blossom die set.  You can watch Susan's Cherry Blossom YouTube video for instructions on how to create these beautiful flowers at this LINK.

Wouldn't this cute box be perfect for a small Easter gift!

To create quick and easy boxes for those small gifts is so easy when you use one of the new box dies from Elizabeth Craft Designs.

All the projects for the Elizabeth Craft Designs March Die Cut Designer Challenge is at this LINK.

Would you like to win one of the new Box Die Sets?  Elizabeth Craft Designs is giving away "a box die of choice"  to 3 winners. The winners will get to select which box they would like to receive from the following dies: Star Pillow Box, Triangle Treat Box, Lantern Box, Bonbon Box or Pillow Box with Handle.

Which Box die set would you like to win?


To enter simply leave a comment at this LINK on the Elizabeth Craft Designs Challenge post and tell us "Which is your favorite box from the January 2017 collection?”

Three lucky winners will be selected in a random drawing. 


The winners will be announced on Friday, March 10 on the Elizabeth Craft Designs blog.


Products used from Elizabeth Craft Designs:


Sunday, February 5, 2017

Pansy Box


Did you know you can now purchase dies to die cut different box shapes from Elizabeth Craft Designs?  What a quick way to create a pretty little box for a special little gift.  The dies not only die cut the box, but also adds the score lines for quick assembly. 

Today I used the new ModaScrap Pillow Box with Handle die to create this cute little box.  

There are so many ways you can decorate these boxes for pretty little gifts.  I used Susan's Garden Notes Pansy and CountryScapes Clematis die sets to add flowers to the top of the box. The flowers were shaped with Susan's Flower Tool Kit.  For instructions on how to assemble the Pansy, you can watch Susan's Garden Club: Garden Notes Pansy YouTube Video at this LINK.  Under the flowers I used the Leafy Branch 4 die to die cut leaves.  In the center of the little white Clematis flowers, I added a few yellow Prills.  To finish the box, a lavender bow was added.  

I think I will fill this little box with some chocolate kisses and give to a friend.

Thanks for stopping by today.


LinkWithin

Related Posts with Thumbnails