Monday, September 30, 2019

Prairie Roses for You


Today I worked with Susan's Garden Notes Prairie Rose die set.  

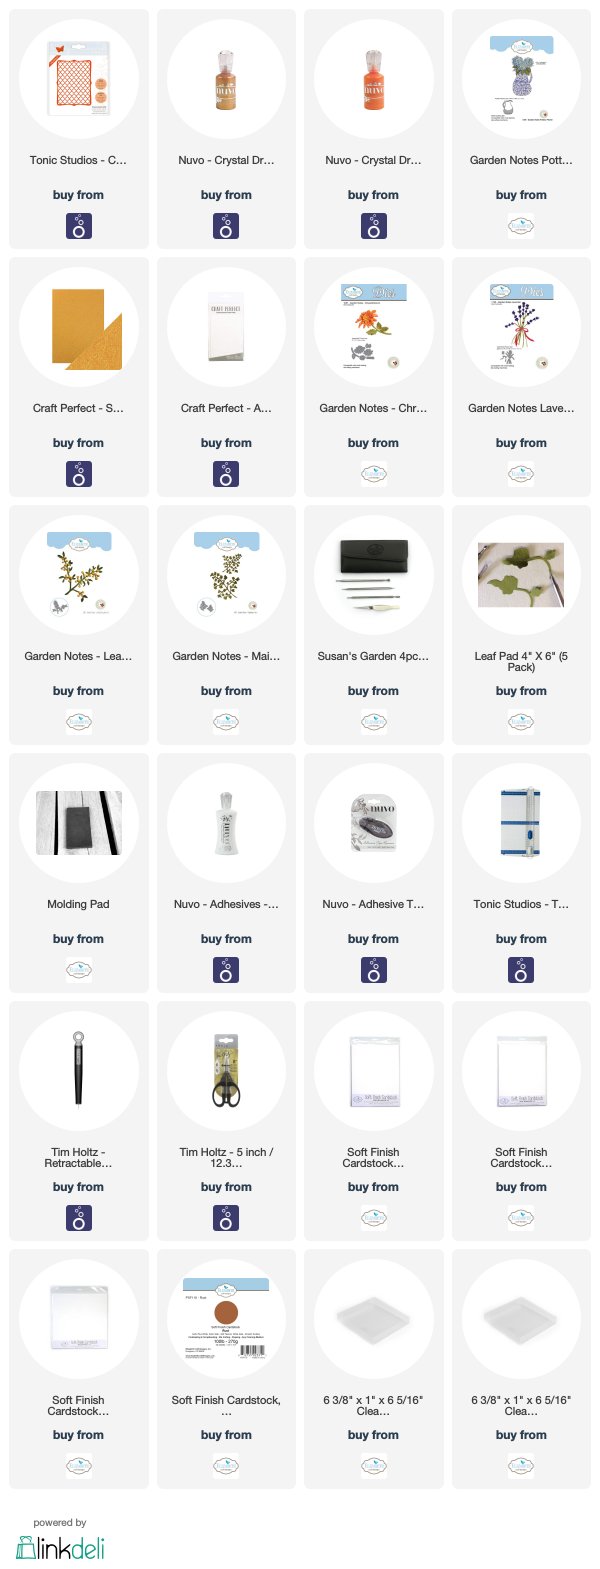
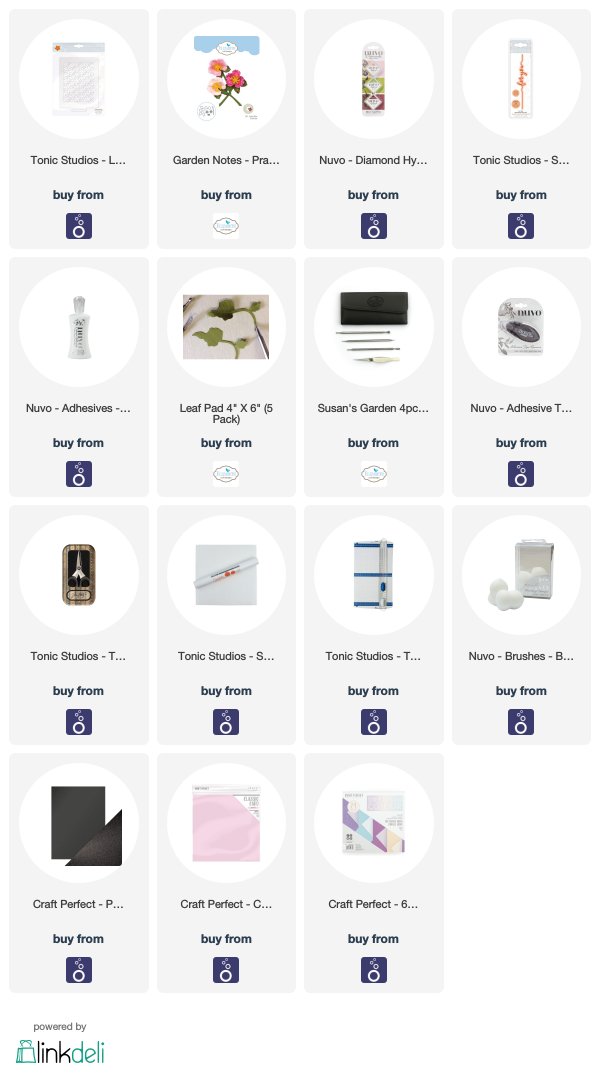
This is a 6-inch card.  Use a piece of Tonic Studio Classic Card Ballet Pink 12x12 card stock to create the card base.  Cut a piece of Craft Perfect Ultra Smooth White Card stock 5 3/4 inches square, for the front of the card.  Use the Tonic Linking Rings Stencil for the design sponged on the front.  A light aqua ink was used. Use a score board to score around the edges of this piece.   Nuvo Adhesive Tape Runner was used to attach this piece to the front of the card.

The flowers were created using Susan's Garden Notes Prairie Rose die set.  Everything was die cut using white card stock.  The edges of the flower petals were colored, using a Nuvo Blending Sponge and Nuvo Pink Sherbet Ink.  This pad is one that is in the Nuvo Rose Garden Diamond Hybrid ink package.  The flowers were shaped with Susan's Flower Tool Kit.  The Nuvo  Deluxe Adhesive was used to assemble the flowers. In addition to the leaves in the  Prairie Rose die set, I had a die for smaller leaves, in my die stash, and used that die too.  

The Tonic 'for you' Sentiment Strip was die cut for the sentiment.  The backing was die cut using white card stock and the sentiment was die cut using Craft Perfect Pearlescent Black Onyx card stock.  The Nuvo Smooth Precision Glue Pen was used to add adhesive to the back of the sentiment.  This has a very fine ballpoint tip making it easy to add a small amount of glue along the letters.

 To complete the card, a butterfly from my die stash was used to die cut the butterfly from a piece of card stock out of the Nuvo Dream in Color 6x6 card Pack.

This card can be mailed in a clear acrylic box, linked below.

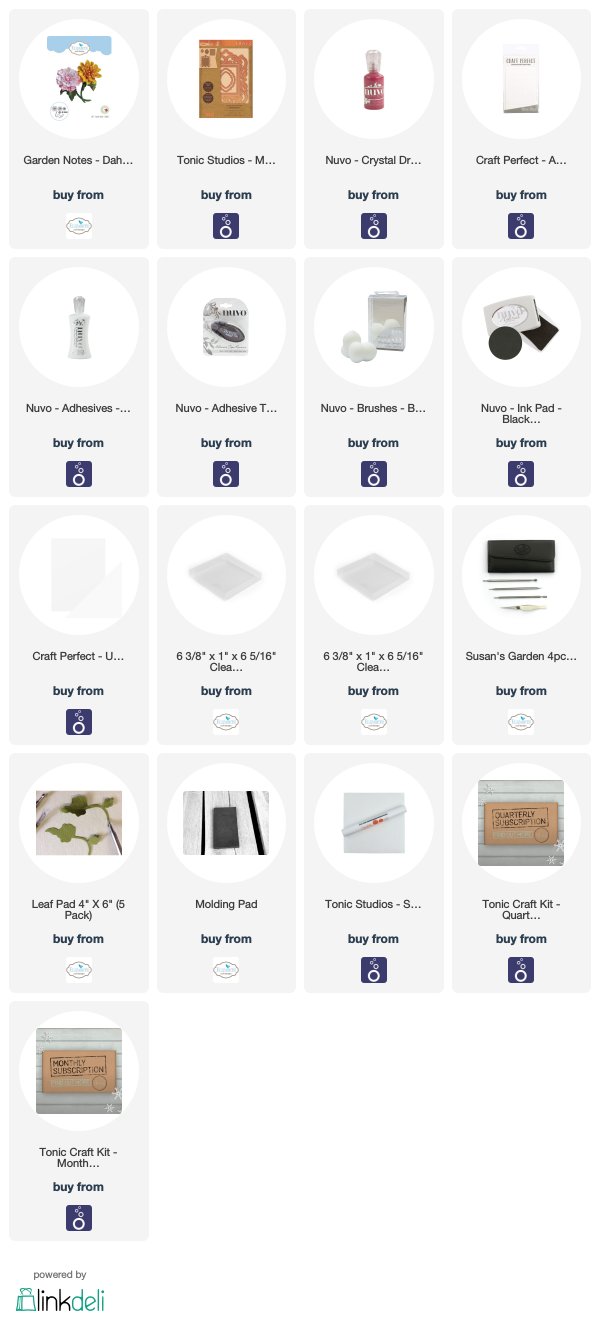
I have added links to the products I used, below.  If you use these links to purchase products, I will receive a small commission.   I appreciate you visiting my blog and your support.


Monday, September 23, 2019

Primrose and Asters


As many of you know, Susan Tierney-Cockburn is no longer with Elizabeth Craft Designs and is now working with Tonic Studios.  She will have a new line of flower dies coming out in October.  As soon as ECD sells out of their supply of Garden Notes die sets, they will no longer be available.  Susan will have a lot of new flower dies plus will be redesigning many of her old die sets. Susan continues to have her Live Susan's Garden Club Videos on Facebook, which are live Wednesday mornings. You can still watch all of her older videos on FaceBook too, to learn how to create her flowers.

For today's card, I used the Garden Notes Galvanized Bucket for a container -- it was die cut using a piece of woodgrain card stock.

The Garden Notes dies used to create the bouquet include:  Primrose in three colors, Asters, Maidenhair Fern, Leafy Berry Branch with berries made with Nuvo Ripened Pumpkin Crystal Drops, Ladder Fern, and Ivy Vine.  

I have added links to the products I used, below.  If you use these links to purchase products, I will receive a small commission.   I appreciate you visiting my blog and your support.


Sunday, September 22, 2019

Calendula Flowers in French Pumpkin


Today I have another Autumn inspired card using Susan's Garden Notes die sets.

This is a 6-inch square brown card.  A white piece of card stock was cut 5 3/4 square and scored around the edges.  To add some color to the background, Nuvo Solar Flare Shimmer Powder was added.  This panel was attach to the front of  the card.

I wanted to try a technique Susan showed on her Susan's Garden Club Facebook Video at this LINK, where she die cut the Garden Notes Ladder Fern to create a stencil,  then used Nuvo Embellishment Mousse to fill in the fern on the card front.  I did not have Yupo paper like Susan, but I die cut the two ferns using a heavy weight card stock and used that for my stencil.  Susan used only Forest Green Embelishment Mousse, but I decided to give my fern a little additional color, and after filling the stencil with the Forest Green Mousse, I put some Cosmic Brown Embellishment Mousse on my craft mat and then used my finger to blend the brown mousse over the stem and over parts of the leaves.  I really like how this turned out.  

The Garden Notes French Pumpkin die set was used to die cut the pumpkin out of white card stock.  Different shades of yellow, oranges and brown were sponged on to color it.  A square of Dimensional Foam Pad was added in the center for dimension, then Adhesive Tape Runner used around the sides and bottom to attach it to the card front.

Use the Garden Notes Calendula die set and create three yellow and two orange flowers.  The flowers were shaped using Susan's Flower Tool Kit.  Pollen and Prills were used to create the center of the flowers.  You can watch Susan's Garden Club Video at this LINK to see how to create the Calendula.

The Garden Notes Berry Spray die set was used to die cut one spray.  Nuvo Rhrubarb Crystal Drops were used for the berries.

The Garden Notes Oval Grapevine Wreath die set was used to die cut one wreath out of brown card stock.  The wreath was cut apart to create branches behind the flowers.  You can use any one of Susan's Grapevine wreaths for this.

The Garden Notes Woodland Leaves die set was used to die cut four leaves.  They were colored and then covered with Nuvo Crystal Clear Glaze.  

This card can be mailed in a clear acrylic box.

I have added links to the products I used, below.  If you use these links to purchase products, I will receive a small commission.   I appreciate you visiting my blog and your support.


Saturday, September 21, 2019

Foamiran Dahlia


Today I wanted to see if I could work with Susan's Garden Notes Dahlia 2 die set and Foamiran. Susan's dies will die cut through 4 layers of Foamiran at a time, making die cutting much quicker.  This is the first Foamiran Dahlia I have created, but I know I will be creating more.  I am asked where I get my Foamiran, as I have said before, I have a friend in the Netherlands that sent me several packages.  


 Four large petals and 3 each of the other size petals were die cut using a light yellow Foamiran. I used PanPastels to shade the petals the pink color.  A hot pink fine tip pen was used to draw the lines down each petal.  Each petal was then heated on a iron and shaped.  The center die cut was colored and the tips heated so they would curl inward, then rolled with the tweezers.  To make the center fuller, I used two of the long die cut center pieces.  Hot glue was used to assemble this flower.  Use the Leaf Tool in Susan's Flower Tool Kit to draw lines on the flower petals and the leaves.  

The three white pieces on this card were die cut using the Tonic Studio Cassandra's Ventana Media Die Set.  The center piece was sponged with the same PanPastel used on the flower petals.  The sentiment is from the Tonic Craft Kit #24.

Use the Nuvo Rhubarb Crumble Crystal Drops for the round embellishments.

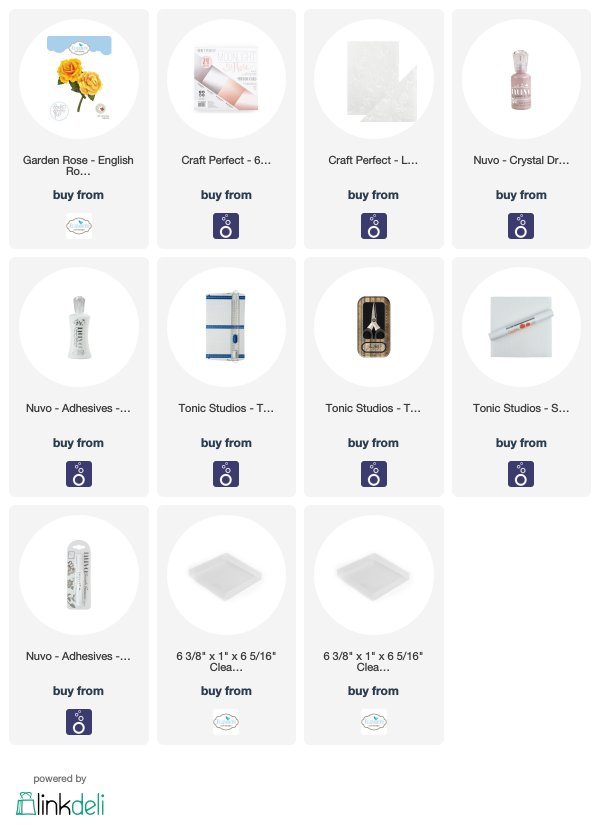
I have linked the products I used below.  If you use these links to purchase products, I will receive a small commission.   I appreciate you visiting my blog and your support.


Friday, September 20, 2019

With Love


Today I made a card for a very special friend that lives in the Netherlands.  Eva is a friend I met through my blog and we have been very good friends for about four years.  Eva recently sent me some packages of Foamiran and I wanted to create this pretty English Rose with the white Foamiran.  

This is a 6-inch square card.  For the front I used a piece of the Tonic Studios Moonlight Rose 6x6 Mirror Card stock.  For the die cut design in the upper right, I used a die from the Tonic Monthly Craft Kit #21.  I highly recommend these Tonic Craft Kits.  You can order them on a monthly basis, or a quarterly subscription. The value of the kits is around $70 and you pay much less. The links are below so you can get all the information about the kits.  

Behind the die cut opening in the Moonlight Rose Mirror Card Stock, I used a piece of the Tonic Craft Perfect Speciality Card, Luxury Embossed Ivory Toile card stock.  It doesn't show up well in the photo, but there are beautiful embossed roses in this card stock, which look beautiful with the English Rose.


The flower was created with Susan's Garden Notes English Rose die set.  Only the three petal dies were used.  Die cut 8 to 10 layers depending on how large you want the rose,using white Foamiran.  I used Nuvo Victorian Blush Embellishment Mousse to color the base of six layers and the rest of the petals were left white.  This Mousse was one of the items in the Tonic Craft Kit #25.  Use a small cosmetic sponge to apply the color to the Foamiran.   The petals were heated by placing them quickly on a hot craft iron, then shaped.  A glue gun was used to glue the layers together.  

The die cut design behind the rose is a die from Sizzix.  I did not see a name on the package.  A butterfly was die cut from a butterfly die from my stash, and added over one of the die cut butterflies in the Sizzix design.  This added some dimension above the rose.

The sentiment is a die that was in the Tonic Craft Kit 25.  Glue was added to the back of the die cut using the Nuvo Smooth Precision Glue Pen.

This card can be mailed in one of the clear acrylic boxes linked below.


Tuesday, September 17, 2019

French Pumpkin


Today I designed a card using extra items I created using Susan's Garden Notes die sets.  Many times when I create flowers, I like to do it in an assemble line and end up with things I don't use.  I store these extra  items in a box for future use. 

This is a 6 inch square card.  For the background I used a piece of Tonic Studio Craft Kit 24 design card stock.

Susan's Garden Notes French Pumpkin was used for the container.  Behind the pumpkin one Garden Notes Oval Grapevine wreath was added.

In the pumpkin there is one Garden Notes Sunflower, orange Primrose, one Chrysanthemum,  Leafy Berry Branch with berries created with Nuvo Ripened Pumpkin Crystal Drops, one Maidenhair Fern, and Woodland leaves.  

This card can be mailed on a clear acrylic box which is linked below along with other products used to create this card.


Monday, September 16, 2019

Joy


I am still working on getting all my Christmas cards done before the holidays.

This is a 6 inch square card.  I used Susan's Frame It/Stitched Oval die set to create the background. For the top layer I used a piece of the Tonic Studio Craft Perfect Speciality Card-Pearl Ripple card stock.  The 3rd largest Stitched Oval die was placed on the left side and run through the die cut machine.  The next layer down, I used white card stock and the next smallest die in the Oval set.  Place the large die cut oval over the white card stock and center the die inside the larger opening so you can get it centered perfectly.  Do the same thing with another piece of white card stock and the next smaller die.  This will give you three centered oval die cuts.  The oval from the largest die cut was attached to the back of the smallest die cut because it has the beautiful Pearl Ripple pattern.  The layers were attached with dimensional foam pads.  This does make the card thick, but the results are beautiful.  You can use just two die cut ovals for a thinner card.

The sentiment was die cut using Suzanne Cannon's A Way With Words-Love Joy Peace die set.  Ruby Red High Gloss Mirror card stock was used.  Attach the sentiment inside the oval die cut.

Use Susan's Garden Notes large Poinsettia die set and create one poinsettia.  For the bracts in the center of the flower, use Nuvo Bottle green Crystal Drops to create small dots on your non stick craft mat.  While the dots are still wet, add a small amount of yellow pollen.  Allow to dry and glue the dots in the center of the poinsettia.  

Use the Garden Notes Berry Spray die set and die cut one spray.  Use the Nuvo Red Berry Gloss Crystal Drops for the berries.  

Use the Whitepine Bough  Pinecone die set to create the greenery/pinecones to surround the poinsettia.

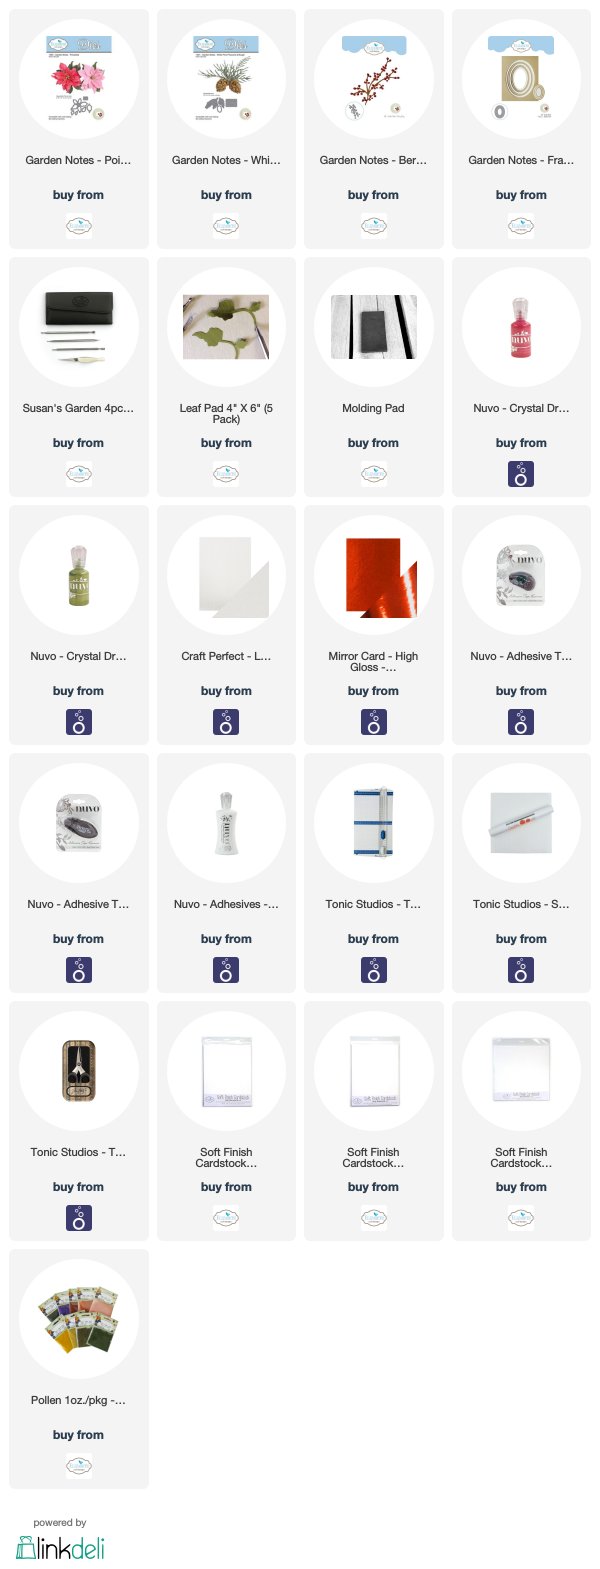
This card can be mailed in one of the clear acrylic boxes.  The products used for this card are linked below.

It is nice to have my Christmas cards started before the holidays begin.  Have you started making your Christmas cards yet?

Thanks for visiting my blog.


Sunday, September 15, 2019

Have a Lovely Day


I hope you are having a lovely day.   Today I used a variety of Susan's die sets to create this floral arrangement in her Galvanized Bucket.

This is a 6x6 inch card.  The front was covered with a piece of design card stock from the Tonic Studio's Craft Kit 24.  The edges were scored, then attached to the card front.

The Garden Notes Galvanized Bucket was die cut using a piece of the Tonic Studio Craft Perfect Luxury Embossed Card-Peacock Feathers.  The handle was die cut using silver card stock and the wooden handle die cut again using dark brown card stock.  The band around the upper portion of the buck was die cut using silver card stock then colored with a brown marker.  The bucket was attached with a Craft Perfect Adhesive Dimensional Foam Pad in the center and Nuvo Adhesive Tape Runner around the sides and bottom.

The Garden Notes Grecian Windflower die set was used to create the five purple flowers.  they were shaped using the Flower Tool Kit and assembled using Nuvo Deluxe Adhesive.  

The Garden Notes Lavender was die cut.  Yellow card stock was used for the yellow flowers on the Lavender branch.

The Garden Notes Feverfew die set was used to create seven white flowers.

The Garden Notes Berry Spray die set was used to die cut two sprays and Nuvo Rippened Pumpkin Crystal Drops used to create the berries.  

The Garden Notes Maidenhair Fern die set was used to die cut two ferns.  

The Garden Notes Woodland Leaves die set used for the fall leaves.

The Leafy Branch die set was used to die cut leaves out of rust card stock and red Prills added for berries.

All the die cut pieces were arranged in the bucket and a die cut sentiment added.  This sentiment is from the Tonic Studio Craft Kit 21.

You can watch Susan's Garden Club Live videos on Facebook at this LINK for help on how to create her flowers.  

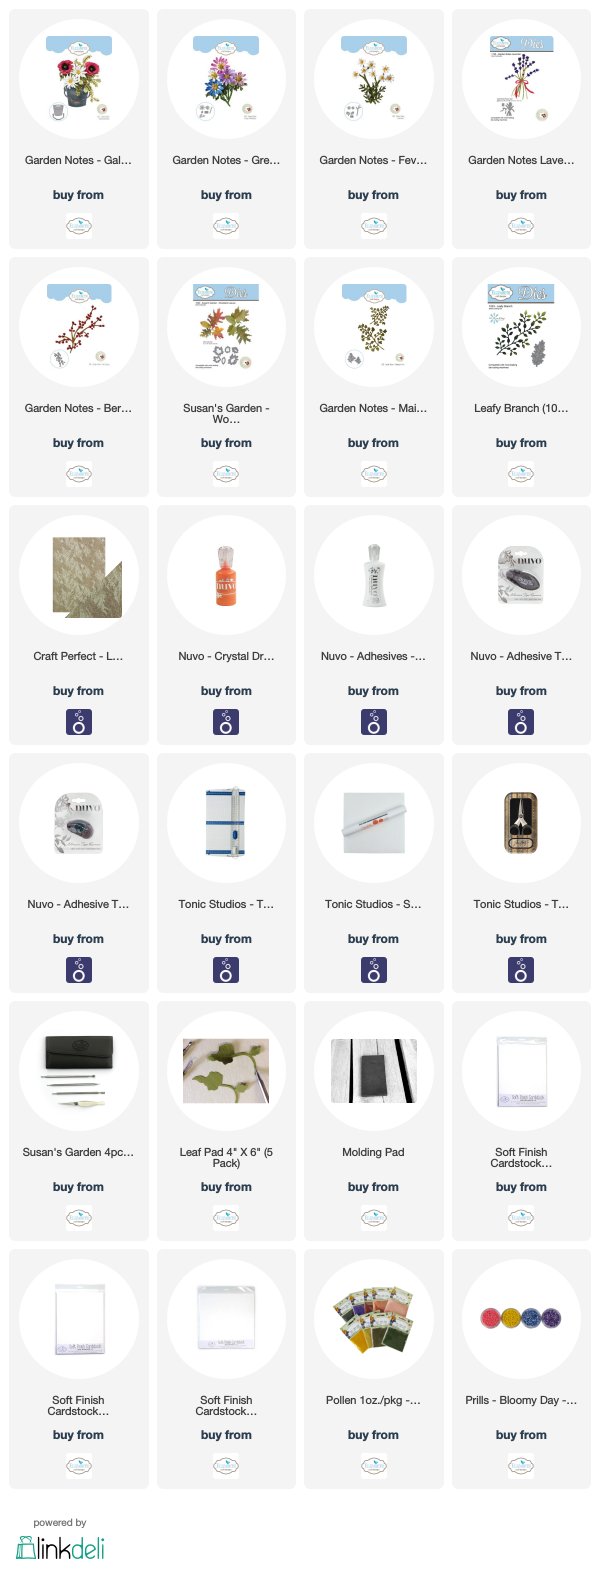
This card can be mailed in one of the clear acrylic boxes linked below along with the other products used to create this card.


Sunday, September 8, 2019

French Pumpkin Arrangement


Many times when I create Susan's flowers, I make extra flowers and put them in a box for later use.  Today I went through that box and pulled out a bunch of flowers and leaves to make an arrangement in Susan's Garden Notes French Pumpkin.

First I created a background for the arrangement.  A variety of Distress Oxide Inks were sponged onto white card stock using reds, browns and orange on the bottom and yellow, green and brown on the top.  Once all the inks were added, the piece was sprayed with water to give it a distressed appearance.

The Garden Notes French Pumpkin was die cut and yellow and orange inks were sponged on.  It was attached to the bottom of the card using dimensional pads in the center and glue around the edges.

The Garden Notes flowers include:  Sunflower, Primrose, Zinnia, and purple buds which were die cuts from the Dahlia die set.  The Greenery includes Ladder Fern, Maidenhair Fern, Hawthorne Berries, Leafy Berry Branch, and pieces of the Grapevine wreath.  I also used a die cut leafy branch that is not part of the Garden Notes collection.

The berries on the Garden Notes Leafy Berry Branch were created with Nuvo Rippened Pumpkin Crystal Drops with a tiny drop of Nuvo Red Berry Crystal Drops in the center, and Nuvo Autumn Red Crystal Drops on the Berry Branch.

This card can be mailed out in one  of the clear acrylic boxes linked below.  The products used for this card are also linked below.


Saturday, September 7, 2019

Chrysanthemums in Pottery Pitcher


Today's flowers were arranged in Susan's Garden Notes Potter Pitcher.  I used Tonic Studio's Honey Gold Roses Embossed Specialty Card stock to die cut the pitcher, which is a beautiful embossed gold card stock.

This is a rust colored 6-inch square card.  For the beautiful die cut design on top of the rust card stock,  I used a piece of ivory card stock and the Tonic Studios Classic Quatrefoil die set.  I LOVE this die. 

The Pottery Pitcher was attached to the bottom of the card using Adhesive Pads in the center of the die cut and glue around the edges.  

Three Garden Notes Chrysanthemums were die cut out of white card stock and colored with Copic markers on both sides.  The flowers were shaped using the Flower Tool Kit.  There are two die cuts for each layer except the smallest, and three die cuts were used for these.  Susan has come up with a great die for creating the center of the flowers which is a rolled piece.  This rolled piece fills in the center of the flower by staying upright - it won't spread out and create an open area right in the center of the flower.

Three Garden Notes  Ostrich Ferns were die cut using white card stock.  They were sponged with green and rust ink, on both sides of the die cuts.  They were shaped with the tweezers which are in the Flower Tool Kit.

The Garden Notes Lavender die set was used to die cut once.  It was colored brown and the small flowers were die cut using yellow card stock.  The flowers were shaped and glued onto the stems.  In the center of each flower, a fine point marker was used to add a small orange center.

The Garden Notes Leafy Berry Branch die set was used to die cut one branch.  Nuvo Ripened Pumpkin Crystal Drops were used for the berries.  

Arrange the ferns, leafy berry branches, yellow flowers, and chrysanthemums in the pottery pitcher.

At the bottom, two small Garden Notes Ivy were added.  

To finish the card, Nuvo Copper Penny Crystal Drops were added along the top and bottom of the Classic Quatrefoil die cut. 

This card can be mailed in one of the clear acrylic boxes, which is linked below along with the other products used to create this card. 

Thursday, September 5, 2019

Happy Birthday with Shimmer Powder Background


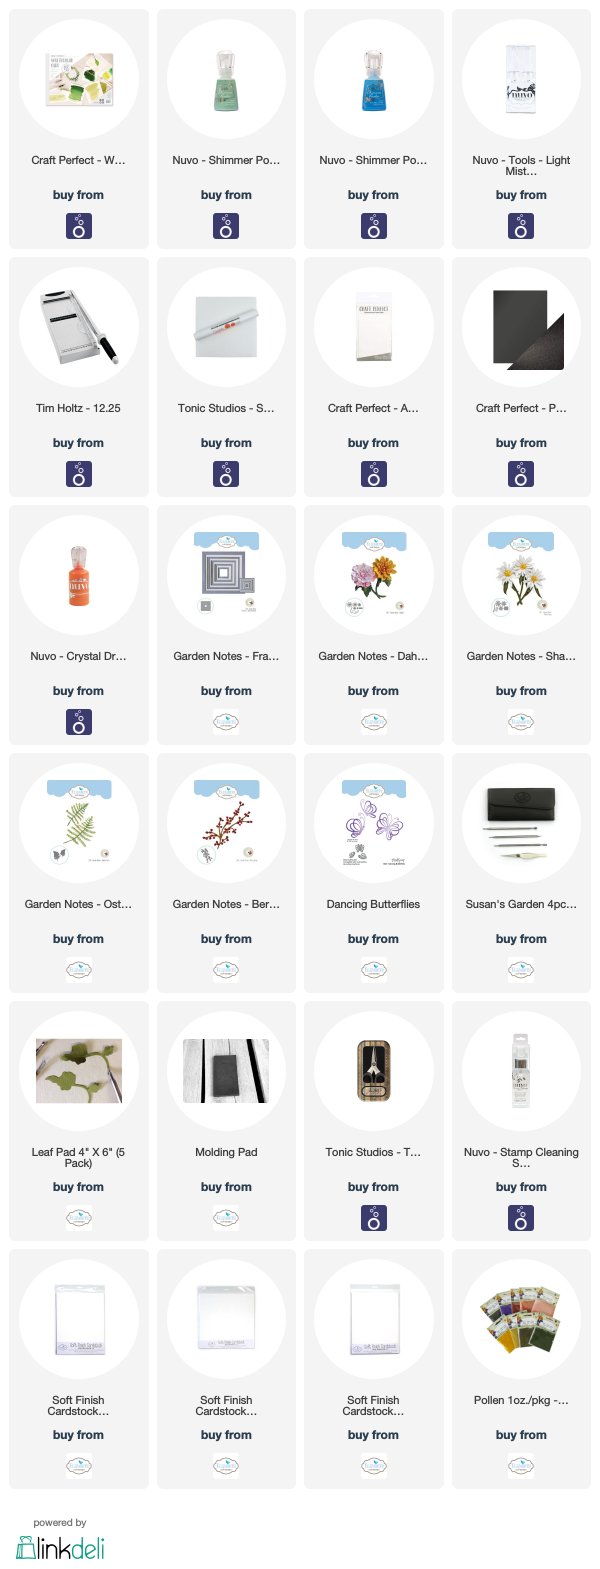
Today I wanted to work with the Tonic Studios Shimmer Powders to created a pretty background for this card.

Use watercolor paper and mist with water.  I got the watercolor paper pretty wet, then put down a coffee filter, then sprayed the filter to get it very wet.  Lightly sprinkle on Green Parade and Blue Blitz Nuvo Shimmer Powders. I used a Nuvo blending brush to tap and get the entire piece of watercolored paper covered with the powders.  You can watch a Shimmer Powder Video by Joyce (BeauQCreations) on her Facebook page at this LINK.  The finished piece of watercolor paper was cut apart. One portion was used behind the frame die cut using Susan's Frame-It/Stitched Squares die set. 

A smaller piece of the Shimmer Powder Water Color paper was cut and backed with a piece of black cad stock.  The sentiment was stamped with black ink.  Center this piece at the bottom of the card.

Use Susan's Garden Notes Dahlia and Shasta Daisy die sets to create the flowers.  Use the Garden Notes Berry Spray die set and die cut the berry branches. Use Nuvo Gloss Ripened Pumpkin Crystal Drops to create the berries.

Use the Garden Notes Ostrich Fern die set and die cut two ferns.  

Arrange the flowers, ferns, and berry branches on the framed water colored piece.  Add a black die cut butterfly to finish the card.


I

Garden Notes Amaryllis


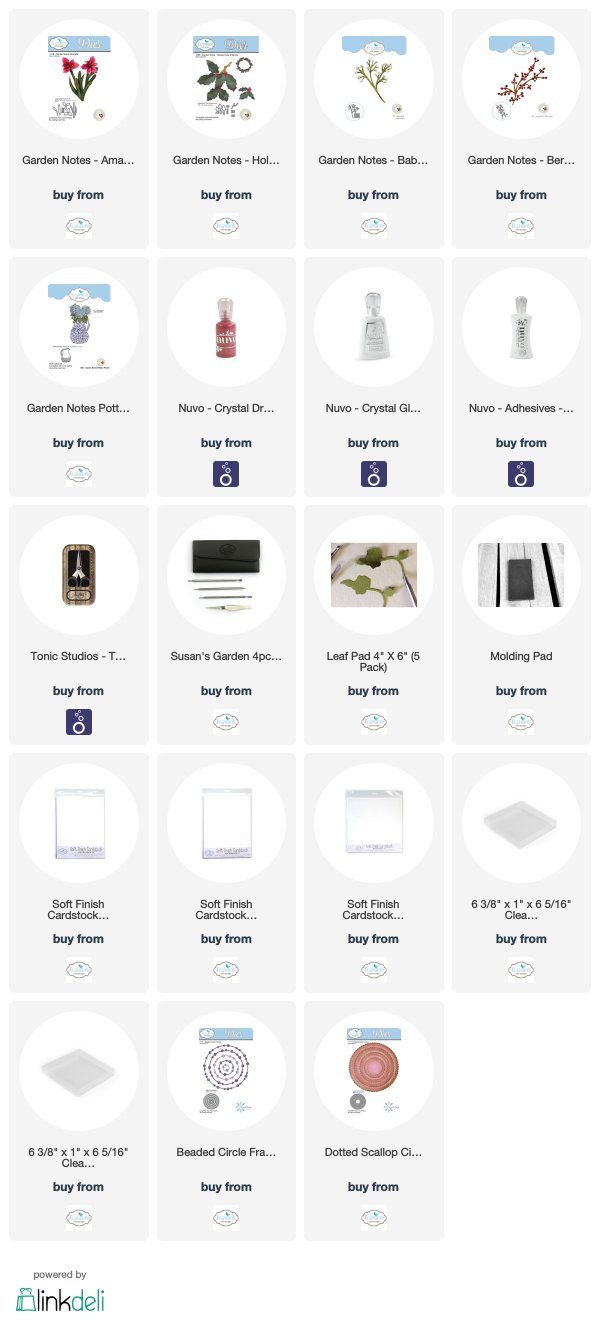
This is one of my favorite Amaryllis Christmas cards.  It was created using Susan's Garden Notes Amaryllis die set. 
  
Use Susan's Garden Notes Pottery Pitcher die set for the floral container.  I die cut a piece of wood grain card stock plus a piece of white card stock and glued the two pieces together for strength.  

The Garden Notes Amaryllis die set and die cut pieces for three flowers -- use white card stock.   Sponge the base of the petals light yellow green.   Edge each petal using a red marker.  Shape the flowers using Susan's Flower Tool Kit.   Cut the long stamens in half using the Tim Holtz scissors, then add pollen to the end of the stamens before gluing them in the center of the flower.  Use the Nuvo Deluxe Adhesive to assemble the flowers.

Use the Garden Notes Whitepine Bough & Pinecone die set and die cut pine boughs. 

 Use the Garden Notes Baby's Breath die set and die cut one branch. Die cut the little flowers and shape with the small ball stylus in the Flower Tool Kit.  Glue on the white flowers onto the branch.  

Use the Garden Notes Berry Spray die set and die cut two branches.  Add Nuvo Autumn Red Crystal Drops to create the berries. Allow the berries to dry before adding to the arrangement. 

Use the Garden Notes Holiday Holly and berries die set and die cut holly leaves. I used white card stock and used several shades of green ink to color the leaves.  To give the leaves the glossy appearance, brush Nuvo Crystal Clear Glaze over the top of the leaves. 

Arrange the Amaryllis at the top of the Pottery Pitcher and attach the Pine Boughs, Baby's Breath, Berry Spray and Holly around the flowers.  


This card can be mailed in one of the clear acrylic boxes linked below. 


Tuesday, September 3, 2019

Masculine Autumn Floral Card


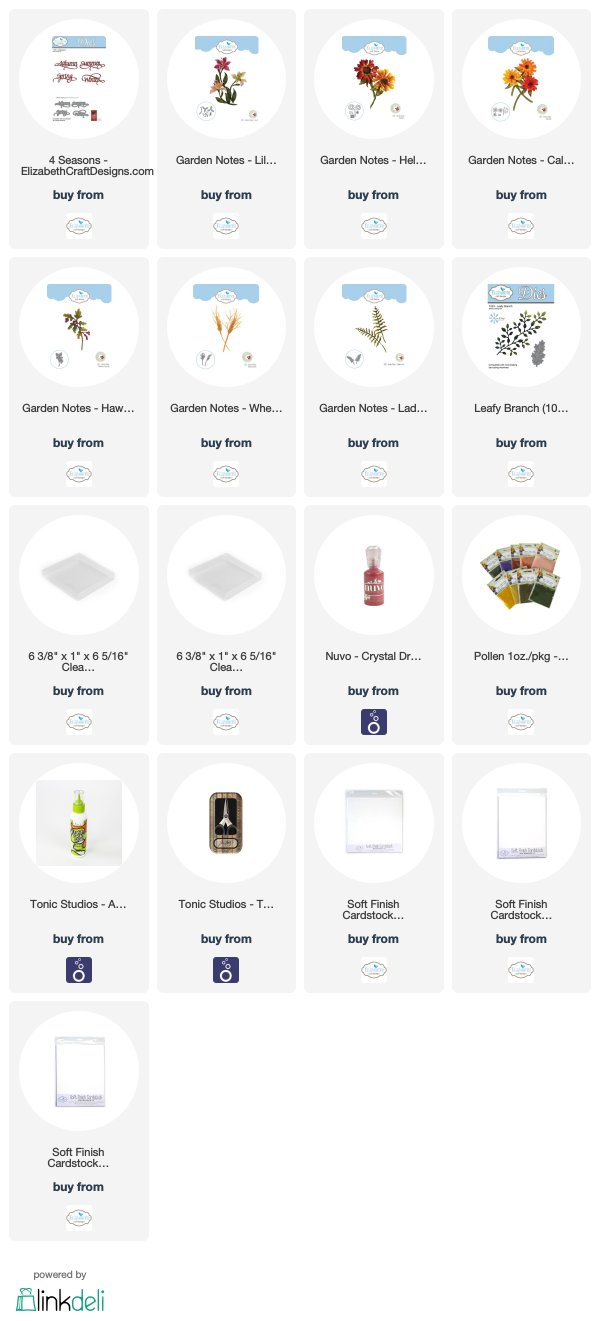
Sometimes it is hard to come up with masculine floral cards.   Autumn colors are perfect for such a card.  I used Susan's Garden Notes Calendula, Helenium and Lily dies sets for this arrangement along with a lot of foliage.

This is a 6-inch square card.  The card base is created with brown cardstock.  A second piece of the same cardstock was cut 5 3/4 inches square, scored around the edges for a finished appearance, then attached to the front of the card.  I felt that by using a brown background, rather than white, it had more of a masculine appearance.

Suzanne Cannon's A Way With Words 4-Seasons die set was used for the sentiment.  This is my favorite die set to use this time of year for a generic sentiment.  The sentiment was die cut using Rust card stock and attached to the upper right corner of the card.

The Garden Notes Calendula die set was used to die cut pieces to create three flowers.  All the die cuts on this card were die cut using white card stock then colored by sponging on color or using Copic markers.  All the pieces were shaped using Susan's Flower Tool Kit.

The Garden Notes Helenium die set was used to create one flower.  This flower was colored using markers.

The Garden Notes Lily 2 die set was used to create 2 lilies.  The long stamen pieces were cut in half, using the Tonic Scissors, to make them thinner.  Pollen was added to the tips.  

The Garden Notes Hawthorne die set was used to die cut 2 branches.  Color the leaves and branches then brush Nuvo Crystal Clear Glaze over the leaves.  Create berries using the Nuvo Autumn Red Crystal Drops.

The Garden Notes Wheat Sheath die set was used to die cut 2 sheaths.  

The Garden Notes Ladder Fern die set was used to die cut 4 ferns. Green ink was sponged on the ferns then they were shaped with the flower tool kit.

The Leafy Branch die set was used to die cut 4 leaf branches.

This card can be mailed in one of the clear acrylic boxes, which is linked below.


Monday, September 2, 2019

White Hydrangeas


I hope you are enjoying your holiday weekend.  Today I created a floral arrangement using Susan's Garden Notes Hydrangea, Flowering Trees of Springs, Eucalyptus, Lavender, and Trevi Urn die sets.

This is a 6-inch card.  A piece of embossed card stock was used for the background.

Die cut the Garden Notes Trevi Urn, using a dark tan card stock.  I have a jar of Barbara Trombley's Elements-Earth Textures in my stash that I used to glue on sections of the urn.  The urn was attached to the bottom of the card using dimensional foam pads in the center of the urn and glue around the edges, leaving the top open.

Use the Garden Notes Eucalyptus die set and die cut three branches.  Color the leaves and branches then add Nuvo Buttermilk Crystal Drops on the ends of the branches.  

Use the Flowering Trees of Spring die set and create five pink flowers.  The flowers were shaped using the Flower Tool Kit.  Pollen was added to the ends of the stamens.

Use the Garden Notes Hydrangea die set and create two white hydrangeas.  Add one light green Prill to the center of the hydrangea flowers.  

Use the Garden Notes Lavender die set and die cut three lavender bunches.  Cut off the bottom portion (the stems) and use for filler behind the arrangement.

The sentiment is from the Tonic Studio Craft Kit 25.   


LinkWithin

Related Posts with Thumbnails