Monday, August 28, 2017

There is Beauty in Simplicity


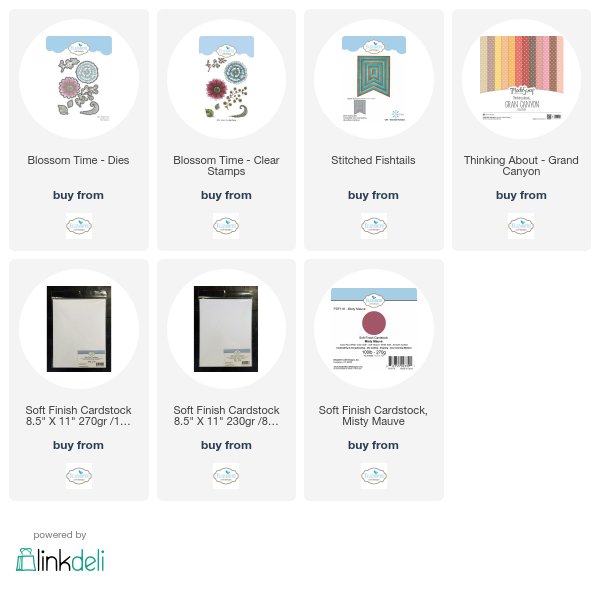
Good Morning.   A new release is now available at Elizabeth Craft Designs.   I used the new Blossom Time Clear Stamp Set and matching dies to design this card.  Here is how it was created.

  1. Start with a 6x6 inch card.  Use the ModaScrap Grand Canyon design paper to cut a piece of brown polka dot design paper for the front of the card.
  2. Use the Stitched Fishtails die set and die cut the largest Fishtail, using White Soft Finish Cardstock.  Sponge yellow ink on the center of the Fishtail that will show behind the die cut flowers.
  3. Use Susan's Little Words That Mean A Lot stamp set to stamp the sentiment at the top of the Fishtail.
  4. Use the Blossom Time Clear Stamp Set to stamp and die cut three flowers, three berry branches and six leaves.  Color the designs using markers.
  5. Arrange the flowers on the Fishtail, and attach with dimensional tape.  Glue the berry branches and leaves behind the flowers.
  6. Use a fine point markers to add small black dots around the design.
There are many flower arrangements you can create using the new flower stamps sets and matching dies.

Products from Elizabeth Craft Designs linked below.


Thursday, August 24, 2017

Winter


 I am excited to show you how to create a scene using the new Becky Seddon Reindeer die set from Elizabeth Craft Designs.  Here is how the card was created.

  1.  Start with a 6x6 inch card.  Cut a piece of watercolor paper 6 inches square to create the background.


2.  Use the two tree dies in the Reindeer die set to die cut a stencil into a piece of white card stock.  Use the stencil and a very light tan ink to sponge the shape of the tree trunk onto the watercolor paper.

3.  Die cut two large birch tree trunks and one small tree trunk.  Color them using a light gray ink and color the design in the trunks using a fine point black marker.

4.  Die cut four evergreen trees and sponge on green ink.  Color the trunk with a brown marker.

5.  Die cut the deer and sponge on brown ink.  Use an opaque white pen to add the spots to the deer.  Use a black fine point marker to color in eye and hooves.

6.  Use the landscape die and die cut three snow banks, using White Soft Finish Cardstock.  Glue the three pieces together to form the snowy ground.  Turn the middle piece backwards to give a different snowbank in the middle.    Only glue around the outside edges because you need to tuck the trees down between the snow banks.

7.  Die cut a lot of snowflakes.

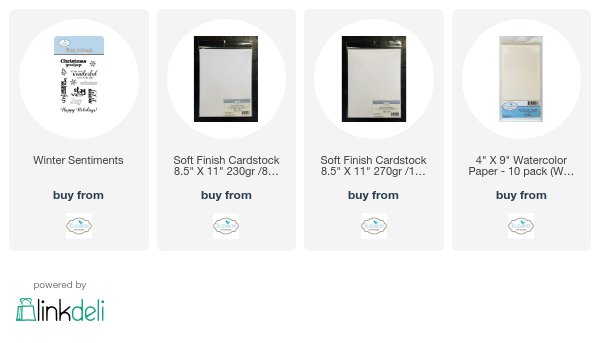
8.  Use the Joset Designs Winter Sentiment stamp set to stamp 'Winter" on a scrap piece of white card stock.  Cut around the word with scissors.

9.  Assemble all the die cut pieces to create the scene.  Start by gluing the snowbank down at the bottom.  Next tuck the trees between the snowbanks and attach to the background.  Use a piece of dimensional tape behind the evergreen tree on the lower left side, for dimension.  Attach the reindeer using dimensional tape.  Glue on the snowflakes to create a snowy scene.  Attach the sentiment along with three snowflakes on the lower edge of the card.

In addition to celebrating winter, this scene can be used for several other occasions. Simply change the sentiment to make it a Christmas, Season's Greetings, or New Year's card.

Elizabeth Craft Products:

Tuesday, August 15, 2017

Design Team Challenge - Gift Box


The Elizabeth Craft Designs design team has a fun challenge this month.  We are challenged to create a gift giving project.    I love to decorate boxes and give them away with either a small gift or maybe a set of greeting cards inside.  Today I have a small wood cigar box that I decorated.  You can see all the projects the team designed at this LINK.

Before I explain how I decorated this box, I want to tell you how to enter for a chance to win a prize from Elizabeth Craft Designs.

*****************

For today's challenge Elizabeth Craft Designs is giving away a $20 Gift Card to use on the Elizabeth Craft Designs website to 3 winners. 


To enter simply leave a comment on the Elizabeth Craft Designs Challenge post and tell us "What are some homemade and crafty gifts you have created over the years?


Elizabeth Craft Designs will select 3 lucky winners in a random drawing 


The winners will be announced on Friday, August 18 on the Elizabeth Craft Designs blog.

*************************


Here are instructions on how I decorated this box:

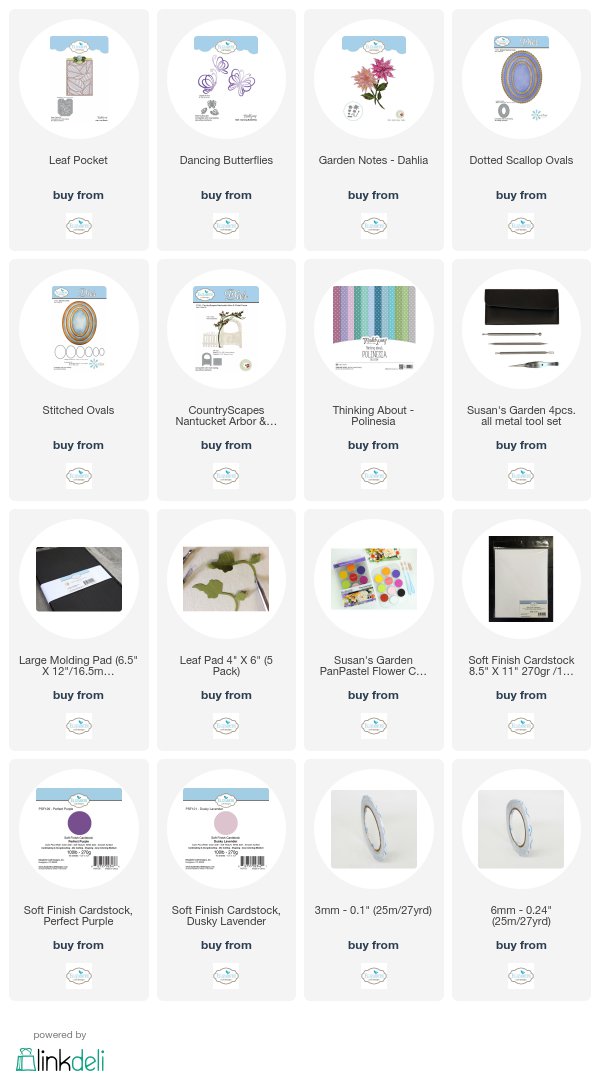
1.  Use ModaScrap Polinesia lavender polka dot design paper to cover the sides of the box.  I used scrapes of white card stock to cut templates to exactly fit each side before cutting the design paper.  Use  6mm Clear Double Sided Adhesive strips to attach to the sides of the box.  Cover all four sides.
2.  Use a piece of Dusky Lavender card stock to cover the top of the lid of the box.
3.  Use the CountryScapes  Nantucket Arbor and Picket Fence die set to die cut enough fence pieces to fit around the box.  Glue pieces to sides of box as shown.
4.  Use the Leaf Pocket die set to die cut one white leafy pocket.  Use  3mm Clear Double Sided Adhesive strips around outside edges of die cut and attach to lower portion of lid.  Attach this pocket with the half circle on the end toward the top of the box.  (It will be covered up with the die cut ovals.


5.  Use the Dotted Scallop Ovals and Fitted Ovals to die cut the lavender frame for the butterfly.  Use double sided mounting tape behind both ovals for dimension.  Attach the ovals centered at the top of the Leaf Pocket die cut.
6.  Use the Dancing Butterfly die set and die cut the butterfly using Soft Finish White Cardstock.  Attach it to the center of the die cut Oval Frame.  Add lavender rhinestones to the body and below the butterfly.
7.  Use Susan's Garden Notes Dahlia die set and create one lavender dahlia.  Attach it to the lower left edge of the lid.
8.  Add round lavender rhinestones across the top edge of the lid.  


9.  Measure the inside of the box, cut templates, then cut lavender pieces to line the inside of the box.

Covering any box and decorating with pretty die cuts always makes a treasured gift.

Links to the products used are below.


Wednesday, August 9, 2017

Window with Flower Box


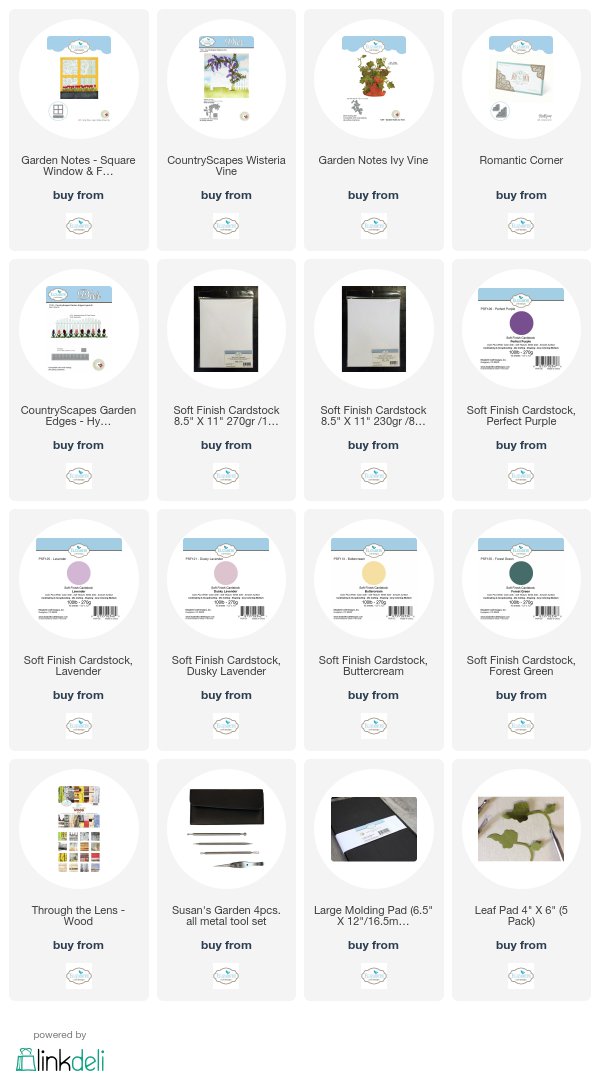
Good Morning.  Today I have designed a card using Susan's new Garden Notes Square Window & Flower Box die set.  Here is how the card was created:

  1.  This is a 6 inch square card.  Cover the front of the card with a piece of the Through The Lens-Wood card stock.
  2. Use White Soft Finish Cardstock and die cut the Garden Notes Square Window and Flower Box.
  3. Use the Romantic Corner die set and die cut the largest corner using White Soft Finish Cardstock.  Attach the corner so it looks like a lacy curtain at the top of the window, trimming off the pointed corner.  Glue to the window frame.
  4. Cut and glue a piece of Buttercream Soft Finish Cardstock to fit behind the window.
  5.  Attach the Window Box to the bottom of the window.
  6. Use the CountryScapes Garden Edges Hyacinth die set for the flowers in the flower box.  Die cut the stems using Forest Green Soft Finish card stock and Perfect Purple Soft Finish Cardstock for the flowers.  Attach the Hyacinths along the top of the flower box.
  7. Use the Garden Notes Ivy Vine to die cut four vines.  Attach the ivy along the front of the Flower Box.
  8. Use the CountryScapes Wisteria Vine die set and create the Wisteria Vine to go over the top of the window.  Use Perfect Purple, Lavender and Dusty Lavender Soft Finish Cardstock to die cut the purple flowers.  Using three shades of purple gives the flowers more dimension.  When gluing the flowers to the branch, be sure to mix up the shades of purple on each flower.
What creative idea do you have for this fun new Garden Notes Square Window and Flower Box?

Links to all the products are shown below.


Tuesday, August 8, 2017

Design Team Challenge - Country Cottage

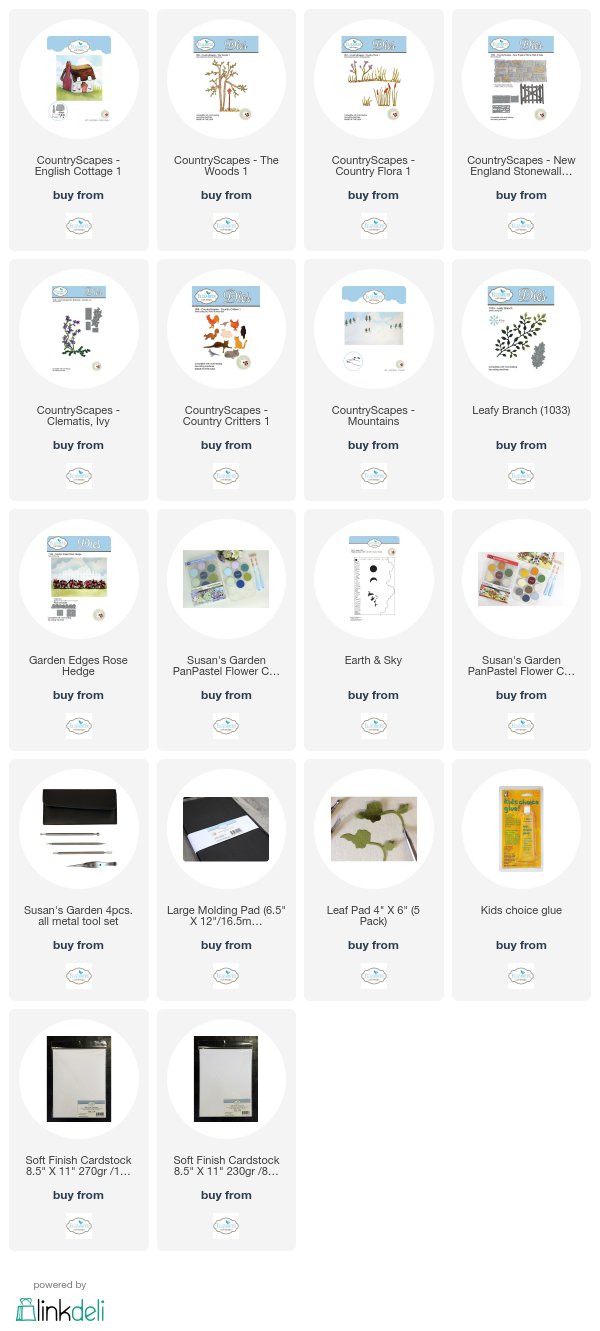
The theme for Susan's Garden Design Team Challenge this month is "Home is Where the Heart Is."  We were to create a scene using one of her new CountryScapes English Cottage die sets, or any 'House' related die sets to create our project.  This was a fun challenge using a variety of Susan's CountryScapes die sets.  You can view all the cards created by the design team on the Elizabeth Craft Designs Blog at this LINK.


***************

For today's challenge Elizabeth Craft Designs is giving away a $20 Gift Card to use on the Elizabeth Craft Designs website to 3 winners. 


To enter simply leave a comment on the Elizabeth Craft Designs Challenge post and tell us “Which dies from Susan’s collection make you think of your home?”

Elizabeth Craft Designs will select the lucky winners in a random drawing. 

The winners will be announced on Friday, August 11  on the Elizabeth Craft Designs blog.

**************
Here is how my card was created.

1.  Use a 6x6 inch card.  Cut a piece of white card stock 5 1/2 inches square to create this scene.
2.  On the top half of the 5 1/2 inch white card stock, use Susan's Earth & Sky Stencil to sponge on clouds.  Use blue ink to sponge around the stencil, moving the stencil around.
3.  Use another piece of white card stock and Susan's CountryScapes Mountains die and use two of the dies to die cut a landscape.  Cut the trees off the top edge and glue the two pieces together.  Attach the landscape about the third of the way down from the top of the blue cloudy sky piece.
4.  Use the CountryScapes English Cottage 1 die set and die cut all the pieces. Sponge color of choice on each piece.  Use a pencil to draw in bricks on chimney.  Glue all the pieces together.
5.  Die cut the CountryScapes Woods 1 tree.  Use the Leafy Branch die set and die cut green leaves.   Attach the leaves to the branches. The same leaves are used to glue behind the roof of the house.
6.  Use the Garden Edges Rose Hedge die set and use one of the rose bushes for the bush with the pink flowers.  Use the CountryScapes Clematis, Ivy die set to die cut tiny pink flowers for this bush.  Shape the little flowers using Susan's Flower Tool Kit.
7.  Use the CountryScapes Country Flora 1 die set to die cut two of the tall grass.  These will be used for stems for the blue and purple flowers.  The CountryScapes Clematis die set was also used to die cut the flowers for these bushes.
8.  Use the CountryScapes New England Stonewall and Gate die set to die cut three gates.  Cut off thee cross bars so it resembles a fence rather than a gate.  Sponge on brown ink.
9.  Use the CountryScapes Critters 1 die set to die cut the squirrel.  Sponge on color.
10.  Attach all the die cut pieces to the card as shown in the picture, first attaching the house, the tree, the fence, the flower bushes then the squirrel.

What ideas do you have to create a scene with Susan's CountryScapes English Cottage die set?

Links to the products used are linked below.


LinkWithin

Related Posts with Thumbnails