
Welcome to my Creative Corner. I love to spend my spare time designing cards and especially enjoy creating beautiful flowers using Susan's Garden Club die sets. I love sharing my work and tutorials with you and really appreciate you taking time to visit my blog. Hope I can inspire you to create something beautiful.
Showing posts with label Color Design Team. Show all posts
Showing posts with label Color Design Team. Show all posts
Monday, November 27, 2017


Monday, June 26, 2017
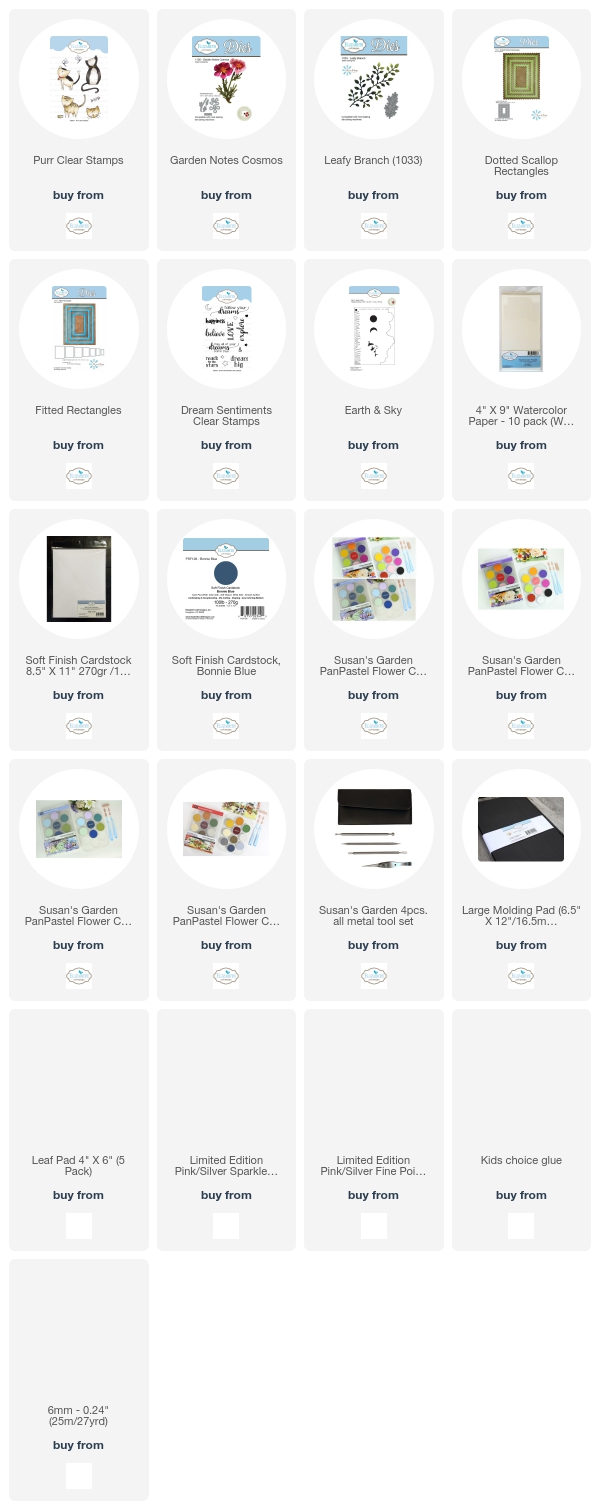
Happiness

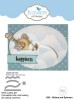
Using the Purr Clear Stamp Set, stamp the cat using VersaFine Black Ink on a piece of Watercolor paper. Clear Emboss. Use markers of your choice to color the images.
Use the Joset Designs Dream Sentiments Clear Stamp Set and stamp 'happiness', using VersaFine Black Ink above the cat image; clear emboss.
Use the Els van de Burgt Studio Fitted Frames Rectangle die set to die cut the stamped images (this is the die in the middle of the set). Leave the die cut in the die. You are going to add color to the rectangle, leaving a small white border.
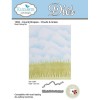
Use Susan's Earth & Sky Stencil and PanPastels to sponge blue on the upper third of this rectangle. Sponge brown or green PanPastel to lower portion, to ground the cat. Use a marker to add sprigs of grass around the bottom.
Use the Dotted Scallop Rectangle (second largest) die and die cut a blue rectangle to frame the stamped image.
Use the Leafy Branch 5 die set and die cut two green branches. Use Susan's Leaf Tool to draw a line down center of each leaf, for dimension.
Use Susan's Garden Notes Cosmos die set to create two white Cosmos. Shade the center of the flower petals with yellow PanPastels. YouTube Video to Cosmos assembly at this LINK.
Attach a piece of design paper of choice to the front of a 6-inch card. Attach the stamped image and arrange flowers on the left side of the rectangle.
Wouldn't this card be Purr-fect for anyone, especially someone who loves cat!

Monday, May 15, 2017
Slider Spinner Card

I always look forward to the Elizabeth Craft Designs Challenges. Today the Color Design Team was challenged to create a Slider/Spinner card using the Joset Designs Sliders and Spinners die set along with any of the Krista Schneider Clear Stamp sets. You can view all the cards by the design team at this LINK.
As with all the design team challenges, Elizabeth Craft Designs has another chance for you to win a prize. Here are the details:
*************
For today's challenge Elizabeth Craft Designs is giving away a Joset Designs Sliders & Spinners die set to 3 winners.
To enter simply leave a comment on the Elizabeth Craft Designs Challenge post and tell us " What Elizabeth Craft Designs image would you make spin or slide?”
Three lucky winners will be selected in a random drawing
The winners will be announced on Friday, May 19 on the Elizabeth Craft Designs blog.
***************
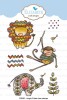
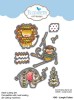
Jungle Cuties Clear Stamp set and matching dies were used for my card. The monkey was colored with markers and die cut with the matching die.
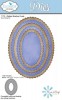
To create the slider, use a piece of Soft Finish White Cardstock and create the background using Distress Oxide Inks. For the oval to mount the monkey, die cut two small Dotted Scallop Ovals - one from the Oxide background and one from white. Glue these two ovals together to create a strong oval. Die cut a larger Dotted Scallop Ova,l out of the Oxide Background cardstock. Use one of the dies in the Sliders & Spinners die set and die it close to the top of the oval. Create the slider with the small and large ovals. There are many YouTube Videos you can watch if you need instructions on how to create a Slider/Spinner card.
Use the ModaScrap Leafy Branch 5 to die cut one green branch.
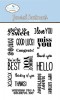
Use the Joset Designs General Sentiments Clear Stamp set for the sentiment. Color in the letters using different colors. Use scissors to cut around the words.
Attach the monkey so only the top of his head is attached to the small oval. Attach the sentiment as shown, then glue pieces of the Leafy Branch 5 behind the oval and below the sentiment, as shown.
Attach the slider, with dimensional tape to a larger Dotted Scallop Oval. Use two layers of dimensional tape so that the slider has plenty of room to slide across the oval. Attach the slider to the larger blue Dotted Scallop Oval using just one layer of dimensional tape.
Be sure to go over to the Elizabeth Craft Designs Blog and leave your comment on " What Elizabeth Craft Designs image would you make spin or slide?”
Good Luck in the drawing.
Products from Elizabeth Craft Designs are Linked below.
Monday, April 24, 2017
Miss You

Good Morning. Today I designed this card for my Elizabeth Craft Designs, color design team blog post.
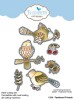
This cute bird is wanting to let someone know they are missed. Three different Krista Schneider stamp sets and matching dies were used to create this card.
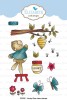
Start with a 6-inch card and attach a 5 1/2 inch square of design paper to the front. Using the Feather Friends Clear Stamp Set, stamp the bird and two (purple) flowers. Color with markers. Die cut using the matching die set.
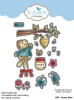
Use the Honey Bear Clear Stamp Set to stamp the butterflies. Color and die cut using the matching die set. Use the Teddy Bear Picnic Stamp Set to stamp the three flowers at the end of the branch the bird is sitting on. Color and die cut with the matching die set.
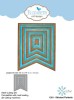
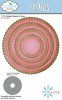
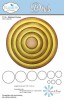
Use the Stitched Fishtail die set to die cut one Fishtail. I used Vanilla Cardstock. Use the Dotted Scallop Circle Die Set to die cut one circle the width of the Fishtail. I used Pink Cardstock.
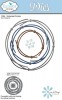
Use the Entwined Circle Die Set to die cut the smallest Entwined Circle. I used Vanilla Cardstock. Attach the die cut circles to the Fishtail, as shown. Attach the Feathered Friends Bird on the Branch to the lower portion of the die cut circles, as shown. Attach the three small flowers at the end of the branch.
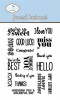
Attach the two purple flowers from the Feathered Friends stamp set to the lower right corner. Attach the Butterflies from the Honey Bear Stamp Set as shown. Use the General Sentiments stamp set and VersaFine Black Ink to stamp the sentiment.
I think this card would put a smile on someone's face when they realize someone is missing them.
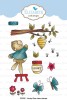
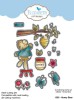
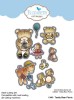
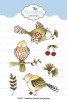
Links to products from Elizabeth Craft Designs are below.
Tuesday, April 18, 2017
April Design Team Color Challenge

It is time for the April Elizabeth Craft Designs, Design Team Color Challenge. This month our challenge is to design a card plus to complete the inside. You can see all the cards created by the Design Team on the Elizabeth Craft Designs Blog at this LINK.
For today's challenge, Elizabeth Craft Designs is giving away a "$20 gift card to use on the Elizabeth Craft Designs website” to 3 winners.
To enter simply leave a comment on the Elizabeth Craft Designs Challenge post (LINK above) and tell us "What is your favorite or most used sentiment when creating a card?”
Three lucky winners will be selected in a random drawing. The winners will be announced on Friday, April 21 on the Elizabeth Craft Designs blog.
*****************
For my card I chose the Krista Schneider Bird-day Party stamps for the theme. I also used Krista's Honey Bear stamp set.
This is a 6-inch square card. Use a 5 1/2 inch square piece of card stock for the front of the card. Use Susan's Earth & Sky Stencil to sponge on clouds and grass, as shown in the picture above.
I created a Slider Card using the Joset Designs Slider and Spinners die set. For instructions on how to create a Slider/Spinner card, you can watch the Els van de Burgt Technique Friday with Els Spinner Card Video at this LINK. For the Slider, use the Scalloped Heart Die set to die cut the heart. Use the sentiment from the Bird-day Party stamp set and stamp it inside the heart using black ink. Assemble the slider as shown on the video.
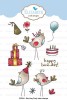
Use the Bird-day Party stamp set to stamp the birds, gifts and balloons. Color with either markers or watercolors. Die cut the pieces using the matching dies.
Use the Honey Bear stamp set to stamp three trees. Color and cut out with the matching dies. (Note: The tree i created is the branch that has the bee hive attached. Die cut the branches and carefully cut off the bee hive, to create trees.)
Attach all the Bird-day Party and Honey Bear tree die cut pieces to the card as shown.
Use Susan's CountryScapes Cloud & Sky die set to die cut grass for the bottom of the card.
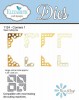
Use the Els van de Burgt Corners 1 die set to die cut two blue corners and attach to the top of the card.

To complete the inside of the card, I used the A Way With Words Happy Birthday die set. It was die cut using blue card stock. One of the birds from the Bird-day Party was attached on the lower right corner.
Links to the Elizabeth Craft Designs products are below.



Tuesday, March 21, 2017
March Design Team Color Challenge

It is time for the March Elizabeth Craft Designs Coloring Design Team Challenge. This month the theme is Fabulous Flowers. You can see all the projects created by the Design Team at this LINK.
Would you like a chance to win a prize from Elizabeth Craft Designs?
**************
For today's challenge Elizabeth Craft Designs is giving away a "Fabulous Flowers" prize pack to three winners. This give away will include: Joset Designs Pinwheel; Els van de Burgt Flower Cluster 1; Susan's Garden Tulip 2; A Way with Stencils -Butterfly Kaleidoscope Stencil; Krista Schneider Spring Blooms Stamp & Die set and ModaScrap Happy Flowers.

To enter simply leave a comment on the Elizabeth Craft Designs Challenge post and tell us "What is your favorite springtime flower?”
Elizabeth Craft Designs will select 3 lucky winners in a random drawing
The winners will be announced on Friday, March 24 on the Elizabeth Craft Designs blog.
For my card I used the Spring Blooms Stamp set and matching dies for the flowers.
This is a 6-inch card. The basic card is Vellum cardstock. When the card is finished, the top portion of the card is clear, so you can see the design paper on the inside of the card. For the bottom section, a 6-inch piece of white card stock was used. In the center, I taped down one of the smaller Dotted Scallop Circle dies. This piece of card stock was placed on the die cutting plate, with the bottom portion was hanging off. It was placed so it would die cut at an angle. Half the Circle will be die cut. The paper cutter was used to cut off the top portion of the card right up to the edge of the die cut circle -- or you can use scissors or a craft knife to cut a straight line just up to the die cut Circle edge. See card for the angle.
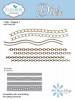
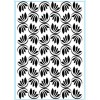
I wanted a design on the bottom portion of the white card stock. I used the Dancing Leaves embossing folder and placed the card inside the embossing folder, making sure the die cut circle was outside the edge of the folder. It was run through the die cutting machine. To finish off the cut edge on each side of the circle, I added one of the die cut chains using one of the chain dies from the Chains 1 die set. It was glued to the edge. This piece was attached to the bottom of the front of the Vellum card, attaching only the part below the Circle. You are attaching this to Vellum and you don't want to see the adhesive behind the circle. When you open the card, you will be able to see the tape, or glue, used to attach the white piece to the Vellum front. Place a piece of white card stock across the diagonal piece, trim to fit, and attach to the inside of the card so the adhesive does not show. This step gives you a nice finished appearance.
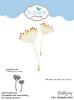
Using the Spring Bloom Clear Stamp Set, stamp the large flower and three of the smaller flowers on watercolor paper, using VersaMark ink. White emboss. Color with watercolors or markers. Die cut the flowers with matching dies. Use the Dandelion Fluff Die Set and die cut three to attach behind the large die cut flower.
On the inside of the card, attach a piece of design paper over the Vellum. The design will show through on the front of the card when the card is closed.
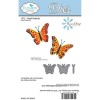
Use the Els van de Burgt Studio Small Butterfly set to die cut the butterfly. I used Clear Double Sided Adhesive on the the card stock and die cut the top of the butterfly on top of the cardstock so I could add Cool Diamond Silk Microfine Glitter. I used the same pink ink as used on the flower to color the solid portion of the butterfly. Assemble the butterfly and attach to the lower right side of the card.
Use the General Sentiments Clear Stamp set to stamp the sentiment. Die cut the sentiment using one of the Stitched Fishtail Banners. Attach to the lower left side of the card.
Links to the Elizabeth Craft Designs products used are below.


Subscribe to:
Posts (Atom)
LinkWithin
