Showing posts with label Susan's Garden Challenge. Show all posts

Tuesday, November 14, 2017

Susan's Garden Challenge

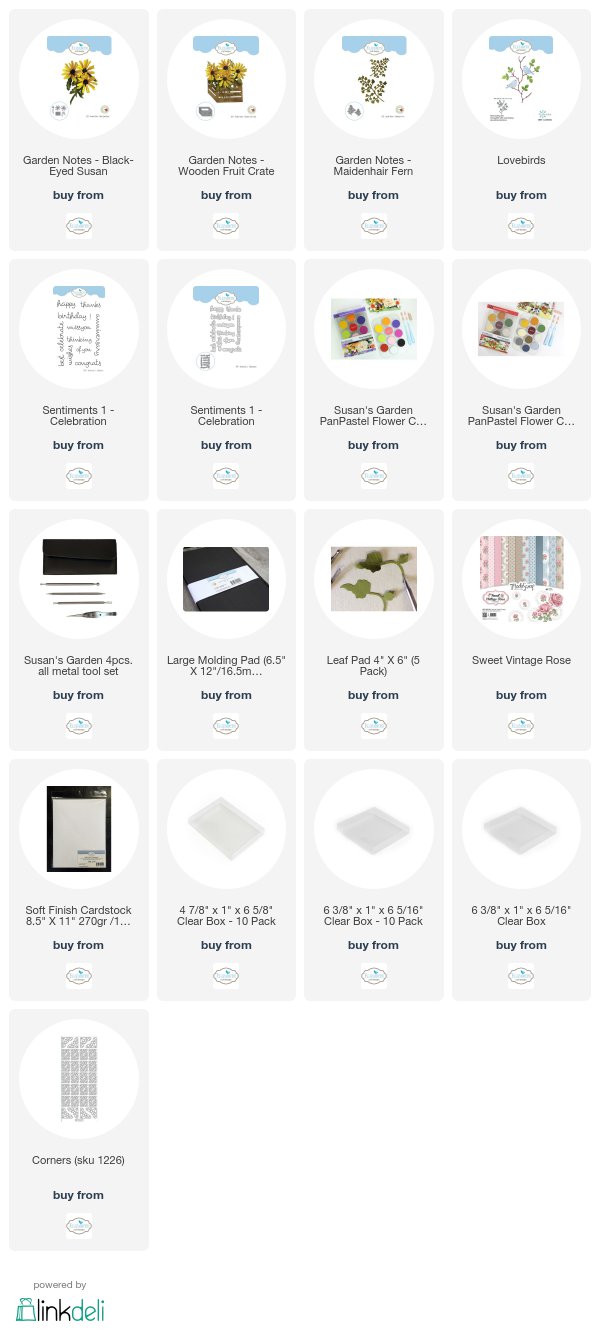
Good Morning.  Today the Susan's Garden Design Team was challenged to create  a card using at least three of the new Garden Notes die sets.  I chose to use the Black-Eyed Susan, Wooden Fruit Crate, and Maidenhair Fern die sets. 

To see all the creative cards created by the design team, be sure to visit the Elizabeth Craft Designs Blog at this LINK.

As with all design team challenges, Elizabeth Craft Designs will be give you a chance to win a gift. 

For the Challenge today, Elizabeth Craft Designs is giving away a $20 Gift Card to use on the Elizabeth Craft Designs website to 3 winners. 


To enter, simply leave a comment on the Elizabeth Craft Designs blog post and answer   “What products from Susan's new release are at the top of your wish list?" 
      
Elizabeth Craft Designs will select 3 lucky winners in a random drawing.

The winners will be announced on Friday, November 17, on the Elizabeth Craft Designs blog.

Good Luck!
*******************

Here are instructions on how to create my card:

1.  This is a 6 inch square card.  For the background, a piece of design paper from the Sweet Vintage Rose pad was selected and attached to the front of the card.

2.  Use the Garden Notes Black Eyed Susan die set and die cut enough pieces to create four flowers.  Use White Soft Finish cardstock to die cut the pieces and color with PanPastels.  Shape the flowers using the 4 piece Flower Tool Set.  Use Kids Choice glue to attach the die cut pieces together.

3.  Use the Garden Notes Wooden Fruit Crate die set to die cut the crate out of White cardstock. Use PanPastels, or ink, to color the crate. Use a opaque white pen to trace the design in the crate.

4.  Use the Garden Notes Maidenhair Fern die set to die cut three ferns out of green cardstock.  Sponge on a dark in or PanPastel to shade the leaves.  Shape the leaves using the Flower Tool Kit.

5.  Use the Lovebirds die set to die cut the birds on the branches, using white card stock.  Color by either sponging on color or use markers.  I  sponged on color.  

6.  Use the Sentiments 1 Celebration Clear Stamp set for the the sentiment.  Die cut using the matching die.  Sponge yellow around the edge of the sentiment.

7.  Attach the crate to the bottom of the card and attach the flowers and fern as shown.  Cut the Lovebirds die cut piece apart and arrange as shown.

8.  Attach the sentiment with dimensional tape.

9.  To complete the card, add the gold peel off sticker corners to all four corners.

This is a dimensional card.  Below I have provided links to the Clear Boxes you can use to mail dimensional cards.

You can shop for the Elizabeth Craft Designs products from the links provided  below.


Tuesday, July 11, 2017

Susan's Garden Club Challenge


This month Elizabeth Craft Designs will start a challenge for the Susan's Garden Club Design Team and will be giving away a prize to three lucky winners.  All the projects completed by the design team can be seen at this LINK.

*********************
For today's challenge Elizabeth Craft Designs is giving away a Susan's Garden Prize Pack which includes: Garden Notes Square Window & Flower Box, Sunflower 2 and an All Metal Tool Kit to 3 winners. 


To enter simply leave a comment on the Elizabeth Craft Designs Challenge post and tell us "What  is your favorite flower from the Garden Notes collection?”

Three  lucky winners will be selected in a random drawing. 

The winners will be announced on Friday, July 14 on the Elizabeth Craft Designs blog.

******************

For this challenge, I chose to use Susan's new Garden Notes Lily 2 die set.  This is an Asiatic Lily.  


Susan's Lily is very easy to assemble.  There are two 3-petal die cuts and the stamen.  I have die cut enough to create three lilies.   PanPastels was used to shade at the base of each petal before shaping.  It isn't shown in the picture, but after adding the PanPastel to the petals, I used a fine tip black marker to add the dots at the base of each petal.   The flowers were shaped using using Susan's 4-piece Flower Tool Kit.  Glue the two sets of lily petals together, alternating the petals for a full shape.

To create a realistic stamen,  use the Elizabeth Craft fine tip scissors and cut each die cut stamen in half.  If you don't have the Elizabeth Craft Designs fine tip scissors, I highly recommend them for so many of your crafting needs.  Once the stamens are cut in half, add a small dot of glue to the tip on both the front and back and add either fine Flower Soft or  Pollen to give a realistic look.  Glue the stamen in the center of each flower with Kids Choice Glue.


Here is a close up picture of the finished lily.

Use Susan's Garden Notes Grapevine Wreath die set and die cut two wreaths, using brown card stock.  Use a marker to draw lines on each of the twigs for additional dimension.  Glue the two wreaths together, off setting slightly.  Attach to the center of your card.  I used the Oval Grapevine Wreath.

Use the Bird-Day Party Clear Stamp Set and stamp the bird with the birthday hat.  Color with markers.  Die cut using the matching die set.  

Use the Celebrate die set to die cut the sentiment.  Attach to the lower right corner, under the wreath.

Attach the Lilies and leaves to the left side of the wreath.  Attach the Bird as shown.

Use the Romantic Corner die set and die cut two white small corners.  Attach to the card.  

Be sure to go over to the Elizabeth Craft Designs Blog and leave your comment so you have a chance to win this great Susan's Garden Club Prize Package.  

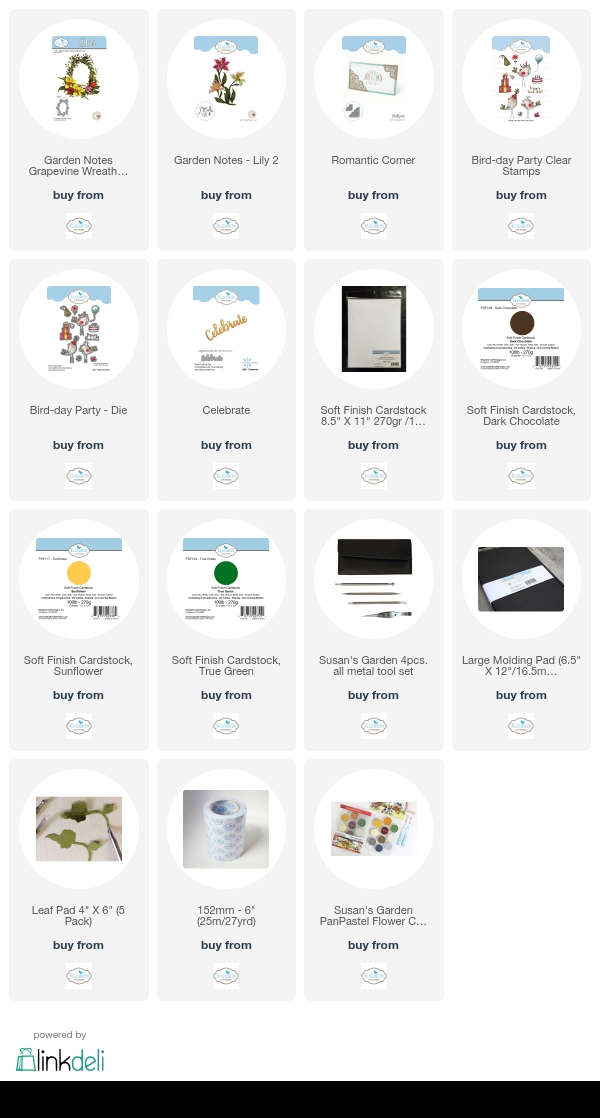
The products used are linked below.


LinkWithin

Related Posts with Thumbnails