Friday, January 31, 2020

Foamiran Lilac Tutorial


I recently had a birthday and my dear friend Eva, from the Netherlands, sent me a lot of different colors of Foamiran. Thank you Eva.   I was very excited to receive these as mosrt of you know, I love to create flowers with Foamiran because when completed, they look and feel like real flowers.  Working with Foamiran can be a little time consuming but so well worth the end results.  

Below I have completed a tutorial to show exactly how I created this beautiful flower.  Before I explain the process I want to tell you about the card.  I used a piece of the Tonic Studios Speciality Card, Pearl Damask, Embossed Card and die cut the corner design using the Tim Holtz Sizzix #660220.  The purple backing is a piece of the Tonic Craft Perfect Amethyst  Weave Texture Card.  

The Dragon Fly was die cut using a die from the Tonic Craft Kit 29Nuvo Pure Sheen Glitter, Night Fever, was added to the die cut.  A thin layer of Nuvo Deluxe Adhesive was spread over the dragon fly and glitter sprinkled over.  

The large leaves behind the flowers were die cut using the Tonic Verso Autumnal Oak die set.  The small white flowers were pulled out of my die cut flower stash. Susan's Yellow Prills were added in the center.  For small leaves behind these white flowers, I used Susan's Beauty Berry Bush die set and die cut one branch, colored the leaves, then cut the small leaves off and used around the little white flowers.

Now for the Tutorial on how to create these beautiful lilacs.


This is a close up picture of the Lilacs I created with lavender Foamiran.  The dies used were from an older set of Susan Tierney-Cockburn's Lilac die set.  


All the small lilac flowers were die cut using lavender Foamiran.  I wanted to add a darker purple on the edges of all these petals.  In order to accomplish this, I used a piece of thick floral wire and pushed the wire through the center of each small flower.  You can see the flowers on the wire in the lower left corner of this picture.


I had to add flowers to the wire three times because I was coloring a lot of flowers.  Push the flowers close together and use a sponge dauber and dark purple ink and sponge the color all over the edges.  When the flowers are pushed close together this is an easy way to get the color on the edges quickly.  You need to sponge up on one side, then sponge down the opposite direction so you ink both the top and bottom of each petal.  


This is how the petals will look when you push them off the wire.  


You need an iron to heat the foamiran.  Pick up one flower with tweezers and hold for just a few seconds next to the iron.  This will cause the petals to slightly curl in.


Once the petals are heated on the iron, quickly place on a molding mat and push down in the center with a small stylus to cup each flower. Once you push them way down to cup, leave them in the mat and the flowers will cool and hold their shape.   I used an old molding mat as I found the heated flower and pushing down in the molding mat, caused small holes in the mat.  You could probably do this step in a sponge.


Die cut two of the lilac base pieces.  Shape with the ball stylus to cup each piece.  You need two pieces to make this base sturdy for the flowers.  Only add glue around the outside edges of one die cut piece then add the second die cut piece.  Use your fingers to shape each flower base in a dome shape.  You don't want your lilacs to just be flat.  This step will give you a nice rounded base.


Starting at the base, start adding the Foamiran lilac flowers.


I normally have used a hot glue gun when I make Foamiran flowers, however, I found that Aileen's Clear Tacky Glue worked much better for this flower.  Add a thick layer of glue, to about a half inch wide, then use tweezeres and start adding  the flowers.  This glue will allow you to slide the flowers close together.  Yeah!  No burned finders or glue strings!!!   This shows one of the flowers completed.


This picture shows working from the base to the tip of the flower.  


The lilac leaves were die cut using white Foamiran.  Susan's Leaf Tool was used to draw a line down the center of each leaf.  To color the leaves, place on a green ink pad.  Use a sponge dauber that has green ink on it, and press down into the ink pad.  This will color the top of the leaf and also the bottom of the leaf at the same time.  Use tweezers to pull off the ink pad.  No ink on your fingers doing it this way.   To shape the leaves, fold the leaf in half on the score line.  Place the base of it on the hot iron for a second, then pinch the folded based to create the crease in the leaf.  Place the tip of the leaf back on the hot iron for a second and it will curl down slightly, giving the leaf a nice shape.  You can add a little red or rush ink on the leaves if you want.


What do you think of this Foamiran Lilac.  I hope this tutorial is helpful so you can create these beautiful flowers.  


Wednesday, January 29, 2020

Gathering Basket of Flowers


Today I designed a card using items I have in my "Extra" box of Susan's flowers.  They are items I created and saved when they were extra things not needed on the project I was working on.

The card base is one of the Tonic Studios 6x6 white card blanks.  I love the weight of these cards for the base card.  The package comes with cards and envelopes.  

For the design paper behind the basket of flowers, I used one of the sheets from the Tonic Studios Dream In Color 6x6 card packs.  It was trimmed down.  The corner and sentiment die cuts were die cut from dies I received when I purchased my Gemni die cutting machine.  This is the first time I have used these dies. The little hearts and border along the bottom were pulled out from my stash of old die cuts.

Small violets, I previously created, were pulled from my box of extra flowers.


I should have stopped, but I have so many 'extra' flowers, I decided to add some of Susan's Daisies and Cherry Blossom flowers to fill the basket. This basket is over-flowing with flowers! In the center of the daisies, I added Susan's Yellow Pollen, then added a drop of Nuvo Deluxe Adhesive, and sprinkled on a few of Susan's Yellow Prills.  

Thank you for visiting my blog.


Tuesday, January 28, 2020

Birthday Card


Yesterday I posted a card using some of the butterflies from the Tonic Studios Craft Kit #29.  Today I have another card using the large corner die from this kit.

For my birthday, I received the Spellbinders Glimmer Hot Foil System, foil metal plates, and some of the different foils.  I used this system to add foiling to my card.

I used a piece of light gold mirror card stock for the front of this card.  A piece of  Spellbinders Sparkly Silver Foil  was placed over the corner die, which comes in the Tonic Craft Kit,  heated, then run through the die cutting machine - following directions on how to foil with the Glimmer Hot Foil System.  This created a pretty, foiled outline of the die. 

I also received the Spellbinders Happiest Birthday Glimmer Hot Foil Plate and used it for the black foiled sentiment on the upper right side of the card.

The corner die was used again to die cut the dragonflies and butterfly out of Tonic Speciality Card, Silver Silk, Luxury Embossed Card.  One dragonfly was attached, along the body, over the same dragonfly in the foiled design on the card front.  The butterfly was attached the same way.  The other dragonfly was attached under the sentiment.  

For an additional embellishement, a flower was added in the lower left corner.  I used Susan's Spider Mum die set from Tonic Studios.


Monday, January 27, 2020

Butterfly Kisses and Echinacea


I always look forward to receiving the Tonic Studios Monthly Craft Kit.  This month the kit contained Butterfly/Dragonfly dies and stamps, beautiful papers, and a variety of Nuvo Products.  I have a link below to the Craft Kit Subscription.

The card base for this card is one of the cards in the Craft Perfect Ivory White Card Blanks & Envelope Pack.  The front of the card was scored around the edges.

Butterflies always look beautiful on cards with Susan's flowers.  The butterflies on this card were die cut using the dies in the Monthly Craft Kit #29 and colored by sponging on color and detailing with a black marker.  
The sentiment is one of the stamps in the Craft #29 Kit.  It was stamped using black ink then die cut using one of the Tonic Studios Eatern Oyster Layering Set dies.  It was attached using the Tonic Craft Perfect Dimensional Pads.

The large flowers were die cut using the Garden Club Echinacea die set.  They were die cut using white card stock and ink sponged on the petals.  The tiny pieces in the center of the ecnhinacea were die cut using brown and rust colored card stock.  The Nuvo Deluxe Adhesive was used to assemble the flowers. 

In the background I used the Tonic Studios Pinecone Season die set and die cut two of the cattail pieces.  Instead of creating cattails, I used an old Garden Notes Sunflower die set and die cut a lot of the small pieces for the center of the sunflower, using yellow card stock.  These pieces were shaped and glued onto the cattail portion of the large die set.  Also in the background is a leafy branch die cut.  

I will be posting some additional cards using the Craft Kit #29.  


Friday, January 24, 2020

Maroon Dahlias


A Valentine card for a friend, designed using Susan's Garden Club Pom Pom Dahlia die set.  

The backgroud for this card is a piece of the Tonic Black & Gold 6x6 card pack which was attached to one of the card blanks in the Tonic White Card Blanks.  The gold frame is a piece of the Tonic Studios High Glass, Harvest Gold, Mirror Card.  

The heart, from my stash, was die cut using white card stock and lightly sprayed with the Nuvo Blush Burst Sparkle Spray.  It was attached using Craft Perfect Dimensional Pads.  

The flowers were created using Susan's Garden Club Pom Pom Dahlia die set.   The petals were shaped with the flower tool set and glued together using the Nuvo Deluxe Adhesive.   The Berry branches were die cut using the Garden Club Holly & Berries die set.  The berries were created using the Nuvo Autumn Red Crystal Drops.  Behind the arrangement is Susan's Maidenhair Fern.

In the lower right corner is Suzanne Cannon's A Way With Words Love die cut.  


Thursday, January 23, 2020

Valentine Rose


Today I have a card I designed for a friend for Valentine's Day.  I used one of Susan Tierney-Cockburn's die sets for the rose.


The card base is one of the Tonic 6x6 Cards.  The pretty layer on top of the card was cut from a sheet of the Tonic Speciality Card Pearl Damask Luxury Embossed Card.  The Tonic Super Trimmer was used to score a line around all four edges.  It was attached using the Nuvo Adhesive Tape Runner.  

The Spellbinders, Amazing Grace, Adoria Square Shadowbox Frame die was used for the frame behind the arrangement.  It was die cut using the Tonic Pearl Damask Luxury Embossed Card and attached in the center of the card using Craft Perfect Dimensional Foam Pads.  

The sentiment is a die cut from Suzanne Cannon's A Way With Words Love die set.  It was die cut 3 times using Ultra Smooth White Card Stock.  The layers were glued together using Nuvo Deluxe Adhesive and attached to the upper right corner of the die cut frame.

An old Susan's Garden's English Rose die set was used to create the rose and two rose buds.  The petals and leaves were die cut using white card stock.  The petals were lightly sponged using the Pink Ink Pad in the Nuvo Diamond Hybrid Rose Garden ink set.  The rose was shaped and assembled using the Nuvo Deluxe Adhesive. Using Nuvo Blending Sponges, Nuvo Safari Green Ink was sponged on the leaves.  

A leafy branch die from my stash was used to to die cut the leafy branches and the small white flowers were die cut from one of Susan's  Country Scapes die sets  Yellow Prills were added to the center of these flowers.  
The small pink butterfly was die cut twice, using one of the dies in the Tonic Craft Kit #29.  It was die cut twice using Craft Perfect Peralescent Princess Pink Card.  In one of the Craft Kits I received Nuvo Victorian Blush Embellishment Mousse and this was rubbed on the top butterfly.  


Sunday, January 19, 2020

White/Purple Pom Pom Dahlias


My favorite color is purple.  When I saw a picture of the Lilac Pom Pom Dahlia, I had to create them using Susan's Garden Club Pom Pom Dahlia die set.

For the background on this card, I used a piece of the design paper from the Tonic Dream In Color Craft Perfect 6x6" Patterened Paper Pad.  Using the Tonic Super Trimmer, which has a scoring blade on it, I scored 6 lines down the left side, then once around the other three sides.  The score lines are 1/8" apart.

Using the Pom Pom Dahlia die set, petals and leaves were die cut using white card stock.  On the two smallest set of petals, I sponged light yellow ink, then on the tips sponged bright pink, and then purple ink on the tips, blending the purple and pink inks. I used inks from the Nuvo Diamond Hybrid Ink Pads.   Working on the Tim Holtz Glass Media Mat, I lightly misted one layer of petals at a time using the Tonic Light Mist Spray Bottle then using tweezers, rolled each petal.  When lightly misting the petals, the rolled shape will hold.  Roll all the petals for each layer and allow to dry before assembly.  Use the Nuvo Deluxe Adhesive to attach the layers.  I suggest gluing 4 layers of the largest petals, then 3 layers of the next size, and one each of the three smaller layers.  You can adjust the number of layers so you have a nice, fully shaped flower.    Shape the leaves using Susan's Flower Tool Kit and sponge on green ink.

The small white flowers were created using an old die set from Susan's flower collection called Baby's Breath.  Just one branch of these flowers were created.   Behind the arrangement I used the Tonic Verso Die Set called Pine Cone Season.  The tall leaves were shaped using the flower tool kit and green ink sponged on both the front and back.  They were arranged on the left side of the card, then the pom pom dahlias added.  The Baby's Breath was then glued behind the top of the flowers.  The purple flowers are Asters from another older die set from Susan.

The beautiful butterfly is from the Tonic Monthly Craft Kit #29.  I love subscribing to this Craft Kit because you receive a large set of beautiful dies, stamps, card stock, and a variety of Nuvo products.  For this butterfly, the solid butterfly was die cut using Tonic's Classic Card, Amethyst Weave Textured card stock.  The top butterfly was die cut using white card stock.  For the dots on this wings, I used Nuvo Violet Galaxy Crystal Drops.  On the body of the butterfly, I added Nuvo Gloss Ebony Black Crystal Drops.  The wings are slightly separated.  The Happy Birthday Sentiment is a die cut from the Tonic Craft Kit #24.  In the upper right corner, I used a sentiment from my stash.   

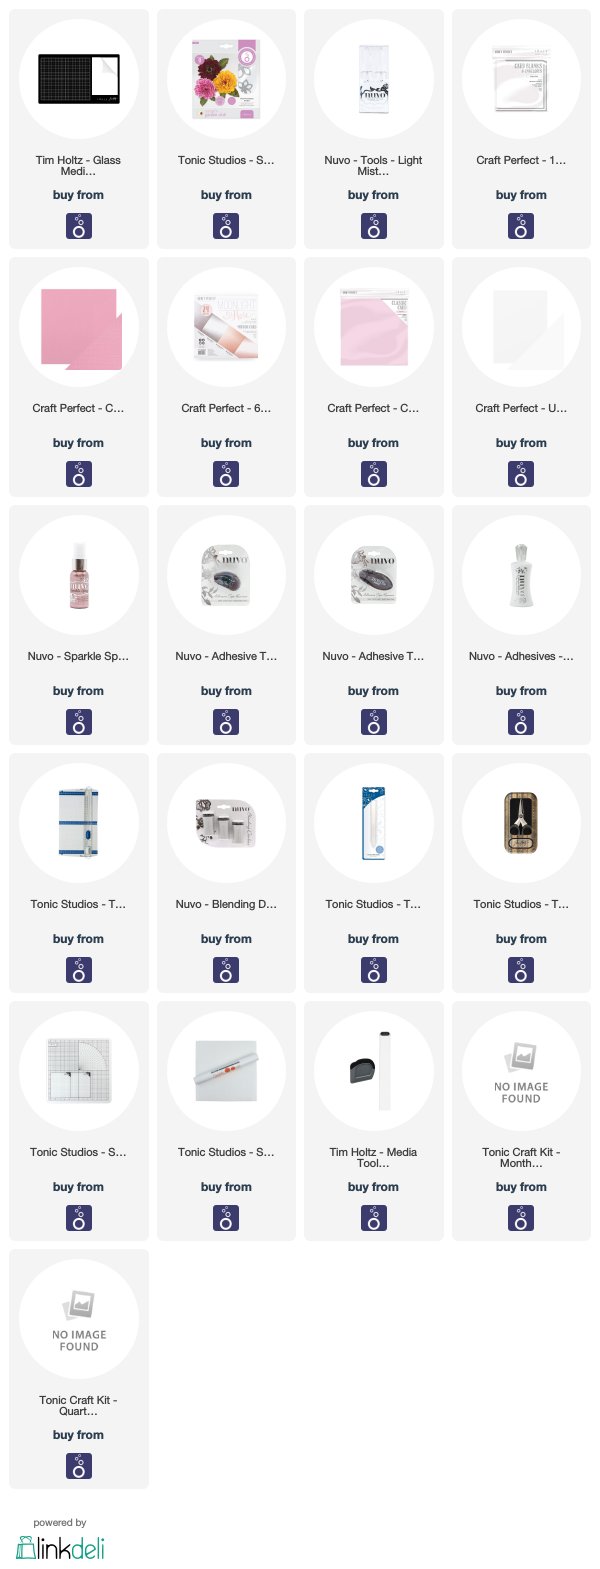
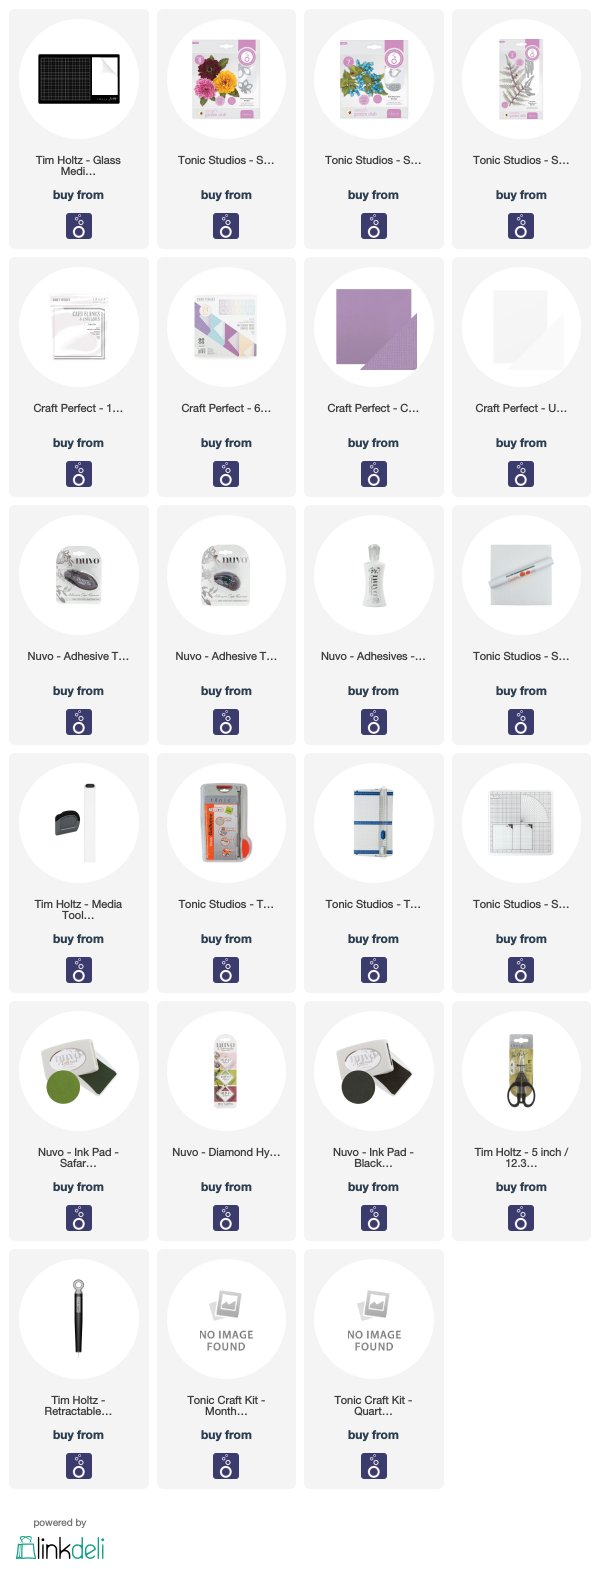
Below, I have added links to all Tonic Studio's products I use.  If you use these links to purchase products, I will receive a small commission which helps me purchase supplies at no additional cost to you.  I appreciate you visiting my blog and appreciate your support.


Saturday, January 18, 2020

Pink Pom Pom Dahlias


Today I have a birthday card designed using Susan's Garden Notes Pom Pom Dahlia die set from Tonic Studios.  

A card from the Tonic 6x6 Card Blank cards was used for the base card.  Another piece of white card stock was cut 6x6 inches and scored around the edges with the Tonic Super Trimmer.  It was attached to the front of the card using the Nuvo Adhesive Tape Runner.  A piece of pink card stock from the Tonic Moonlight Rose 6x6 Card Pack was trimmed down to 5 1/2" square and scored around the edges, for a finished appearance.  The Nuvo Blush Burst Sparkle Spray was sprayed lightly over the top portion of this piece of card stock.  It was dried with the Heat Tool and attached to the front of the card.

Susan's Garden Notes Pom Pom Dahlia die set was used to die cut petals and leaves for the flowers.  I love to work on my Tim Holtz Glass Media Mat.


This photo shows 8 of each size Pom Pom Dahlia die cuts after they were shaped.

Eight petals pieces were die cut for each size in this die set.  The petals were die cut using Tonic Blossom Pink card stock and the center of each set of petals was sponged with hot pink ink.  The petals were lightly misted with water using the Nuvo Light Mist Spray Bottle.  Be sure to just lightly mist so the petal will hold their shape. If you don't spritz the petals with water, they tend to unroll.


This is a close up of the layered Pom Pom Dahlia Petals.  I don't always use the same number of rows but the general rule is starting with the largest petals, layer 4 (alternating petals), then 3, and 1 each of the next three smaller layers.  Use your judgement as you are gluing the rows together.  You need enough rows of each size to fill in any gaps between the rolled petals.  The flower above still needed a few more rows in the very center.   Before gluing the rows together, be sure the petals are completly dry.  If you lightly spritzed the petals, it will not take long to dry.  Press down hard in the center of the flower, with a ball stylus, to cup that layer,  when gluing the rows together.

Die cut the leaves for the Pom Pom Dahlia using white card stock.  Shape with the Leaf Tool.  Use a Nuvo Blending Dauber and sponge Pine Needles Distress Ink on the leaves.  Shape with the tweezers.

In the background I used a leafy branch die cut and sponged on Iced Spruce Distress Ink.  

On the upper right corner, I used the Altenew Mid Century Frame Die and die cut it using the Tonic Silver Mirror Card Stock. Use the Nuvo Smooth Precision Glue Pen to add adhesive to the back. A Dotted Scalloped Heart was also die cut using the same card stock.  The heart was also die cut 4 more times out of white card stock and all the layers were glued together ending with the silver heart on top.  A sticker was used for the sentiment.

Below, I have added links to all Tonic Studio's products I use.  If you use these links to purchase products, I will receive a small commission which helps me purchase supplies at no additional cost to you.  I appreciate you visiting my blog and appreciate your support.


Wednesday, January 8, 2020

Pom Pom Dahlias


One of my favorite flowers is the Pom Pom Dahlia.  Today I designed this card using Susan's Garden Notes Pom Pom Dahlia, Brunnera and Japanese Painted Fern die sets from  Tonic Studios. 

For the base card I used one of the Tonic Studios 6x6 Card Blanks.  The design paper on top is a sheet from the Craft Perfect 6x6 Dream In Color Pad.

The Tonic Scalloped Circles die set was used to die cut the four circles.  One was die cut using Tonic's Mauve Purple Classic Card and the other three using white card stock.  The stamped verse is from Altenew.  The layers were put together using Tonic Dimensional Adhesive Pads on the two lower circles.

Four Japanese Painted Ferns were die cut - two large and two small.  They were colored by sponging on green ink and magenta PanPastels brushed down the stems.

Four Garden Club Brunnera were die cut and glued together using the Nuvo Deluxe Glue. A small black Prill was added to the center of each flower.

Two Pom Pom Dahlias were created with the Garden Club dies.  They were die cut using white card stock and colored using markers.

Arrange the ferns, Brunnera, and Dahlias on the left side of the circles.  I added a butterfly and two bees from my stash.

Below, I have added links to all Tonic Studio's products I use.  If you use these links to purchase products, I will receive a small commission which helps me purchase supplies at no additional cost to you.  I appreciate you visiting my blog and appreciate your support.


Monday, January 6, 2020

Pink Pom Pom Dahlias


HAPPY NEW YEAR!   I had a great holiday and hope you did too.   

I am ready to get back to working on my cards.  Today I created a card for a friend who loves pink.

When I create my flowers, my very favorite work surface is the Tim Holtz Glass Media Mat.  No matter what materials/products I use, it is very easy to clean up.  

I used one of the Tonic Craft Perfect 6x6 card blanks  for the card base.  A piece of the Rose Glacier Luxury Embossed Card was used for the background.  A score line was created around the edges, using the Tonic Super Trimmer.  This Trimmer comes with both a scoreing blade and a cutting blade.  It was attached to the card front using the Tonic Adhesive Runner.

I have the Tonic Eastern Oyster Layering die set and used two dies from this set to die cut frames for the sentiment.  On the smaller frame, I used the Nuvo Delicate Rose Alcohol Marker around the edges to help it stand out.  An old sentiment from Susan's products called "Sunshine & Love" was stamped usinging Nuvo Clear Mark Embossing Ink then Nuvo  Fine Jet Black Embossing Powder sprinkled on and heat set. The two layers were attached to the front of the card using Craft Perfect  Dimensional Foam Pads.  

The Garden Club Pom Pom Dahlia dies were used to die cut petals out of the Classic Card Blossom Pink card stock.  They were shaped and glued together using the Nuvo Deluxe Adhesive.  The Nuvo Dried Oregano Hybrid Ink was sponged on the leaves. 

The Garden Club Beauty Berry Bush die set was used to die cut 6 branches using white card stock.  The Nuvo Safari Green Ink was sponged on the branches using the Nuvo Blending Sponges.  For the little flowers in this die set, Tonic Classic Card Blossom Pink Card Stock was used.  Once shaped, a dot of the Nuvo Deluxe Glue was put in the center of each one and pink Pollen was added.  These flowers were glued to the Beauty Berry Bush branches prior to adding the pollen in the center of each flower.

The Beauty Berry Bush die cuts were added around the Sentiment then the Pom Pom Dahlias added.  

For a little extra elegance, Nuvo Crystal Gems were added around the flowers and sentiment.  

Below, I have added links to all Tonic Studio's products I use.  If you use these links to purchase products, I will receive a small commission which helps me purchase supplies at no additional cost to you.  I appreciate you visiting my blog and appreciate your support.


LinkWithin

Related Posts with Thumbnails