Becky Seddon's Garden Scene die set from Elizabeth Craft Designs is beautiful. You can use this die set to create a beautiful quick and easy card or add embellishments.
Here is a picture of another card I made using the Garden Scene die set. The Garden Scene was die cut and glued to a light blue backing.
Today I wanted to see if I could create a card with a laser cut effect on the front of the card, that would have open space to the inside. I was able to create that look.
This is a 6-inch square card.
Use the Garden Scene die set and die cut the garden scene, centered on the front panel of the card.
To make the die cut scene sturdy, use 100 lb Soft Finish card stock and die cut the Garden Scene, with the scallop frame around it, two times. Glue these die cut scenes over the die cut on the front of the card, aliening all the elements. It is best to use glue, rather an clear double sided adhesive, because the glue will slide around making it easy to match up each element.
Use only the scallop frame from the Garden Scene die set plus the largest die in the Fitted Square die set and cut a narrow frame to go around the die cut scene. This will give the piece a more completed appearance. You can attach this frame with 3mm Clear Double Sided Adhesive.
Use Krista's Summer Sentiments clear stamp set for the sentiment. Stamp using black VersaFine ink and clear emboss. Die cut using the Stitched Fishtail Banner die set to cut out the sentiment. Cut the left side of the banner so it will fit at an angle. Attach to the upper left corner.
Use the CountryScapes Mini Botanicals Hollyhock die set and create one hollyhock stem. Use the Flower Tool Kit to shape the flowers and leaves. Add a couple of yellow Prills to the center of each hollyhock. Attach to the lower left corner, beside the picket fence.
Use the Garden Notes Dogwood die set and create one flower. Shape with the Flower Tool Kit. Add pollen to the end of the stamens. Attach to the upper left corner over the sentiment.
Use the cardstock in the ModaScrap Butterfly Dreams pack for the butterflies. Cut five small butterflies out, using scissors, and attach to the front of the card as shown.
This picture shows the card open with the inside laying down. To make the back panel stronger, a 5 3/4 inch piece of white card was attached. This will help the card stand up.
This is a picture showing the inside of the card. There is nothing behind the die cut front. A piece of Teal Soft Finish Cardstock was attached on the inside back panel. Using a darker color card stock helps show off the die cut front when it is closed.
This card is very pretty when standing open.
Since the front of the card is open, the message will need to be written on the very back of the card.
This card has only a little dimension and will probably fit in a regular envelope, or you can send it in one of the acrylic boxes.
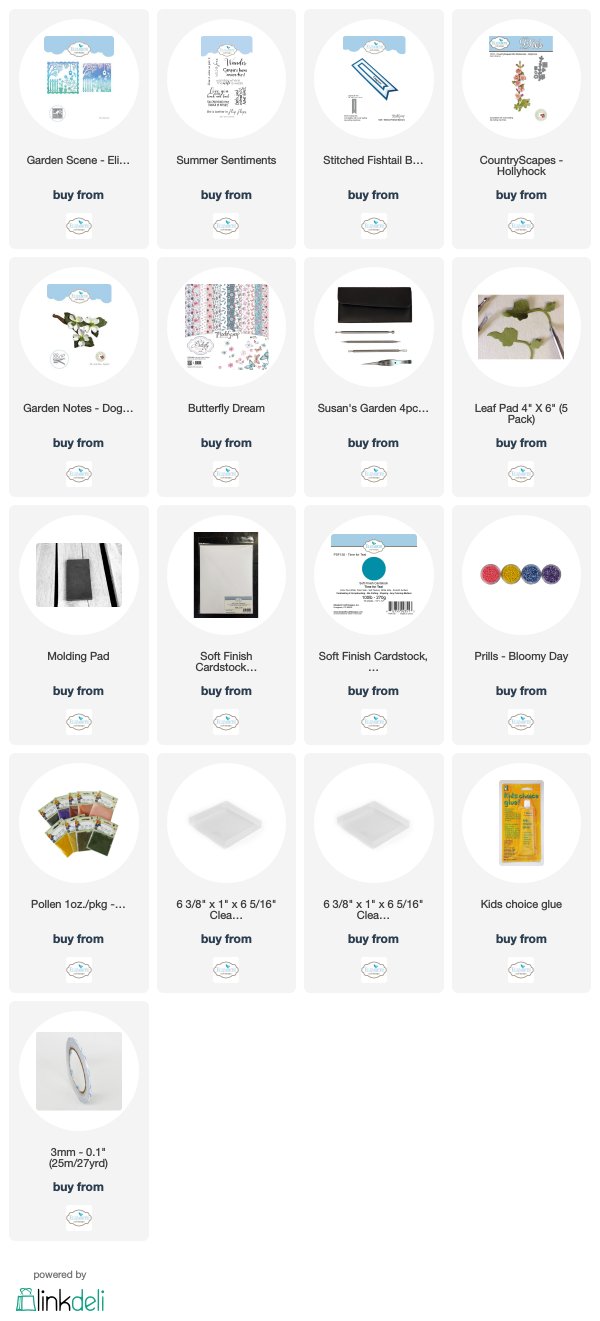
You can shop for the products used by clicking on the products shown below.
Thank you for visiting today.