Today I have a Z-Fold card decorated with Button Chrysanthemums.
To create the Z-Fold card, I watched Susan's Garden Club Live Facebook Video for instructions. I created my card slightly different. This is a very easily created card I know you will enjoy making.
I used a piece of foiled design paper to decorate this card (DCWV Preserved Paper Pack). The strip at the bottom is the backside of the same piece of design paper. To add a finished appearance, a thin strip of gold mirror card stock was attached at the bottom of the strip across the bottom, to match the gold design in the design paper.
On the inside of the card, I used the Spellbinders Elegant Twist Square die set. In the smallest square die cut, one of the quotes from Susan's Autumn Quotes clear stamp set was gold embossed. A piece of gold Mirror card stock was cut slightly larger than the Elegant Twist Square. The gold square was attached to the card front and the Elegant Twist Square was attached with Foam Squares.

Susan's Foliage & Ladybug die set was used to die cut Eucalyptus leaves, the Berry Branch, and the Ladybug. All these pieces were die cut using white card stock and color sponged on. For the Bittersweet, the small shell covering were die cut using light yellow card stock and tiny pearls were added for the berries. The berries were colored with Copic markers. The ladybug was colored with a red marker and detailed with a black fine line pen. Once glued to the leaf, clear glaze was added.
Using the Button/Daisy Chrysanthemum die set, three Button Chrysanthemums were created. The leaves were sponged green and highlighted with brown ink.

This is a 6x6 inch card when folded flat and will fit in an acrylic box for mailing.
Thanks for visiting my blog today. Hope I inspired you to try creating this fun card.
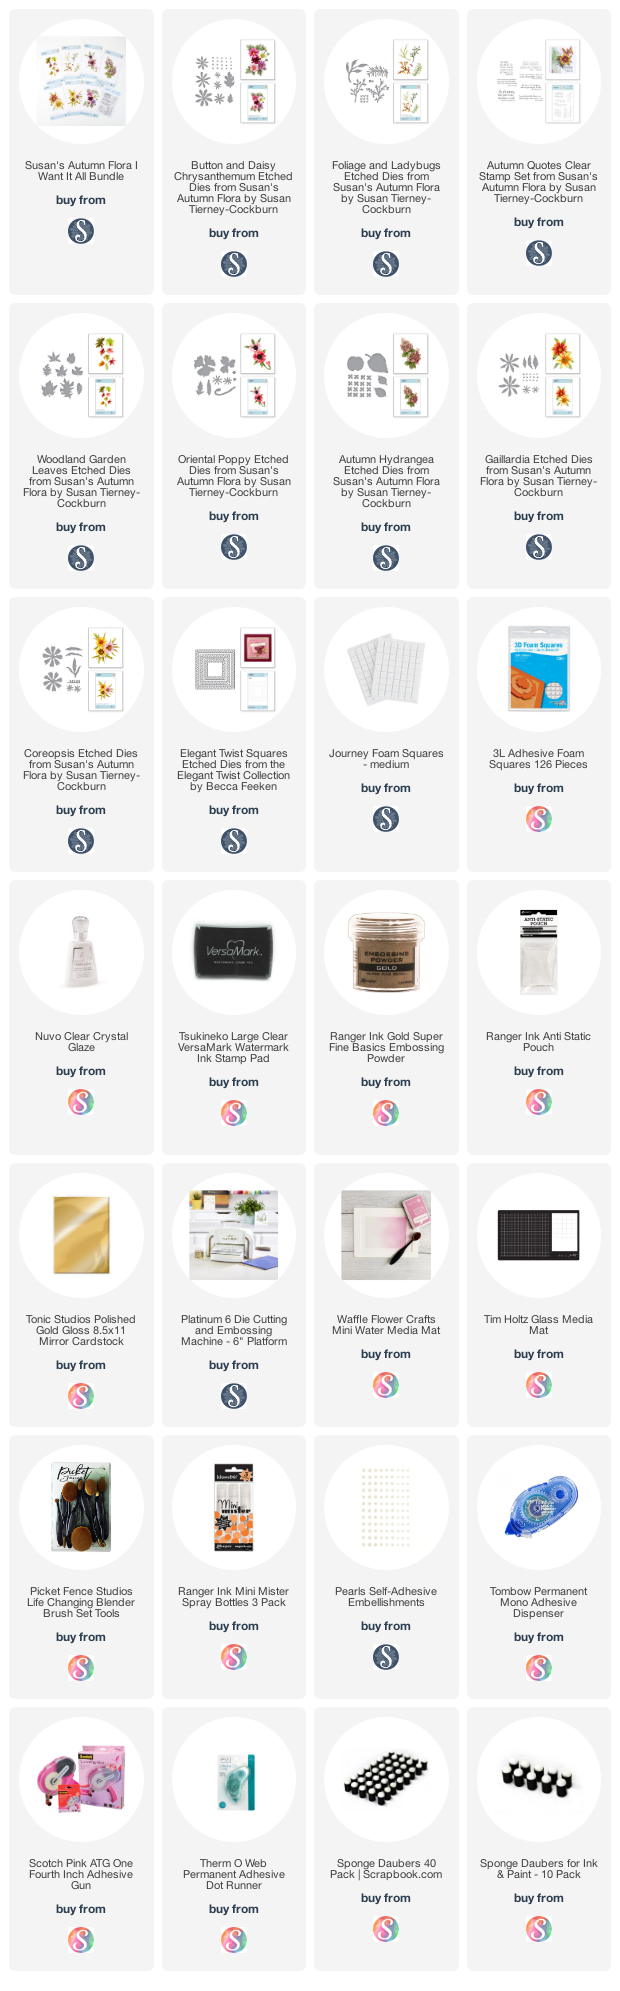
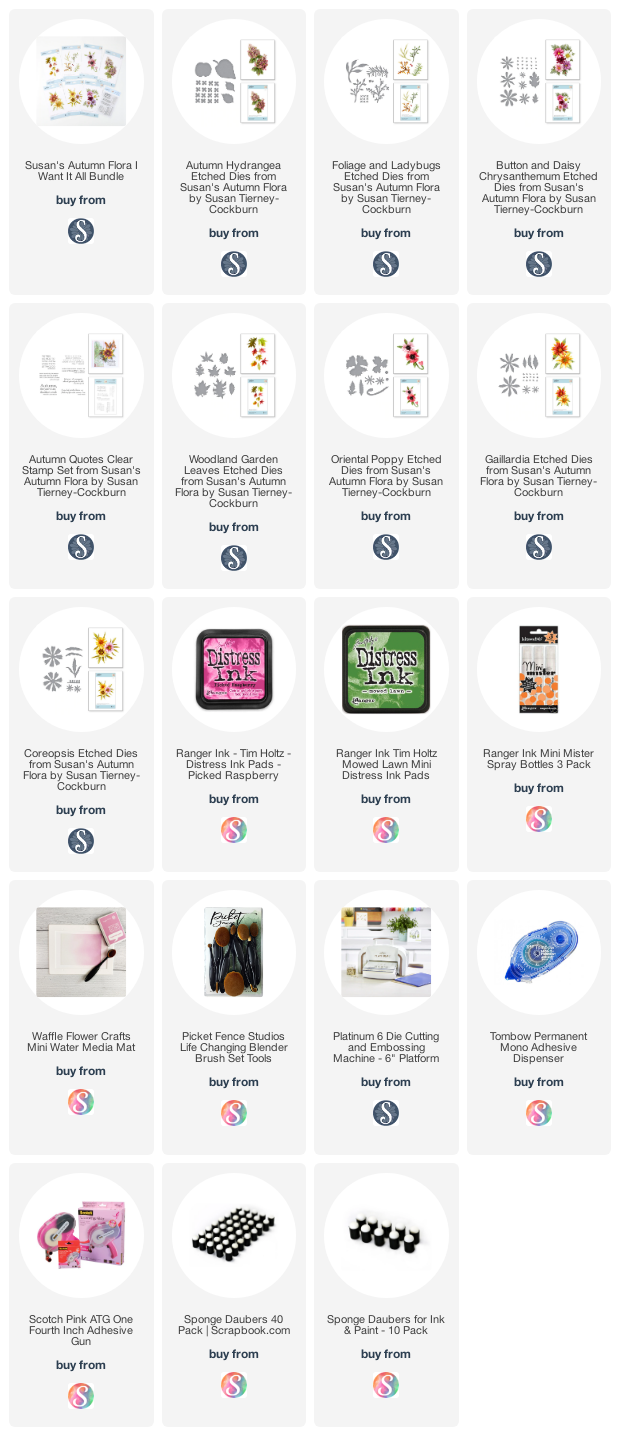
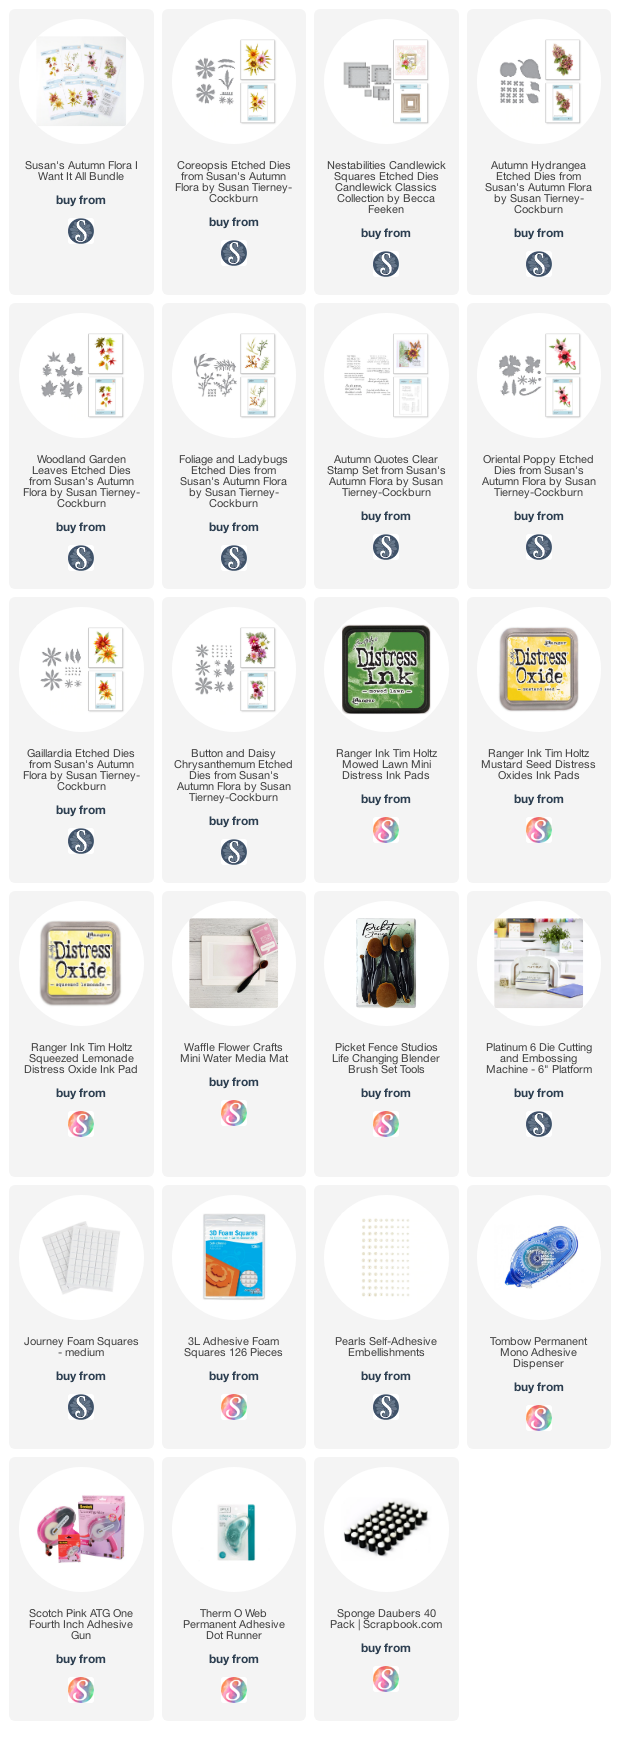
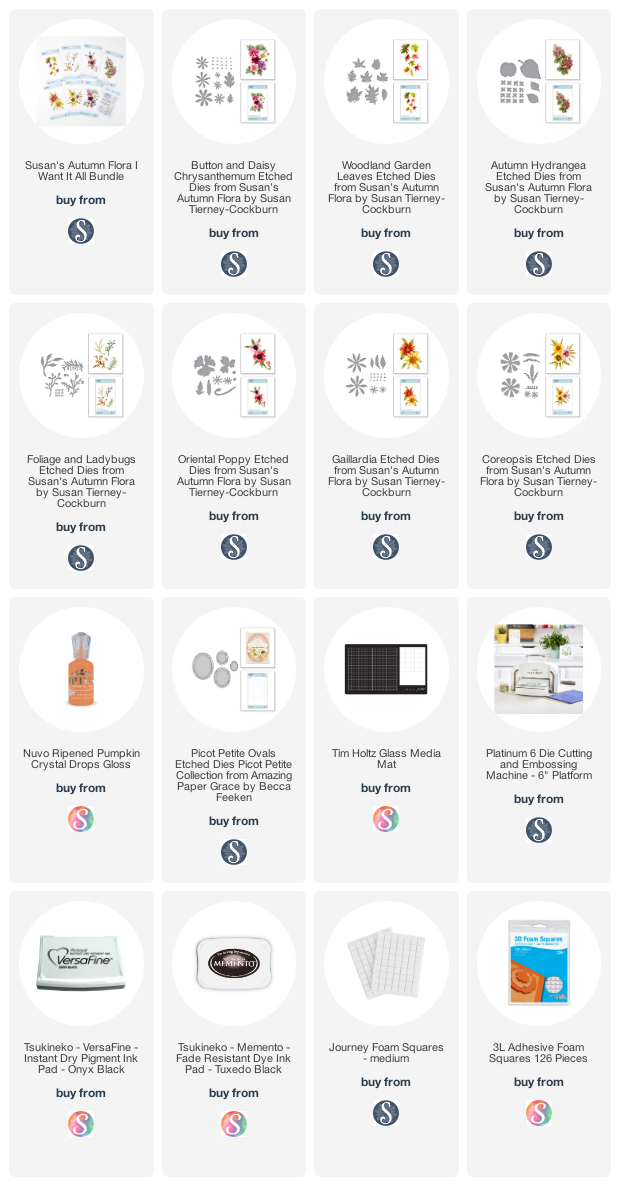
Product links are below.