Yesterday was an exciting day! It was the first day you could order Susan's new Spellbinder Autumn Floral products. You can order individual die sets, but check out the special bundle price, which is a great savings.
For this card I used Susan's Autumn Hydrangea die set. This beautiful flower is easy to create. It takes a little time to shape all the little flowers, but so worth it to see this beautiful flower come to life!
The card base is brown card stock. For the background, I used a piece of textured gold metallic card stock.
For the decorative background, the Spellbinders Amazing Grace (S5-327) Anabelle's Trousseau Layering Frame Medium die set was used. It was die cut using a matching brown cardstock.
To create the floral arrangement, Susan's Foliage & Ladybug die set was used for the eucalyptus leaves at the top of the arrangement. They were die cut using white card stock, sponged with green ink, shaped with Susan's leaf tool, tweezers and ball stylus, then highlighted with Nuvo Cosmic Brown Mousse brushed lightly over the ends of each leaf.
To create the berry branches, the berry branch in Susan's Foliage & Ladybug die set was die cut using white card stock and sponged with a mixture of green and brown inks. To create the berries, Bubblegum Blush Nuvo drops were used. These branches should be prepared in advance to creating your card, so that the drops are dry before assembling the arrangement.
The beautiful flowers were created using Susan's Spellbinders Autumn Hydrangea die set. Below is a tutorial on how these flowers were created. At the time I was creating these flowers, I had only received the Spellbinder Garden Club dies -- I had not received any of the other Spellbinder Garden Club products, so I am using older tools. There is a delay in shipping Susan's Tools to Spellbinders, because of Covid-19. The tools may not be available until January.
On Susan's Garden Club Live Facebook video, she shows how to form the base for the flower and how she colored the petals. I used a different method of coloring, for the hydrangeas on my card today.
Using the Autumn Hydrangea die set, die cut all the pieces using off-white card stock. When I die cut the pieces, I always die cut more than I may need so I don't have to go back and die cut and color more after I get started, so you will see many in the photo.
To achieve a muted effect on the pink petals, leave the die cuts in the die. Turn the die over and roughly color the back of the petals with a pink alcohol marker. When you turn the petal right side up, only part of the petals will be colored, which is what you want for this flower.
Once the petals are colored, push the die cut petals out of the die and place onto a piece of paper towel or cloth. I have found that by lightly spritzing the petals with water, they will hold their shape better. It just takes a light mist of water.
Working on the backside of the petals, use a ball stylus, approximately the same size as one of the petals, and lightly press down to slightly cup each one, on the molding mat. Don't press so hard that it wrinkles the petals.
Here is a close up of how the flower looks once all the petals are attach to the base. I added some flowers over each other, for added fullness. That dome over the base really helps to give the flower a pretty, natural shape. To finish the flower, a yellow Prill was glued to the center of each flower. I found it easiest to have some glue on my non-stick mat, pick up one Prill with the tweezers, and dip lightly into the glue, then place in the center of the flower.
For the Foliage, use the Garden Club Foliage & Ladybug die set. Die cut the Eucalyptus branch three or four times, using white card stock. Sponge green ink on the stem and up toward the tip of the leaf, leaving the tip just barely sponged. Shape with the leaf tool and tweezers.
For the Berry Branch, use the Garden Club Foliage & Ladybug die set. Die cut the branch, using white card stock. Sponge the branch brown, then again with green ink sponged over the brown ink. Add Bubblegum Blush Nuvo Crystal Drops for the berries. Allow the berries to dry before adding to the arrangement. I cut the berry branches apart and glued smaller branches behind the flowers.
The Foliage, Berry Branches, Hydrangeas and Hydrangea leaves were arranged on the front of the card. One of Susan's new Autumn Quotes was added below the arrangement.
To finish it, fine gold cording was used to create a bow and was placed at the bottom of the arrangement.
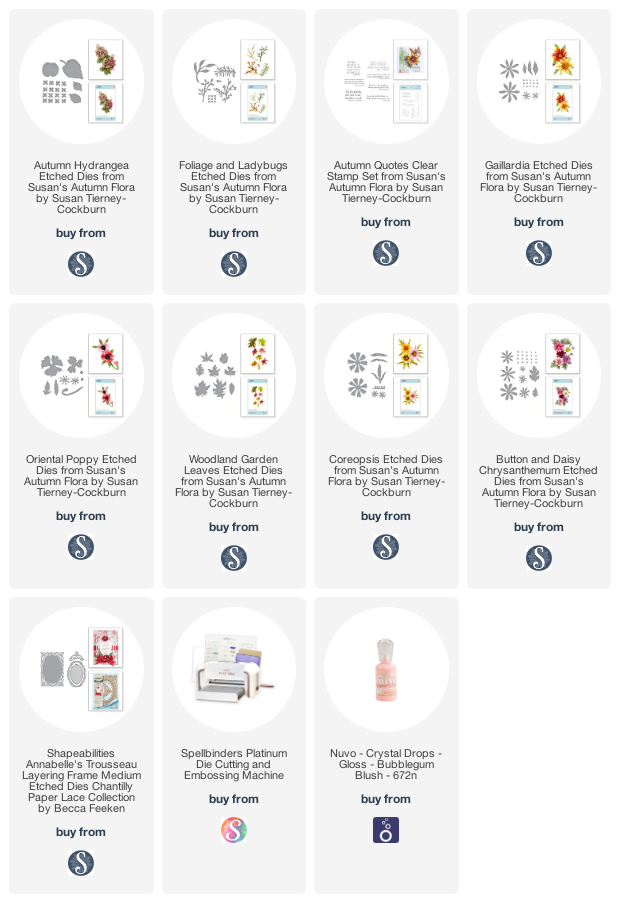
Below are links to Autumn Floral die sets and new stamp set. I appreciate your support when you order from my links. There is no additional charge to you.
Thank you for visiting my blog today.


1 comment:
Absolutely gorgeous Selma! Thanks for the tutorial.
Post a Comment