

Autumn is in the air! The maple leaves are already falling, so today I wanted to share a card I designed using the maple leaf die from Susan's Woodland Garden Leaves die set.
This is a 6x6 inch card. On the white panel, I used a stencil to add a sunburst design on the left side. Most of this design ended up being covered, but does give some texture. In the center of the Spellbinders Shapabilities Floral Oval, I added one of the quotes from Susan's new Autumn Quotes stamp set. This was attached with dimensional foam squares.
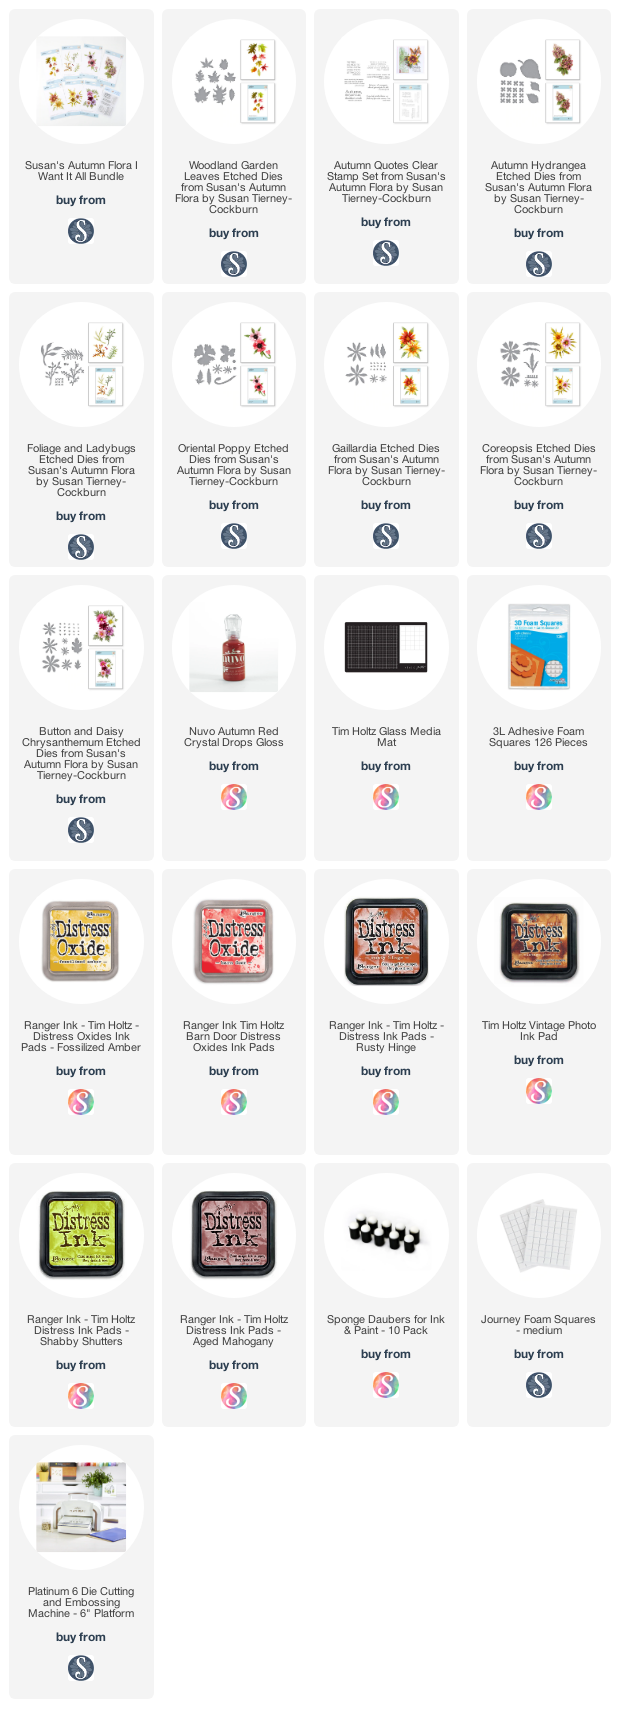
The Foliage & Ladybug die set was used to create berry branches. Die cut the berry branches using white card stock and color them green. You can use Nuvo Autumn Red Crystal Drops for the berries.
The Woodland Garden Leaves die set was used to die cut a lot of leaves, using white card stock. I have die cut all the different leaves, but I like to work on one variety of leaves at a time to create similar coloring on each. Below I will show you how I colored the maple leaves.

l. Use a small sponge dauber and apply Fossilized Amber Distress Ink on both the front and back of each leaf. Vary the darkness of the ink, leaving some areas a little lighter.

2. Randomly sponge on Barn Door, Vintage Photo, Rusty Hinge, and/or Shabby Shutters Distress inks, varying placement of the different colors on each leaf. The leaves in the lower right side of the photo only have Fossilized Amber with Barn Door Distress Ink. Additional ink colors were sponged over these colors. Once the leaves are colored, use the leaf tool and draw in veins. Next bend each point of the leaf toward the center vein and sponge Aged Mahogany Distress Ink along each fold. This will help bring out the detail in the veins.

3. To give the leaves a little more realistic appearance, I used an old dotted background stamp, to add dark brown spots to a small portion of each leaf.

4. In this closeup, you can see the mix of colors sponged on each leaf. In the lower right corner, you can see how the leaves look without the added spots. I left a few leaves without the spots, but most all have them.

I hope this tutorial helps you color your maple leaves and helps you see how I added the veining highlights.
Thanks for visiting my blog today. I have included links to the products I used below.


2 comments:
Your leaves are stunning my friend! I had to look twice to make sure they aren't real! Made into a very lovely card.
Selma, your tutorial was AWESOME! I LOVE the spots you put on the leaves. I've seen those spots on my real maple leaves. Thanks for this great "tut"!!!
Post a Comment