It has been a while since I have posted a new card. I have been working on Susan's new Spring Garden Notes release with Spellbinders. Unfortunately, due to the Covid 19 Virus, the release has been delayed until later next month.
I used a piece of design paper from the 49 Market Vintage Artistry Wedgewood 6x6 paper pack, for the background on this 6x6 inch card. Using an oval die, an opening was die cut in this paper. Using the same die, two pieces of craft foam were die cut to place behind the design paper, to create dimension. Using the oval die cut from the design paper, a sentiment from the Stampendous Friendly Phases stamp set was stamped using VersaFine Black Ink and clear embossed.
The two craft foam sheets were attached to the back of the design paper, aligning the ovals so you don't see the foam sheets. I used double sided tape to attach the layers together. These pieces were attached to a 6x6 inch white card front. The stamped oval was glued down inside the oval opening.
Using Susan's Garden Club Oriental Poppy die set from her Autumn release, I created three poppies. The poppies were die cut using Susan's white card stock and colored brushing on Orange Distress Ink. I like to use the Waffle Flower Crafts Mini Water Media Mat and the Picket Fence Blender Brushes to add color to my die cut pieces.
Susan's Foliage & Ladybug die set was used to die cut the foliage behind the poppies. For the berries on the Bittersweet, I used very small white pearls and colored them with Copic markers. The Nandina leaves were colored to match the leaves in the design paper.
If you need instructions on how to create the oriental poppy you can go to Susan's YouTube Video at this LINK.
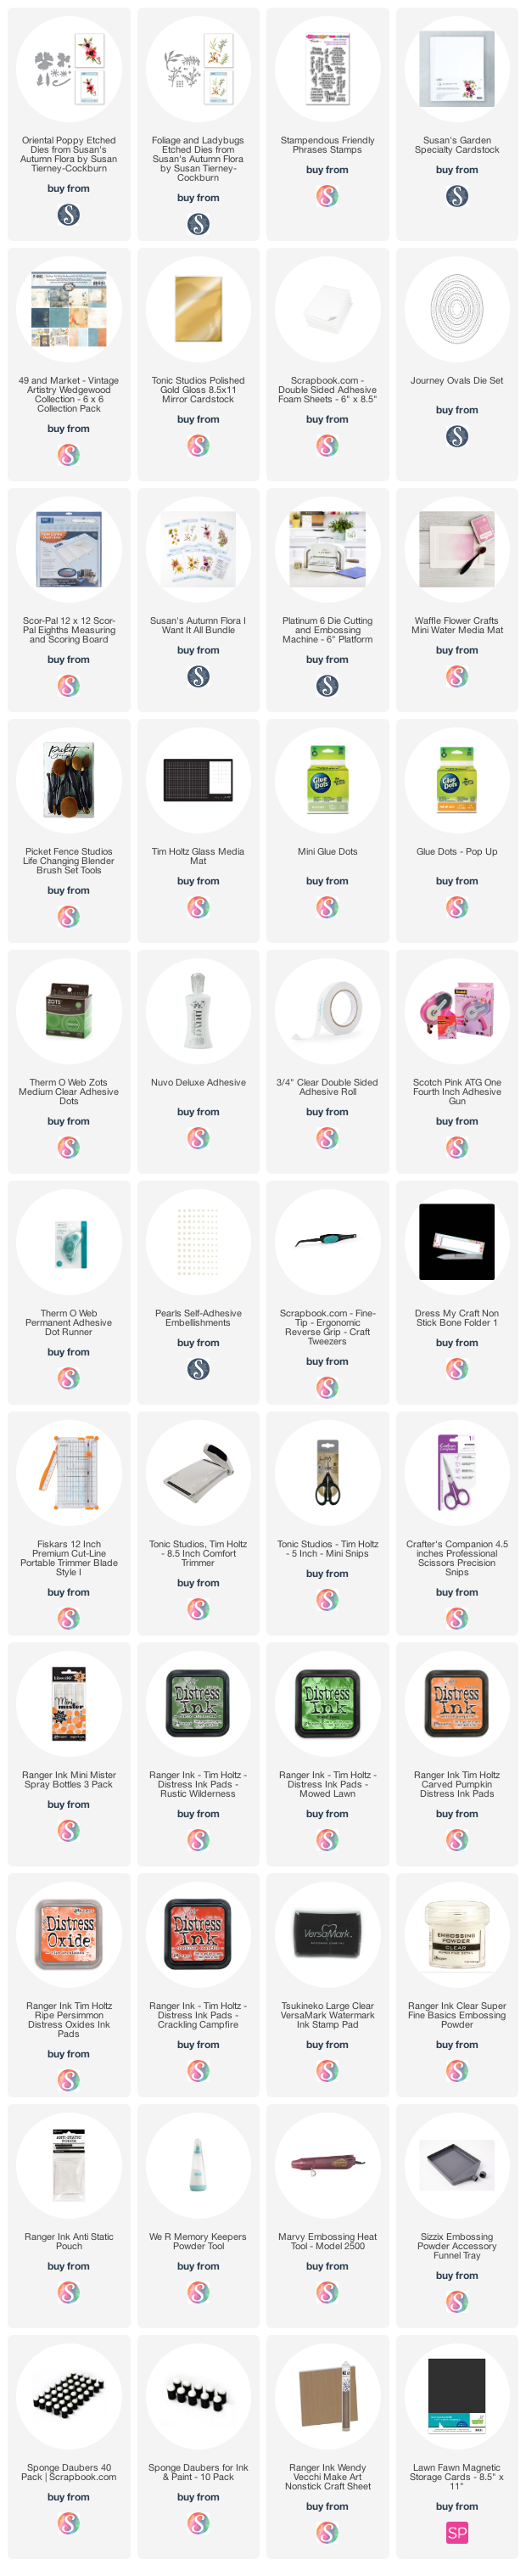
Thanks for visiting my blog today. I have included a link to products I used below.