It is time for the December Design Team Challenge. The name of our challenge is: Garden Notes - Frame It/Stitched Inspiration.
For our challenge this month, we are to use any of the Garden Notes - Frame It/Stitched nested dies to create a card or project. There are four different die sets in this collection … squares; rectangles; ovals and circles. You can view all the cards/projects created by the design team at this LINK on the Elizabeth Craft Designs Blog.
As in the past, you will be eligible to win a prize by commenting on the Elizabeth Craft Designs challenge post.
* * * * * * * * * * * * * * * *
For today's challenge, Elizabeth Craft Designs is giving away a $20 Gift Card to use on their website to 3 winners.
To enter simply leave a comment on the Elizabeth Craft Designs Challenge post and tell us Which of the Garden Notes - Frame It/Stitched die sets would you use on a project and how would you use it
Three lucky winners will be selected in a random drawing and will be announced on Friday, December 21st on the Elizabeth Craft Designs blog.
Good Luck in the drawing.
* * * * * * * * * * * * * * * * * *
To create my card, begin with a 7 x 5 1/2 inch card base.
1. Cut two pieces of white card stock 7 x 5 1/2 inches.
2. Cut two pieces of ivory card stock 7 x 5 1/2 inches.
3. Use the Garden Notes Frame It/Stitched Oval die set and use the next to the largest die to die cut an oval in the center of one of the white pieces of card stock.
4. For the second layer, use the same die set and the next smallest die. Die cut an opening in one of the ivory card stock pieces. To get the oval centered perfectly in the center of the white die cut, place the white oval piece over the ivory card stock, center the smaller die, leaving an even border all around. Tape to the ivory card stock. Remove the white die cut piece and die cut the oval in the ivory card stock.
5. For the third layer, use the same die set and the next smallest die. Using the instructions in step 4, die cut an oval in the last white piece of card stock.
6. For the fourth layer, use the same die set and the next smallest die. Use the same instructions and die cut an oval in the last piece of ivory card stock.
7. Use dimensional double sided tape to attach all the ovals together. Attach to the base card.
8. Use the A Way With Words Rejoice die set and die cut the sentiment using Gold Mirror Card Stock. Attach down in the center of the die cut ovals
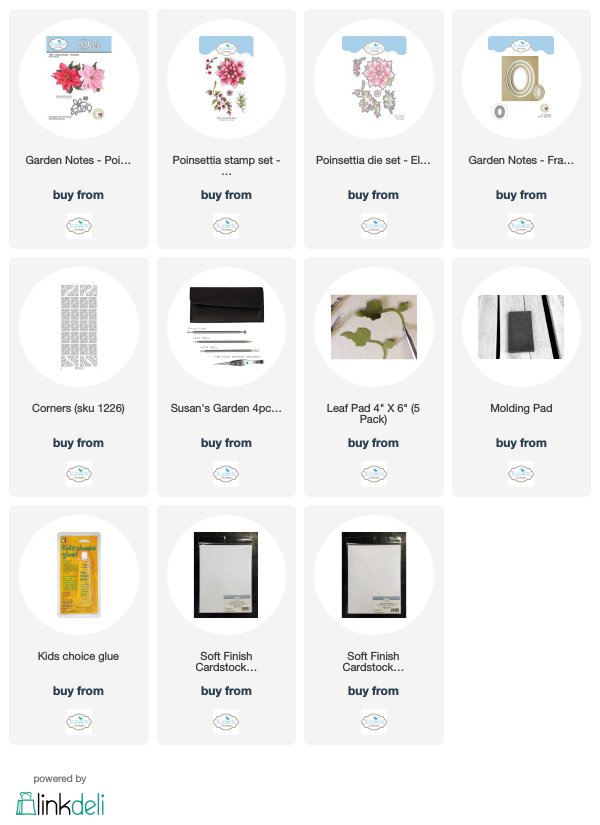
9. Use the Poinsettia stamp set and stamp the berry branch and pine boughs, using black ink. Color with markers. Use the matching die set to die cut the pieces. Arrange around the lower edge of the oval, as shown.
10. Use the Garden Notes Poinsettia die set and create one flower. Shape using the Flower Tool Kit and glue together using Kids Choice Glue. Use yellow pollen and green Prills for the center of the poinsettia. Attach in the corner, over the berry branches and pine boughs.
11. For a little sparkle, add some glue to the berry branches and pine boughs, and sprinkle on Cool Diamond Micro Fine Glitter.
12. Use gold Corner Peel Off Stickers on all four corners of the card, for a nice finishing touch.


