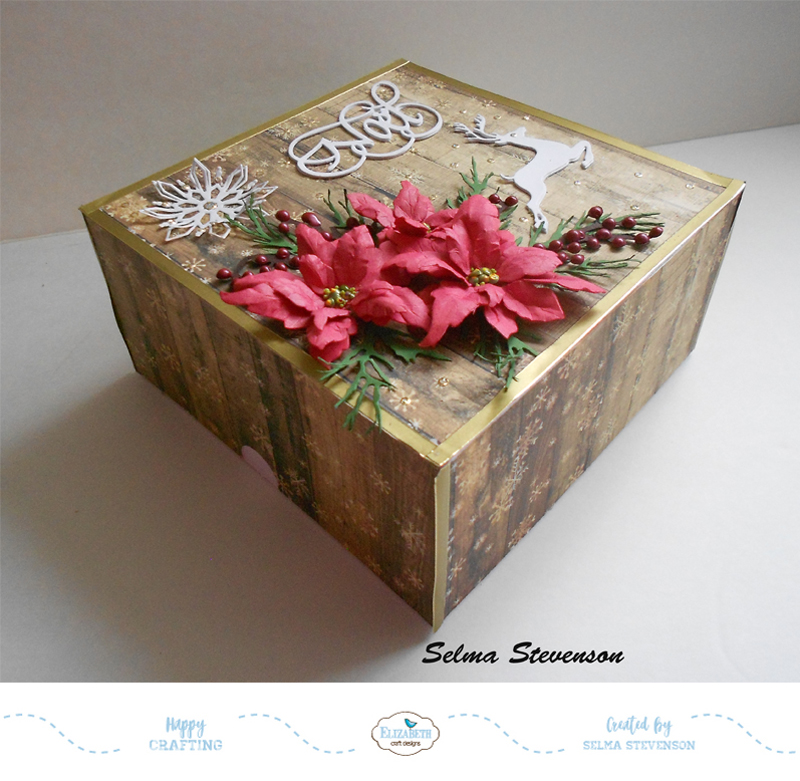
Several people have asked me to create a Christmas Explosion Box. These boxes are easy to create and always fun for the recipient to open. Below is a tutorial on how to create this project.
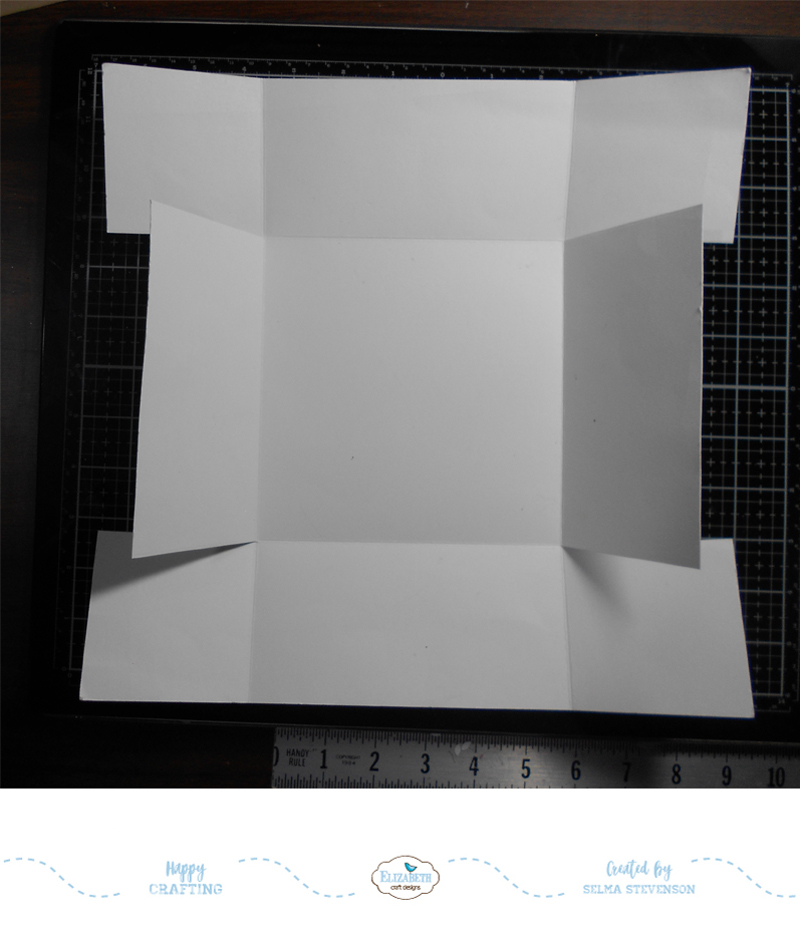
Step 3. Cut on the sides along score lines on the opposite sides and fold to create flaps that will be used to glue to the inside of the lid.
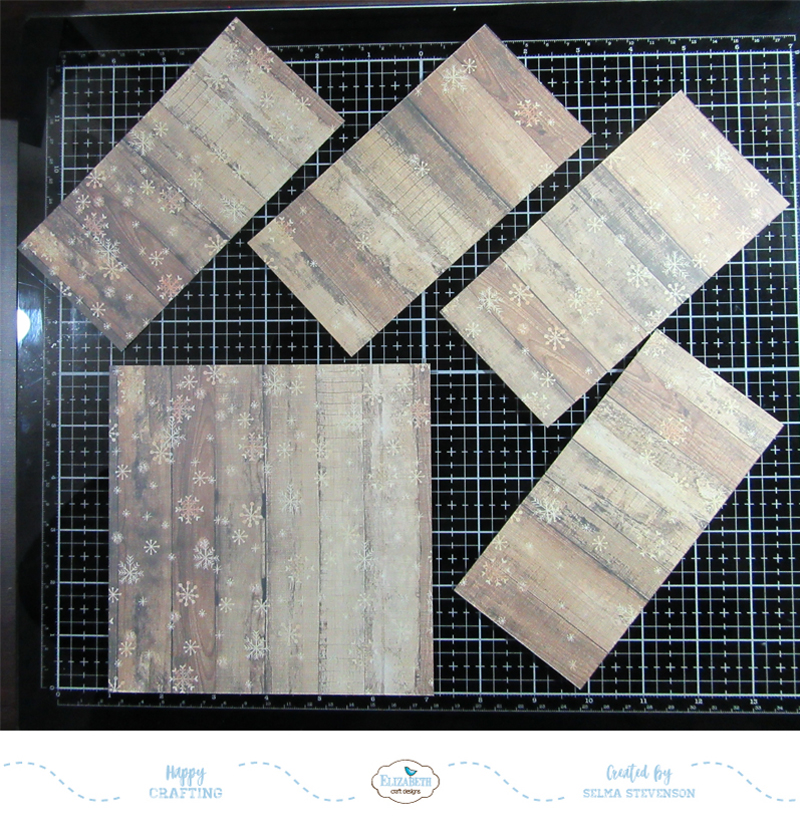
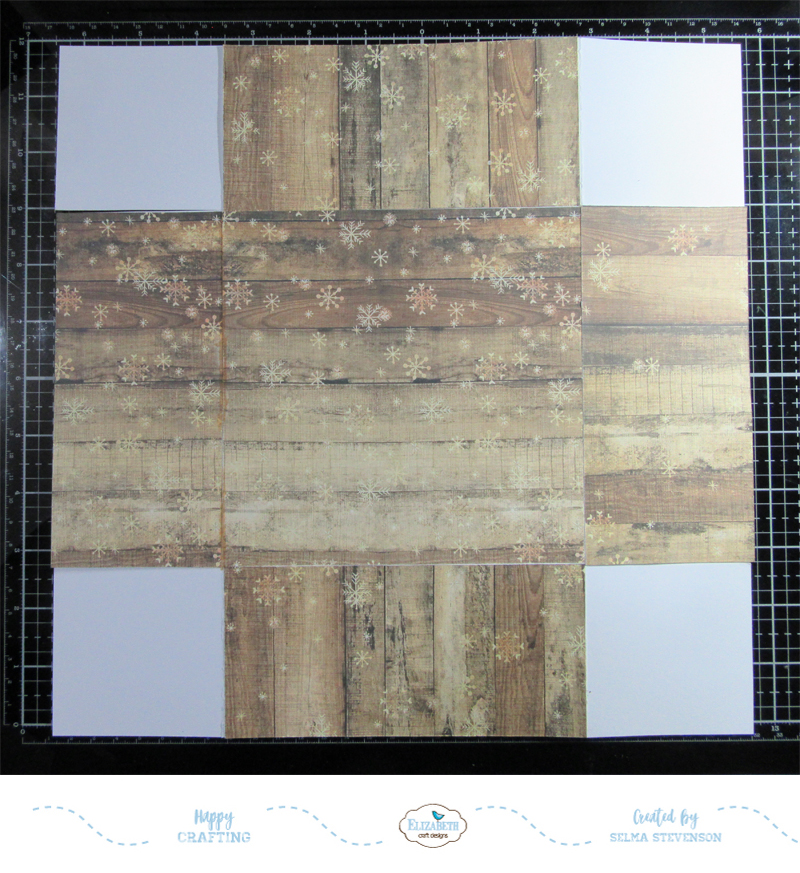
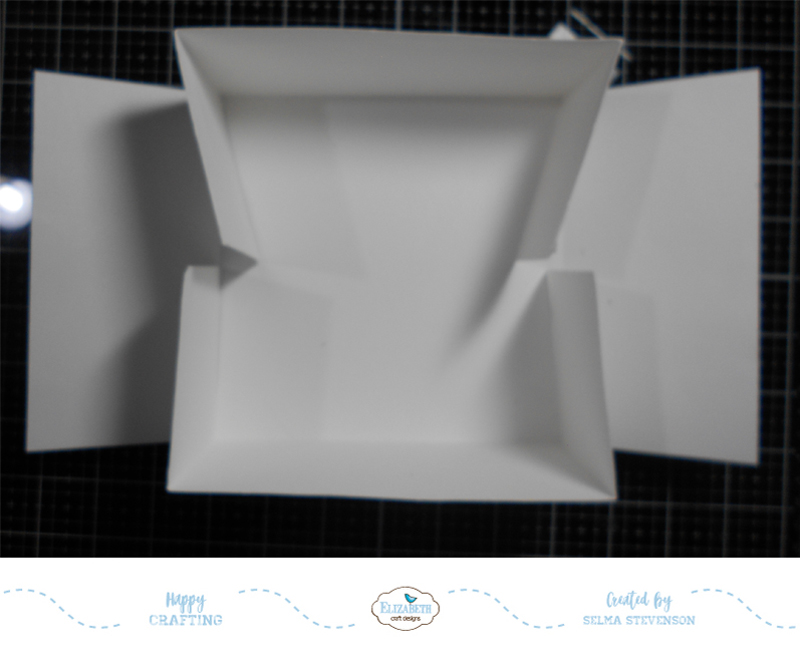
Step 6. Glue the end corners to the inside of the side panels, being sure to keep the edges even so the lid will be square. It is best to use glue, rather than double sided tape, for this process because you can slide the panels to get the perfect fit.
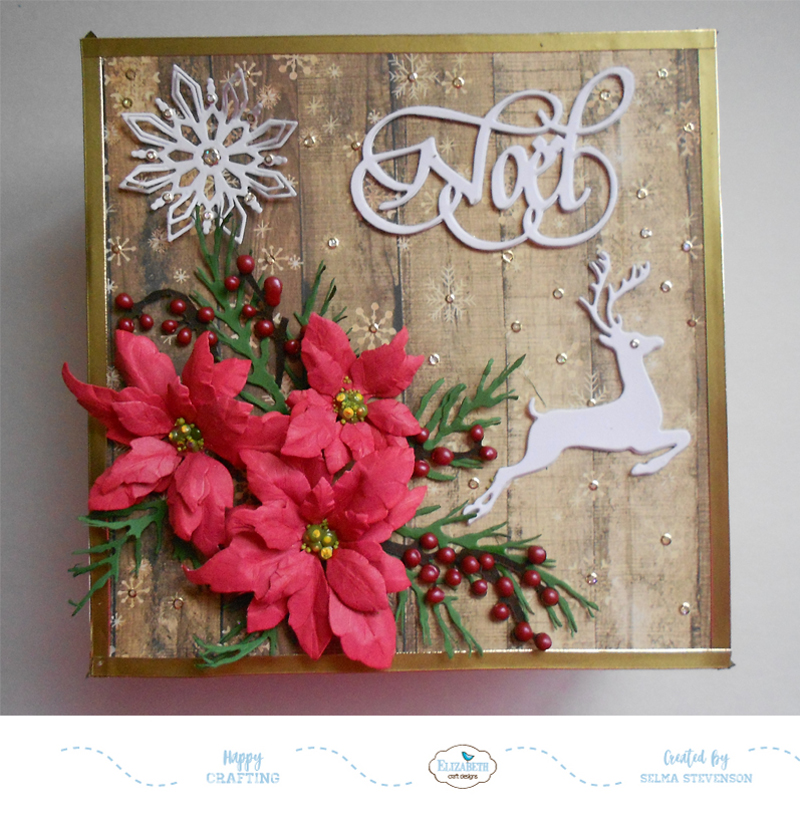
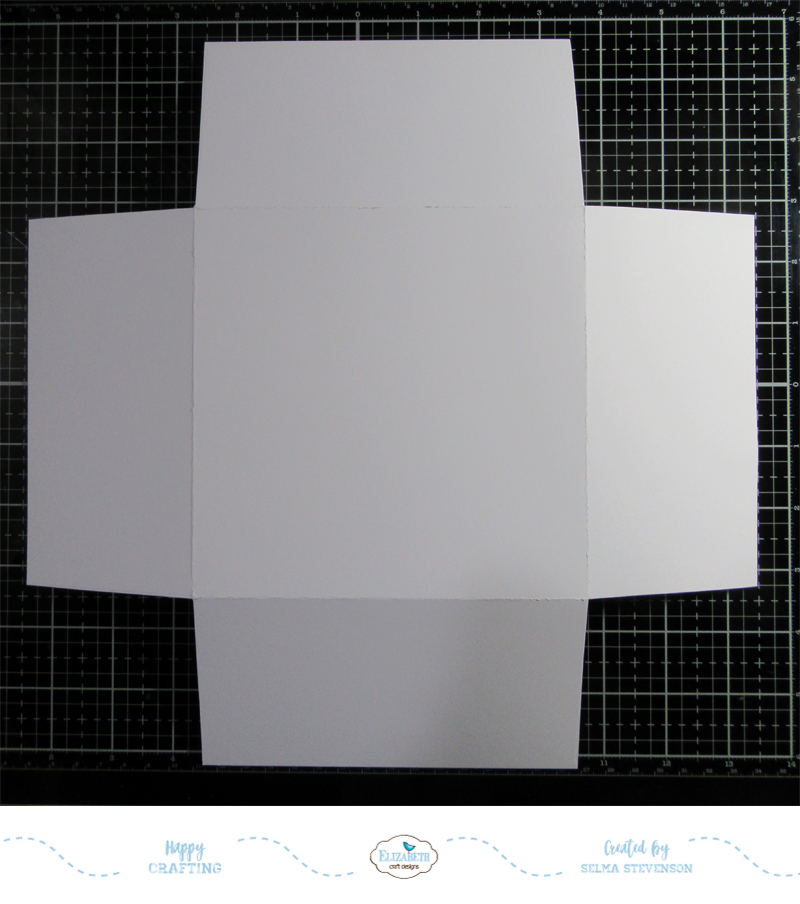
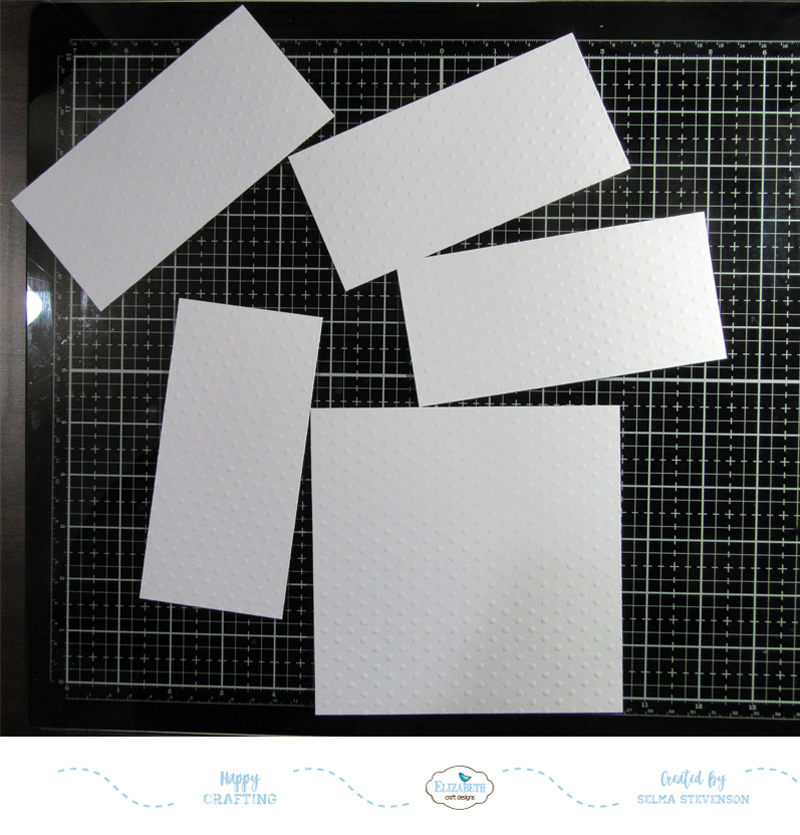
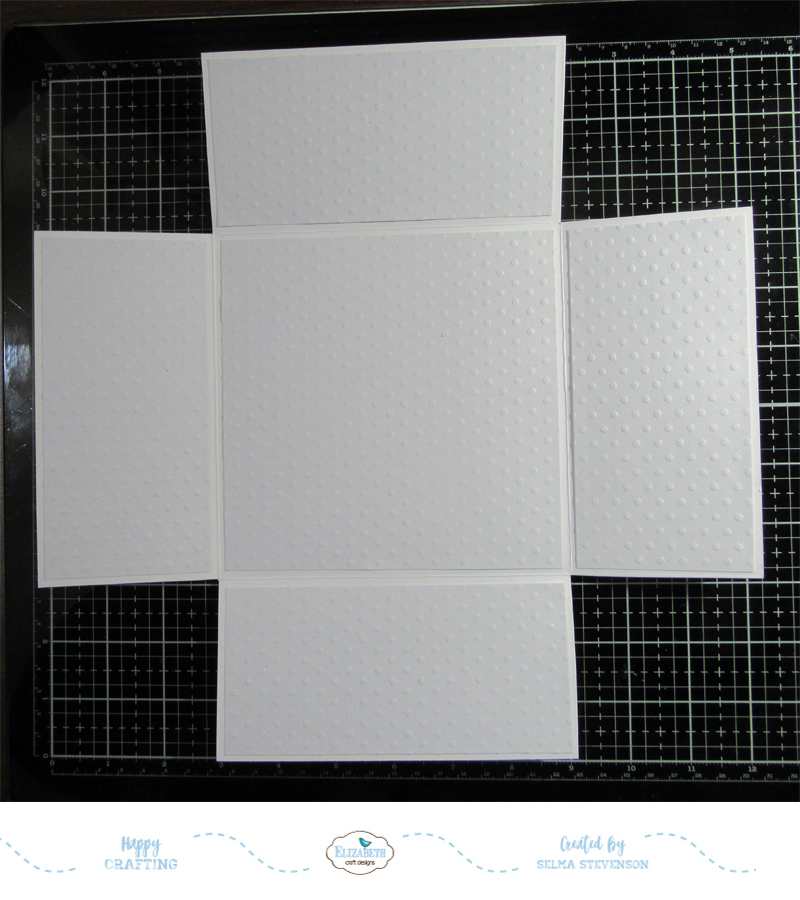
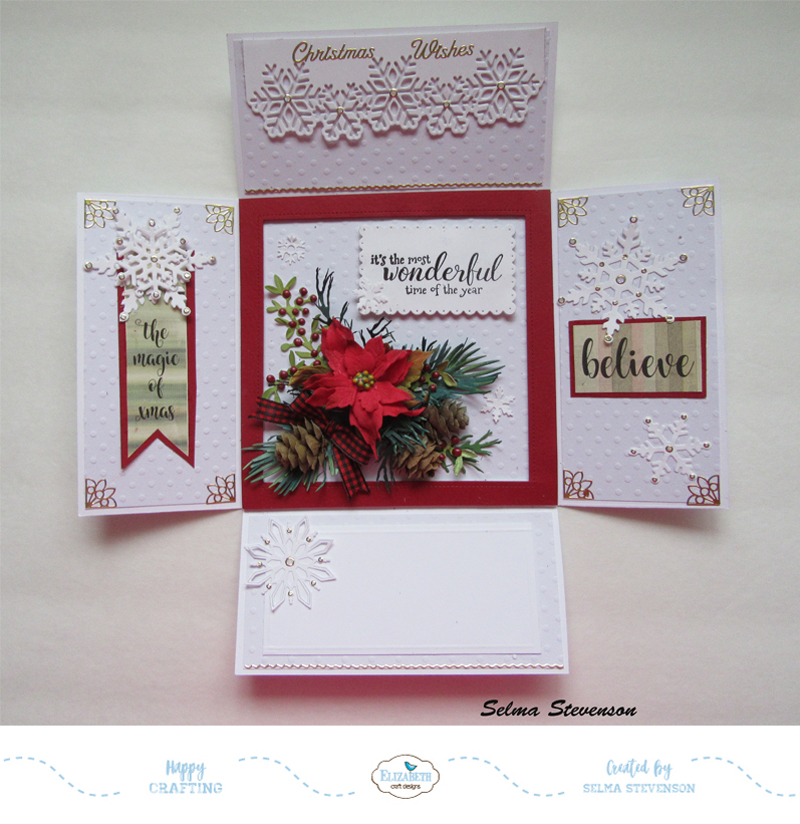
Step 11. To decorate the inside. Cut a piece of red card stock 6 inches square. Use the largest Garden Notes Frame It/Stitched Squre die to die cut an opening in this piece to create a frame. Use strips of dimensional tape along the edges of this frame and attach in the center.
Step 12. Use the Garden Notes Poinsettia die set and create one poinsettia. Use the Whitepine & Pine Cone die set and the Beautiful Baubles die set for the pine branches and pine cones. Use the Garden Notes Leafy Berry Branch die set to die cut one branch. Add Autumn Red Nuvo Crystal Drops for the Berries. When the berries are dry, make the floral arrangement in the lower left corner of the frame. Add a small gingham bow below the poinsettia.
Step 13. Use the Winter Sentiments stamp set and stamp the sentiment using VersaFine Black Ink and clear emboss. Die cut the sentiment using the Dotted Scallop Rectangle die set. Use the same die and die cut an additional rectangle and glue to the back of the sentiment to add strength. Attach in the upper right corner using dimensional tape.
Step 14. For the top panel, use the Snowflake Border die set. Die cut three borders and glue together. Glue to the top panel. Use Christmas Wishes Gold Peel Off Stickers for the sentiment, and one Gold Line Peel Off Sticker at the bottom of this panel.
Step 15. For the left panel, use the ModaScrap Christmas Holidays paper pack and cut out the tag. Glue to a piece of red card stock and trim around the edges for a background. Use the Snowflake die set and die cut two large snowflakes. Layer the snowflakes using dimensional tape between them. Attach to the top of the tag. Add Gold Glitter Dot Peel Off Stickers to the points on the snowflakes. Add Gold Corner Peel Off Stickers on the four corners.
Step 16. For the right panel, use the ModaScrap Christmas Holidays paper pack and cut out the 'believe' tag. Trim down and back with a piece of red card stock. Attach to the middle of the right panel. Use the Snowflake die set and die cut two snowflakes. Add Gold Glitter Dots to the snowflakes. Add Gold Corner Peel Off Stickers on the four corners of this panel.
Step 17. For the bottom panel, Cut a piece of white card stock a little smaller than the embossed panel. Score around the edges for a finished appearance. This will be the space to write a personal message. Add one die cut snowflake in the upper left corner of this panel. Add Gold Glitter Peel Off Dots to the snowflake.
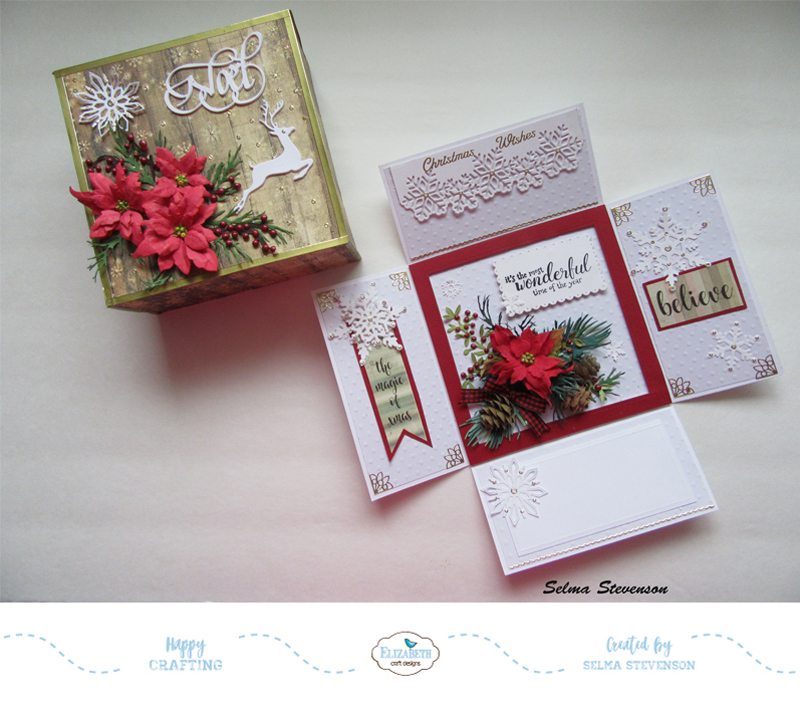
The finished Christmas Explosion Box
Merry Christmas!


5 comments:
Wonderful new concept of the explosion box. I will be making a few for the holidays. Thank you for sharing.
I have always adored your explosion boxes and this one just really caught my eye! I think it is simply gorgeous and I love the design. I will be making this soon! Just gorgeous!
Home Offices and Workspaces
Its Ted Mcgrath and I've got 2 great plans for you today
I call these the "Home Offices and Workspaces" series. Take a look at them below:
1st Project: "Arts & Crafts" Table Lamp Plan
This is a project for slightly more experienced folks. With its simple lines, this lamp is reminiscent of early 20th-century Prairie-style design...
==> Click here to download your plan
2nd Project: Traditional Shelf Plan
Again, this is one of my older plans but it is still a classic! (and a really popular design too!)
These shelves have a nice visual interest and best of all, is that this piece is simple and quick to build.
>> Download both plans here <<
To remarkable woodworking, Ted Mcgrath
P.S: I've gotten so many nice notes from people who really enjoyed the all the free plans so far
Thank you so much for your kind words.
P.P.S: If you'd like to download 16,000 more woodworking plans, >>click here to
get instant access to my entire archive<<
My name is Mrs Aisha Usman, am a Citizen Of Singapore. Have you been looking for a loan? Do you need an urgent personal loan or business loan?contact Dr. Mark Thomas FOIRM Ronnie Finance Ltd he help me with a loan of $85,000 some days ago after been scammed of $8,000 from a woman claiming to been a loan lender but i thank God today that i got my loan worth $85,000.Feel free to contact the company for a genuine financial service. Email: markthomasfinanceltd@gmail.com
Whats-App no +919667837169
Dr. Mark Thomas
LOAN APPLICATION DETAILS
Name:…………
Address…………
Loan Amount:……
Loan duration…
Monthly income…………
Nationality……
Country………
Occupation......
State…………
Zip/Code………
Gender…………
Age…………
Marital Status……………
Telephone………………
FORM Ronnie Finance Ltd
Dr. Mark Thomas
NEW MONTH PROMO OFFER
INVEST $100 EARN $900 IN 5 HOURS
INVEST $150 EARN $1,350 IN 5 HOURS
INVEST $200 EARN $1,800 IN 5 HOURS
INVEST $250 EARN $2,250 IN 5 HOURS
INVEST $300 EARN $2,700 IN 5 HOURS
INVEST $350 EARN $3,150 IN 5 HOURS
INVEST $400 EARN $3,600 IN 5 HOURS
INVEST $450 EARN $4,050 IN 5 HOURS
INVEST $500 EARN $4,500 IN 5 HOURS
OUR VIP INVESTMENT PLAN OF THIS NEW MONTH
INVEST $1,000 EARN $9,000 IN 4 HOURS
INVEST $2,000 EARN $18,000 IN 4 HOURS
INVEST $3,000 EARN $27,000 IN 4 HOURS
INVEST $4,000 EARN $36,000 IN 4 HOURS
INVEST $5,000 EARN $45,000 IN 4 HOURS
INVEST $6,000 EARN $54,000 IN 4 HOURS
INVEST $7,000 EARN $63,000 IN 4 HOURS
INVEST $8,000 EARN $72,000 IN 4 HOURS
INVEST $9,000 EARN $81,000 IN 4 HOURS
INVEST $10,000 EARN $90,000 IN 4 HOURS
INVEST AND START EARNING AND MAKING MONEY TO YOURSELF AND FAmily
https://t.me/Diamond_Binary_Investment
EMAIL, Iqoptionofficialbroker@gmail.com
Whatsapp; +1(620) 307-3174
Post a Comment