Friday, July 27, 2018

Sunflowers

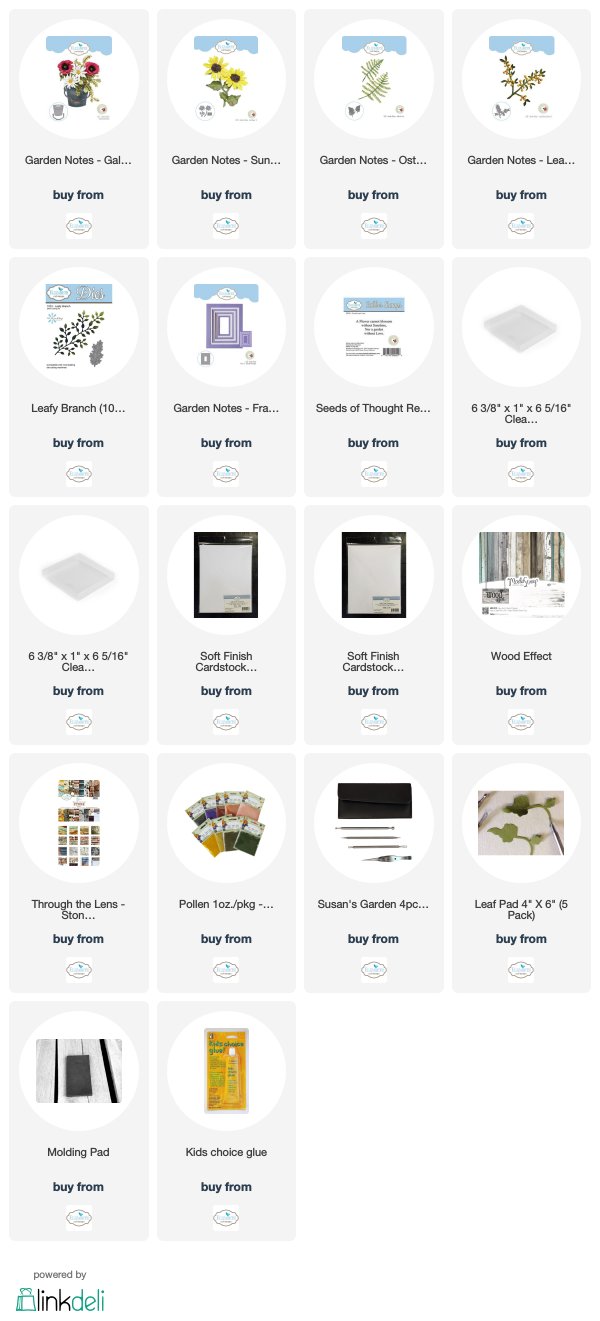
In the area where I live, the farmers grow large fields of sunflowers. People love to come and admire these fields of beautiful flowers.   Today I decided to work with Susan's Sunflower 2 die set to create my card.  This is a card that could be used for many different occasions.  


This is a 6 inch square card.  A piece of the ModaScrap Wood Efffects design paper was added to the front.  

In my stash, I had a piece of watercolor paper that I had created a background using Oxide Distress Inks.  I used this piece and Susan's new Frame It/Rectangle die set to create a frame for the sentiment.  The frame was backed with a piece of ivory card stock.  Susan's Seeds of Thought - Sunshine & Love rubber stamp was used for the sentiment.  The rectangle was attached to the upper right corner with dimensional tape.

Susan's Garden Notes Galvanized Bucket die set was used for the container for the bouquet.  A piece of the Through The Lens - Stone card stock was used for the die cut bucket.  It was attached using dimensional tape.

Use the Garden Notes Sunflower 2 die set and create three sunflowers.  Shape the flowers and leaves using Susan's Flower Tool Kit.  Assemble using Kids Choice Glue.  Add pollen to the center of each flower.

Use the Garden Notes Berry Spray die set for the berry branches.  Use Nuvo Crystal Drops for the Berries.  Use a black thin tip marker to add a dot of black to the end of each berry.

Use the Garden Notes Ostrich Fern die set to die cut three ferns.  Die cut using a light green card stock and sponge on yellow, orange and rust inks to give it an autumn color.

Use the Leafy Branch die set and die cut three branches.  Shape the leaves with the leaf tool in the Flower Tool Kit.  

Arrange the ferns, leafy branch, berry spray and sunflowers in the bucket, as shown.

This card can be mailed in one of the clear acrylic boxes from Elizabeth Craft Designs.


Thursday, July 26, 2018

Beautiful Begonias


I love working with Susan Tierney-Cockburn's Garden Notes die sets from  Elizabeth Craft Designs.  The detail in all her dies helps to create very realistic flowers.  For these beautiful flowers, I used the Garden Notes Tuberous Begonia die set.  

These are the flowers Susan's showed us how to assemble in her last Susan's Garden Club Facebook Video.  In every video, Susan shows very detailed, step by step, instructions.   You can watch this video at this LINK.  There is so much to learn in each of Susan's videos.


Above is the card I designed using the begonias.  

First a background was created using the Elizabeth Craft Designs Kaleidoscope Background die.  First, 100 lb Soft Finish Cardstock was used to die cut the Background to create a stencil.  It was taped down on another piece of white cardstock then Texture Paste was spread over the open areas.  The stencil was pulled off and the piece set aside to dry.

A double frame was created using Susan's Frame It/Stitched Rectangles.  The largest frame die cut using white card stock and a smaller peach frame die cut to fit inside the white frame.  Once the texture paste was dry, the two frames were attach on top, using dimensional tape between each layer.  This piece was attached to the front of the card.

Use the Garden Notes Tuberous Begonia die set to die cut pieces for three begonias.  Color and arrange as shown on Susan's Video.

Use the Garden Notes Ostrich Fern die set to die cut 5 ferns, using white card stock.  Sponge on green ink and then light orange or rush ink on the tips.  Shape with the tools in the Flower Tool Kit.

Use the Garden Notes Berry Spray die set and die cut one spray.  Add Nuvo Crystal Drops for the berries.  I use a dark red to create the berries.  The spray was cut apart and arranged behind the flowers.
  
Use the Pair of Leaves 1 die set and die cut three sets of leaves.  Shape using the flower tool kit.
  
Arrange the Ostrich Fern, Berry Spray and Pair of Leaves on the left side of the frame.  Add the Begonias and Begonia Leaves, as shown.

This card is 6 inches tall and will fit inside the clear acrylic mailing box from Elizabeth Craft Designs.

You can shop for the products used by clicking on the links below.


Sunday, July 22, 2018

Christmas Flower Votive


Christmas in July!    I like to get a head start on working on my holiday cards and projects.  Today  I created a home decor piece.  I used a die set that was released by ModaScrap last year called 'Christmas Flower'.  You can use this die set to create a large decorative poinsettia or use it to create a beautiful base to hold a battery votive candle.

Christmas Flower

This is the Elizabeth Craft Designs ModaScrap die set used for the Christmas Flower.


Using only the Christmas Flower die set, the flower for the votive candle was created. Two of the largest pieces were die cut for the red petals and one of the same size die cut for the green leaves.    To give the flower a lot of shape/dimension, Susan's Flower Tool Kit was used to shape it.  To help separate the two petal levels, a piece of double sided dimensional tape was placed between the layers.  This is a quick and easy project.

This votive is beautiful, but I wondered what it would look like if I added more greenery and created a pretty covering for the votive candle.  To accomplish this, I used the Festive Glow and Beautiful Baubles die sets.

Festive Glow

Beautiful Baubles


To create the cover to go over the flame-less candle, three decorative candle pieces were die cut using the Festive Glow die set. White card stock was used that had Clear Double Sided Adhesive on the back.   To create a sleeve for these three pieces to attach to, a piece of Vellum was cut long enough to wrap around the candle, adding enough vellum at the end to be doubled under to create a sleeve.  The Adhesive covering was removed and each die cut candle was placed side by side on the vellum strip.  A piece of 3mm Clear Double Sided Adhesive was placed along the extra vellum on the end to attach behind the end of the die cut candle pieces.  The decorative candle covering was slipped over the candle.

For the greenery, the Beautiful Baubles die set was used.  Ten evergreen boughs were die cut.  The boughs were shaded using PanPastels.  The small Elizabeth Craft Designs Scissors were used to cut between the pine needles to give them fullness.  The boughs were shaped using Susan's Flower Tool Kit.  The pine boughs were attached below the completed Christmas Flower.  

These votives will make great decorations on any table or be a great small gift.  They would also be beautiful place cards on your holiday table.  Instead of creating the candle covering using the Festive Glow, a narrow band of card stock could be  used to write a name on and 
slipped over the candle.  

You can shop for the products used by clicking on the links below.


Tuesday, July 17, 2018

Summer Fun with Words & Numbers Challenge


Good Morning.  It is time for another Elizabeth Craft Designs challenge for the design team.  This month our challenge was to create a summer themed card that includes the new Blackboard Alphabet and/or Numbers die sets.  The team has come up with so many great ideas and you can view them all on the Elizabeth Craft Designs Blog at this LINK.

*******************
For today's challenge Elizabeth Craft Designs is giving away a $20 Gift Card to use on their website to 3 winners

To enter simply leave a comment on the Elizabeth Craft Designs Facebook Giveaway Blog Post, or the Elizabeth Craft Designs Challenge post, and tell us:  What Elizabeth Craft Designs die or stamp set would you use the Blackboard Alphabet or Blackboard Numbers die sets. 

Three lucky winners will be selected in a random drawing. 

The winners will be announced on Friday, July 20th on the Elizabeth Craft Designs Blog and Facebook page.

*****************


To create my card, start with a 6-inch square card.

1.  Create a background using watercolor paper and Worn Lipstick Distress Ink.  Rub the ink pad on a Teflon work sheet, spritz with water, then dip the watercolor paper in the ink to achieve a marbled effect.  Dry with a heat tool before attaching to the card front.

2.  Use the new Blackboard Alphabet die set and die cut the word FRIEND, using black cardstock.  Place a piece of Clear Double Sided Adhesive on the back of the cardstock prior to die cutting to make it easy to attach to the card.

3.  Use the If Animals Could Talk stamp set for the sentiment.  The stamp used has two lines on it but use only the top line. Stamp the sentiment using black ink on watercolor paper and trim around the words on the top line.  Attach under the die cut FRIEND.

4.  Use Susan's new Baby's Breath die set and create one stem of flowers.   This stem will be cut apart to be placed behind the pink flowers.

5.  Use Susan's Gerbera Daisy die set and create 3 pink flowers. Shape the flowers and leaves using Susan's Flower Tool Kit and assemble using the Kids Choice Glue.   Attach the flowers as shown.  Glue small pieces of the Baby's Breath behind the flowers then add the Gerbera Daisy leaves.  

I think any friend would love to receive a card with these pretty Gerbera Daisies and Baby's Breath.

You can send this card in one of the Clear Acrylic Boxes from Elizabeth Craft Designs.


Monday, July 16, 2018

Wishing You The Best Birthday Ever


We recently had our house painted.  The painter saw some of my cards and requested a special birthday card for his wife that included a variety of flowers that I create with Susan's Garden Notes die sets.

This is a 6-inch card.  The heart background was created by using the Elizabeth Craft Designs Heart Background die set.  It was attached to the right side of the card front.

All the Garden Notes Die sets used for this bouquet include:  Peony 2, Dahlia, Forget-Me-Not, Shasta Daisy, Eucalyptus, Frosty Fern and Baby's Breath. Also used was ModaScrap Pair of Leaves 1.   All the flowers and leaves were shaped using Susan's Flower Tool Kit and assembled using Kids Choice Glue. In the center of the Forget-Me-Not flowers, a yellow Prill was added. In the center of the Shasta Daisies, yellow pollen was added.  All these flowers, fern and leaves were attached to the lower left corner of the card.

For the sentiment, a GinaK Design stamp was used.  It was stamped on a Dotted Scallop Circle.  A black marker was used to add dots around the outside edges of the scallop.

This card was placed in one of the Elizabeth Craft Designs Clear Acrylic Boxes.


Sunday, July 15, 2018

Thinking of You


In our neighborhood you can see Shasta Daisies in almost every yard.  Today I have designed a card using Susan's Shasta Daisy die set to create yellow daisies.

Begin with a 6 inch square card.  Cut a piece of ModaScrap Manly Man card stock 6 inches square and distress the edges.  Attach to the front of the card.

Use a piece of watercolor paper and Distress Inks to create a colored background.  I used Spiced Marmalade, Crushed Olive and Mustard Seed.  The Inks were pressed on a Teflon Craft Mat, Sprayed with water, then the watercolor paper pressed down in the ink until it was covered.    I know you can't see all the colors because I ended up covering up most of this piece with the floral piece.

Use the Geometric Background die set to create a stencil.  Use 100 lb Soft Finish Cardstock and die cut one background.  Place the die cut down over the piece of watercolor paper you just colored.  Use Faber Castell Whipped Spackle and fill in the die cut open areas of the Geometric Background stencil.  Remove the stencil and allow to dry.  Once dry, use a sponge to color the raised areas.  

Use the Stitched and Fitted Hexagon die sets to create a narrow frame die cut using white card stock.  Attach this frame over the Geometric Background created, making sure the inside of the Hexagon is filled with the background.  Trim off the ends so that only the inside of the hexagon has the design.  Attach this Hexagon in the center of the card front.

Use the Garden Notes Shasta Daisy die set and create three yellow daisies.  Shape the flowers and leaves with the Flower Tool Kit.  Glue the pieces together using the Kids Choice Glue.  Add pollen to the center of each flower.

Use the Garden Notes Berry Spray die set and die cut two sprays, using brown card stock.  Create berries using the Ripened Pumpkin Nuvo Crystal Drops.  These sprays will be cut apart to add behind the flowers.

Use the ModaScrap Rainbow Bark card stock to die cut the Garden Notes Galvanized Bucket die set to die cut the bucket.  I used a pencil to create the look of slates in this wood grain die cut piece.  Add the bucket to the lower left corner of the card.

Use the Garden Notes Maidenhair Fern die set and die cut three small ferns.  Shape with the flower tool kit.  

Add the flowers, Maidenhair Fern, and Berry Sprays at the top of the bucket, as shown.  Tuck in the Daisy leaves.  

Use the General Sentiments stamp set for the sentiment on the lower right corner.

This card can be mailed in one of the acrylic boxes sold at Elizabeth Craft Designs.


Monday, July 2, 2018

Spring Flower Wreath


Today I have a card designed using Susan's new Garden Notes Flowering Trees of Spring die set along with two of her Garden Notes wreath sets.

The finished card measures 6x6 inches.

Cut a piece of the ModaScrap Relax In The Garden design paper 6x6 inches.  Distress the edges and sponge the edges with light brown ink.  Attach to the front of the card.

Use the Garden Notes Evergreen Wreath and the Garden Notes Grapevine Wreath die sets and die cut two each from these die sets, using brown card stock.  By using two different die cut wreaths, you can create a very full looking wreath.  Glue the wreath together, alternating the two different die cut wreaths, adding glue only to small areas in the center of the wreath.   Gently bend up the ends of the branches to give the wreath dimension.

Use the Garden Notes Flowering Trees of Spring die set and die cut enough petals to create 13 flowers.  Use white card stock and sponge light pink ink on the ends of each petal.  Shape the flowers with the Flower Tool Kit and assemble using Kids Choice Glue.  Die cut the stamens using light yellow card stock.  Use the Elizabeth Craft Designs Fine Pointed Scissors to split each projection in the stamen to make them thinner.  Add  little glue to the ends of the stamens and dip in yellow pollen.  Glue stamen into the center of each flower.  Attach the flowers to the wreath being careful not to mash down the shaped branches on the wreath.  Die cut the flower leaves, shape with the Flower Tool Kit and attach around the flowers.  Attach the wreath to the center of the card.

Use the Lovebirds die set and die cut once.  Sponge on color and attach in the center of the wreath.

 Use the Sentiments 2 - Just Because stamp and die set for the sentiment.  Die cut two extra pieces and glue to the back of the stamped sentiment, to give it dimension.  Attach to the upper left corner.

To finish the card, add a few sticky back pearls on each corner, as shown.

This dimensional card will mail nicely in one of the sturdy clear acrylic boxes linked below, or tie the box with ribbon and deliver it in person.

 Thanks for stopping by today.


LinkWithin

Related Posts with Thumbnails