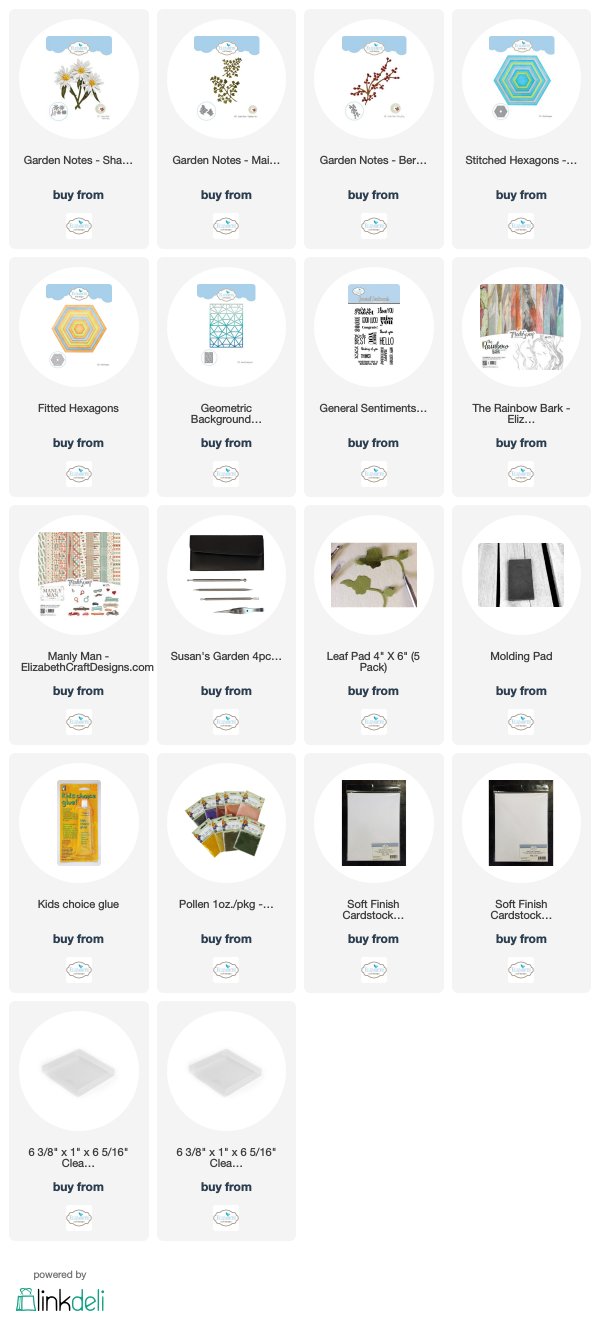
In our neighborhood you can see Shasta Daisies in almost every yard. Today I have designed a card using Susan's Shasta Daisy die set to create yellow daisies.
Begin with a 6 inch square card. Cut a piece of ModaScrap Manly Man card stock 6 inches square and distress the edges. Attach to the front of the card.
Use a piece of watercolor paper and Distress Inks to create a colored background. I used Spiced Marmalade, Crushed Olive and Mustard Seed. The Inks were pressed on a Teflon Craft Mat, Sprayed with water, then the watercolor paper pressed down in the ink until it was covered. I know you can't see all the colors because I ended up covering up most of this piece with the floral piece.
Use the Geometric Background die set to create a stencil. Use 100 lb Soft Finish Cardstock and die cut one background. Place the die cut down over the piece of watercolor paper you just colored. Use Faber Castell Whipped Spackle and fill in the die cut open areas of the Geometric Background stencil. Remove the stencil and allow to dry. Once dry, use a sponge to color the raised areas.
Use the Stitched and Fitted Hexagon die sets to create a narrow frame die cut using white card stock. Attach this frame over the Geometric Background created, making sure the inside of the Hexagon is filled with the background. Trim off the ends so that only the inside of the hexagon has the design. Attach this Hexagon in the center of the card front.
Use the Garden Notes Shasta Daisy die set and create three yellow daisies. Shape the flowers and leaves with the Flower Tool Kit. Glue the pieces together using the Kids Choice Glue. Add pollen to the center of each flower.
Use the Garden Notes Berry Spray die set and die cut two sprays, using brown card stock. Create berries using the Ripened Pumpkin Nuvo Crystal Drops. These sprays will be cut apart to add behind the flowers.
Use the ModaScrap Rainbow Bark card stock to die cut the Garden Notes Galvanized Bucket die set to die cut the bucket. I used a pencil to create the look of slates in this wood grain die cut piece. Add the bucket to the lower left corner of the card.
Use the Garden Notes Maidenhair Fern die set and die cut three small ferns. Shape with the flower tool kit.
Add the flowers, Maidenhair Fern, and Berry Sprays at the top of the bucket, as shown. Tuck in the Daisy leaves.
Use the General Sentiments stamp set for the sentiment on the lower right corner.
This card can be mailed in one of the acrylic boxes sold at Elizabeth Craft Designs.


1 comment:
I just love this! Beautiful!!!
Post a Comment