Sunday, December 20, 2020

Grand Piano Christmas Card


Today I created a Christmas card for my friend Pat who plays the Grand Piano.

For information on how to create the basic card, you can watch Susan's Garden Facebook Video at this LINK.  I used both black and white glossy card stock for the piano and the keys.

Old dies from Susan's Garden were used to create the bouquet.  I did not have sheet music to use on the inside of the card, like Susan did on her card.  I just added a sentiment in the upper right corner.


This is how I decorated the inside.  I used a now discontinued GinaK Foil Mate for the foiled circle greeting, and stickers for the upper corner.

Thanks for visiting.  Merry Christmas!


Sunday, November 29, 2020

Sweet Poppy Christmas Snowflake Flourish Stencil


Hello Friends,

I have been playing with the Sweet Poppy Snowflake Flourish Stencil.  I have seen many cards created with this stencil and have created a lot of cards with the same techniques I have seen, but today I wanted to come up with something totally different.  

When working with this metal stencil, I used the Totally Tiffany Magnetic  Design Board to hold the stencil in place.  I used purple removable tape to secure the stencil  down on a pearlized white card stock  and used Distress inks to brush on colors.  Different blue shades of ink were used for the bauble and ribbon, and green for the evergreen branches.  I used Picket Fence Life Changing Blender Brushed to apply the ink.  

Instead of stamping a design or sentiment in the bauble, I decided to pull out dies from  my stash, to  add a little dimension.  I have not used these dies in a long time and no longer remember the name of them. I have linked similar dies below. There are two layers of pine trees.  The trees were die cut using white card stock and lightly sponged with green ink.  The back row of trees was glued down.  The row of trees in the front, was attached with thin strips of dimensional tape.  The moose was die cut using white card stock and sponged with tan, brown and black ink. It was attached using dimensional tape.   I like to use the Waffle Flower Media Mat to place my die cuts on, to brush on ink. 

 A small poinsettia was created and attached at the top.   For the center of the poinsettia, I used Nuvo green and yellow Crystal Drops.  On a craft sheet I created small green dots.  When they were dry, I added a tiny drop of the yellow Crystal Drops.  

A Spellbinders die set was used for the Sentiment (linked below).  It was die cut using white card stock and attached with glue.

To give sparkle to the design, glue was added to the trees and sprinkled with glitter. I used the Nuvo Glitter Mister to mist on glitter.   Also glue was added to the sentiment, the evergreen branches and on the poinsettia and glitter added.  At the base of the trees, and under the moose, I used Nuvo Fresh Snowfall Glitter Accents.  This glitter is thick and added dimension.
  
This card is flat enough to be mailed in a regular envelope.

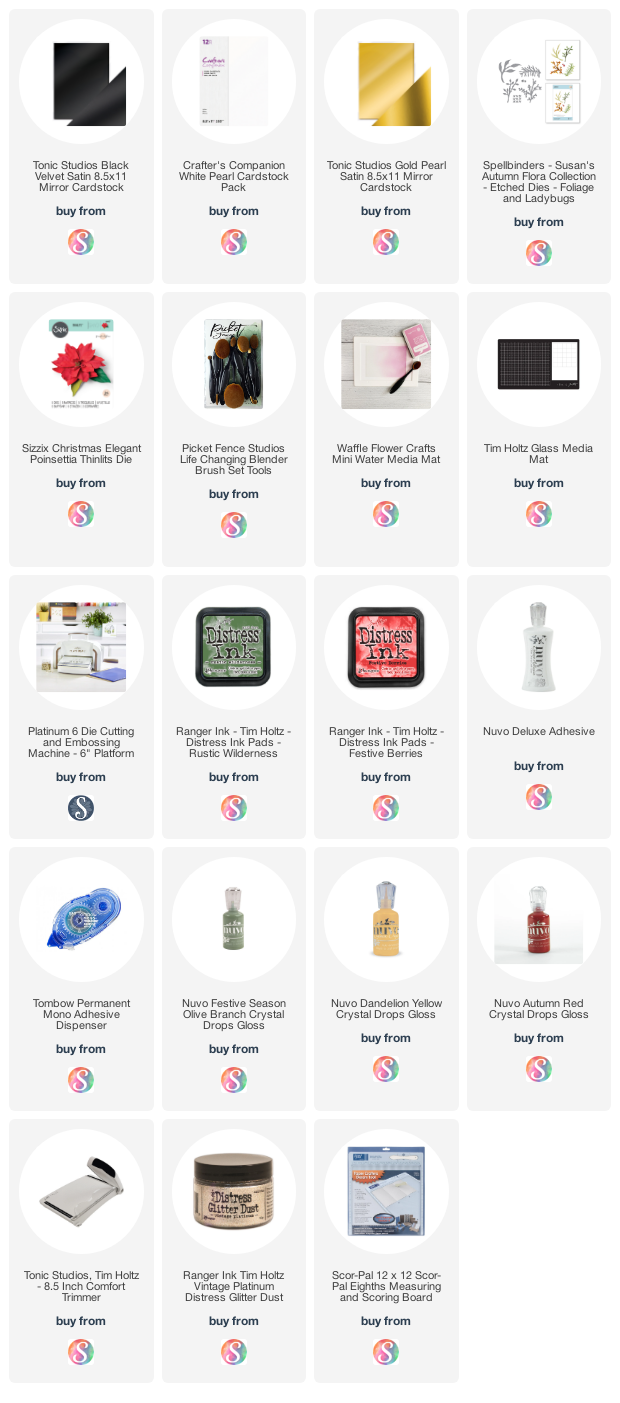
Links provided below for products used.  


Wednesday, November 11, 2020

Remember


Remembering our Veterans.    The poppy is the enduring symbol of remembrance of the First World War.  It is strongly linked with Armistice Day (November 11), but the origin as a popular symbol of remembrance lies in the landscapes of the First World War.  Poppies were a common site, especially on the Western Front.

I used Susan's Poppy die set to create five red poppies and several poppy buds.  In the background Susan's Foliage die set was used to die cut Rosemary and Berry Branches.  The red berries were created using the Nuvo Autumn Red Crystal Drops.  

The two white ovals were die cut using Spellbinders Elegant Twisted Oval die set. 

Gold mirror card stock was used to die cut three different sizes of stars.  The dies are old ones from my stash.  They were attached using dimensional squares.  

Three white pearls were colored with a red  marker and attached on the lower right side of the die cut ovals.

A thin gold mirror card stock was cut and attached above and below the poppy arrangement.

Suzanne Cannon's, A Way With Words, Remember die was used for the sentiment.

Today we honor you for serving our country and protecting our freedom.  Happy Veteran's Day! 


Saturday, November 7, 2020

Autumn Flowers


Hope you are having a nice weekend.

Today I have a card designed using Susan's Daisy Chrysanthemums, Coreopsis and Foilage die sets.

This is a 6 inch square card.  The design paper is from the First Edition, Gardenia, 12x12 design paper pad.  I found this pad at JoAnn's Craft Store.

The green die cut was created using the Spellbinders Candlewick Square die set.  It was attached using dimensional foam squares.

Susan's Foliage die set was used to die cut Eucalyptus Leaves and Berry Branches. Nuvo drops were used for the purple berries.

Susan's Daisy/Button Chrysanthemum die set was used to die cut the purple and coral flowers and her Coreopsis die set used for the two yellow flowers.   

Thank you for visiting my blog today.  


Saturday, October 31, 2020

Pink and White Arrangement on Textured Background


Good Morning.  Today I have a card with a variety of flowers made with Susan's Autumn Flora die sets:  Gaillardia, Daisy Chrysanthemums, Autumn Hydrangea, Rosemary and Berry Branches.

To create the background, I used a chicken wire stencil and taped it down on a piece of black card stock, then spread texture paste over it.  The stencil was removed and allowed to dry while creating flowers.  Once dry, the edges of this piece were distressed.

Using the Foliage & Ladybug die set, five rosemary branches were die cut, using white card stock and sponged green,  They were shaped with the leaf tool.  Two berry branches were die cut, sponged green and Nuvo Autumn Red Crystal Drops used to create the berries.  

A gaillardia, a pink and white daisy chrysanthemum and one autumn hydrangea were created for the arrangement.  Susan has YouTube videos for all her Spellbinders Autumn Flora die sets giving instructions on how to create all these flowers.

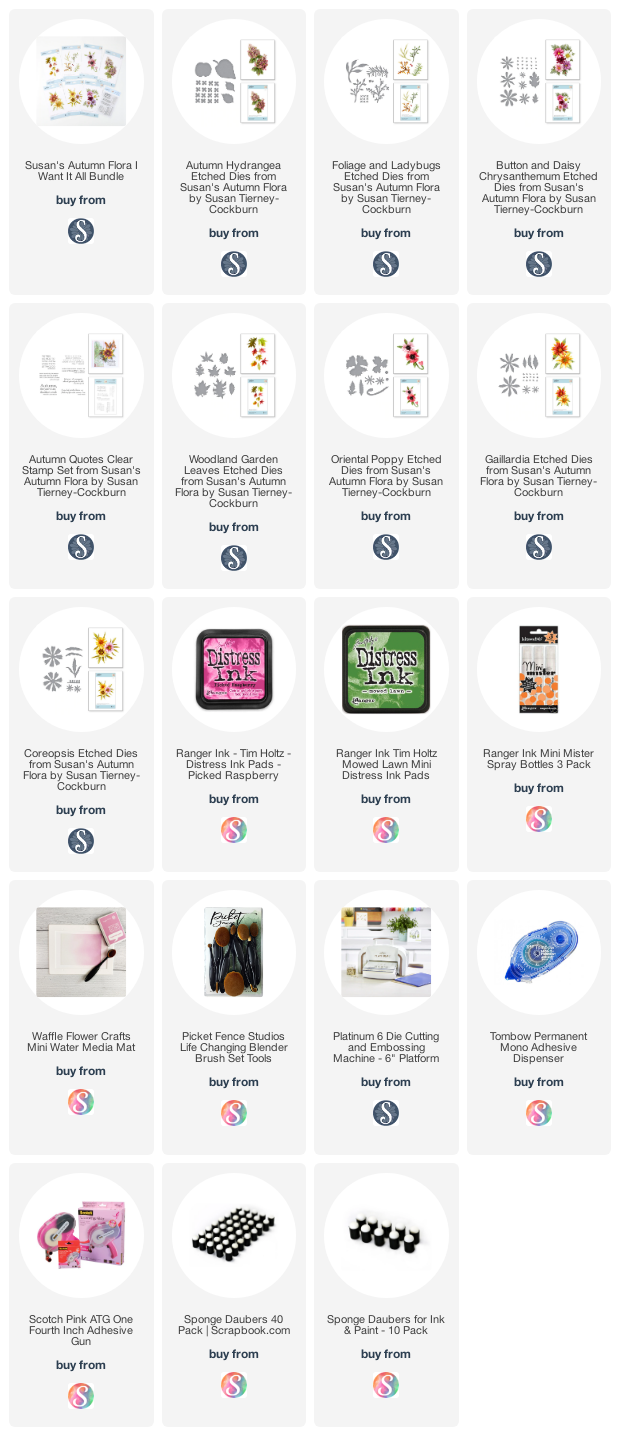
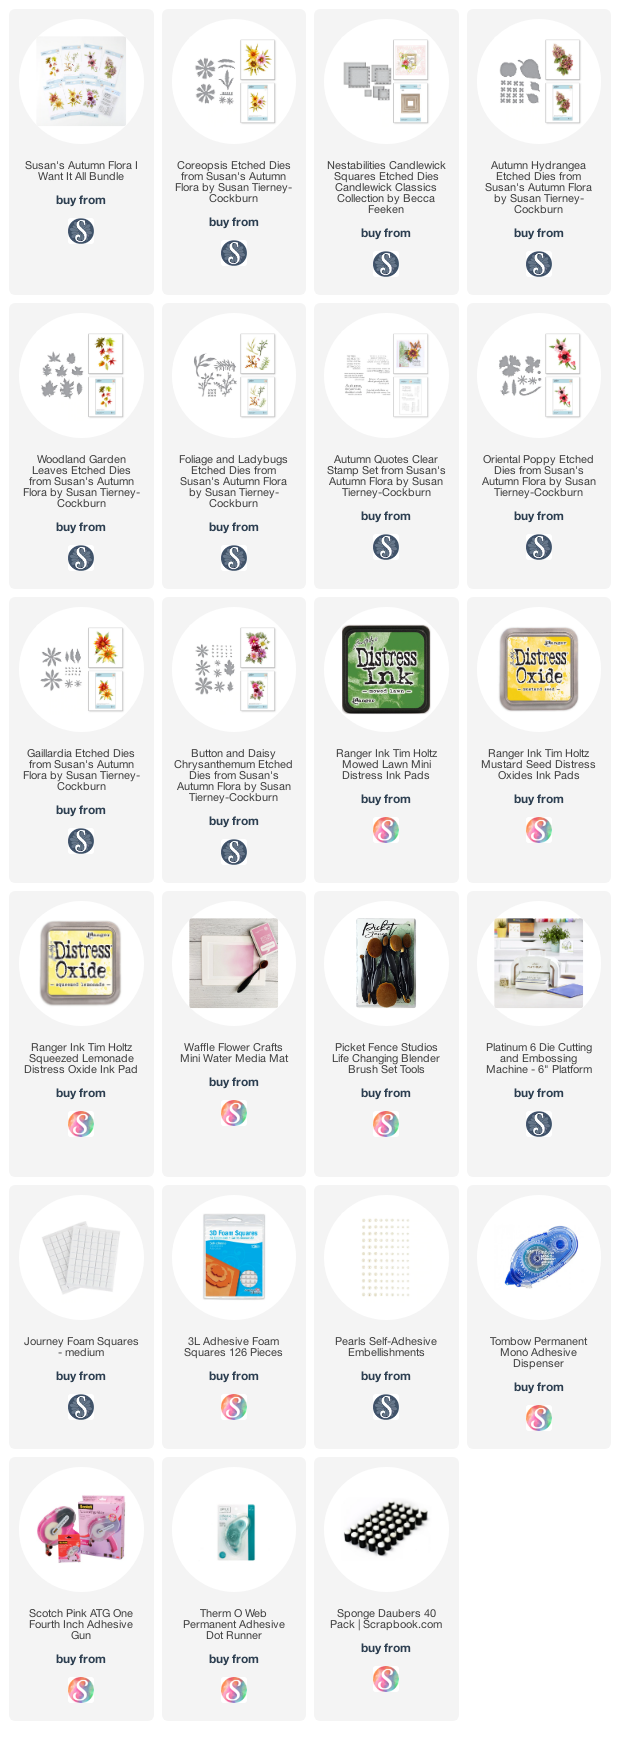
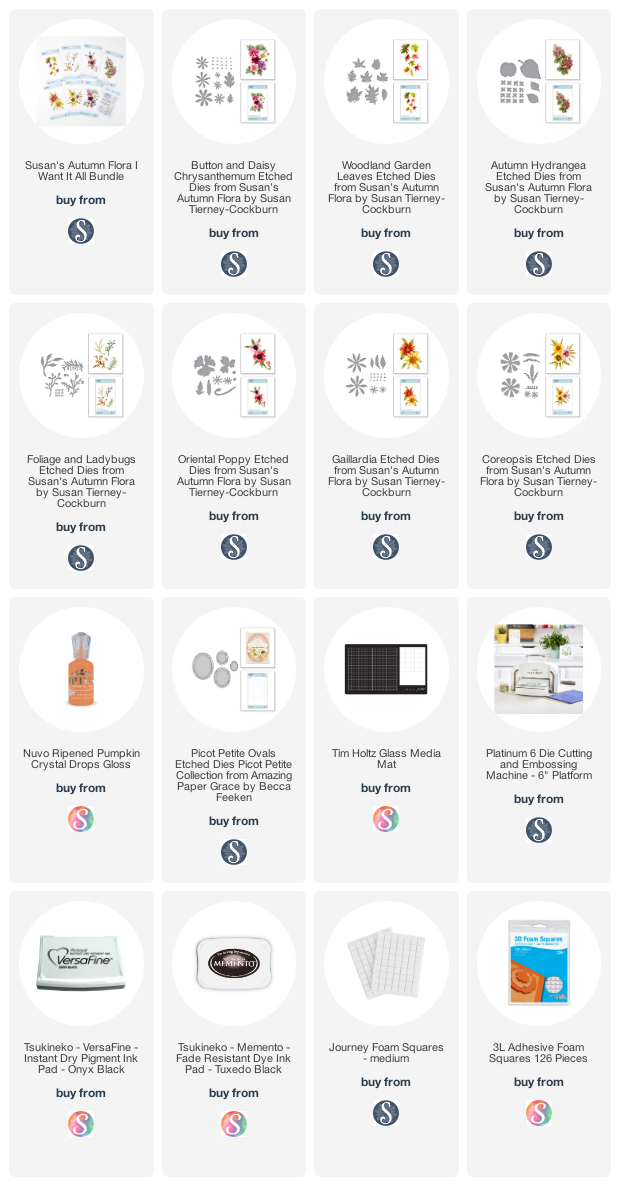
I have provided links below for Susan's Autumn Flora die sets and links to some products I use.  If you use any of the links below to buy products, I will receive a small commission, at no extra cost to you - this will  help me purchase products to create my cards.  Thank you in advance for your support.


Sunday, October 25, 2020

Shadow Box Bouquet


Good Morning!  

Today I have a Shadow Box Card.  The instructions for the Shadow Box are on Susan's Garden Club Facebook Video at this LINK.

To decorate the Shadow Box I used the Spellbinders Amazing Grace Annabelle's Trousseau and Adoria Square Shadowbox Frame Etched Die sets.  The corners are from the Annabelle's Trousseau die set and the pretty die cut in the center of the frame is the Adoria Square Shadowbox Frame Etched die cut.  They were both attached using Permanent Adhesive Dot Runner.  

Behind the flowers I added the leafy branch from Susan's Foliage & Ladybug die set.  Pink Nuvo Drops were added for the berries.

The flowers created for the frame include an Autumn Hydrangea, White Coreopsis, and pink Daisy Chrysanthemums.  These dies are also from Susan's Autumn Flora release from Spellbinders.

This is a 6x6 inch shadow box frame, which will fit into one of the clear acrylic boxes.  

Below are links to products used to create this project.

Thank you for stopping by today.


Wednesday, October 21, 2020

3-D Daisy Chrysanthemum Card


Good Morning,

Today I have a very different shaped card.  I used the Spellbinders, Amazing Paper Grace, Grand Holiday Cabinet die set for my card base.  This is actually a die set with a Holiday Greeting that is used on the front panel, but I eliminated that die cut piece and used the Cabinet die cuts to display purple Daisy Chrysanthemums using Susan's new Autumn Floral die sets.  It is nice to be able to get creative and use your dies for something other than what they were originally designed for!


Using the
Grand Holiday Cabinet die set, five panels were die cut without the sentiment die, using white card stock.  The larger outline die was used to die cut one purple backing.  You can see the different layers in the picture above.  

For the quote on the inside of the card, I used Susan's Autumn Quotes clear stamp set.  The quote was stamped on the die cut from the center of the decorative panels.  It was sponged around the edges with purple ink, using a sponge dauber, and attached on the back purple panel using Adhesive Foam Squares.  The die cut panels were then inserted in the side panels with one of the panels attached to the top.  This is a very easy cabinet to create.  I do recommend using a heavier card stock such as 100 lb.  

Using Susan's Foliage & Ladybug die set, four eucalyptus branches were die cut using white card stock.  Green ink was brushed on the stem and base of the leaves.  Two branches were attached to the upper left side of the cabinet, and two branches on the lower right side.  Using the same die set, a berry branch was die cut.  It was sponged with green and brown inks then white Nuvo Crystal Drops added for berries.  The branch was cut apart and pieces attached over the eucalyptus leaves.

Susan's Button/Daisy Chrysanthemum die set was used to create three purple daisy chrysanthemums. Two shades of purple ink was brushed on to color the flowers.   Prills were added to the center.   The chrysanthemum leaves were sponged green, shaped and placed under the flowers.

This card folds flat and will fit into a clear acrylic box, but is a 3-D card that is beautiful when opened and will display well on a shelf or mantel.  

Links to the products used are shown below.  If you use any of the links to purchase products, I will earn a small commission that will help me replenish my supplies, but this does not cost you anything extra.  I appreciate you visiting my blog today and thank you for your support.


Saturday, October 17, 2020

Coreopsis


This is a 6x6 inch card.  On the front I added a piece of rust colored card stock cut slightly smaller.  It was embossed with an old embossing folder in my stash.  

The Spellbinders Amazing Grace Picot Petite Oval Etched die set was used for the white die cut behind the arrangement.  It was attached with dimensional tape.

The Foliage & Ladybug die set was used to die cut the berry branch.  It was sponged brown.  The plate of bittersweet coverings was used to die cut pale yellow coverings.  I colored small white pearls with alcohol markers and used them for the berries.

The Foliage & Ladybug die set was used to die cut two more berry branches.  These branches were sponged brown then green ink sponged on top.  Nuvo Pumpkin Crystal Drops were added for the orange berries.  

The Foliage & Ladybug die set was used to die cut two eucalyptus branches.  They were sponged light green.  

The Coreopsis die set was used to create yellow and orange flowers.  

Susan's Autumn Quotes stamp set was used for the quote.  


Tuesday, October 13, 2020

Wreath


With Susan's new Autumn Flora die sets from Spellbinders, there are so many different arrangements you can create for your cards or craft projects.  Today I created a wreath using Susan's Nandina die (leafy branch)  from her Foliage & Ladybug die set.  

The Nandina was die cut using white card stock.  All the branches were brushed with green ink then red ink was brushed over the green ink on half the branches.  In the Fall, these branches can turn bright red.  The branches were then arranged in the shape of a wreath on a piece of design paper.  The green and red branches were alternated around the wreath.

Very soon, Spellbinders will be adding the white card stock Susan uses for die cutting her flowers as well as the Pollen used for the stamens.  As soon as these products are available, I will link them down below in my product list.  

The Berry Branch, from the Foliage & Ladybug die set was die cut and red berries were added.  I used Autumn Red Nuvo Crystal Drops for the berries.  Be sure to prepare these branches in advance so the berries can dry before adding them to your card.  

Pink and white Daisy Chrysanthemums were created using the Button/Daisy Chrysanthemum die set.  The flowers and leaves were arranged on the wreath.  For instructions on how to create the Daisy Chrysanthemums, you can watch Susan's YouTube Spellbinders Daisy Chrysanthemum video at this LINK.

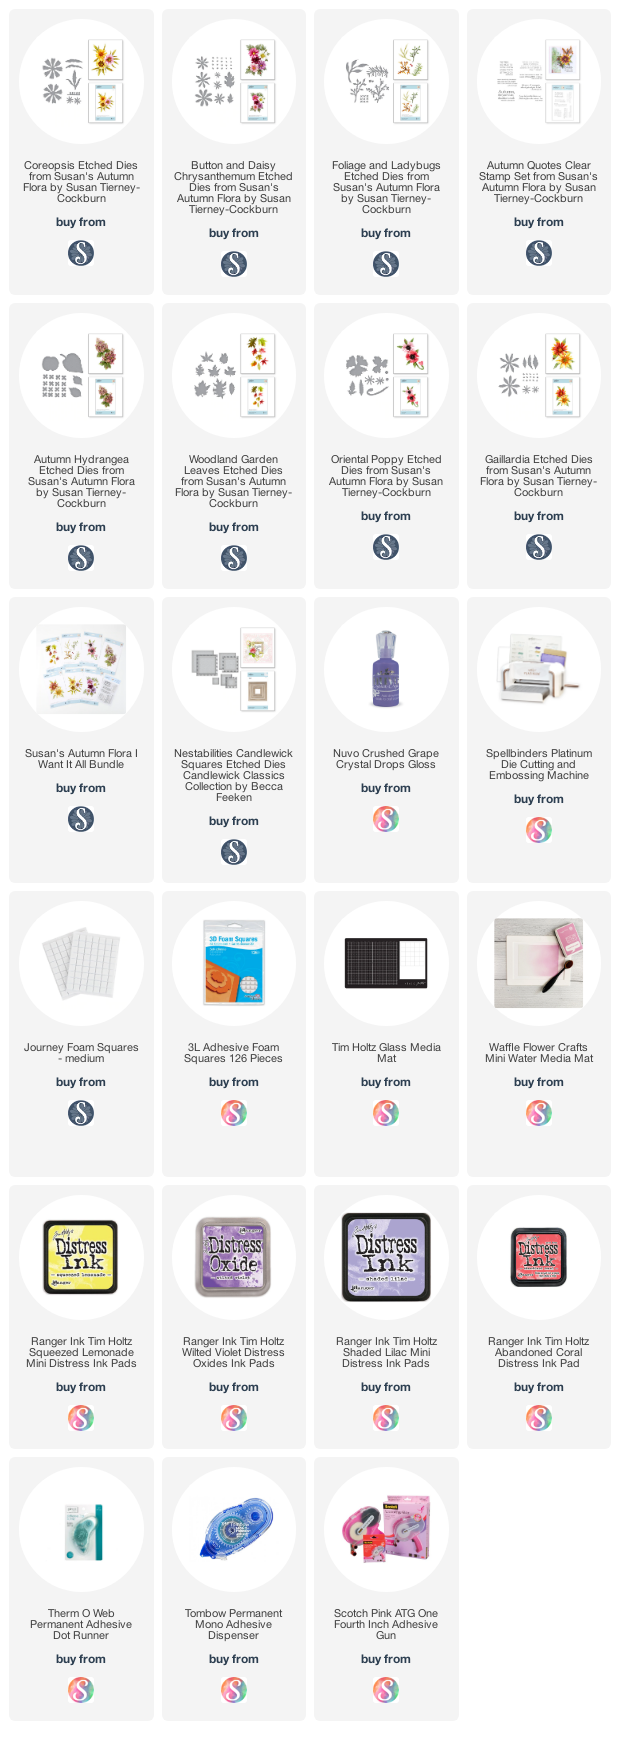
I have linked products I use below.  If you purchase from these links, I will receive a small commission, with no additional cost to you, to purchase supplies I need to complete my cards.  Thank you for visiting my blog and for your support.

Have fun crafting!


Friday, October 9, 2020

Poppies


Poppies are such pretty flowers.  Today I created pink and burgundy poppies using Susan's new Poppy die set from Spellbinders.

For the background I used Spellbinders Vintage Starburst Valance & Gatefold die set.  On the top portion of the card stock, the starburst was die cut into a piece of white card stock.  For the colorful background, I used a piece of glossy card stock and sprinkled on Nuvos Shimmer Powders, Cherry Bomb and Meterorite Shower.  First the card stock was spritzed with water using one of the Ranger Mini Mister Spray bottles, then the Shimmer Powders added and spritzed again.  This background was attached to the back of the die cut opening, then attached to the card front.

Susan's Foliage & Ladybug die set was used to die cut 5 eucalyptus branches.  These were attached below the die cut design.  Two berry branches were die cut and White Nuvo Drops were added for the berries.  A black fine tip pen was used to add the black dot in the middle of each berry.  

The five poppies were added along with two poppy buds. For the poppy assembly, you can watch Susan's YouTube Video at this LINK. The poppy leaves were added around the flowers.

To finish off the design, a velvet bow was added at the bottom of the arrangement.

This card is going to a dear friend who just lost her mother.   


Monday, October 5, 2020

Framed Autumn Flowers


Today I have a framed autumn arrangement.  On Susan's Garden Club Live Facebook video she gave instructions on how to create this frame.  

After completing the frame, the Spellbinders Adoria Square Shadowbox die cut was used for the background.  It was die cut using white card stock then sponged with Distress Tea Dye Ink.

The Button/Daisy Chrysanthemum die set was used to create five flowers and the Gaillardia die set used to create one larger flower.  

Behind the flowers the Foliage & Ladybug die set was used to die cut Rosemary, a berry branch and the ladybug.

The Woodland Garden Leaves die set was used to die cut maple and oak leaves.  These leaves were colored autumn colors then a clear glaze was brushed on top.

Susan's Autumn Quotes stamp set was used for the quote at the top of the arrangement.  At the bottom of the arrangement, gold cording was used for the bow.

Thanks for stopping by today.  

Product links are provided below.


Friday, October 2, 2020

Pink Daisy Chrysanthemums


Would a bouquet of Daisy Chrysanthemums handed to you make you smile?  

This was a fun card to design.  Using a 6 inch square card base, a piece of pink design paper covered the front.  The Spellbinders Picot Petite Oval die set was used for the large oval.  The Spellbinders Handing You A Smile die set was used for the hand.  It was die cut using two shades of light tan card stock.  Pink Pearls were added to the wrist.  White pearls were used,  that were colored with a pink Copic marker.

Susan's Button/Daisy Chrysanthemum die set was used to create three pink daisy chrysanthemums. They were die cut using white card stock then sponged with two different shades of pink ink.   In the center of the daisies, yellow Prills were added.

The Foliage & Ladybug die set was used to die cut four branches of leaves.  They were sponged green and then shaped with tweezers.  One of Susan's old bouquet stem die sets was used for the flower stems. (There is a flower stem in this die set.) The stems were attached behind the fingers of the hand, with glue.  The hand was attached with dimensional squares, to give it dimension.  The leafy branches were glued behind the top of the flowers.  Spellbinders Becca Feeken's Annabelle's Trousseau Layering Frame die set was used for the corners and the die cut design at the bottom of the card.  Part of the larger die cut was cut down a little, to fit on this card.  A few pearls were added to the corners. 

I appreciate your visit to my blog.  I have added links to products below that I use.  If you purchase from my links, I will receive a small commission without any extra expense to you.  This little commission helps me replenish my supplies. 
Thank you.
    

Wednesday, September 30, 2020

Z-Fold Card with Button Chrysanthemums


Today I have a Z-Fold card decorated with Button Chrysanthemums. 

To create the Z-Fold card, I watched Susan's Garden Club Live Facebook Video for instructions.  I created my card slightly different.  This is a very easily created card I know you will enjoy making.  

I used a piece of foiled design paper to decorate this card (DCWV Preserved Paper Pack).  The strip at the bottom is the backside of the same piece of design paper.  To add a finished appearance, a thin strip of gold mirror card stock was attached at the bottom of the strip across the bottom, to match the gold design in the design paper. 

On the inside of the card, I used the Spellbinders Elegant Twist Square die set.  In the smallest square die cut, one of the quotes from Susan's Autumn Quotes clear stamp set was gold embossed.  A piece of gold Mirror card stock was cut slightly larger than the Elegant Twist Square.  The gold square was attached to the card front and the Elegant Twist Square was attached with Foam Squares.


Susan's Foliage & Ladybug die set was used to die cut Eucalyptus leaves, the Berry Branch, and the Ladybug.  All these pieces were die cut using white card stock and color sponged on.  For the Bittersweet, the small shell covering were die cut using light yellow card stock and tiny pearls were added for the berries.  The berries were colored with Copic markers.  The ladybug was colored with a red marker and detailed with a black fine line pen.  Once glued to the leaf, clear glaze was added.

Using the Button/Daisy Chrysanthemum die set, three Button Chrysanthemums were created.  The leaves were sponged green and highlighted with brown ink.


This is a 6x6 inch card when folded flat and will fit in an acrylic box for mailing.

Thanks for visiting my blog today.  Hope I inspired you to try creating this fun card.

Product links are below.


Sunday, September 27, 2020

Framed Hydrangeas


Today I created a card using the Autumn Hydrangea, Daisy Chrysanthemum, and Foliage & Ladybug die sets.


For the background, I used a piece of pretty design paper from my stash.  

The Foliage & Ladybug die set was used to create four eucalyptus branches, a rosemary branch and a berry branch.  Pink Nuvo Crystal Drops were used to create the berries.

Two Autumn Hydrangeas were created using Susan's new die set.  To color the petals, I sponged two shades of pink and light green onto a piece of off white card stock, then the petals were die cut.  Susan has instructions on how to create this beautiful flower on YouTube at this LINK.   

Using the Button/Daisy Chrysanthemum die set, two different shades of pink daisies were created.  Prills were added in the center.  

Using the ladybug die from the Foliage & Ladybug die set, the larger ladybug was used for this card.  It was colored red, detailed with a black marker, and clear glaze added for a shine.  

In the middle of the design paper, the medium size Spellbinders Elegant Twisted Oval die cut was added.  It was die cut from white card stock and the edges sponged with gray ink.  Unfortunately, it is hard to see this die cut in the photo.

The Eucalyptus leaves were added at the top of the oval and a couple were tucked under the edges of the oval.  The berry branches were added over the eucalyptus, and the rosemary branch added on the right side.  The hydrangeas and daisies were added and leaves for each attached under the flowers.  The ladybug was added last.

On Susan's Garden Facebook Live video, she shows how to create frames.  The card was attached to the back of the frame.  

This framed arrangement is going to my daughter for her birthday.

Thanks for stopping by today.  Product links are provided below. 


Saturday, September 26, 2020

Coreopsis


Another pretty flower in Susan's new Autumn Flora die sets is the Coreopsis.  Today I combined this pretty flower with the leafy branch and berry branch.

This is a 6x6 inch card.  It is covered with a piece of card stock from the Carta Bella Paper Co paper pad called Botanical Garden.  I scored around the edges for a finished appearance.

For the green background, use the Spellbinders, Amazing Grace Candlewick  Square die set.  Die cut the larger square and the medium square.  The larger square was glued to the design paper using a Permanent Adhesive Dot Runner.  If you use the  Dot Runner, you can roll it across the die cut design, around the edges, and it only sticks on card stock - not showing in the open die cut area.  The medium square was attached in the middle using foam squares.  

Using the Foliage & Ladybug die set, die cut the leafy branch, which is called Nadina.  The branches are die cut using white card stock.  I like to lay the die cut on a Waffle Flower mat and brush on the color.  This mat holds the die cuts in place while brushing on the color.  The leaves are then shaped using the tweezers.

Using the Foliage & Ladybug die set, a Berry Branch was die cut.  It was sponged with a combination of brown and green inks.  For the berries, white pearls were colored with a red alcohol marker.

Using the Coreopsis die set, pieces were die cut to create three flowers.  The petals were sponged with Squeezed Lemonade Distress Ink on the Waffle Flower pad.  In the center, a red and burgundy marker was used to color up from the base of each petal.  On the tips of each flower petal, Mustard Seed Distress Ink was sponged, for a highlight.  The center of the flower was shaped and yellow Pollen added to the tips.  The leaves were die cut, colored shaped and attached under the flowers.  

Thanks for stopping by today.   

I have added links to products below.  If you shop through the links provided below, I will receive a small commission at no extra cost to you.  This helps me replenish supplies for creating my cards.  Thanks so much for your support.  


Friday, September 25, 2020

Chrysanthemum & Pumpkin


Another Autumn card designed using Susan's Autumn Floral die sets from Spellbinders

A Daisy Chrysanthemum was die cut using white card stock and sponged with Crackling Campfire and Mustard Seed Distress Inks.  In the center of the flower, bronze and black Prills were added.

The pumpkin was created using one of the dies from the Autumn Hydrangea die set.  It was die cut using white card stock, lines drawn with the Leaf Tool, and sponged using Distress Inks.  

The Foliage and Ladybug die set was used for the eucalyptus and berry branches.  Nuvo Pumpkin Crystal Drops used for the berries.  

The dollies behind the arrangement were die cut using the Spellbinders, Amazing Grace Picot Petite Ovals Etched die set.  On the smallest oval, is the word stamped from one of the stamps from Susan's Autumn Quotes stamp set.   

Happy Fall!

Product links are shown below.


LinkWithin

Related Posts with Thumbnails