Wednesday, March 27, 2019

English Rose


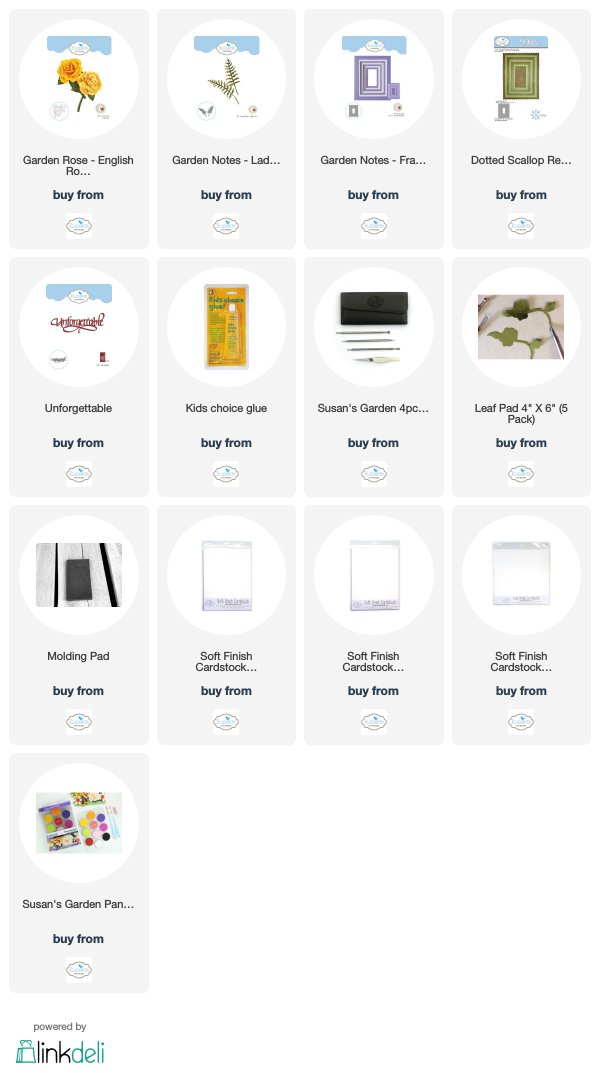
I love creating roses with the Garden Notes die sets.  Today, my rose was created using the Garden Notes English Rose die set.  

This is a 6-inch card.  Cut a piece of white card stock 5 3/4 inches square and score around the edges.  Attach to the front of the card.

Use a piece of watercolor paper and create a water colored background.  Use yellow, orange green and blue Distress Inks.  

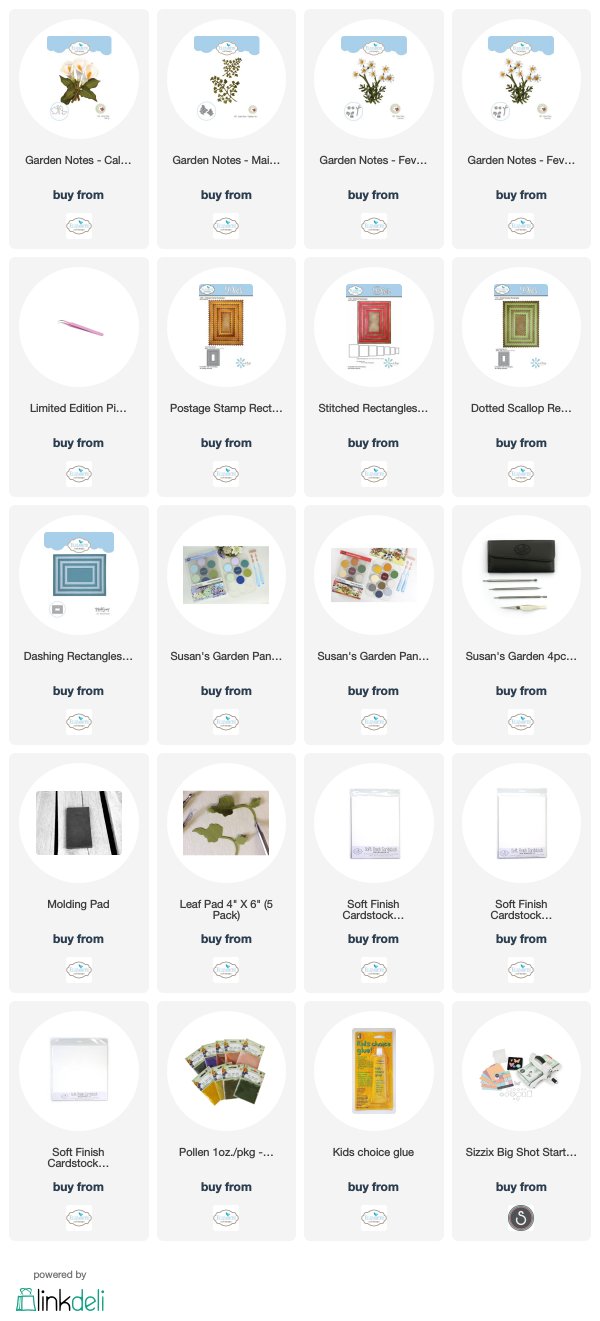
Die cut the rectangle frames using the Garden Notes Frame It/Stitched Rectangle die set for the smaller frame.  Use two Stitched rectangles and place smaller die inside larger rectangle die, run through die cut machine to create the narrow frame.  Use the Dotted Scallop Rectangle set to die cut a slightly larger backing.  Attach the watercolor background behind the Stitched Rectangle, then back with the Dotted Scallop Rectangle.  Attach to the front of the card as shown.

Use the A Way With Words Unforgettable die set and die cut it twice, using black card stock.  Glue the two die cuts together for dimension,  and attach below the frame.

Use the Garden Notes Ladder Fern die set and die cut three ferns, using green card stock.  Use a brown marker to color down the center of each fern.  Attach the ferns to the right side of the frame. 

Use the Garden Notes English Rose die set and create one rose and one bud. I used Foamiran to create this flower.   I blended yellow, orange and red PanPastels to color this rose. I really love how you can blend PanPastels to achieve the color you want.  I used a Swifter Sheet to wipe up any loose PanPastels on my work area.  Die cut the leaves, shade  using PanPastels, and shape.   Attach the rose, bud and leaves in the lower right side of the rectangle. 

Susan has a series of videos on how to create flowers, using her dies, on her Facebook Susan's Garden Club at this LINK.

This card can be mailed in one of the clear acrylic boxes which are linked below.


Saturday, March 23, 2019

Yellow Calla Lilies


Good Morning.  I hope you are having a nice weekend.

Create the layered background for this card by using four of the Elizabeth Craft Designs rectangle die sets.  Use the largest Stitched rectangle and die cut one rectangle, using white card stock.  Use the Postage Stamp die set for the next rectangle, the Dashing Rectangle one size smaller than the Postage Stamp,  then the Dotted Scallop Rectangles.  Sponge the edges of the largest rectangle using yellow green ink.  Sponge the Postage Stamp rectangle using yellow ink.  Leave the edges of the Dashing Rectangle white.  Sponge yellow green ink on the edges of the small Scallop Rectangle.  Layer all the rectangles together, using dimensional tape.  Attach the rectangles to the front of the card.

Use the Garden Notes Maidenhair Fern die set and die cut 2 large and 2 small ferns.  Attach to the front of the card, inside the smallest rectangle.  I die cut the leaves using white card stock and sponged on green ink.  Use the Fine Pointed Tweezers to pinch each of the leaves on the fern to create dimension.

Use the Garden Notes Calla Lily die set and create three lilies.  I used yellow card stock to die cut the flowers then used the yellow orange PanPastel to shade the inside of each flower.  Shape the flowers using the Flower Tool Kit. Shade the base of the lilies using Yellow green then darker green PanPastels.   Die cut the stamen using white card stock.  Color the top with a yellow marker and the stem with green ink.  Shape the stamen and glue the two pieces together.  Add yellow Pollen to the stamen. Push the stamen down inside the lily. Attach the three flowers over the Maidenhair Fern.  Die cut the lily leaves, shape, and attach to the base of the flowers.  

Use the Garden Notes Feverfew die set to create the 6 little white flowers.  Glue the white flowers around the calla lily arrangement.

Create a bow and attach to the base of the flower arrangement.

Links to the products used are listed below.


Tuesday, March 19, 2019

I Am Wild About You


Today I have a cute card created with some of the Joset Designs die sets.  This card can be used for a birthday card and later framed for a child's room.

This is a larger card than I usually create.  I folded a piece of 8 1/2 x 11 inch card stock in half.

To create the cloudy sky, use the Garden Notes Earth & Sky Stencil and blue ink to sponge the color across the upper 3/4 of the card.  Sponge green ink on the lower portion of the card front.

Use Joset's Lion/Tiger die set and create both the tiger and lion.  I cut all die cuts out using Soft Finish White Cardstock and sponged on color.  Assemble both animals.  Use dimensional tape behind the head of the lion. 

Use Joset's Giraffe die set and create the giraffe.  

Use Joset's Tree die set and create the tree.  Attach the tree in the center of the card and attach the green leaves.

Use the Tree die set and die cut three lengths of grass.  Sponge on green ink then use the Fine Tipped Scissors to cut each blade of grass in half.  Attach grass across the length of the bottom of the card.  Attach the animals as shown, using dimensional tape.  Cut pieces of additional grass and tuck in around the animals.

Use Joset's Safari Sayings stamp set and stamp the sentiment in the upper right corner.


Saturday, March 16, 2019

Crocus in Crate


Spring should be just around the corner!  Today I have a crate full of pretty crocus.  

This is a 6-inch square card.  A piece of embossed white card stock was cut 5 3/4 Inches square and attached to the font of the card.  

Use Soft Finish True Green Cardstock and the A Way With Words 4-Seasons die set to die cut the sentiment.  Use the same card stock and the Corners 1 die set and die cut 2 corners.  Attach the corners on the top of the card and center the sentiment between the corners.

Use the Garden Notes Wooden Fruit Crate die set and die cut two crates.  Attach the die cut s together, for dimension.  Cut a piece of Chocolate Cardstock to fit behind the crate and glue to the back.  Attach the crate to the bottom of the card.

Use the Garden Notes Crocus die set and die cut enough pieces to create 16 flowers.  Die cut 8 flowers using bright yellow card stock and 8 flowers using lavender card stock.  Shade the base of the lavender flowers with a darker purple ink then use a white gel pen to draw lines up from the base to the top of each petal.  Shape all the petals using the small loop tool in the Flower Tool Kit  Glue the petals together, cupping well.  Snip the ends of the stamen with the Fine Pointed Scissors.  Dip the stamen piece in glue then in Yellow Pollen.  Allow the glue/pollen to dry on the stamen.  Once the glue is dry, roll the stamen with the tweezers and insert into the center of the crocus.  

Die cut the leaves and stems for the crocus.  Use the leaf tool and draw a line down each leaf.  Use a white gel pen to add white lines down the leaves.  

Attach the stems, flowers, and leaves inside the crate, adjusting the size of the stems so the flowers are at different heights.  Attach leaves all coming from the very bottom of the stems and with some behind the shorter flowers.

I added some very fine beads inside the crate, to resemble sand.

This card can be mailed out in one of the clear acrylic boxes, which are linked below.

HAPPY SPRING!


Friday, March 15, 2019

Lupine


Another new Garden Notes die set was used to design this card - Lupine/Bluebonnet.  

This is a 6-inch card.  Cut a piece of white card stock 5 1/2 inch square.  Use Oxide Distress Ink Sprays and lightly spritz Picked Raspberry and Wilted Violet on this square, to create a speckled background.  Dry with heat tool and attach to the front of the card.

Use the Garden Notes Wooden Fruit Crate die set for the container for the flowers.  Die cut two crates and glue together.  Color with markers or inks.  I sponged Distress Oxide Tea Dye and Walnut on the die cut.  Use a piece of Cafe au Lait cardstock and cut a piece to layer behind the crate.  Glue the crate to the background.  Attach to the bottom of the card.

Use the Garden Notes Lupine/Bluebonnet die set and create one purple and one pink Lupine. Use the Flower Tool Kit to shape the flowers and Kids Choice Glue to assemble. Attach the flowers in the crate.  Attach the leaves at the base of the flowers.  

Use the Garden Notes Forsythia die set and create one stem of flowers.  Attach between the Lupine.

Use the Garden Notes Pansy die set and create 6 violets.  Color with markers.  Shape with the Flower Tool Kit.  Add a Yellow Prill in the center of each flower.  

Use the Corners 1 die set and die cut two white, and four Lavender corners.  Glue two lavender corners over a white corner, for dimension, and attach to the top of the card.  Add silver line stickers as shown.

For detailed information on how to assemble flowers in the Garden Notes collection, go Susan's Garden Club Facebook page.  Click on videos to see the list of videos.

This card can be mailed in a clear acrylic box, which is linked below.

I appreciate you visiting my blog.  


Wednesday, March 13, 2019

Follow Your Dreams


Today I have a floral card that includes Calla Lilies, a Dahlia and Baby's Breath  For fillers I used Ladder Fern and Leafy Berry Branch.


The Calla Lily is a new Garden Notes die set.  Susan's will be doing a LIVE Garden Club Video showing how to assemble the Calla Lily.  You can also scroll down through her videos to find videos for most other flowers in her collection.


For this card, one purple Dahlia was created with the Garden Notes Dahlia die set.  One branch of the Baby's Breath was created and cut apart to attach behind the Dahlia.

Use the Garden Notes Calla Lily die set and create three Lilies.  For this color of Calla Lily, use white card stock and shade both the inside and the outside of the lily with two shades of purple ink, leaving the edges white.  Use a purple marker to add some small dots on the inside.  For complete instructions on how to create the Calla Lily, watch Susan's  Garden Club Video.

Also added in the arrangement are Garden Notes Ladder Ferns and Leafy Berry Branch. Use Lavender Nuvo Crystal Drops for the berries.

The sentiment is from Joset's Dream Sentiments clear stamp set.  It was  white embossed on Lavender Cardstock.  

Links to the products used are listed below.


a

Tuesday, March 12, 2019

Calla Lillies


Today I have another card designed using the new Garden Notes Calla Lily die set from Elizabeth Craft Designs.  

For the background, use a piece of watercolor paper.  Die cut this piece using the Dotted Scallop Square die set - Use the largest die.  Use Nuvo Blue Blitz and Green Parade Shimmer Powders.  These powders have a beautiful pearl shimmer.  Spritz the watercolor paper with water and lightly shake a little shimmer powder onto the wet paper. The powder will burst with beautiful color. You can spritz again with water.  Dry this piece and attach to the front of a 6-inch card.  

Use the Garden Notes Ostrich Fern die set and die cut 3 ferns.  Shape using the Flower Tool Kit.  Attach to the upper left corner down toward the lower right corner.

Use the Garden Notes Calla Lily die set and create three flowers.  Attach the flowers as shown. Add a shimmery white bow at the base of the flowers.  Glue leaves under the bow.

Use the Words 4 - Remember die set for the sentiment.  Die cut the sentiment 3 times and glue them together for a dimensional appearance.  Glue to the upper right corner.  

This card can be mailed in one of the larger clear acrylic boxes, which is linked below.

Thanks for your visit.


Flame Lily


I have never seen a Flame Lily. I am not sure I assembled these flowers correctly but Susan will have a video on her Susan's Garden Club Facebook page soon with instructions.  She adds new live videos on Facebook Wednesday mornings.


Here is the packaging picture of the Garden Notes Flame Lily.   


This is a 5 x 7 inch card. 
 I used a 3-D embossing folder to emboss the white background. 


Since I have never seen a Flame Lily, I did a research and found this picture of a flame lily and tried to duplicate it.  

Using the Garden Notes Flame Lily die set, pieces were die cut to assemble three flowers.  All pieces were die cut using white card stock and colored using markers.  The petals were shaped using the Flower Tool Kit, and assembled using Kids Choice Glue.  Pollen was added to the ends of the stamen.   

The A Way With Words Get Well Soon die set was used to die cut the black sentiment; it was attached using glue. 

Thank you for stopping by today.  Links are provided below for the products used.


Monday, March 11, 2019

Cosmos


Today I have a card designed using the new Garden Notes Cosmos die set from Elizabeth Craft Designs.

This is a 6-inch card.  Use a piece of white and a piece of black card stock to create the Oval frame.


Use the Garden Notes Frame It/Stitched Ovals die set and die cut an oval toward the right side of a 5 1/2 inch square piece of card stock.  Use one size smaller Garden Notes Frame It/Stitched Oval on a piece of black card stock.  Center the black card stock behind the white card stock tape the smaller die to the black card stock centering it inside the white die cut opening.  Remove the white card stock and die cut the black card stock.  You will have a perfectly framed oval opening. Glue the black oval,  behind the white oval, centering the black oval evenly inside the white oval.

Use a piece of watercolor paper to create the background for the oval opening.  Press blue, green and pink inks onto a craft mat, spritz with water and press the watercolor paper into the ink.  Add a much ink as you like.  Dry the ink with a heat tool.  Attach to the back of the oval opening, using dimensional tape.  

Use dimensional tape and attach the oval frame to the front of the card.  Use black line stickers around the edge of the raised panel.  

Use Suzanne Cannon's A Way With Words Soar Collection stamp set and stamp the sentiment on white card stock, using VersaFine Ink.  Clear Emboss.  Use the Stitched Oval Die Set and die cut the sentiment.  Use the small butterfly in the Soar Collection stamp set and stamp it above the sentiment.  Use the large butterfly in this stamp set and stamp on the outside of the oval, as shown.  Lightly sponge pink ink around the edge of the sentiment oval.  Attach in the center of the opening in the oval.  


Use the Garden Notes Cosmos die set and create seven flowers.  Color using markers,  or  sponged on ink and assemble using the Flower Tool Kit.  For details on the petals, I used colored pencils. Use Kids Choice Glue to attach two sets of petals together, off setting the petals.  Use the Fine Pointed Scissors to cut each of the points on the circle and straight stamen die cut pieces.  Roll the straight stamen, using the tweezers in the Flower Tool Kit, and glue using Kids Choice Glue.  Shape the round stamen pieces using the ball stylus.  Dip the tips of the stamens in Yellow Pollen, add a tiny bit of glue to a few points and dip in Brown Pollen. Attach two round stamen die cuts in the center of the flower, then glue in one rolled stamen in the center of the round stamen to create a full round stamen.

You will find instructions for assembling Garden Notes flowers on Susan's Garden Club Facebook page.

Thank you for visiting my blog.  You can shop for the products used by clicking on the links below.


Saturday, March 9, 2019

Ranunculus


I hope you are enjoying seeing all the new dies in the Garden Notes Collection at Elizabeth Craft Designs.  Today I have a card created with the new Ranunculus die set.

The Ranunculus is a flower that has many petals that are formed close together and come in many different colors -- red, wine, orange, pink, yellow, and white.  

For the background for these flowers, use a piece of watercolor paper.  Die cut it using the largest die in the Dotted Scallop die set.  Use Cherry Bomb and Green Parade Nuvo Shimmer Powder to color. These powders leave a beautiful shimmer.  Spritz the watercolor paper with water, tap on the Shimmer Powders.  Spritz the powders with water and allow the color to move around.  Use a Heat Tool and blow the colors around until the card stock is dry.  If you heat the watercolor paper on both the front and back, it will flatten out if it curls.  Layer this piece on top of a piece of Misty Mauve Soft Finish Cardstock.

Use the Garden Notes Maidenhair Fern die set and die cut three ferns.  Use green card stock and shade with Green PanPastels.  Shape leaves using the leaf tool and then pinching each leaf with the tweezers in the Flower Tool Kit.  Attach two ferns on the left side of the card, as shown, and one down in the lower right corner.

Use the Berry Branch die set and die cut two branches.  Add Red Berry Nuvo Crystal Drops for the berries.  This branches will be cut apart to go behind the flowers.

Use the Garden Notes Ranunculus die set and create two wine colored flowers and two buds.  I use wine colored card stock.  The center of the Ranunculs is green, so I used the light green PanPastel to color the center of the smallest set of petals.  PanPastels are opaque and color shows up well on dark cardstock.   Die cut 6 leaves, color and shape with the Flower Tool Kit.  Attach the flowers to the lower left side of the watercolored background.  Add the leaves around the flowers.

This dimensional card can be mailed in one of the clear acrylic boxes which are linked below.

You can view Susan's Facebook Garden Club Video at this link to see instructions on how to create this and other flowers.  

I really appreciate you visiting my blog.  I hope I have given you inspiration to create these beautiful flowers.

Links to products are shown below.


Friday, March 8, 2019

English Rose


Today I have created a rose using the new Garden Notes English Rose die set from Elizabeth Craft Designs.  Also used is the new Garden Notes Heart Grapevine Wreath Die Set. Susan will have a video soon on how to create this beautiful flower on her Garden Club Facebook page.

This is a 6-inch square card.  A piece of white card stock cut 6-inches square was cut to go on the front of the card.  Also a piece of Fun Foam was cut 6-inches square.  

Use the Garden Notes Frame It/Stitched Square die set to create a frame in the cardstock.  Center the largest rectangle on the card stock and die cut.  Repeat this using the  Fun Fun.  Glue the card stock frame on top of the Fun Foam frame.  Using the Fun Foam under the frame will create dimension.

Cut another piece of white card stock 6-inches square and use the Dotted Embossing Folder to emboss the design behind the wreath.  Attach this piece to the front of the card.  Attach the frame over the embossed piece.

Use the Romantic Corner die set and die cut 4 corners.  Attach the corners over the die cut frame. 

Use the new Garden Notes Heart Grapevine Wreath die set and die cut four wreaths, using
100 lb. Soft Finish White Cardstock.  Glue the 4 wreaths together offsetting the layers to create a full wreath. By layering 4 die cut wreaths together, it will give nice dimension to the wreath. Use a sponge and Scattered Straw Distress ink, to lightly sponge color over the wreath to help it stand out from the white background.  

Use the Garden Notes English Rose die set and create one rose and two buds.  As stated earlier, Susan will have a video on her Garden Club Facebook page, with instructions on how to assemble this flower.

Use the Els Van de Burgt Studio Butterfly die set to die cut the butterfly.  Use White Cardstock with Clear Double Sided Adhesive on top to die cut the butterfly overlay.  Pull off the adhesive protective sheet and cover the die cut with  Warm Diamond Silk MicroSoft   
Glitter.  Sponge two shades of purple ink on the solid die cut butterfly.  Glue the glittered butterfly on top of the purple butterfly.  Attach inside the Grapevine Wreath as shown.

To finish the card, white sticky backed pearls were added.

I appreciate your visit to my blog.  

Links to all the products are provided below.


Thursday, March 7, 2019

Fuchsia


A Fuchsia basket is a must on my porch every year.  There are a lot of different colors of fuchsia, but my favorite are the pale pink and white.

This is a 6-inch card.  A piece of white card stock was cut to fit the front of the card.  I used an old Tim Holtz die to die cut the design in the upper left corner.  Another piece of card stock was used to color behind the open design.  Distress purple and pink inks were used.


Use the Garden Notes Fuchsia die set and create as many flowers as you want to fill the container.  Shape the flowers using the flower tool kit and assemble using Kids Choice Glue.  

Use the Garden Notes Bushel Basket and die cut the basket twice.  Glue the two pieces together.  Color the basket with tan and brown inks.  Attach to the lower left corner of the card.  

Arrange the Garden Notes Fuchsia stems, flowers and leaves in the basket.  You can fill the basket with as many flowers and you want - I created 14 flowers and a few buds.

Use the Sentiments 2 - Just Because Clear Stamp Set and matching die set for the sentiment.


Calla Lily


This card designed using another new die set in the Garden Notes flower collection from Elizabeth Craft Designs.  


Use the Garden Notes Cally Lily die set and die cut five flowers  Use Yellow PanPastels to color the base on the inside of each flower.  Use Green PanPastels to color the base on the outside of each flower.  Shape the flowers using the Flower Tool Kit and glue at the base of the flower with Kids Choice Glue.  Create the Spadix (the yellow center) and cover with Yellow Pollen.  Glue down in the center of each flower.  Die cut the leaves, color and shape.  The leaves have a waxy texture, so to achieve this, press the leaves onto a VersaMark Pad and clear emboss.  Reshape while melted embossing powder is still warm.  

For the background for the flowers, use the Postage Stamp and Fitted Rectangles die sets.  Use Distress Oxide Ink (Yellow, Orange, and Brown) and sponge colors over the Postage Stamp Rectangle shading the right side with the lightest colors. Spritz with water.   Attach this piece to the Fitted Rectangle and attach to the front of the card.

Arrange the flowers and leaves to the left side of the rectangle.  

Use the Dancing Butterfly die set and die cut one butterfly.  Color and attach to the upper right corner, as shown.

Use the Banner Sentiments and die set to create the Sentiment.  Attach at the bottom of the flowers.

Thank you for visiting my blog.  All the products used are linked below.


LinkWithin

Related Posts with Thumbnails