Today I have a card designed using the new Garden Notes Cosmos die set from Elizabeth Craft Designs.
This is a 6-inch card. Use a piece of white and a piece of black card stock to create the Oval frame.
Use the Garden Notes Frame It/Stitched Ovals die set and die cut an oval toward the right side of a 5 1/2 inch square piece of card stock. Use one size smaller Garden Notes Frame It/Stitched Oval on a piece of black card stock. Center the black card stock behind the white card stock tape the smaller die to the black card stock centering it inside the white die cut opening. Remove the white card stock and die cut the black card stock. You will have a perfectly framed oval opening. Glue the black oval, behind the white oval, centering the black oval evenly inside the white oval.
Use a piece of watercolor paper to create the background for the oval opening. Press blue, green and pink inks onto a craft mat, spritz with water and press the watercolor paper into the ink. Add a much ink as you like. Dry the ink with a heat tool. Attach to the back of the oval opening, using dimensional tape.
Use dimensional tape and attach the oval frame to the front of the card. Use black line stickers around the edge of the raised panel.
Use Suzanne Cannon's A Way With Words Soar Collection stamp set and stamp the sentiment on white card stock, using VersaFine Ink. Clear Emboss. Use the Stitched Oval Die Set and die cut the sentiment. Use the small butterfly in the Soar Collection stamp set and stamp it above the sentiment. Use the large butterfly in this stamp set and stamp on the outside of the oval, as shown. Lightly sponge pink ink around the edge of the sentiment oval. Attach in the center of the opening in the oval.
Use the Garden Notes Cosmos die set and create seven flowers. Color using markers, or sponged on ink and assemble using the Flower Tool Kit. For details on the petals, I used colored pencils. Use Kids Choice Glue to attach two sets of petals together, off setting the petals. Use the Fine Pointed Scissors to cut each of the points on the circle and straight stamen die cut pieces. Roll the straight stamen, using the tweezers in the Flower Tool Kit, and glue using Kids Choice Glue. Shape the round stamen pieces using the ball stylus. Dip the tips of the stamens in Yellow Pollen, add a tiny bit of glue to a few points and dip in Brown Pollen. Attach two round stamen die cuts in the center of the flower, then glue in one rolled stamen in the center of the round stamen to create a full round stamen.
You will find instructions for assembling Garden Notes flowers on Susan's Garden Club Facebook page.
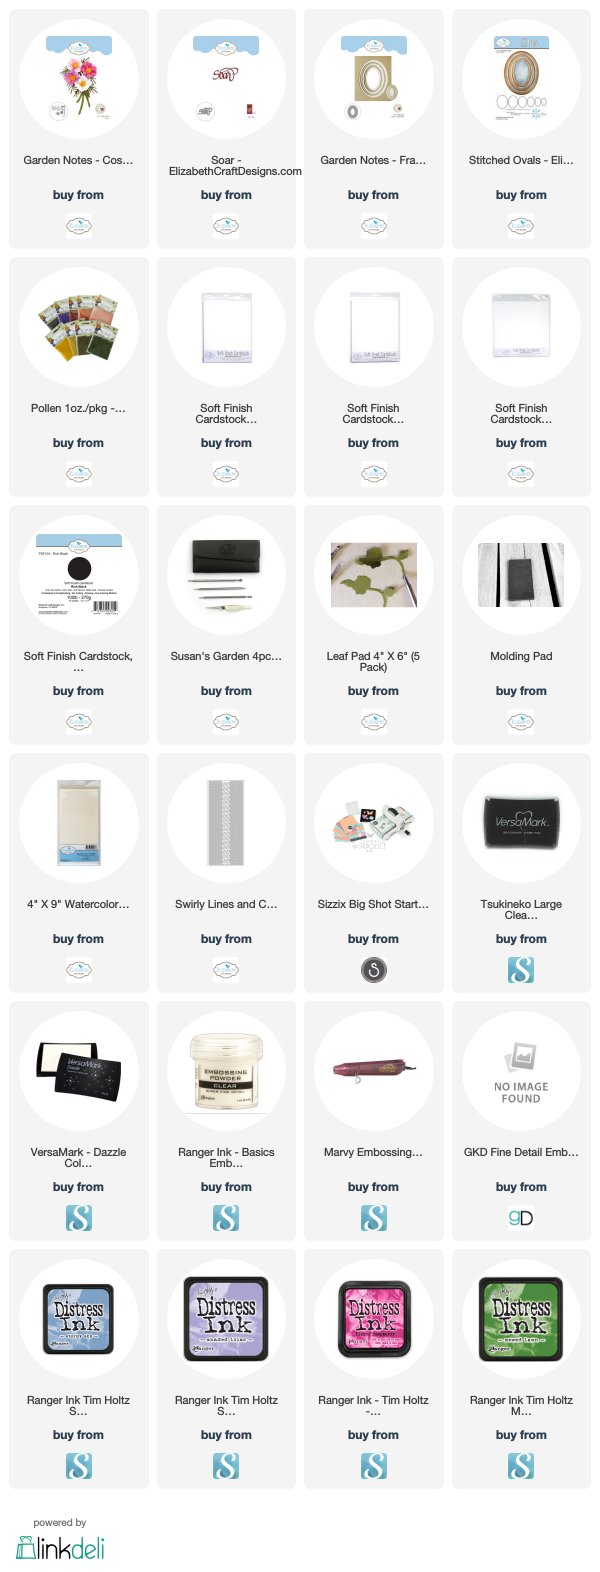
Thank you for visiting my blog. You can shop for the products used by clicking on the links below.


1 comment:
Selma, This is beautiful!
Post a Comment