With all the snow we have, it will be some time before we have the daffodils blooming, but with Susan's Garden Notes die set we can create pretty daffodils for our cards.
This is a 6-inch square card. A piece of Sunflower Soft Finish Cardstock was cut 5 3/4 inches square and attach to the card front. A piece of White Soft Finish Cardstock was cut 5 1/2 inches square and scored around the edges, then attached to the card front.
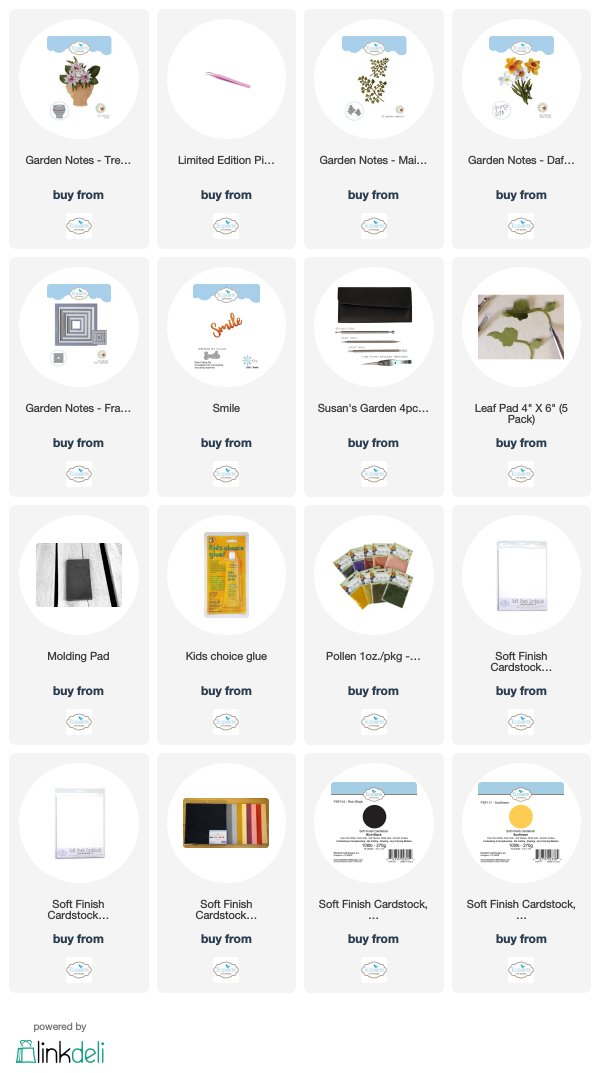
The Garden Notes Trevi Urn was die cut using white Soft Finish Cardstock then embossed with a very old Granite Stone Embossing power I have had in my stash. It was attached to the front of the card with dimensional tape.
Using Susan's Garden Notes Daffodil/Narcissus die set, 5 daffodils were die cut. The flowers were shaped using Susan's Flower Tool Kit. The Elizabeth Craft Design Fine Tip Scissors were used to cut each stamen down the center before it was rolled with the tweezers. Did the tips of the stamens in Kids Choice Glue and then into the Yellow Pollen. Use the Elizabeth Craft Designs Fine Pointed Tweezers to hold the stamen to add down in the center of the flower.
Use the Garden Notes Maidenhair Fern die to die cut four ferns. Shape the leaves using the leaf tool and bend each leaf in half, using the Elizabeth Craft Designs Fine Pointed Tweezers.
Use a piece of Watercolor Paper for the small square used for the sentiment. Use Yellow Distress Oxide Inks to color. Press the ink pads onto the craft mat, spritz with water, then tap the watercolor paper around in the ink. Dry with the heat tool.
Use Susan's Garden Notes Frame It/Stitched Squares to die cut a small black frame for the sentiment square. Glue the yellow square to the back.
Use the Els van de Burgt Studio Smile die to die cut the sentiment. Attach the square using dimensional tape, to the upper left corner.
Arrange the Maidenhair Fern and Daffodils in the Urn, being careful not to cover the sentiment.
Use a light gray marker to shade below the Trevi Urn.


1 comment:
Beautiful daffodils. Looks like spring to me. Thank you for sharing your art.
Post a Comment