I love creating scenes using stamp sets along with die cuts. Here is how this card was designed:
- Start with a 12x6 inch piece of white card stock and score across the center to create a 6 inch square card. Cut a piece of light green card stock 5 3/4 inches square and attach to front of the card. Next, cut a piece of White Soft Finish Cardstock 5 1/2 inches square. Use a score board and score around the edges twice to create a finished look.
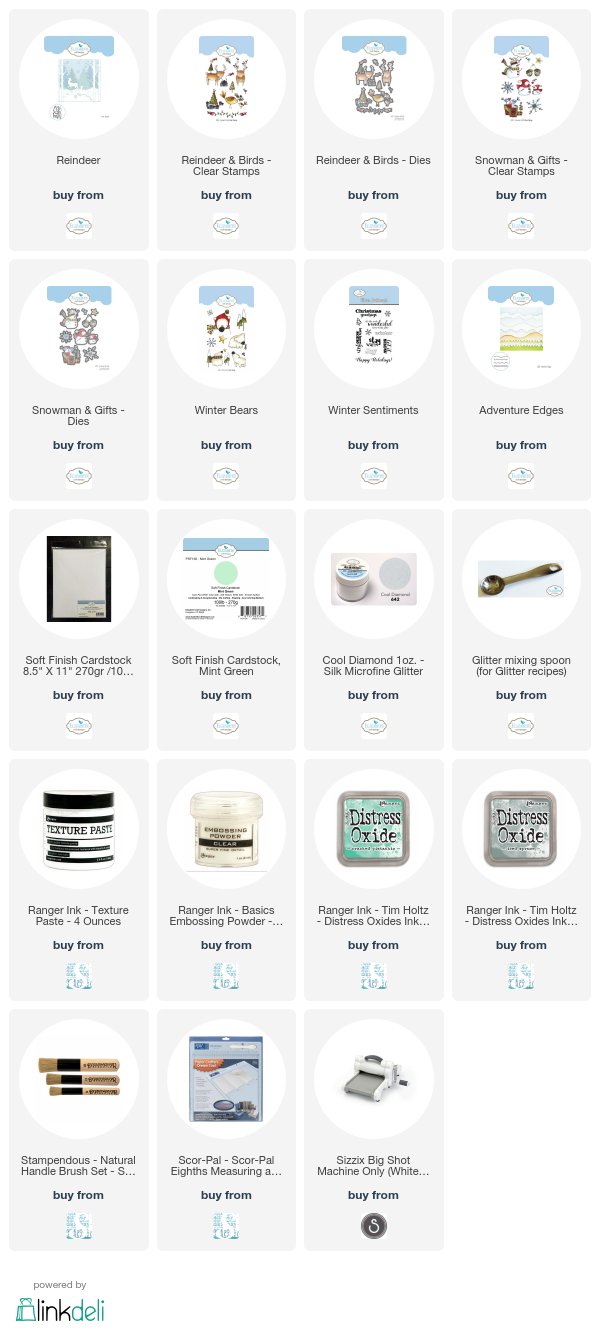
- Use the Winter Sentiments stamp set and stamp the sentiment using VersaFine Ink and clear emboss it. The sentiment should be on the upper left corner. Use the small snowflake stamp in the Winter Bears stamp set to light stamp snowflakes around the upper half of the card. Use a light blue ink.
- Use the Adventure Edges and die cut one snow bank and add to the bottom of the card.
4. Use the Reindeer die set and die cut five pine trees, using White Soft Finish Cardstock. Use a brush to stipple on Distress Oxide Iced Spruce and Cracked Pistachio Inks. Lightly spritz with water.
5. Use Snow Tex or some other texture paste to dab on to the trees to resemble snow. This will give the trees some texture. Let dry thoroughly.
6. Add dimensional tape to the back of each tree as shown above. Bend the sides of the trees down a little for dimension.
8. Use the Reindeer & Birds stamp set and stamp the reindeer. Color and die cut using the matching die. Stamp one little bird, color and die cut with matching die.
9. Use the Snowman & Gifts stamp set and stamp the snowman. Color with markers and die cut with the matching die set.
10. Attach the snowman, reindeer and little bird using dimensional tape.
This would be a cute card to give to anyone.


No comments:
Post a Comment