1. Start with a piece of card stock that is 12x6 inches. Score across the middle to create a 6 inch square card.


3. Draw the veins on the flower petals and leaves, using Susan's 4-piece Flower Tool Kit.
6. Use the Flower Tools to shape the petals and leaves. To assemble the flowers, use two large sets of petals and one small. Alternate the petals when gluing together. Use Kids Glue to attach the petals. Use a mixture of green and yellow prills in the center of each flower.
7. Use the Beautiful Baubles die set and die cut three pine branches using White Soft Finish Cardstock. Lightly sponge color the needles using PanPastels.
8. Use the Lovebirds die set and die cut once. Lightly sponge on PanPastels to color leaves and bird. Use a brown marker to color the branches. Glue on Red Prills to the branches to resemble berries. To glue the berries on, add a spot of Kids Glue on craft mat or paper plate. Pick up one red Prill with Elizabeth Craft Designs tweezers. Lightly touch Prill into glue and place on branch. This branch will be cut apart to add behind the flowers.
9. For the background, use the Kaleidoscope Background die to die cut one white background out of White Soft Finish Cardstock.
10. Use Perfect Pink Soft Finish Cardstock to cut a piece to fit behind the Kaleidoscope Background. Use 3mm Clear Double Sided Adhesive to attach Background to the pink cardstock.
11. Cut a piece of White Soft Finish Cardstock 5 1/2 inches square. Use a Scoreboard and score around the edges for a finish appearance. Attach to the front of the card.
12. Attach the Kaleidoscope background to the top portion of the Scored cardstock.
13. Attach the poinsettia arrangement. Start by attaching the pine branches. Second, Attach the poinsettias with dimensional glue dots.
14. Use the Holiday Garlands 2 die set to die cut the snowflake garland. Attach it under the flowers. Add a Clear Glitter Dot Peel Off Sticker to the center of each snowflake and circle on the garland. Also add Clear Glitter Dots to the corners of the Kaleidoscope frame.
15. Use the Sentiment 2 - Just Because Clear Stamp Set to stamp the sentiment, using black Archival Ink. Die cut using the matching die set. Use the VersaFine Dazzel Ink Pad to cover the sentiment and emboss with clear embossing power.
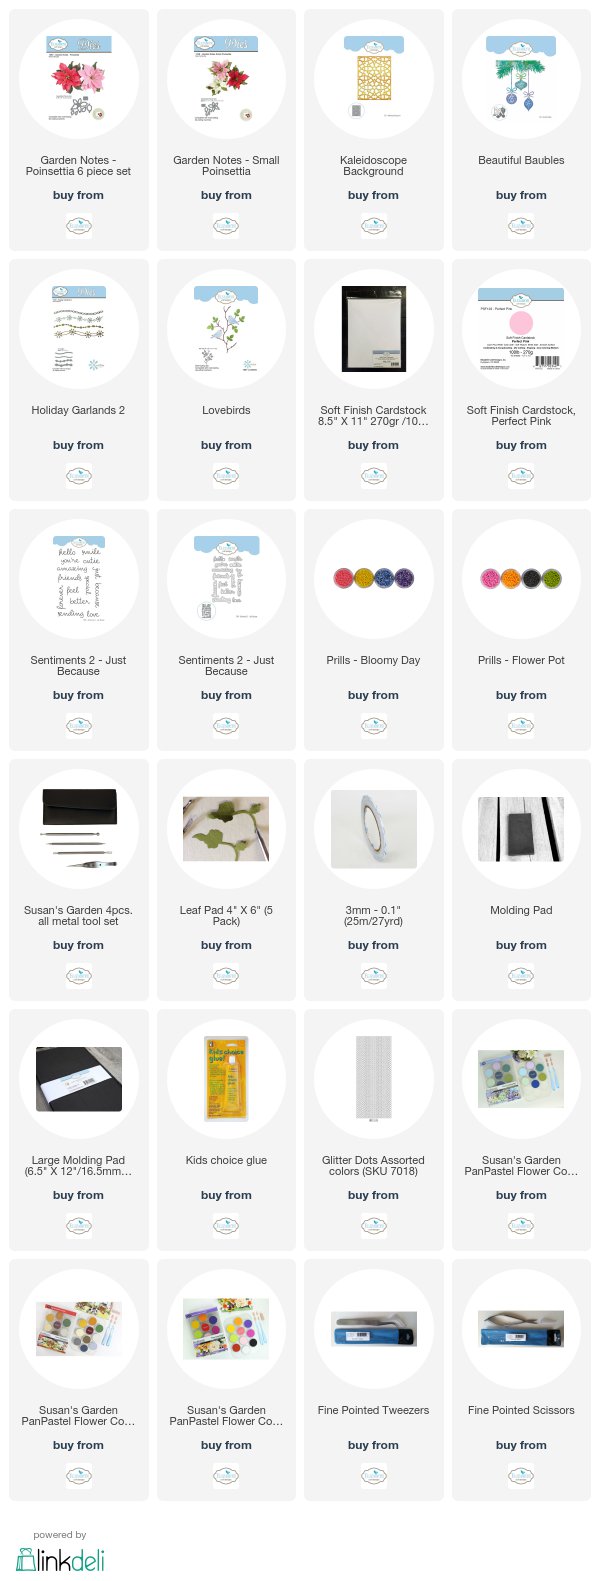
Products:


3 comments:
Gorgeous!
Absolutely gorgeous!!
Oh, Selma you brought a smile to my face with this gorgeous poinsettia and bird card. The pink marble poinsettias remind me of my favortie poinsettias that I used to decorate my house with for Christmas. I looked for them this year. I only found the usual red, white and a new color peach. No pink marble ones. In fact, I have not seen the pink and white ones in years. I miss them. They are so very lovely and looked so good with my victorian Christmas decorations.
Post a Comment