The Elizabeth Craft Designs challenge for the design team this week was to create a background with either dies or stamps. I chose to use the new Kaleidoscope background die and Gold Mirror cardstock. To see all the cards/projects created by the design team, go to the Elizabeth Craft Designs Blog at this LINK.
For the Challenge today, Elizabeth Craft Designs is giving away a $20 Gift Card to use on the Elizabeth Craft Designs website to 3 winners.
To enter, simply leave a comment on the Elizabeth Craft Designs blog post and leave a comment answering this question: What Elizabeth Craft Designs dies or stamp sets would you use to create a background on something you were creating?
Elizabeth Craft Designs will select 3 lucky winners in a random drawing.
The winners will be announced on Friday, December 22, on the Elizabeth Craft Designs blog.
Good Luck!
Good Luck!
*******************
Here is how I created my card.
1. Add a piece of Clear Double Sided Adhesive to the front and back of a piece of white card stock, slightly larger than the Kaleidoscope die. Peel off the covering on one side, exposing the adhesive, and attach a piece of gold mirror card stock.
2. Attach the Kaleidoscope die on top of the gold card stock, with removable tape, and run through the die cutting machine. Because there is adhesive on both sides of the white card stock and the gold is attached on top, the die will not cut completely through all thickness if run through just once. You will have a nice die cut design through the gold card stock. Do not remove the small die cuts within the design.
3. Use a 5 x 6 1/2 inch card base. Cut a piece of white card stock slightly smaller and score around the edges, using a score board, for a finished look. Attach to the front of the card.
4. Attach the gold die cut background to front of the card.
5. Use Gold Peel Off Line Stickers to go around the outside of the die cut piece, as shown.
6. Add Clear Double Sided Adhesive to the front of a large piece of white card stock. Use the Christmas Tree die set to create the tree. Die cut the background pieces and overlay pieces with the dies on the top of the adhesive. Die cut all the background pieces again using just white card stock. You will have one set of background die cuts and two sets of overlay tree die cuts.
7. Peel off the backing on the adhesive on the background (solid) die cuts and add Cool Diamond Silk Microfine Glitter.
8. Peel off the backing of the overlay die cut tree pieces and add Light Gold Silk Microfine Glitter. Be sure to rub the glitter with your fingers to bring out the shine.
9. Glue the Light Gold tree die cuts over the Cool Diamond background.
10. Attach the white card stock background pieces to the back of the glittered die cut tree pieces so the bottom edges show slightly below the glittered pieces. See picture.
11. Die cut the Star from the Christmas Tree die set with Clear Double Sided Adhesive on top. Add Champagne Silk Microfine Glitter to the star.
12. Die cut the tree trunk and the pot for the tree. Die cut the overlay using silver mirror card stock. Die cut the background using white card stock. Attach the silver die cut over the white background.
13. Assemble the tree over the gold background, using dimensional tape under each of the tree layers, and the pot.
14. Glue the glittered snowflakes, from the die cut tree, around the tree, as shown.
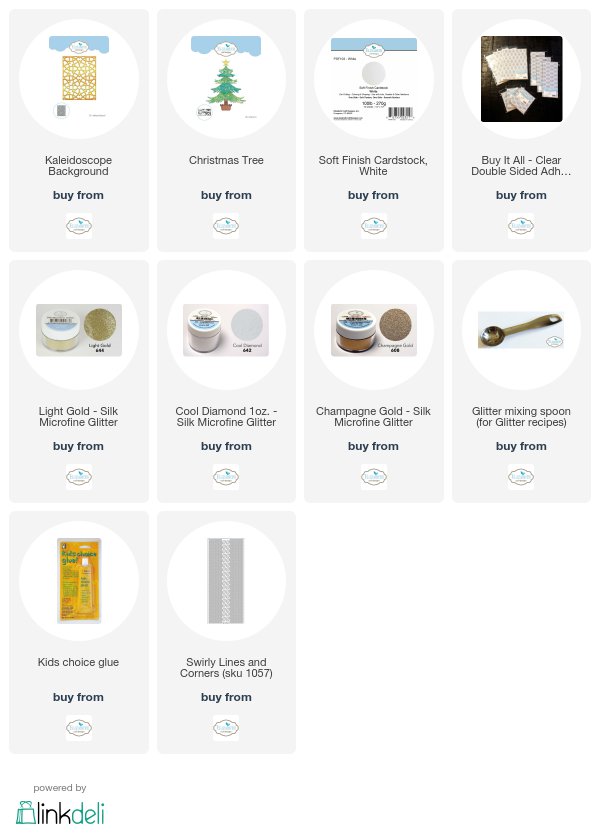
You can purchased the products used by clinking on the links below.


3 comments:
Absolutely gorgeous and Merry Christmas!!
So very festive. Merry Christmas, Selma!
Beautiful!
Post a Comment