It is time for another Elizabeth Craft Designs Challenge for the design team. This month we were challenged to use the General Pop Ups die set for our card. Pop Up cards are easy to create and are always so fun to receive because you are not expecting the pop up element.

This is a fabulous die set for creating many different types of pop up cards. Be sure to go over to the Elizabeth Craft Designs Blog to see all the creative cards designed by the design team at this LINK.
As with all challenges, Elizabeth Craft Designs is giving you another chance to win a prize.
For the Challenge today, Elizabeth Craft Designs is giving away a $20 Gift Card to use on the Elizabeth Craft Designs website to 3 winners.
To enter, simply leave a comment on the Elizabeth Craft Designs blog post and tell them "What Elizabeth Craft Designs dies or stamp sets would you use with the General Pop Ups die set if you were making a Pop Up Card?"
Elizabeth Craft Designs will select 3 lucky winners in a random drawing.
The winners will be announced on Friday, November 24, on the Elizabeth Craft Designs blog.
Good Luck!
Good Luck!
*******************
Here is how I created my Pop Up Card.
1. Use a piece of red card stock 12 x 6 inches and score across the middle to create a 6 inch card.
2. Cut a piece of the design paper from the White Christmas paper pack and attach to the front of the card.
3. Use the Dotted Scallop Rectangle die set to die cut one red rectangle and one white rectangle for the front of the card.
4. Use the Winter Sentiments stamp set and stamp the sentiment in the center of the white rectangle, using VersaMark Ink. Emboss using green embossing powder.
5. Use a piece of dimensional tape to attach the white rectangle over the red one. Center and attach on the front of the card.
6. To create the inside, use a piece of white card stock 1/4 inch smaller than the red card stock. Score down the center. When folded this piece will be 5 3/4 inches square.
7. Use the largest pop up die and place the small side tabs right on the fold line. Tape down. Use one of the smaller narrow pop up dies and tape on the right of the larger die. Use another small narrow pop up die and tape to the left side of the larger die. Run through the die cut machine. Push out all the pop up tags and close card and press folds well with a bone folder.
8. Use the Christmas Tree die set and die cut the tree and assemble.
9. Use the Snowman & Gifts Clear Stamps and stamp the large gifts. Color and die cut with the matching dies. Use the same stamp set and stamp the Snowflakes, color and die cut.
10. Use the Candy Land stamp set and stamp the candy pieces twice. Color and die cut using the matching dies. Add a little glue and sprinkle on Warm Diamond Silk Microfine Glitter for a little shine. Once the glue is dry, polish the glitter with your fingers.
11. Use the A Way With Words Wishing You A and the Merry Christmas die set and die cut the sentiments using red card stock. Die cut all the words again, twice, using white card stock. Glue all the words together with the red word on top. This will give the sentiment some dimension.
12. Attach the Christmas Tree with Clear Double Sided Adhesive to the top pop up tab of the large pop up. Add the Gifts to the lower tab. Clear Double Sided Adhesive is strong and will hold your die cuts very well.
13. Attach the striped peppermint sticks to each side of the large pop up.
14. Attach the Sentiments as shown.
15. Attach the die cut snowflakes to the upper corners of the card.
16. Attach the string of peppermint candies to the bottom of the card.
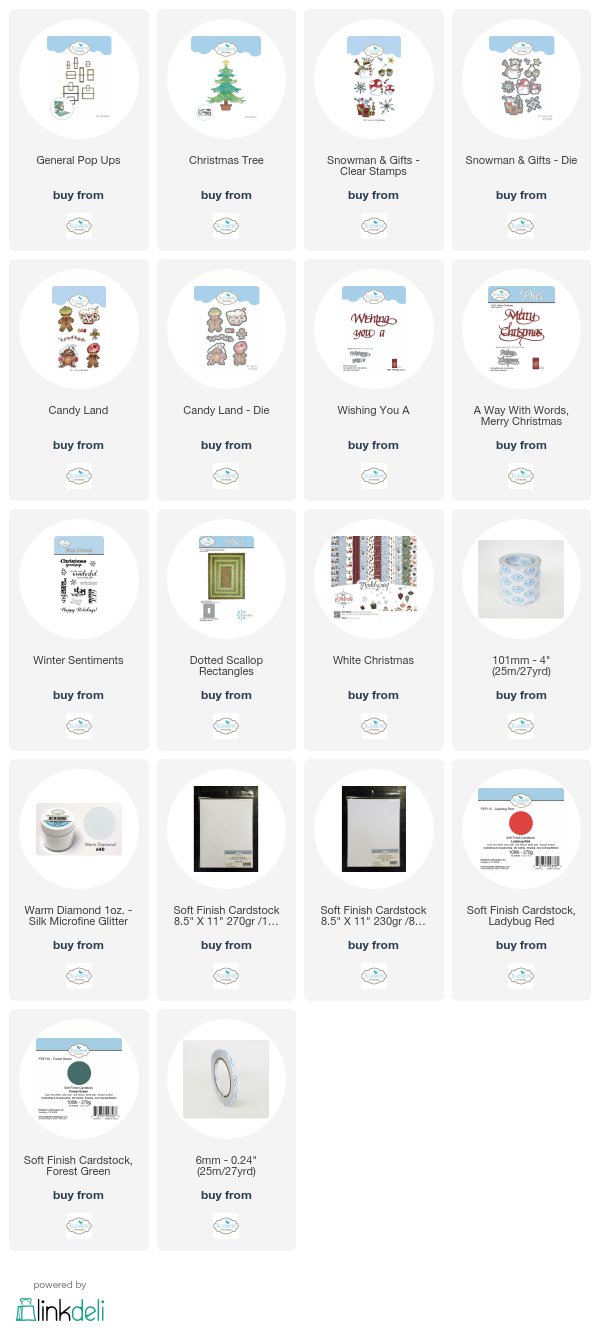
You can shop for the products used at the links provided below.
Thanks for stopping by and be sure to go over the the Elizabeth Craft Designs blog to view all the great Pop Up cards designed by the design team and also to leave for comment for a chance to win one of the $20 Gift Cards.


2 comments:
I love this, well done!
This is really very beautiful Card. Thank you for sharing
Vejle Stamps
Post a Comment