I love creating Christmas cards. Today I created a winter scene behind a partial circle die cut opening.
This is a 6-inch card.
Cut two pieces of White Soft Finish Cardstock 5 3/4 inches square.
Use one of the 5 3/4 inch pieces of cardstock to color a background for the die cut scene. I sponged on black ink at the top, a dark blue ink next overlapping on the black, then a lighter blue ink. If you use Distress Oxide Inks, you can spray with water to create a cloudy sky.
On the second piece of 5 3/4 inch card stock, use Els van de Burgt Studio Fitted Circles to create a round opening. Tape the die to the cardstock. When you die cut, place the top cutting plate bottom edge so it only covers 3/4 of the die cut. Run through the die cutting machine. Use a ruler and craft knife to cut a straight edge across the bottom of the circle to create the flat bottom opening.
On the bottom of the piece just die cut, use the stamp from the Holiday Cheer Clear Stamp Set shown. Stamp the sentiment using black ink, on the lower right side under the cut opening.
Use the Reindeer die set and die cut 6 reindeer. Glue three reindeer together to create a strong, dimensional die cut. You will have two completed reindeer after gluing the die cuts together.
Use the Reindeer die set to die cut two small birch trees.
Use the Reindeer die set to die cut one snow bank.
Use the Adventure Edges die set to die cut two more snow banks.
Use the Snowglobe Scene die set the house and a variety of pine trees. Cut a piece of light yellow card stock to glue behind the windows of the house.
Use the Snowglobe Scene die set to die cut the snowflakes.
To assemble the card, start by arranging, and attaching the snow banks to fit under the bottom of the circle overlay. Use dimensional tape between layers.
Next attach the birch trees to the left side of the circle opening, using dimensional tape. Next attach the house then the pine trees, using Kids Glue.
When arranging the scene that goes inside the circle, be sure you are laying the circle over the items you are attaching on the background so they will look the way you want when the card is completed.
Attach the circle die cut top piece over the scene using two layers of dimensional tape.
Glue the snowflakes to the blue sky. Use a white opaque pen to add a few white dots for additional snow.
Use diluted Kids Glue and a small brush to add glue on birch trees, pine trees, house, snow banks and snowflakes. Use Cool Diamond Silk Microfine Glitter to sprinkle over all the glue.
Attach the deer to the left of the stamped sentiment. Add more glue and glitter down around the deer's hooves.
To complete the card, add two Silver Peel Off Sticker Corners.
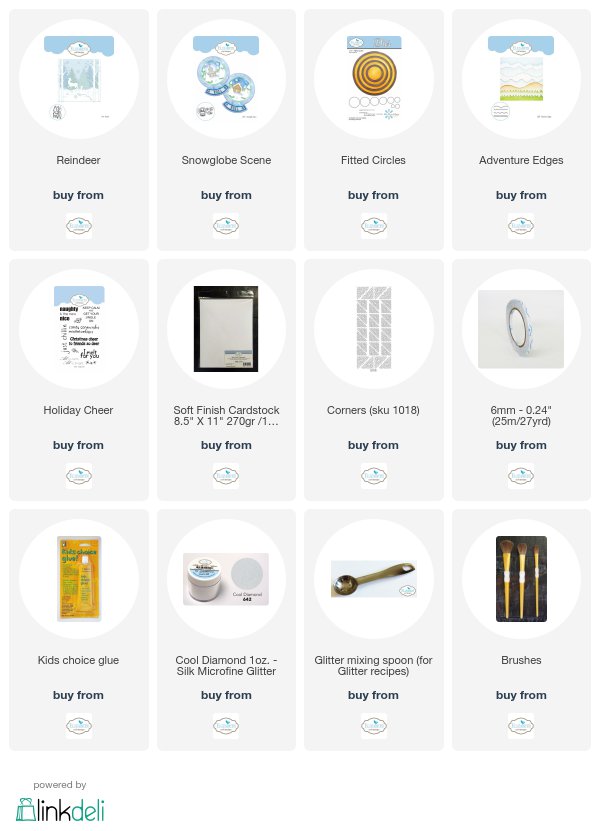
Links to the Elizabeth Craft Designs products are below.


3 comments:
Ooh Selma, what a wonderful Christmas card!!
I love watching this card, it cheer me up...
Thanks......hugs, Eva.
Fantastic Christmas card. I can "feel" the crisp cold.
This is so beautiful! Coming home after midnight tonight. See you soon!
Pat
Post a Comment