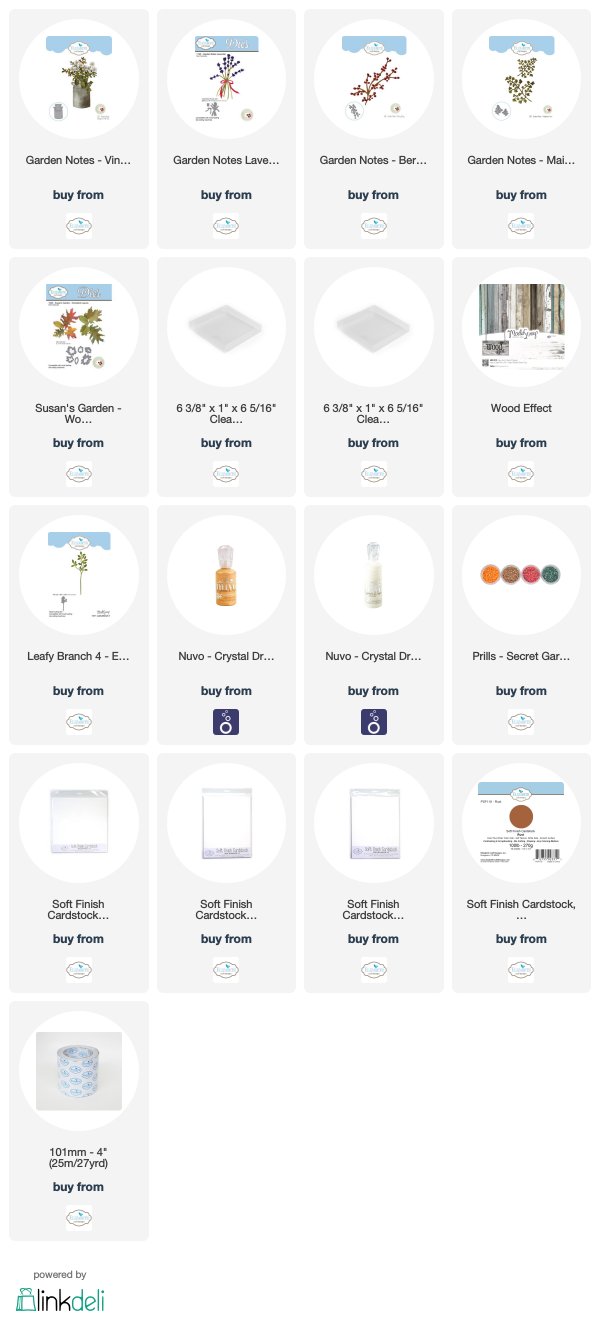
Susan Tierney-Cockburn has dies for great containers to create rusty effects on. I watched Joyce Schmidt's YouTube Rusty Vintage Milk Can video to learn how to use Rust Effects Paste to achieve a very realistic rusty look. In Joyce's video she painted white card stock with silver paint. I did not have silver paint so I used a piece of dull silver metallic card stock. I followed Joyce's instructions on the video for adding the Rust Effects Paste.
I had so much fun creating the rust effects, I did it on both Susan's Garden Notes Vintage Milk Can and the Garden Notes Bucket (which I will use on another card). Since I did this technique over silver card stock, I needed to add additional strength to the containers. I used another piece of heavy weight card stock and put double sided adhesive on the front of the card stock before die cutting additional pieces. The covering was removed from the double sided tape and attached to the back of the rusty containers. It was very easy to shape these pieces with the additional layer of card stock on the back. Two pieces of dimensional tapes were placed on top of each other, down the length (in the center) of the vintage milk can when placed on the card.
To fill the can with Autumn Foilage, I used a variety of die sets.
Use the Garden Notes Berry Branch and die cut 3 or 4 branches, using a light brown card stock. Use the Nuvo Orange Crystal Drops to create the berries. Set aside for the berries to dry before arranging the foliage in the can.
Use the Garden Notes Lavender die set and die cut one branch. Use yellow card stock for the flowers. (This is a piece I had left over from my post yesterday.)
Use the Garden Notes Maidenhair Fern die set and die cut two large and two small ferns. I like to die cut these with white card stock and sponge on color. The ferns were sponged with green link then lightly sponged around the edges of the leaves with a rust ink. The leaves were shaped using the flower tool kit. The leaf tool was used to draw a line down the center of each leaf, then each leaf was pinched in half over the point of the tweezers, to give them shape.
Use the leafy branch die set and die cut the branches using rust card stock. Shape the leaves with the flower tool kit. For the tiny berries, glue red Prills in groups on the branch.
This is a 6-inch card. Rust card stock was used for the card base and a piece of ModaScrap Wood Effects card stock attached on top.
The Vintage Milk Can was attached at the bottom left of the card. Once the berries were dry, all the foliage was arranged in the can.
Use the Garden Notes Woodland Leaves die set and die cut a few leaves to arrange around the bottom of the Vintage Milk Can.
I hope you will watch Joyce's video on how to do this cool technique with the Rust Effects Paste. The technique is very easy to do and really gives realistic results. I ordered my Rust Effects Paste from Amazon.


3 comments:
Lovely as always my friend!
I love that rust effect and I will have to try it soon. It's lovely!
My name is Mrs Aisha Usman, am a Citizen Of Singapore. Have you been looking for a loan? Do you need an urgent personal loan or business loan?contact Dr. Mark Thomas FOIRM Ronnie Finance Ltd he help me with a loan of $85,000 some days ago after been scammed of $8,000 from a woman claiming to been a loan lender but i thank God today that i got my loan worth $85,000.Feel free to contact the company for a genuine financial service. Email: markthomasfinanceltd@gmail.com
Whats-App no +919667837169
Dr. Mark Thomas
LOAN APPLICATION DETAILS
Name:…………
Address…………
Loan Amount:……
Loan duration…
Monthly income…………
Nationality……
Country………
Occupation......
State…………
Zip/Code………
Gender…………
Age…………
Marital Status……………
Telephone………………
FORM Ronnie Finance Ltd
Dr. Mark Thomas
Post a Comment