The Holidays seem to arrive so fast for most of us. It is nice to get an early start on holiday cards. I'm sure there are special people on your mailing list that would love to receive a keepsake card, such as this one. This card can be mailed out in one of the Clear Acrylic Boxes, attached to the top of a box, front of a gift bag, or even placed inside a gift bag.
Use a six-inch square card. Cover the front with a piece of the ModaScrap design paper from the Unconditional Christmas paper pack. Distress the edges before attaching to the card.
Use Silver Line Peel Off Stickers to line the edges of the design paper.
Use Picked Raspberry Distress Ink and sponge lightly around the Hexagon.
Use Joset's Designs Winter Sentiments stamp set for the sentiment. This is a long sentiment. Ink only 'Happy' on the stamp and center and stamp, just above the center of the Hexagon. Clean stamp and ink only 'Holidays' and stamp centered below 'Happy'. Use VersaFine Black ink to stamp and clear emboss.
Attach the Hexagon and Hexagon Frame down on the upper right side of the card. Use Silver Line Peel Off Stickers around the die cut Hexagon Frame to help it stand out. Use Silver Snowflake Peel Off Stickers to decorate around the sentiment.
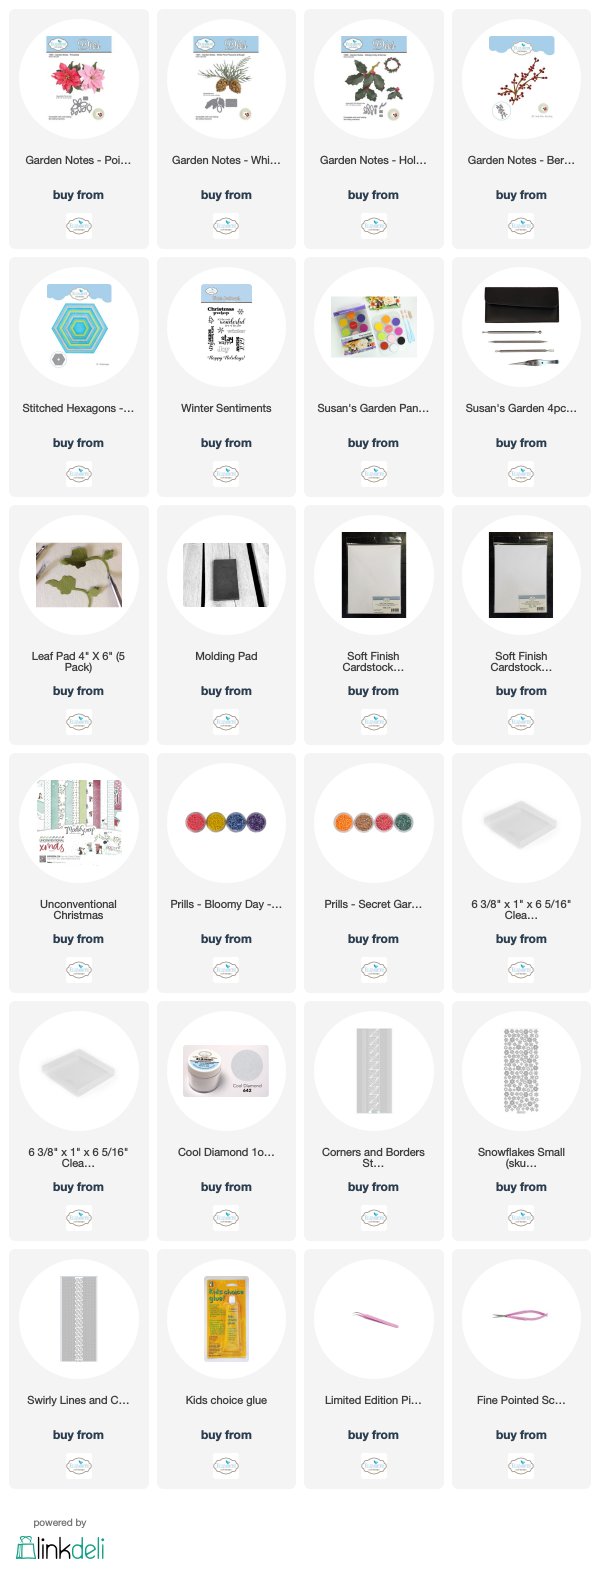
Use the Garden Notes Whitepine Boughs & Pinecone die set to die cut 10 pineboughs and enough pieces to create one pinecone. Susan's video will show how to shape the Whitepine Boughs and and how create the Pinecone. Cool Diamond Silk Microfine Glitter was added to the Whitepine Boughs, for a frosty appearance.
Use the Garden Notes Holiday Holly & Berry die set to create four holly leaves. Instructions for coloring the holly are also included in Susan's video.
Use the Garden Notes Berry Branch and die cut two pieces. Color the stems light brown. Use Pink Nuvo Crystal Drops for the berries
Assemble the pineboughs, berry branches, holly leaves and flowers as shown.
This card can be mailed in one of the clear Acrylic boxes.


3 comments:
Absolutely GORGEOUS Selma! Your flowers are always beautiful and your design is exquisite! Hope you are doing well! Thanks for fabulous holiday inspiration!
Beautiful and I love the octagon that you used as a feature!
Not everyone uses facebook. It would be nice if Susan's videos were available elsewhere.
Your card is very lovely!!!
Post a Comment