

I had so much fun creating today's project. It feels like Autumn these past few days with cooler temperatures and I was inspired to create an Autumn framed arrangement. This piece took several days to create, but was well worth it.
For the frame for the project, use the Happy Frame XL die set and die cut the frame pieces using the ModaScrape Wood Effects card stock. For the background, use a piece of the ModaScrap Manly Man Cardstock. On the back, a heavy weight (100 lb) card stock was attached.
For the container for the arrangement, use the Garden Notes Wooden Fruit Crate. Die cut it using a piece of the Through The Lens Wood Cardstock. Back the crate with a piece of dark brown card stock. Attach the crate to the bottom of the frame using dimensional tape.
Use the Festive Glow die set and die cut the solid candle, using white card stock and color with markers. Die cut the flame using gold metallic card stock; attach it to the candle. Attach the candle at the top of the Crate, using dimensional double sided tape. Use a double layer of tape only on the bottom of the candle. Leave the area unattached at the top so foliage can be added.
Use the CountryScapes Floral 1 die set and die cut all the cattails 3 times. Color with markers. Cut the larger group of cattails in half. Arrange them from behind the candle.
Use the Garden Notes Maidenhair Fern die set and die cut both sizes twice, using green card stock. Shape the leaves with the Flower Tool Kit. Arrange the ferns on the upper left corner, and both sides of the crate. I arranged ferns around the base of the candle, but they do not show very much after the flowers were added
Use the Garden Notes Lavender die set and die cut two Lavender pieces to create the yellow Goldenrod, which is on the left of the candle. Die cut the little flowers using light yellow card stock and attach to the Lavender stems. Cut apart and arrange on the left side of the candle.
Use the Garden Notes Leafy Berry Branch to create the Bittersweet berry branches. On Susan's Garden Club Facebook Video entitled Colour and Composition, she shows how to create some of the items I have created for this project. You can view that video at this LINK. Susan has a lot of videos that are so helpful in learning how to create flowers with her dies and also has many other very helpful hints. Add Orange Nuvo Crystal Drops on the Berry Branch to create the berries. Once dry, use a red Copic marker to add a dot of red on each berry. Cut the branch apart and attach some pieces on the upper left side and a few on the lower right side.
Use the Garden Notes Chrysanthemum die set and create two deep red flowers. Shape the flowers and leaves using the Flower Tool Kit. Arrange the flowers beside the base of the candle. Be sure to add the Chrysanthemum leaves.
Use the Garden Notes Lily 2 die set and create three Day Lilies.

When creating the lilies, you want the petals to stand up and I found a perfect item to place them in while they dry. I stopped by a garage sale one day and I saw the metal piece shown in the picture. It was marked 50 cents. I picked it up and the lady started explaining it was to bake stuffed jalapenos. I told her she would laugh, but I didn't want it for that reason -- I wanted it to use in creating flowers out of card stock. I was sure it would work great and it does! Sometimes you can find something totally unrelated for what it is intended for our crafting needs!
Create three lilies. Shape with the Flower Tool Kit. Add red pollen to the end of the stamens. Let dry and arrange around the base of the candle, as shown.
Use the Susan's Garden Woodland Leaves die set and create 7 or 8 small leaves to place around the edges of the arrangement.
Use a piece of natural twine for a bow.
I love that Elizabeth Craft Designs has the Happy Frame die sets - there are two different sets. The Happy Frame XL was perfect for framing this Autumn Arrangement.
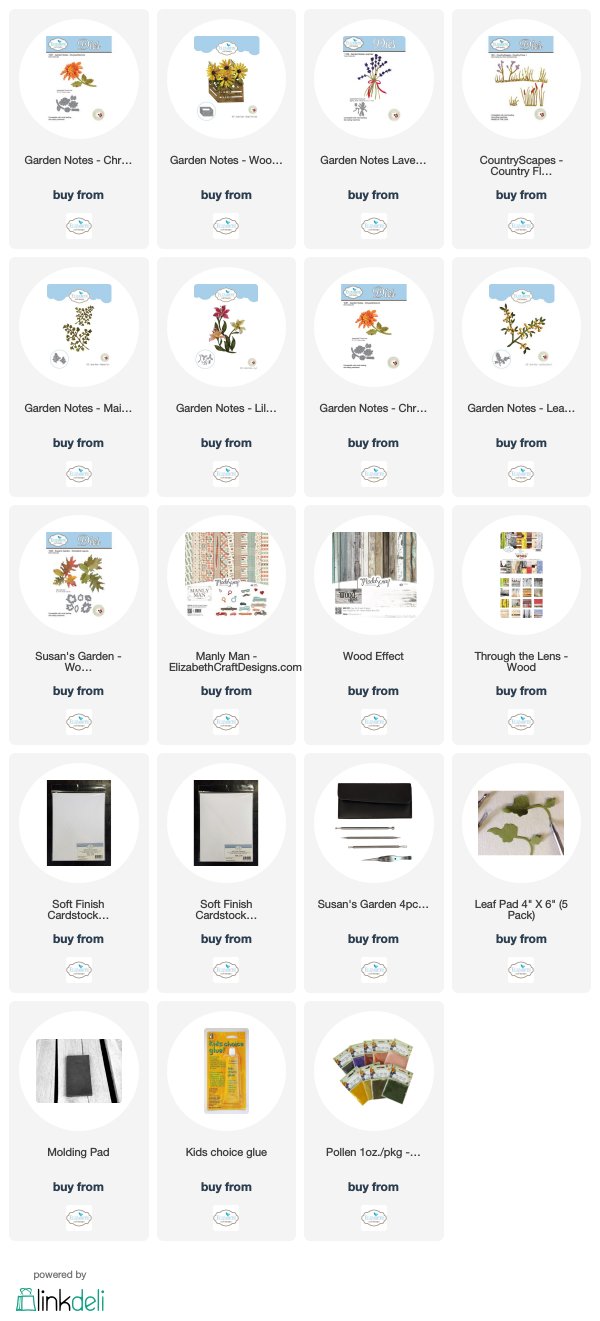
You can shop for the products used by clicking on the links below.


2 comments:
Wow!Wow! Wow! That is gorgeous!!! Framing your work is the way to go. So Beautiful.
Cathy Tallon
Oh wow, what a beautiful flowers, love this frame :)
Post a Comment