Monday, January 30, 2023

Quad Easel Card


Good Morning.  Today I created a Quad Easel Card.  I watched a video by Sam Calcott on YouTube.  Here is the LINK for instructions.  It's a fun card to create as each panel is an easel, so the card is very dimensional.  

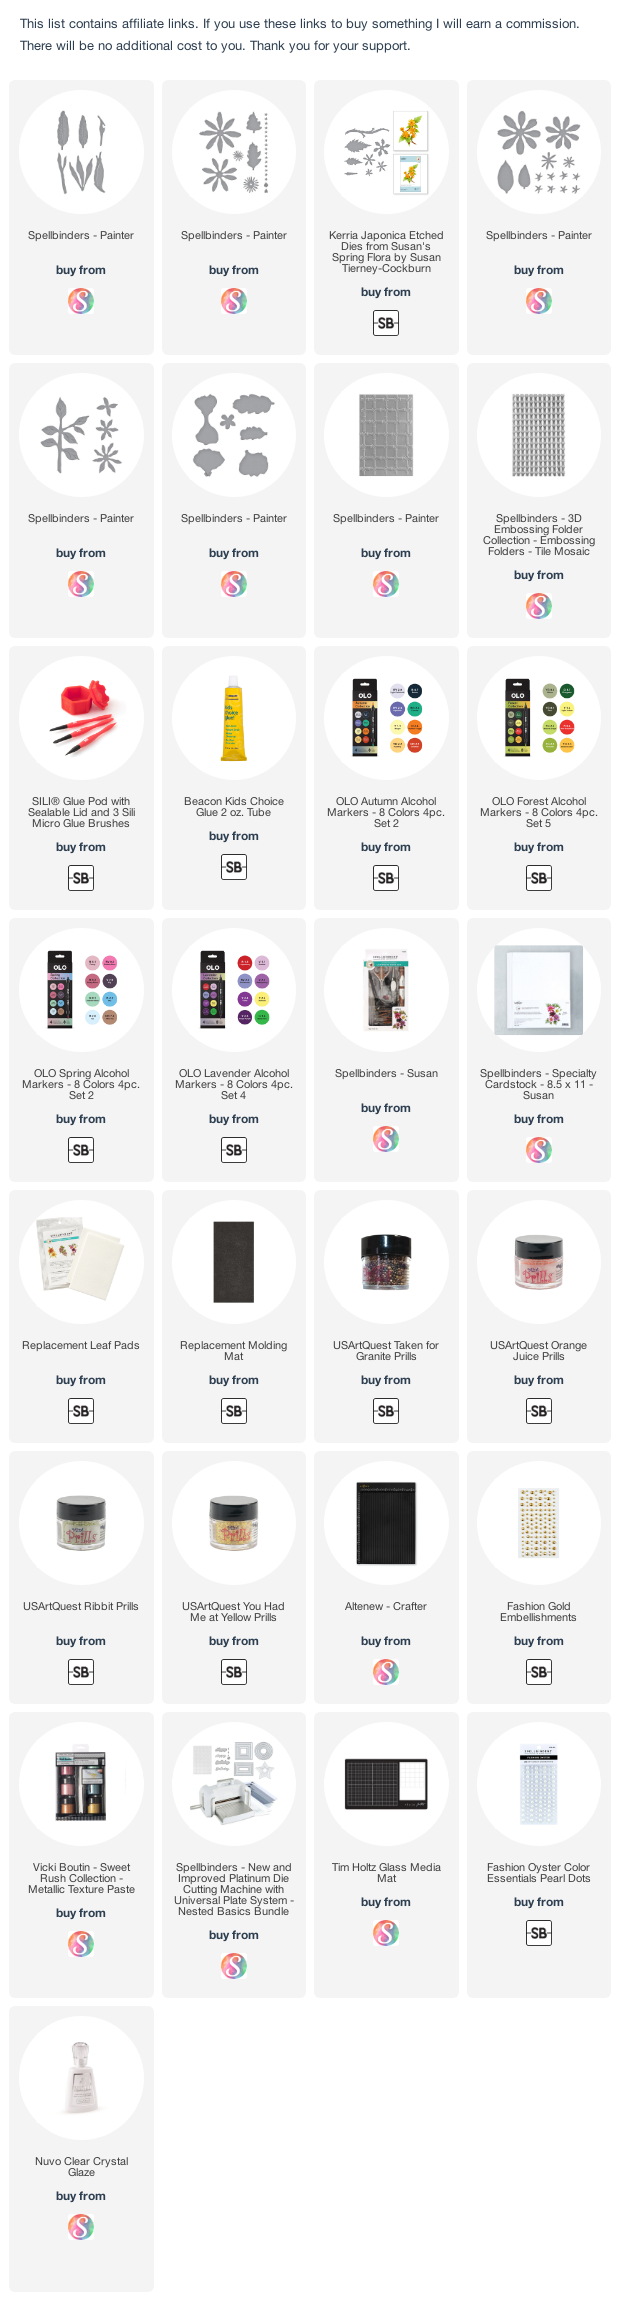
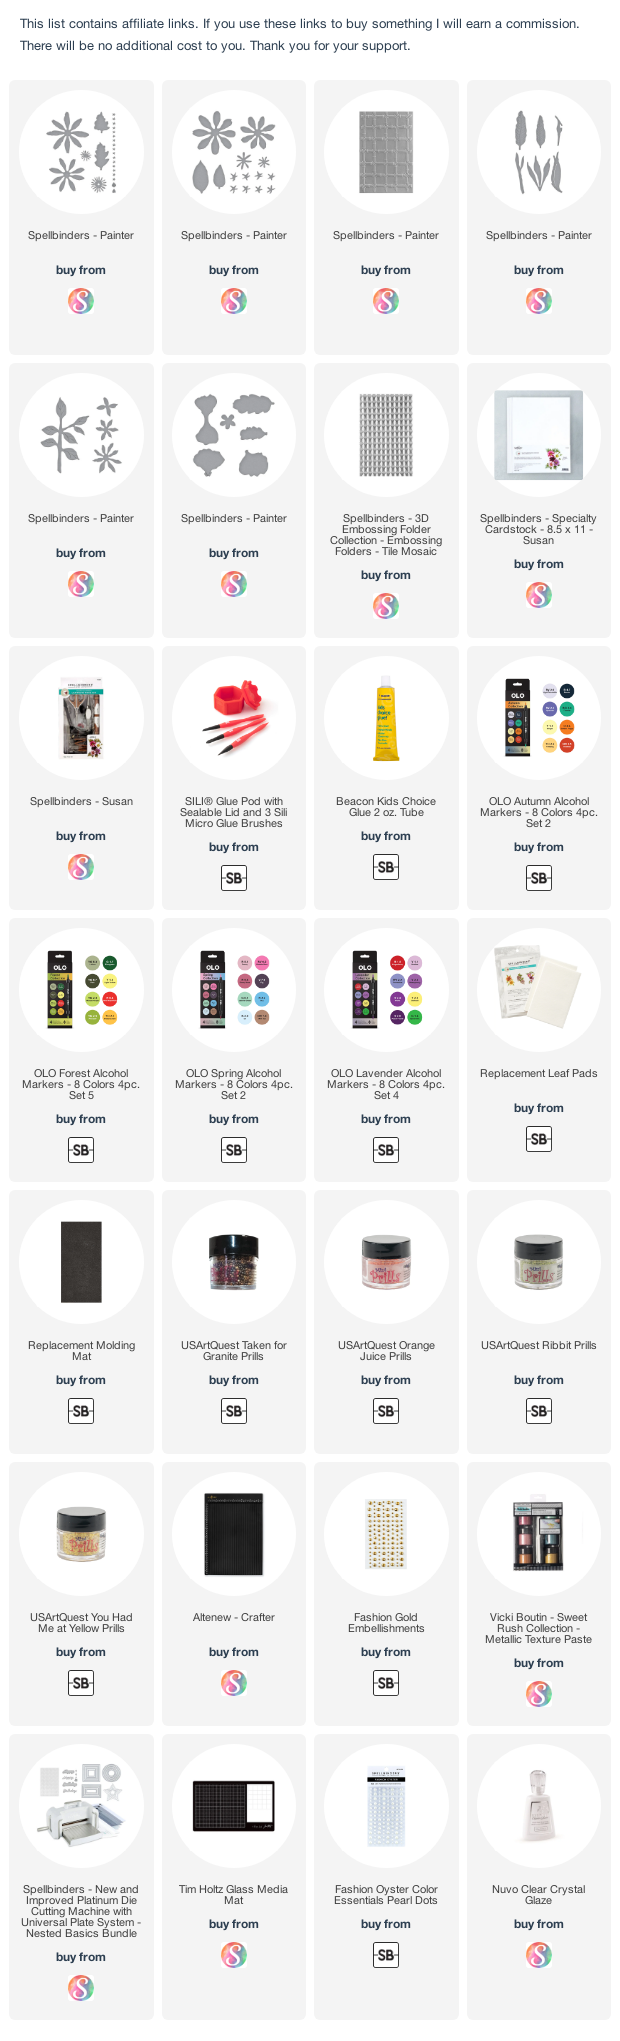
I have used a variety of flowers I previously created and have not used.  The flowers on the panels are Bee Blossom, Chrysanthemum, Coreopsis, Carolina Allspice and Pansy.  All the flowers were created using Susan's Garden die sets.  

Saturday, January 21, 2023

Bird of Paradise, Pulmeria, Kerria Japonica, and Gerber


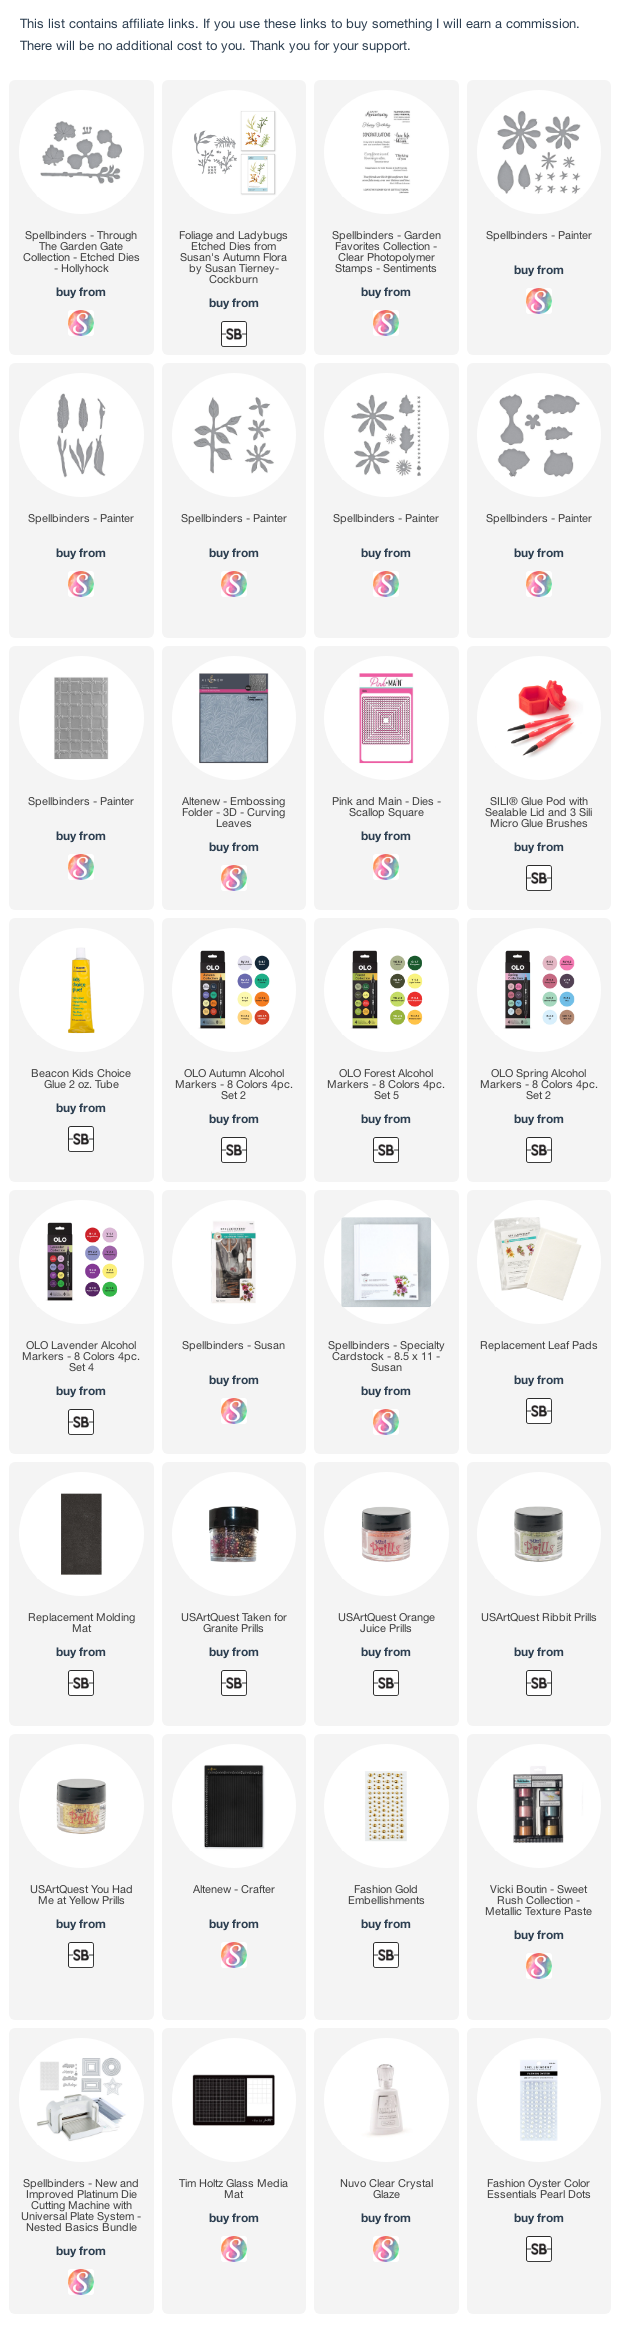
Good Morning.  Today I have a colorful card.  The Susan's Garden Bird of Paradise, and  Gerber, from the Painters Garden release, plus Kerria Japonica and Pulmeria die sets were used.

This is a 6x6 inch card.  The background was embossed and attached to a piece of green cardstock.  

First I created the beautiful Bird of Paradise.  This looks like it might be a complicated flower to create but Susan has designed the dies so it is very easy.  You will find her tutorial on YouTube for easy instructions.  The pieces were die cut using Susan's Specialty Cardstock.  OLO markers along with a little ink sponging were used to color the pieces.  There are two Bird of Paradise flowers in this arrangement.

From Susan's Tropical Release, the Pulmeria were die cut.  They were die cut using Susan's Speciality Cardstock, colored, and shaped using her Flower Tool Kit.  Kids Choice Glue was used to assemble all these flowers.

The Gerber die set from the new Painter's Garden was used to create one red flower.  This is a very easy flower to create.  The number of pieces to die cut is always shown on each die to make it easy to know how many pieces you need to assemble the flowers.  In the center a few Prills were added.

The Kerria Japonica, from Susan's Spring Flora release, were die cut.  This arrangement has seven little yellow flowers attached to the branches and divided around the arrangement.

In each of Susan's releases, she always includes a little ladybug. She has been die cut, colored and added with a dab of clear crystal glaze on her back.  

To help make this arrangment a little more tropical, I cut green cardstock in very narrow strips, curled the strips around the end of a large brush and tucked them in around the arrangment.


I hope I have given you inspiration to create a pretty arrangement.  With all the bad weather, it is nice to escape to the paper garden.


Thursday, January 19, 2023

Arrangement on Bamboo Trellis


Good Morning.   Today I had fun doing something different with Susan's new Bamboo Trellis 3-D Embossing Folder from her Painter's Garden release.

This is a 5x7 inch card.  I first used the Bamboo Trellis embossing folder and embossed a piece of white cardstock.  Before putting it in the folder, I lightly misted the back of the cardstock.  This embossed piece was dried with the heat tool. The cardstock won't cut very well if damp.   I thought It would be fun to have open squares between the bamboo trellis.  I used a 3/4" square die and individually die cut each opening. After die cutting all the little squares, it flattened the 3-D embossing.  I lightly misted the back again and placed it carefully  back in the embossing folder and embossed it again.  The piece was dried again with the heat tool. This took a little bit of time to die cut the squares, but I like the results.  For a background between the trellis, I found a piece of light lavender design paper, that had a faint brick design, in my stash.  The Trellis was cut down to fit the card and the design paper glued to the back of the trellis.   

For the floral arrangement, the Gerber die set was used to create two gerber flowers.  They were die cut using Susan's Specialty Cardstock, colored, and shaped using Susan's Flower Tool Kit.  Kids Choice Glue was used to assemble the flowers.  Prills were added to the centers.

The Zinnia die set was used to die cut the five zinnia flowers.  For instructions on how to assemble any of Susan's flowers, you can go to YouTube and search Spellbinders, Susan's Garden.  Susan has created these flowers in previous releases years ago, but these new die sets are improved and make it very quick and easy to create.  

Susan's Berry Branch was die cut twice using watercolor paper and colored light brown.  On one branch I added lavender styrofoam balls for the berries, and the other branch I added dark purple styrofoam balls.  The branches were cut apart and attached under the arrangement.

I am happy with results of die cutting the little squares to help make the beautiful trellis show up really well.  Would you take the time to do this?


Monday, January 16, 2023

Gerber Daisies and Hollyhocks


I am happy you have come to visit today.  One of the flowers from Susan's Garden Painted Garden that I haven't posted yet is the Gerber Daisy.  I have always loved this beautiful flower.  It comes in many different colors.  

This is a 6x6 inch card.  For the background, I embossed a piece of white cardstock with the Altenew Curving Leaves 3-D Embossing Folder.  

Using the Gerber Die Set, two flowers were die cut using Susan's Specialty Cardstock.  They were colored using my new OLO markers then shaped using Susan's Flower Tool Kit.  Prills were added to the center of each flower.  You can find Susan's instructions for this flower on her Susan's Garden FaceBook Video at this LINK.  

The Hollyhock die set was used to create the pink Hollyhock flowers.  They were also die cut using Susan's Specialty Cardstock, colored with OLO markers, shaped using the Flower Tool Kit and assembled using Kids Choice Glue.  At Spellbinders, you can purchase the SILI Glue Pod with sealable lid and three different size SILI brushes.  This is a great container to add some  glue and use the brushes to add small (or large) amounts of glue to your project.

The branch behind the arrangement was die cut with one of the dies in the Foliage & Ladybug die set.  Pink styrofoam balls were glued on for the berries.  The Ladybug was also die cut using the ladybug die in this same set.  Nuvo Clear Crystal Glaze was added to the ladybug.  

The sentiment is a stamp in Susan's Garden Favorites Stamp Set.  It was stamped using VersaFine Black Ink and clear embossed, then die cut using a small scallop square die.  It was attached using dimensional tape.

Thanks for stopping by today.  Have a fun crafting day!


Thursday, January 12, 2023

Framed Pansies


Yesterday on Susan's FaceBook Live, she demonstrated how to create a frame without using dies.  For this post, I created a frame but in the bottom I added a small square piece for one of Susan's Quotes.  Here is the link to Susan's FaceBook Live Video for instructions on how to create the frame.

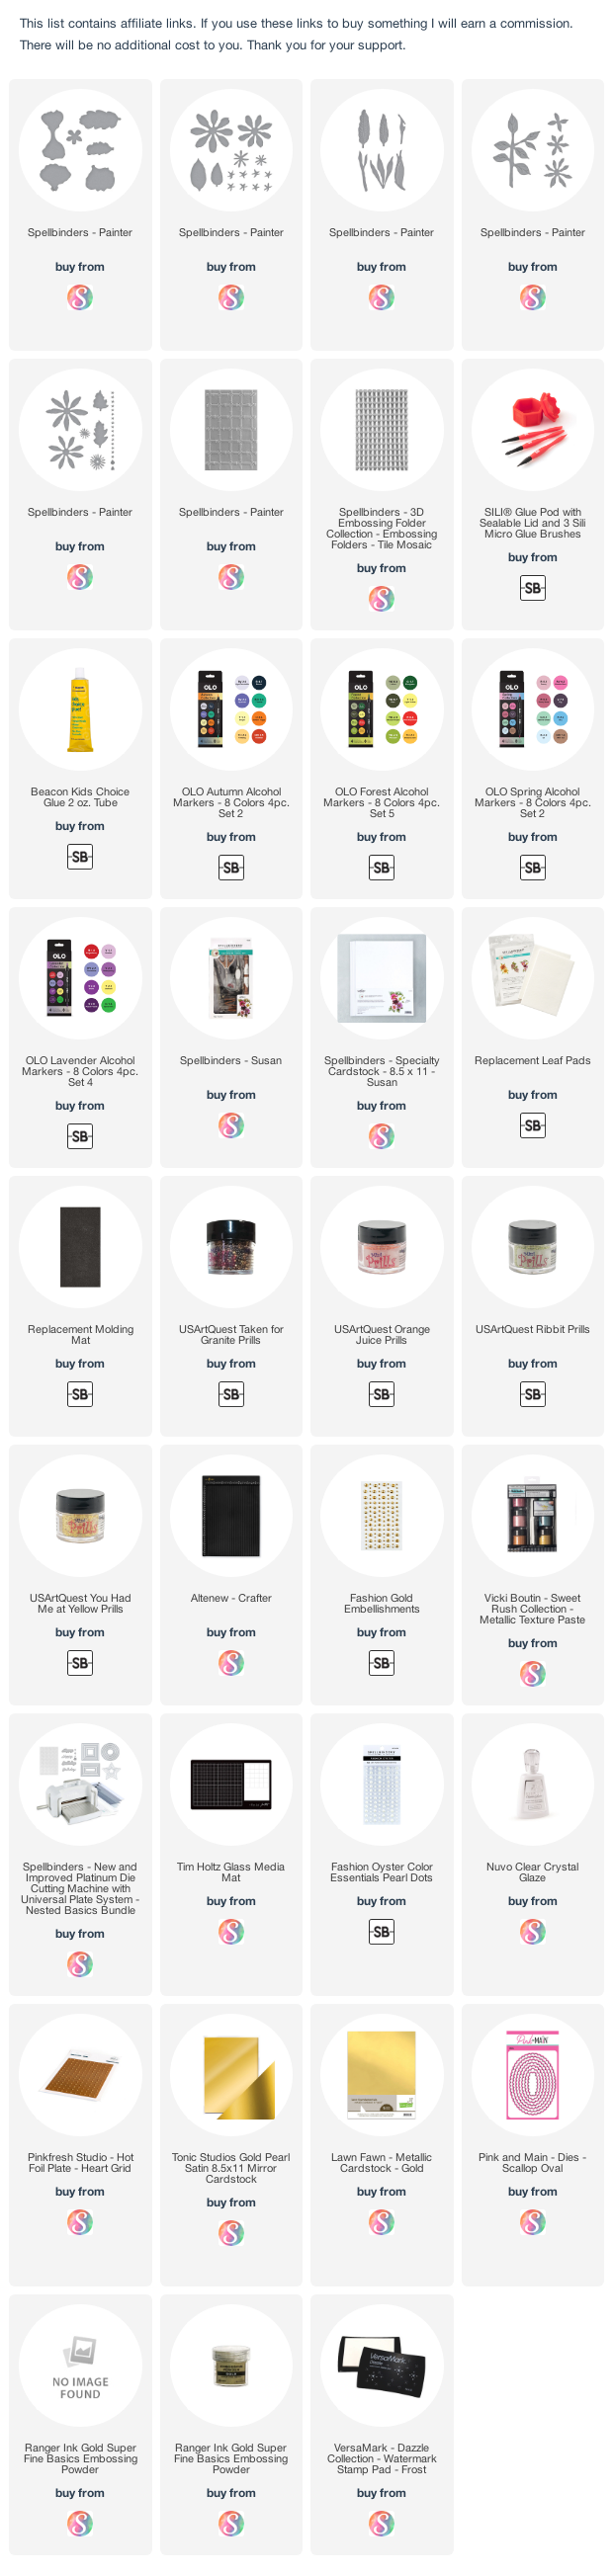
The frame is 6x8 inches.  On the inside of the frame,I used the Pinkfresh - Heart Grid Hot Foil Plate - to gold foil the little hearts. It was attached to a piece of gold cardstock and glued to the inside of the frame.   The strip in the bottom of the frame is the same size as one side of the frame, but the wide side is placed up - it is glued with one wide side to the back of the frame and one narrow side to the top edge of the bottom frame.  I hope that makes sense.  A strip of metallic gold cardstock was cut and glued around the top edge of the frame plus across the middle of the insert at the bottom of the frame.  One of Susan's quotes was stamped with VersaMark and Gold embossed and added.

A blue scallop oval was die cut and centered inside the frame.  

The new Pansy die set was used to create the three flowers.  They were die cut using Susan's Specialty Cardstock, colored using OLO markers and shaped using Susan's Flower Tool Kit.  Kids Choice glue was used to assemble the flowes.  

The Forget Me Not die set was used to die cut the small blue flowers.  If you need help in learning how to create any of Susan's flowers, you can watch Susan's Spellbinders YouTube Videos - just go to You Tube and type in Spellbinders Susan's Garden, and all her videos will come up.  You can scroll down and find the flower(s) you are interested in.  

Spellbinders Gold Embellishments were added to the corners of the frame.

transparent; border: 0px;" />

Tuesday, January 10, 2023

Carolina Allspice


Good Morning.  I hope you are enjoying all the card samples Susan's Design Team are posting this week using her new Painter's Garden Release from Spellbinders.  Today I have a card using the Carolina Allspice die set.

For the background I used a Quatrefoil die and added a piece of cardstock underneath that was sponged with orange and yellow inks. The cardstock was placed on the Waffle Flower Stencil Mat and the inks blending together with brushes.   Along the bottom,  I drew five scorelines, using a score borard.

The Carolina Allspice die set was used to create the flowers.  They were die cut using Susan's Specialty Cardstock, colored maroon with an OLO marker.  The leaves were colored with two shades of green OLO markers.  Both the flowers and leaves were shaped using Susan's Flower Tool Kit.  A small amount of Kid's Choice Glue was added to the SILI Glue Pod and used to assemble the flowers.  Three branches of the Carolina Allspice were arranged over the die cut background.

A stamp from Susan's Spring Flora Stamp Set was used for the sentiment. It was stamped using black VersaFine Ink and clear embossed.   It was die cut using a framelit layering die and attached using dimensional foam squares.

This is a great die set to add to your Susan's Garden die sets.  It is beautiful used alone plus great to use in a floral arrangement along with other flowers.

Sunday, January 8, 2023

Pansies


Hello my friends.  Today I have a card designed using Susan's new Pansy die set.  This is in her new Spellbinders Painters Garden Release.

This is a 6x6 inch card.  I die cut a rectangle on the right side of a 6 inch square card stock, then using the same size and one size larger die, cut a frame to go around the opening to give it a finished look.  A 1/8 inch score line was drawn around the edge of this piece.    Under the opening a piece of yellow design paper was glue on.  This was glued to the card front.

Using the Pansy die set, two differernt colors of panies were created.  They were die cut from Susan's Specialty Cardstock, colored with OLO markers and shaped with tools from  Susan's Tool Kit.  They were assembled using Kids Choice Glue.

Using the Foliage & Ladybug die set, three Eucalyptus branches were die cut, colored and shaped.  They are placed behind the arrangement.

Susan's Berry Branch was die cut and purple berries added.  I used small styrofoam balls that were colored for the berries.  

One of the stamps from Susan's Garden Favorites Stamp Set was used for the sentiment.  It was stamped using Black VersaFine Ink, clear embossed, and cut out the the rectangle die.  It was attached with dimensional tape.

For final embellishment, I added tiny dark purple rhinestones around the left side of the arrangement.

Wednesday, January 4, 2023

Zinnia Rocker Card


Good Afternoon.  Today I have a card created with Susan's Garden new Zinnia die set.  This is one of the new sets in her Painter's Garden Release.

Since Valentine's Day is not far away, I created a Valentine.  For something different, I decided to create a rocker card.  The large 6" circle was die cut out of red card stock, then a smaller circle was die cut out of white card stock and embossed with the Spellbinders Tile Mosaic 3D embossing folder.  It was cut in half and a piece was glued to the bottom half on both the front and back of the card.  The two smaller red circles were attached in the center with one piece on the front and one piece on the back.  A smaller white scallop edge circle was die cut for both the front and back.  Spellbinders white pearl embellishments were attached on each scallop.  

The Zinnia die set was used to create three red flowers.  They were die cut out of Susan's Specialty Card stock and colored with OLO markers.  Susan's Flower Tool Kit was used to shape the flowers and leaves and Kids Choice Glue was used to assemble the flowers.  I put the glue in the SILI Glue Pod to make it easier to work with the glue.  

One of the sentiments from Susan's Through The Garden Gate stamp set was stamped using black VersaFine Ink and clear embossed.  It was fussy cut and glued to the blottom of the rocker.  

One of Susan's Ladybugs, which is available in several of her die sets, was added to one of the leaves.  Crystal Glaze was added after it was attached.  Since this is a Valentine Cards, I added three small hearts around the sentiment.  

I am happy you are visiting my blog.  I hope I have given you an idea you can use with flowers from Susan's new Painter's Garden Release.


Saturday, December 31, 2022

New Susan's Garden Painted Garden Release


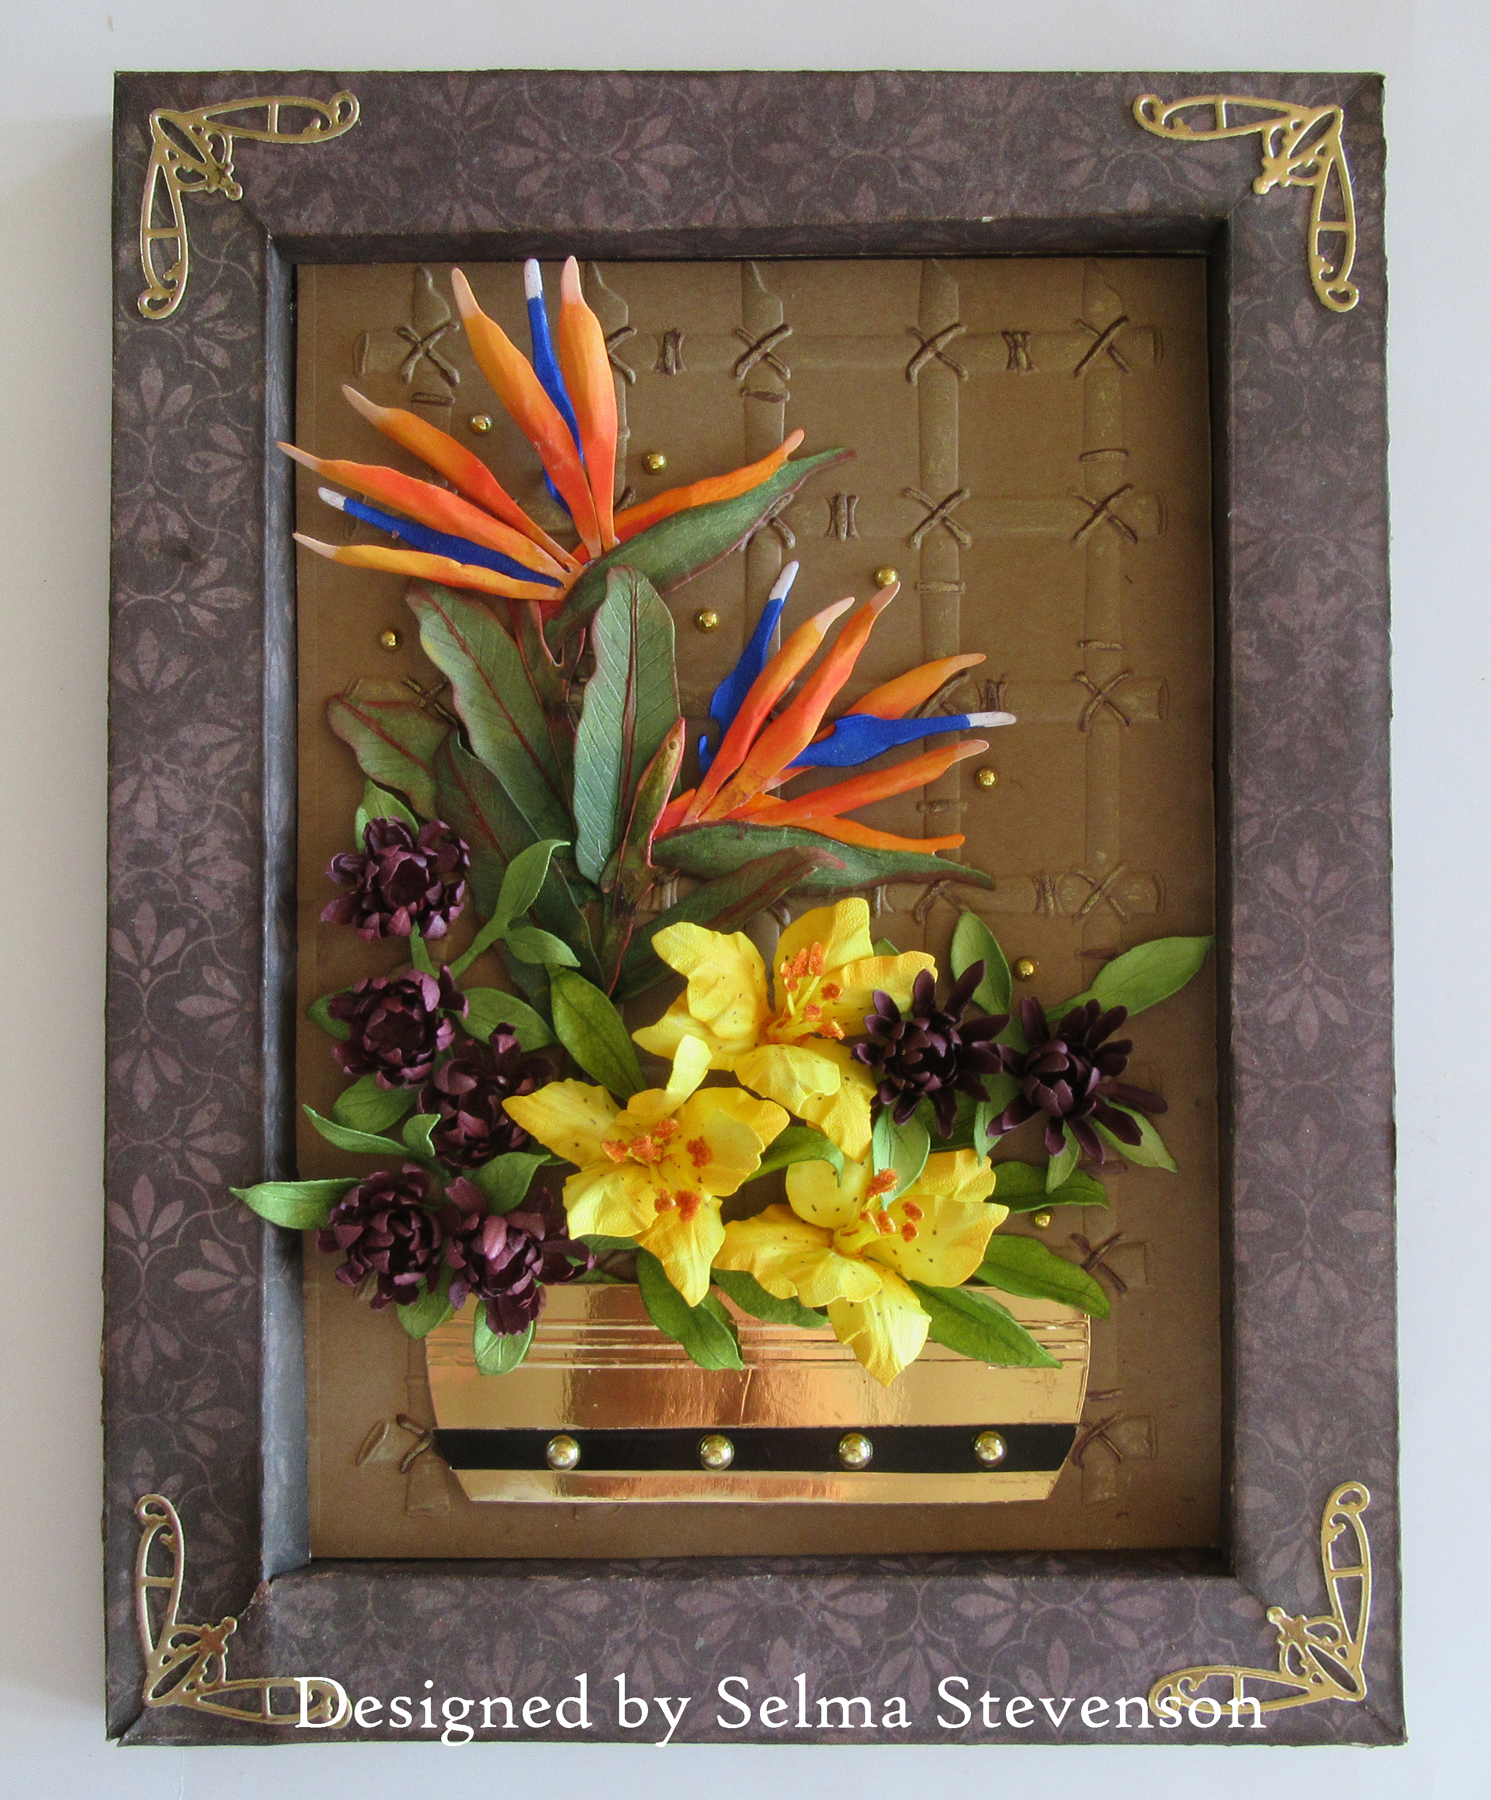
Happy New Year Paper Gardeners!   We are starting off the new year with a new release from Susan's Garden.  This release is her Painter's Garden which includes five new flowers -- Bird of Paradise, Carolina Allspice, Gerbera Daisy, Zinnia, and Pansy --  plus a beautiful Bamboo Trellis embossing folder.

My card today showcases the new Bird of Paradise, Carolina Allspice die sets and the Bamboo Trellis embossing folder.  I created a frame, using one of Susan's tutorials, out of design paper from my stash.  On the inside of the frame, I glued in a piece of Kraft cardstock that was embossed with the Bamboo Trellis embossing folder.  To highlight the design, I used a gold rub-on paste over the design.  To highlight the cords on the lattice, I used a brown marker.

To create a vase for this bouquet, I used the Spellbinders Zen Garden Welcome die set.  Its was die cut using gold mirror card stock.   I used the insert that is normally discarded in this die cut for the vase.  It was put on a Score Board and three embossed lines were drawn on the top portion.  On the bottom, a piece of glossy black cardstock was cut into a small strip and attached to the bottom, and Spellbinders gold embellisments added for extra texture.

The Bird of Paradise die set was used to create two flowers.  There is a tutorial by Susan on the 'Susan's Garden Club Budding Paper Gardeners"  FaceBook page on how to create these beautiful flowers.

The new Carolina Allspice die set was used to create the maroon flowers. I always use Susan's Specialty Cardstock to die cut all my flowers and OLO markers were used to color them.  They are shaped using Susan's Flower Tool Kit and Kids Choice Glue used to assemble them.

Susan's Oriental Lily die set was used to create three yellow flowers.  Pollen was added to the end of the stamens.  The lily die set is from Susan's Summer Flora release.

Even though a lot of us have lots of snow and winter weather, we can start thinking about Spring creating these beautiful flowers from  Susan's new Painter's Garden release.  I have the new release linked below.  

Have fun creating with Susan's new release!


Wednesday, December 21, 2022

Z-Fold Pop Up Card


Good Morning Friends.  It is four days before Christmas.  I have run out of Christmas themed cards but thought I would post this card I created earlier this year when Susan showed how to create this style card, July 28 of this year, on her Susan's Garden Club Facebook Video.

To decorate the card, I used design paper from my stash for the panels.  Susan's Dogwood die set was used to create the dogwood branch.  The flowers were die cut using Susan's Specialty Cardstock.  Susan's Tool Kit was used to shape the flowers and Bearly Art Glue used to assemble the flowers.    

Below are a few more pictures of the card.

I want to wish all of you a very Merry Christmas.  


Wednesday, December 14, 2022

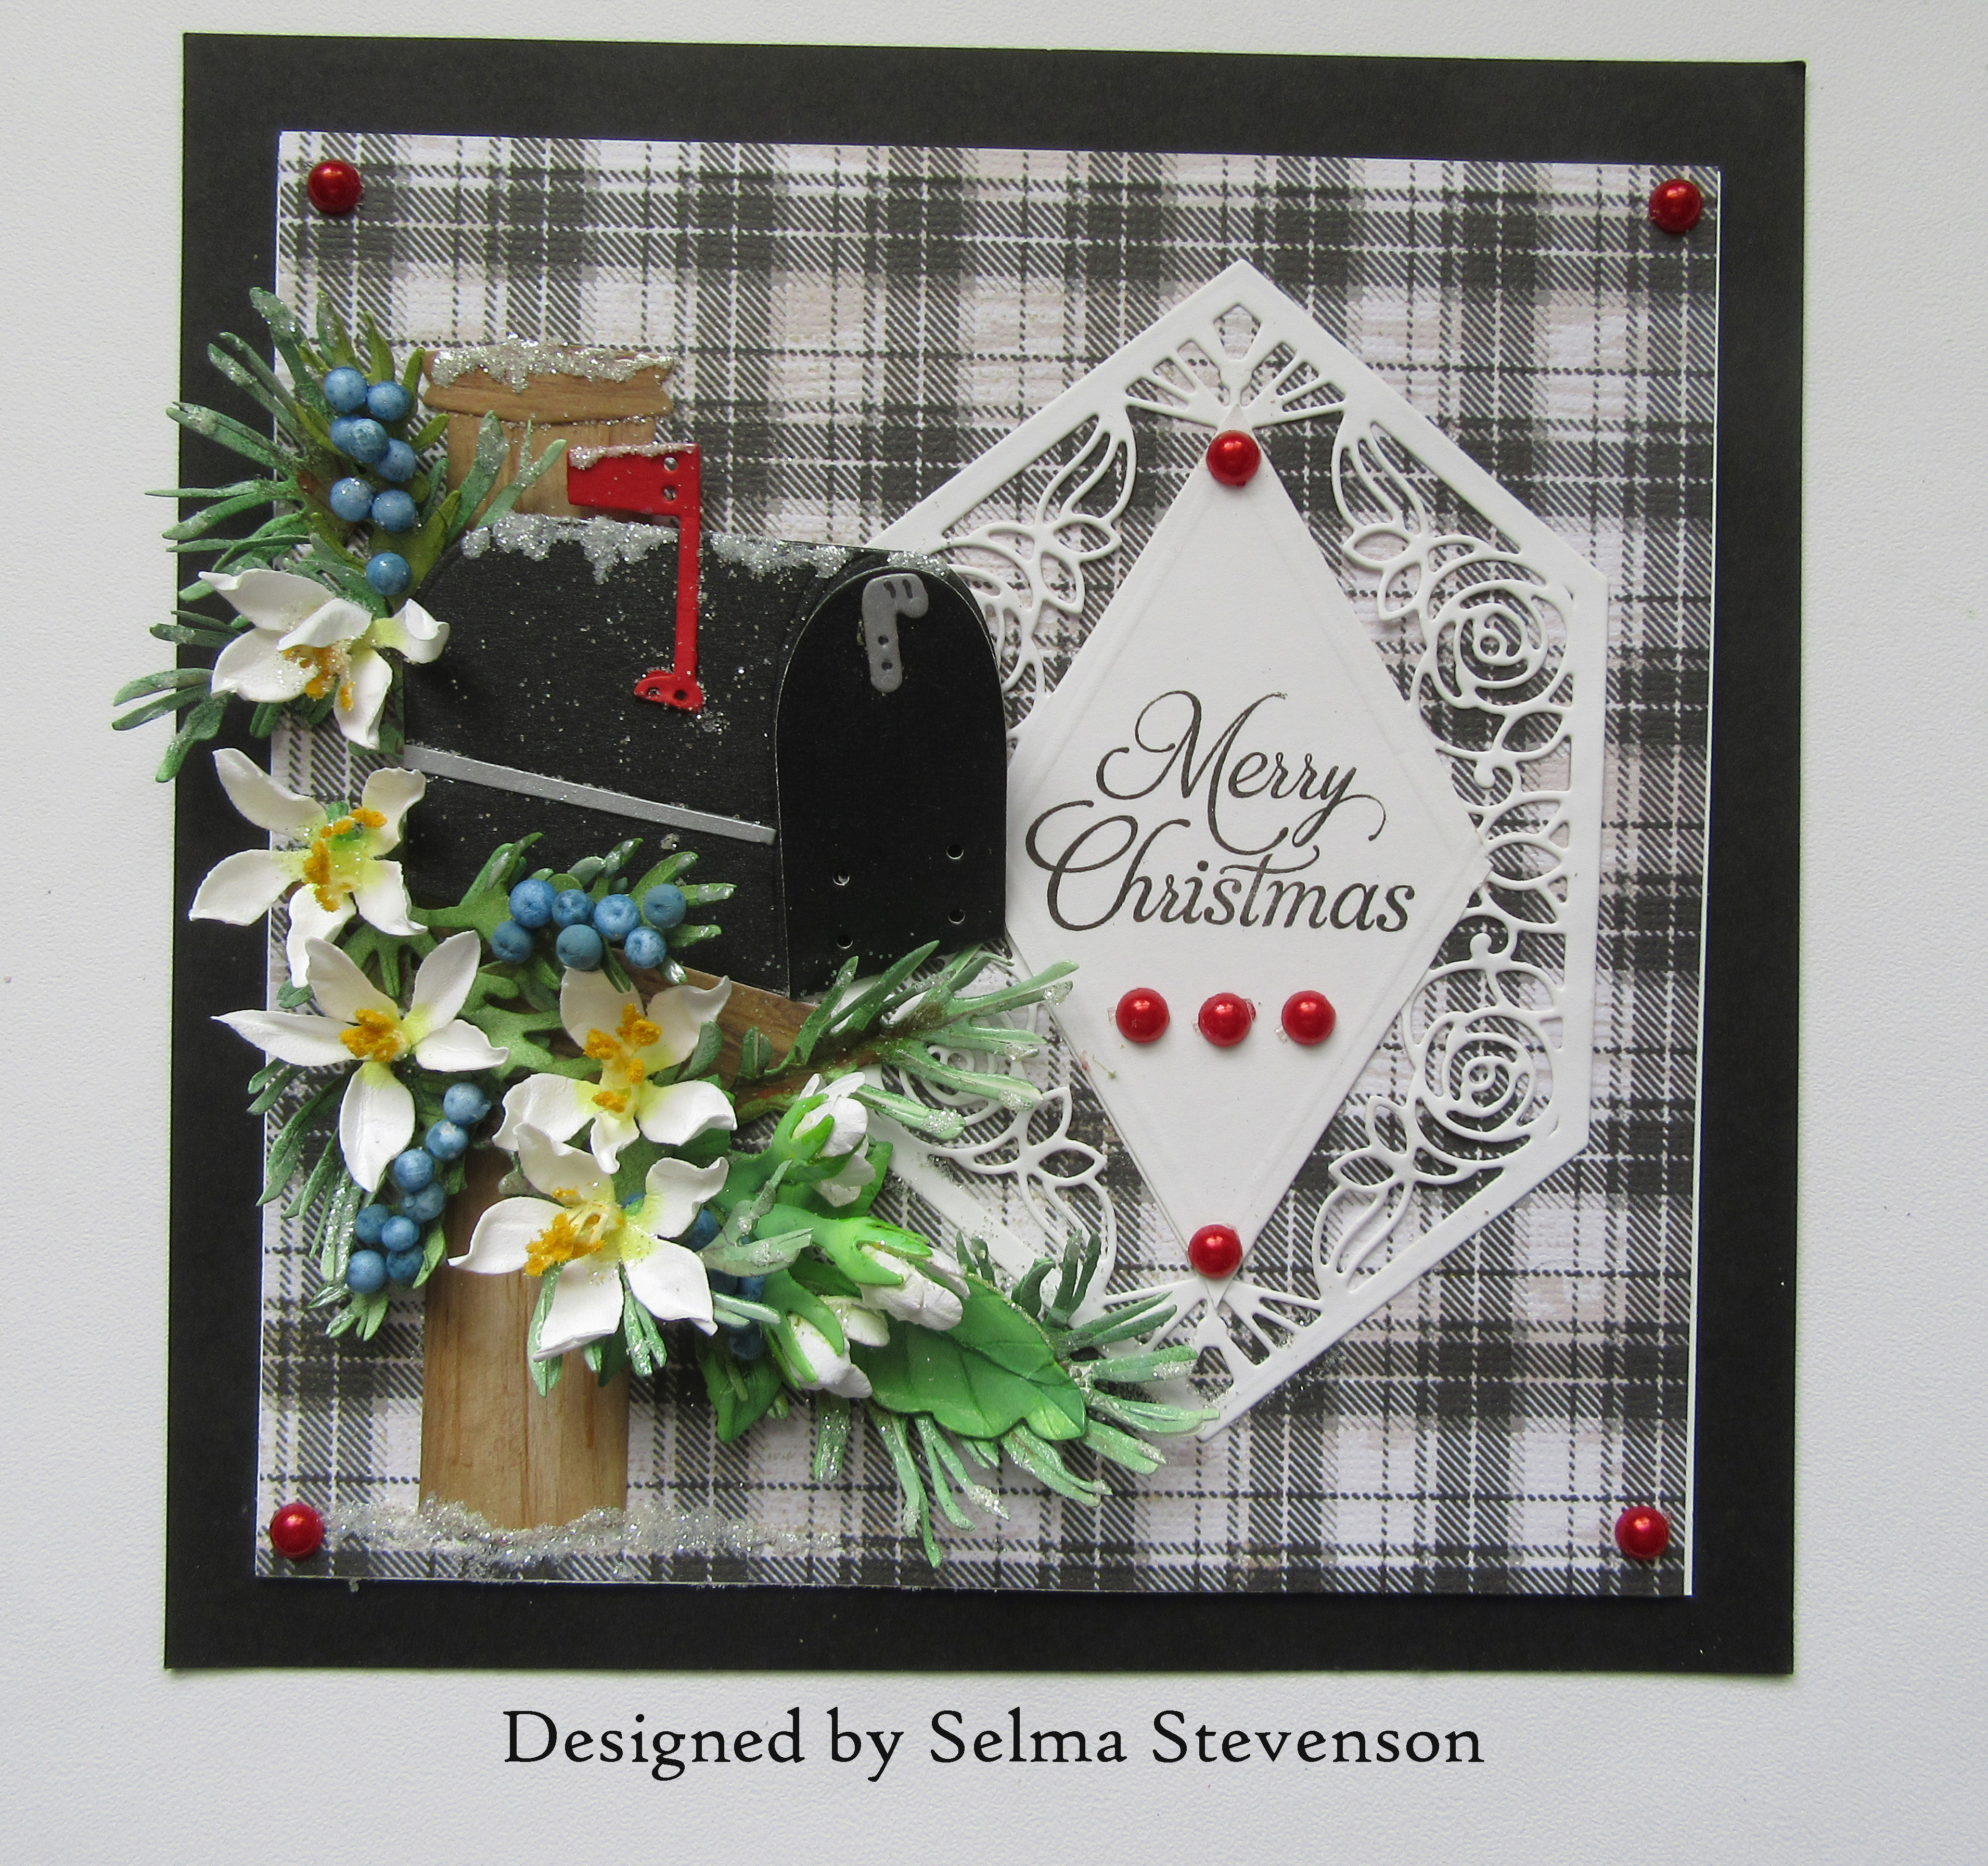
Black Letterbox with Jasmine


Hello Paper Crafters.  I have loved creating cards with Susan's Letterbox die set.  

This is a 6x6 inch card.  I used a black and white gingham design paper for the background.  An older Spellbinders Rose Diamante die set was used for the doily die cut.  One of Susan's Winter Garden stamps was used for the sentiment.

The Letter box die set was used for the letterbox and pole.  Black pearlized cardstock was used to die cut the letterbox and Kraft cardstock used for the pole. 

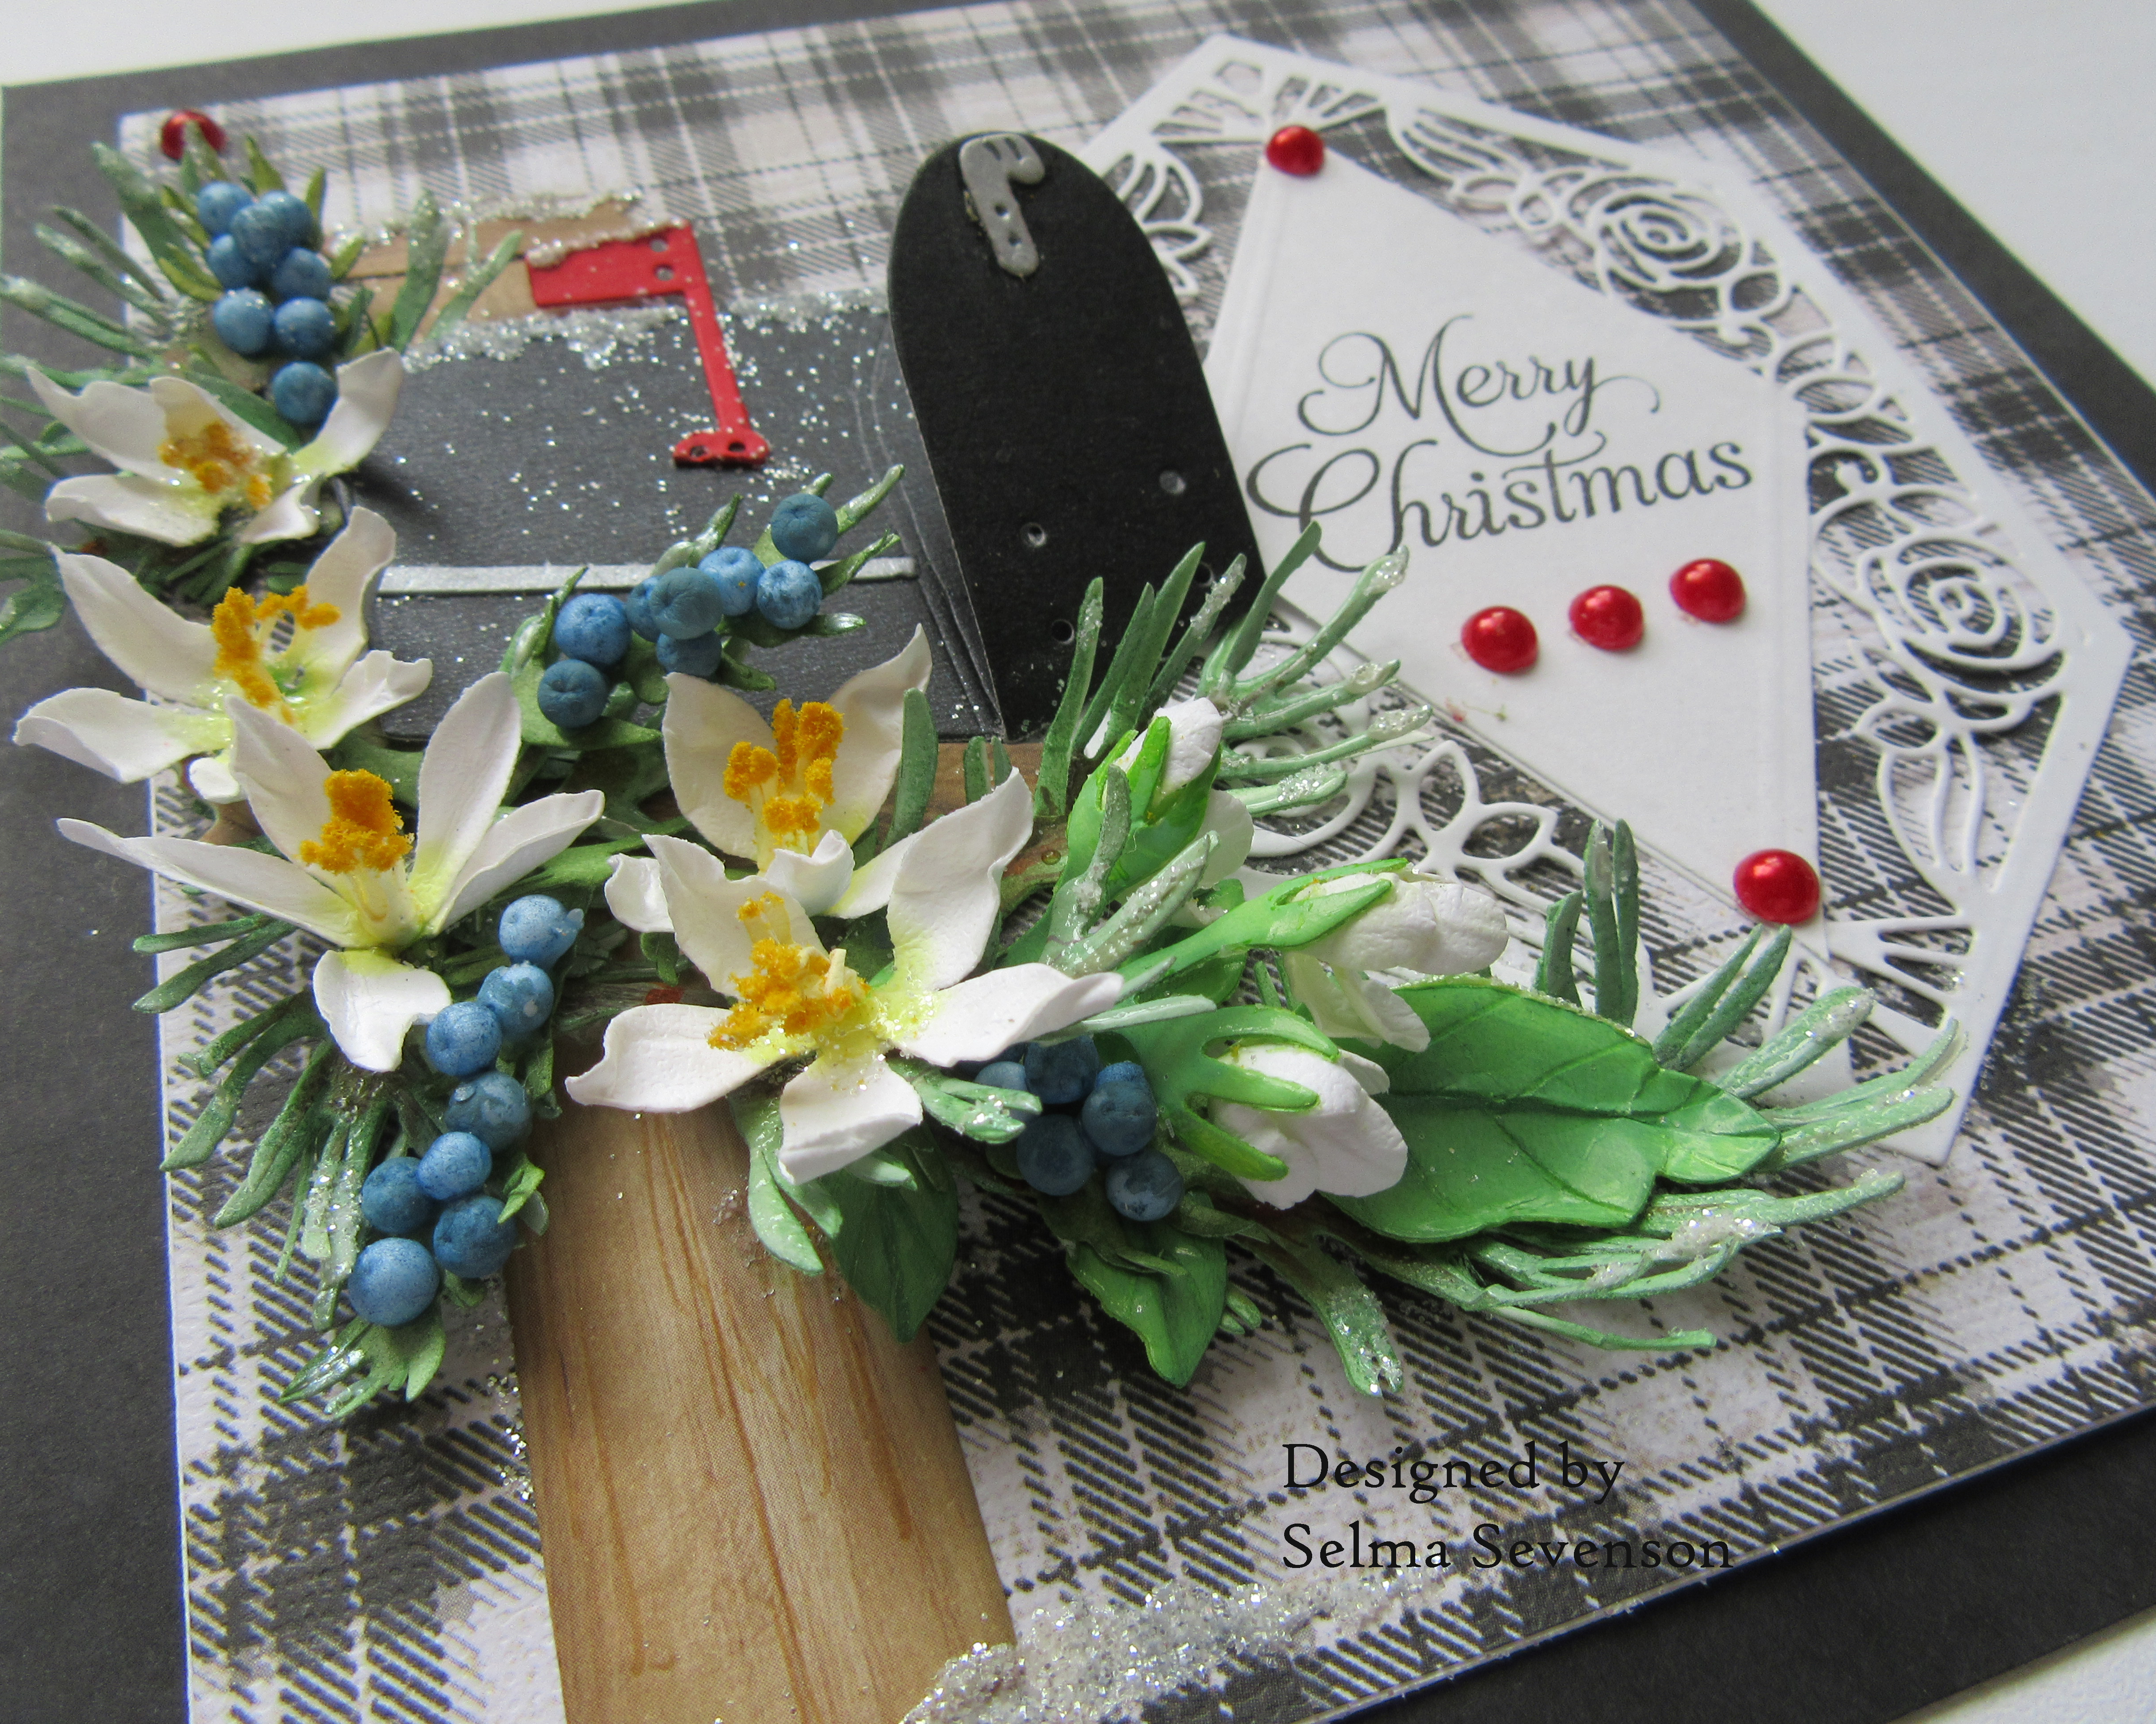
The Jasmine die set was used for the flowers.  They were die cut using Susan's Specialty cardstock and shaped with her Flower Tool Kit.  Kids Choice Glue was put in the SILI glue pod and used to assemble the flowers.

The Juniper die was used to die cut four branches and blue berries were added.  The berries, are small styrofoam balls, and were colored with alcohol ink and glued to the branches.  Snow was added tothe pole, mailbox and bottom of pole then sprinkled with glitter.

Red Pearl Embellishments from Spellbinders were used to finish the card.


Monday, December 5, 2022

Slimline Christmas Card


Well I am finally ready to get my Christmas cards ready for mailing.  This is my last one for this year.  This is a slimline card designed using Susan's Poinsettia and Jasmine die sets.

Along the bottom of the card, I used the Spellbinders Christmas Foliage Strip & Borders die set.  I did some scoring along the top of the card.  

The Poinsettia die set was used to create the poinsettia.  I used small styrofoam balls for the bracts - added a yellow prill on each then some red pollen.  I used Susan's Specialty Cardstock for the die cuts and her Flower Tool Kit for shaping everything.
The Jasmine die set was used to die cut the white Jasmine.  The Whitepine die was used to die cut five branches and the Winter Bough & Evergreen die set used for the branch.  Berries were added to the branches.

One of Susan's Winter Garden sentiments was stamped with VersaMark and red embossed on a Spellbinders Fluted Classic Oval.  It was attached with dimensional tape.

I want to wish all of you a Merry Christmas.  We will be back in January with Susan's new release.


Saturday, December 3, 2022

Twisted Easel Card


Good Morning. December really bright in winter at our house.  We just has 18 inches of new snow.  It does look a lot like Christmas outside.   Today I have a Twisted Easel Card designed using Susan's Garden Letterbox and Jasmine die sets.

This is a 6x6 inch card.  To create the Twisted Easel, the top panel is scored in half from upper left corner to bottom right corner.  A label die was used to attach to the lower half.  Another piece of design paper was die cut and glued over the label die cut.  There is a raised sentiment on the inside of the card to help hold the decorated portion of the card up.

The letterbox die set was used to die cut the letterbox and the pole.  The letterbox was die cut using black pearlized card stock and the pole die cut using a wood grain cardstock.  The pole was attached using dimensional tape.

The Jasmine die set was used to die cut the jasmine.  It was die cut using Susan's Specialty cardstock.  The flowers and leaves were shaped using tools from Susan's Flower Tool Kit and Kids Choice Glue used to assemble them.  I store some of the glue in the Sili Glue Pod to store the glue.

The Ferns & Ivy die set was used to die cut the ferns.  

The same design paper was used on the inside of the card.   One of the stamps from Susan's Winter Garden stamp set was used for the sentiment.  It was stamped using VersaFine black ink and die cut with a small label die.  It was attached with dimensional tape so it would be raised to hold the bottom of the top of the card when folded back to form the twisted easel. 

This is a very easy fun fold that shows off the decorated panel.  The card folds flat and is mailed in an acrylic box.


Sunday, November 27, 2022

Sympathy Card


Today I have a sympathy card I created for a dear friend.  This is Multi Diamond Panel card.  I followed the instructions on Sam Calcott YouTube Video to create this card.  The card is very easy to create.  The front of the card is a piece of clear acetate and the design on the front is created with squares attached to the acetate.  

There are a total of eight small squares attached to the acetate front with dimensional dots.  Four squares have design paper from my stash.  Four  squares were embossed with the Altenew Garden Harmony 3-D embossing folder on Spellbinders Graphite card stock.    In the center, is a three layerd square.  I used a stamp from my stash for the sentiments.  Spellbinders silver embellishments were used on the corners of the squares and a few around the flower.  

I used Susan's Garden Sunflower die set to create one flower.  It was colored to match one of the colors in the design paper.  Oh no, I just realized I used leaves from the Gaillardia die set. The sunflower and gaillardia flowers are very similar.  
  
Susan's Ferns & Ivy die set was used to die cut three ferns that are tucked under the top of the flower.


This is the back of the card.


This picture shows the paper spring used to keep the card from opening too far when it is standing up.  If you look closely you can see the acetate on top with the squares attached.  

I think you will have fun creating this beautiful card design.  Be sure to watch Sam Calcott's YouTube Video for instructions.

Saturday, November 26, 2022

Decorated Letterbox


Good Morning friends. I have a good start on my holiday decorating.  My tree is up, and the garlands are are hung.  There is more to do, but our house is starting to look like Christmas.  It almost time for me to get Christmas cards ready to send.  How are you doing getting all your Christmas cards ready?  Today I have another card designed using Susan's Garden Letterbox die set.  

This is a 5x7 inch card.  On the inside, I used a piece of P13-Cosy Winter design paper.  For space to write a greeting, I added an oval using the Spellbinders Picot Petite Oval on the inside.  The design matches the die cut border on the front the card.  I used the Spellbinders Christmas Foliage Strips & Border die set and die cut the design on the front panel.  Then I die cut the same strip and attached for additional design.  It was glued on the card front matching the curves on the edge of the card.  

Using Susan's Letterbox die set, the letterbox was die cut using a silver cardstock.  The pole was die cut using a piece of woodgrain cardstock.  Looks like someone has received some Christmas Letters!  Three small pieces of cardstock were added for envelops and a black marker used to create address and stamp.

Susan's Pinecone die was used to to create one pinecone and her Whitepine die was used for the pine branches.  Snow paste was used for the snow.  For the berries, I used tiny bean bag styrofoam balls that I colored red with acrylic paint.  This was attached to the top corner of the card.  A few whitepine branches and berries were attached on the letterbox pole.

One of the stamps from Susan's Winter Garden stamp set was used for the sentiment.  It was die cut using a small oval die.


LinkWithin

Related Posts with Thumbnails