

,
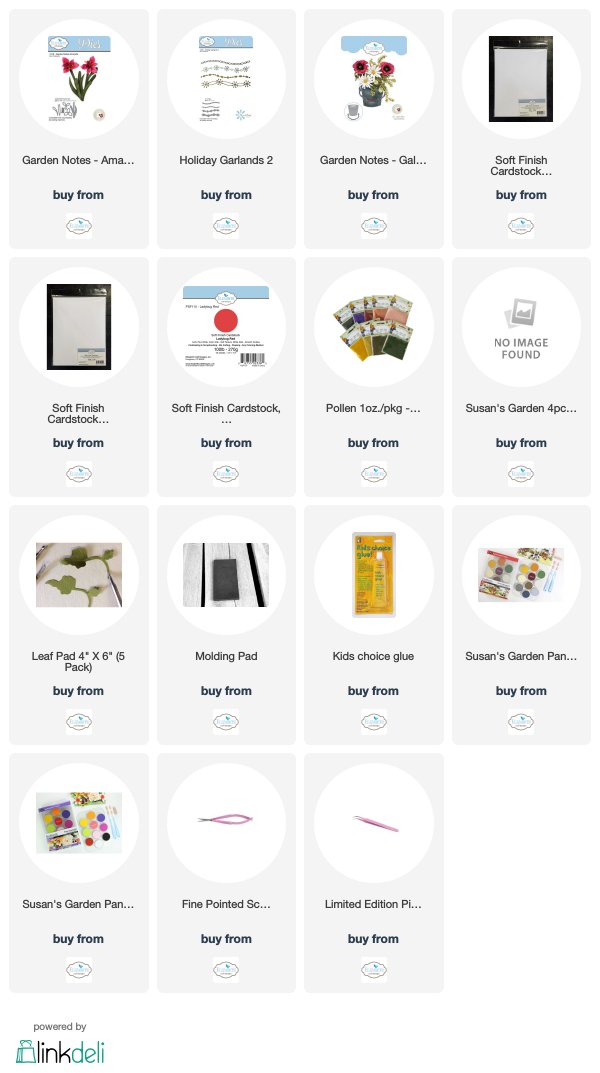
I watched Susan's video on her Facebook Garden Club page, at this LINK to get instructions on how to assemble the Amaryllis. She used metallic red card stock for the bucket, which I love, and copied that idea. My addition was adding a gold border.
This is a 6 1/2 x 5 inch card. A piece of Ladybug Red Soft Finish Cardstock was added to t the front. Another piece of White Soft Finish Cardstock was cut slightly smaller to layer on top of the red card stock. The edges of this piece were scored on a ScoreBoard for a finished appearance. Light Yellow PanPastel was sponged on the upper portion.
Use the Garden Notes Galvanized Bucket die set and die cut one red metallic bucket. Emboss with the Lots of Dots embossing folder.
Use the Holiday Garlands 2 die set and die cut one looped border, using Gold Metallic card stock. Attach around the upper band of the bucket, trimming off at the edges of the bucket Attach to the front of the card, using dimensional tape in the center of the bucket and glue around the edges, leaving the top open.

Use the Garden Notes Amaryllis die set and die cut pieces for 3 flowers and the leaves. Use white card stock for the flowers. Use a red marker to color the petals, as shown. Shape the flowers with the Flower Tool Kit. Add pollen to the tips of the stamens. Shape the leaves with the Flower Tool Kit. Use the Yellow Green PanPastel to shade down the center of each leaf.
Attach the flower stem in the center of the bucket. Attach the three flowers at the top. Insert the leaves down in the top of the bucket. Line the top of the bucket with Spanish Moss, which can be purchased from the Craft Store.
Shade the bottom of the card, around the base of the bucket with a light gray marker, to ground it.


2 comments:
Fantastic job creating this pot of lovely amaryllis.
How often do you have to water this? Looks so real.
Pat McQuitty
Post a Comment