This is a silver and white card, which looks quite elegant in real life. The front panel is open between the die cut openings of the geometric background.
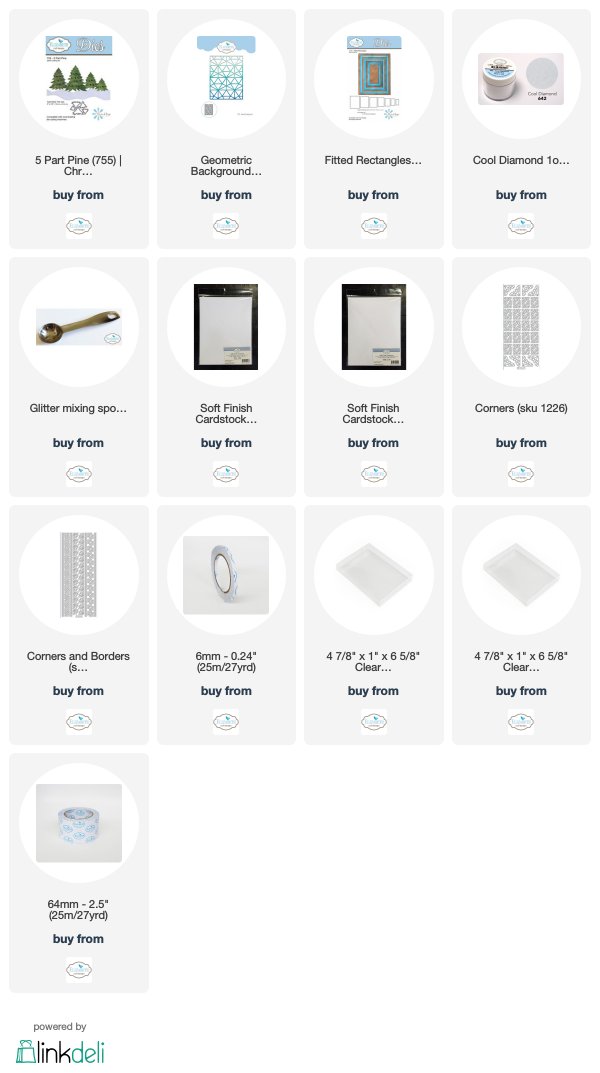
Use the Geometric Background die and die cut three white backgrounds using white Soft Finish Cardstock. Glue (stack) the three die cuts together to create strength. This die cut piece will be the front of the card.
Cut a piece of white card stock 5 1/4 x 4 inches. Score across the 4 inch end, 1/2 inch down from the edge. Crease this score line with a bone folder. This piece will be the back of the card. With the score line at the top, it allows for the card to open. Put glue along the top edge of the Geometric Background down 1/2 inch. Press the top of the geometric background down on the top of the scored back piece. The glue should only be above the score line so the card will open.
Cut a piece of white card stock 4 x 4 3/4 inches. If you want, draw a double score line around the edges and attach inside the card, onto the back piece, fitting behind the Geometric Background. It should fit right up to the score line at the top of the card. The card base will now be very sturdy.
Use the Fitted Rectangle die set and die cut 2 rectangles, using white card stock. Have clear double sided adhesive on top of one of the rectangles. The one with the adhesive will be sprinkled with Cool Diamond Silk Microfine Glitter. Use 6mm Clear Double Sided Adhesive to put around the back edges of the card stock with the glitter, and on one side of the second rectangle. Attach the glittered piece, centered, on the front of the card. Attach the other rectangle with the adhesive on top, down on the inside of the card front, right behind the rectangle on the front. This piece will cover the adhesive on the bottom of the rectangle that is on the front of the card -- a nice neat appearance.

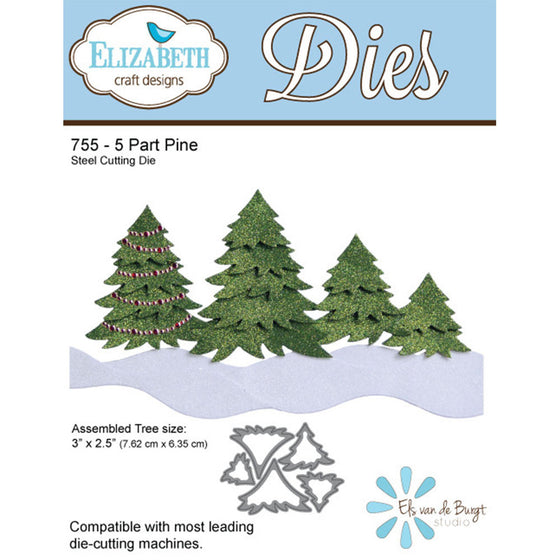
Use a piece of brushed silver metallic card stock to die cut the 5-part pine Christmas tree. Assemble the tree using thin dimensional tape between layers, to give the tree dimension. Make sure the tree will fit within the frame. Attach the tree to the Glittered background, using dimensional tape.
Use Silver Peel Off Sticker Corners and Borders (lines) for a finishing touch. When you pull the corners off, there will be small circle stickers on the release sheet. Use these circles to decorate around the top of the tree.
Even though this card is a little dimensional, it could be mailed in a regular envelope, but I will probably mail it in one of the smaller clear acrylic mailing boxes, which are available from Elizabeth Craft Designs.
I love this Els Van de Burgt 5-Part Pine Tree die set. It is beautiful, and so realistic, no matter what card stock you use to die cut it. You can use just a few layers for a shorter tree or all 5 pieces as I have done for this card.


3 comments:
Selma, This is very pretty. Love that Lattice look!
Selma, you have made a wonderful Christmas card. It's also a very Elegant card. I love it!!
Happy to see a card made with this pretty tree die set! I have this set but have not even used it yet! Your card inspires me!
Post a Comment