Inside of Shadow Box Card
Close-up of shadow box
Side view of shadow box
Front of Shadow Box Card
This is a 6-in square card when closed, with a dimensional shadow box inside. The instructions for the cover for this shadow box was posted yesterday. Here is the LINK.
To create the shadow box, begin with a piece of white card stock 6 x 12 inches.
Score at 6 and 6 1/2 inches. Crease score lines with a bone folder. This piece becomes the outside cover of the card. For the sentiment on the inside left side cover, use the A Way With Words-Merry Christmas die set and die cut one gold metallic sentiment.
Cut a piece of white card stock 6 x 6 1/2 inches. Score at 1/2 inch, 5 1/2 inches, and 6 inches. Crease with a bone folder for a crisp fold line.
Use the Garden Notes Frame It/Stitched Square die set to die cut an opening. Use the 2nd largest die and center and tape in the middle of the 5x6 inch section of the piece previously scored.
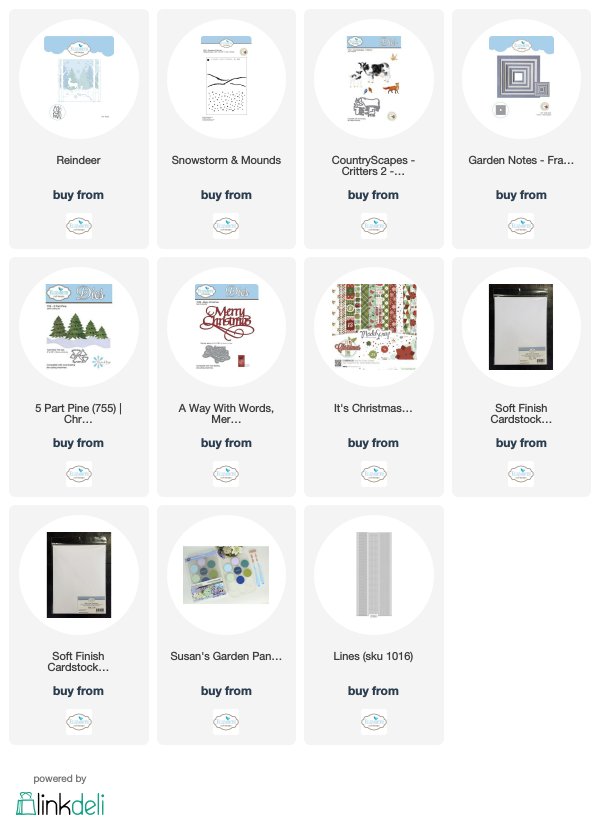
Cut a piece of white card stock 5 x 6 inches. This piece will become the background in the shadow box. Use Susan's Snowstorm and Mounds Stencil to sponge on snow mounds in the middle of this piece. Use light gray or light blue ink. Sponge light blue ink above the snow mounds - this will be the sky. Use the same stencil to sponge VersaMark Ink over the falling snow portion of the stencil - above the snow mounds. White emboss the falling snow.
Use the Reindeer die set and die cut two snow mound pieces. Attach these pieces together to create two levels of snow mounds. They will be uneven on the ends, but you can trim them straight.
Attach the snow mounds to the backside of the open frame, using 3mm Clear Double Sided Adhesive, only along the sides and bottom. You will be adding die cuts between the snow levels.
Add a strip of 6mm Clear Double Sided Adhesive to each end of this shadow box.
Use the Reindeer die set and die cut three large birch trees and one small tree. To add dimension to the shadow box, the trees are attached at different levels. Glue two large trees into snow - one on the left behind the lower snowbank and one behind the edge of the frame on the right. Ends of the branches can be pulled over the edge of the frame. Add a second large tree next to the tree on the left but behind the higher snow bank. This will give it dimension. The small birch tree is attached to the background piece so it shows to the right of the two trees on the left.
Use the Five Part Pine die set and create the green pine tree. Cut a narrow long strip of card stock to attach to the back of the tree to make it sturdy. Attach at the bottom of the frame, as shown.
Use the Reindeer die set and die cut two reindeer. Glue the two pieces together. Sponge on color and attach as shown. Only the legs are attached at the bottom of the shadow box.
Use the CountryScapes Critters die set and die cut the small birds. Color them red and attach as shown on the branches and the flying bird to the background, which gives dimension when the card is opened.
Use the ModaScrap Christmas Time Card stock to cut two narrow strips of stripped paper to go along the top and bottom of the shadow box window.
Attach the shadow box to the inside of the card. Remove the covering on the Clear Double Sided Adhesive on the left side and attach to the cover which was created at the beginning of this tutorial. To attach the right side, you might want to make a light pencil mark 3/4 inches from the right side of the card back for placement of the right side of the shadow box. The shadow box should fit perfectly square when the front cover of the card is pulled back so the front is level.
Glue the back of the inside panel (the one with the snow, one tree and flying bird) behind the shadow box frame. Slide down inside the shadow box frame. It is easier to use glue to attach this so you can slide it around to fit perfectly behind the frame. To make sure it is pressed down, use a ruler to press it down.
The depth of the shadow box is 1/2 inch. Because it is attached 3/4 inch from the right side of the cover, it will fold down flat for mailing.
To decorate the edges of the stripped pieces at the top and along the right side of the shadow box, add Gold Peel Off Line Stickers.
The front of this card is dimensional. It will fit nicely in one of the clear acrylic boxes which is linked below.


3 comments:
Selma- Another gorgeous creation that you are sharing. What a way to brighten my morning! Your work is just beautiful.
Amazing and gorgeous as always!!!
This is so beautiful and stunning!😍
Post a Comment