I have two urns filled with Nasturtiums on my deck so was anxious to create this card with Susan's new Garden Notes Nasturtiums and Garden Notes Vintage Tin Milk Can.
Begin with a six in square card. Cut a piece of white card stock 5 3/4 inches square and score around the edges. Add to the front of the card. Sponge light yellow ink on the piece just added in an uneven pattern. This will be just a light shadow behind the arrangement.
Use Susan's Little Words That Mean A Lot clear stamp set for the sentiment. Stamp it using VersaFine Black ink in the upper right corner.
Use the Garden Notes Vintage Tin Milk Can die set and die cut one milk can. You can use Pewter Soft Finish Cardstock and add silver and black metallic rub-ons for a shinny finish.
Attach to the left side of the card, using a piece of double sided dimensional tape in the center to give the can a rounded appearance.
Use the Garden Notes Nasturtiums die set and create a variety of yellow and orange flowers. Shape the flowers using the Flower Tool Kit and assemble using Kids Choice Glue. When creating the stamens, cut each stamen in half using the Elizabeth Craft Designs Fine Pointed Scissors. Add a small dot of glue on the end of each stamen and dip in Yellow Pollen. Arrange the flowers, as shown. Die cut the Nasturtium's leaves, using white card stock and sponge on two shades of green ink. Use a white opaque marker to follow the embossed lines in each leaf. Shape with the Flower Tool Kit and attach behind the flowers.
Use a ruler and draw a line on the left side of the Milk Can. It gives the appearance of being grounded. Use a yellow marker and add dots around the edges of the arrangement.
This is a very easy flower to create. These flowers will also look beautiful trailing out of one of the other Garden Notes containers.
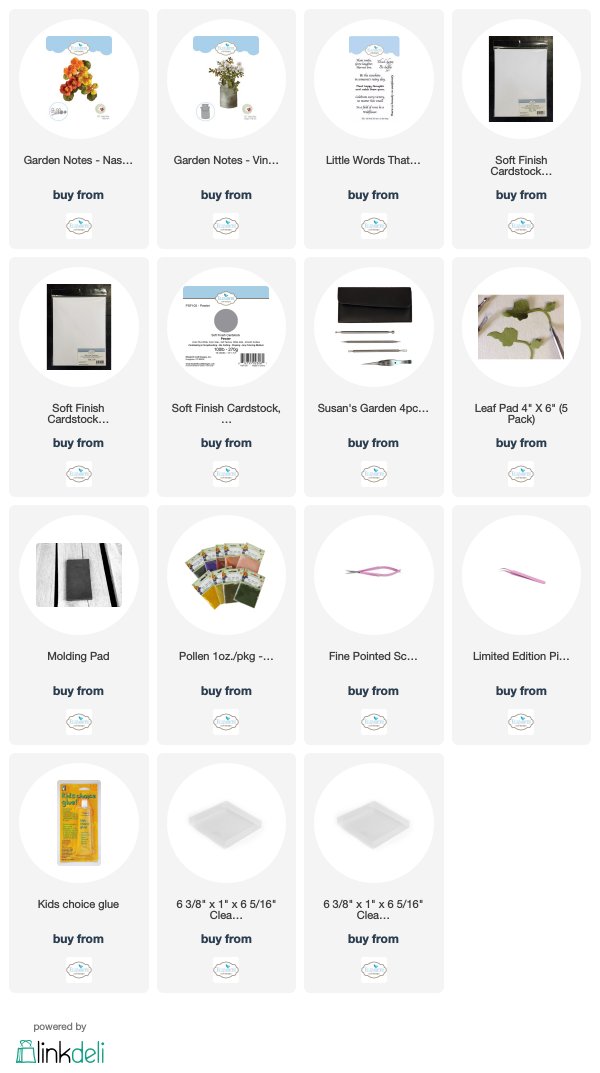
Links are provided below for all the products used.


No comments:
Post a Comment