Thursday, August 30, 2018

Amaryllis


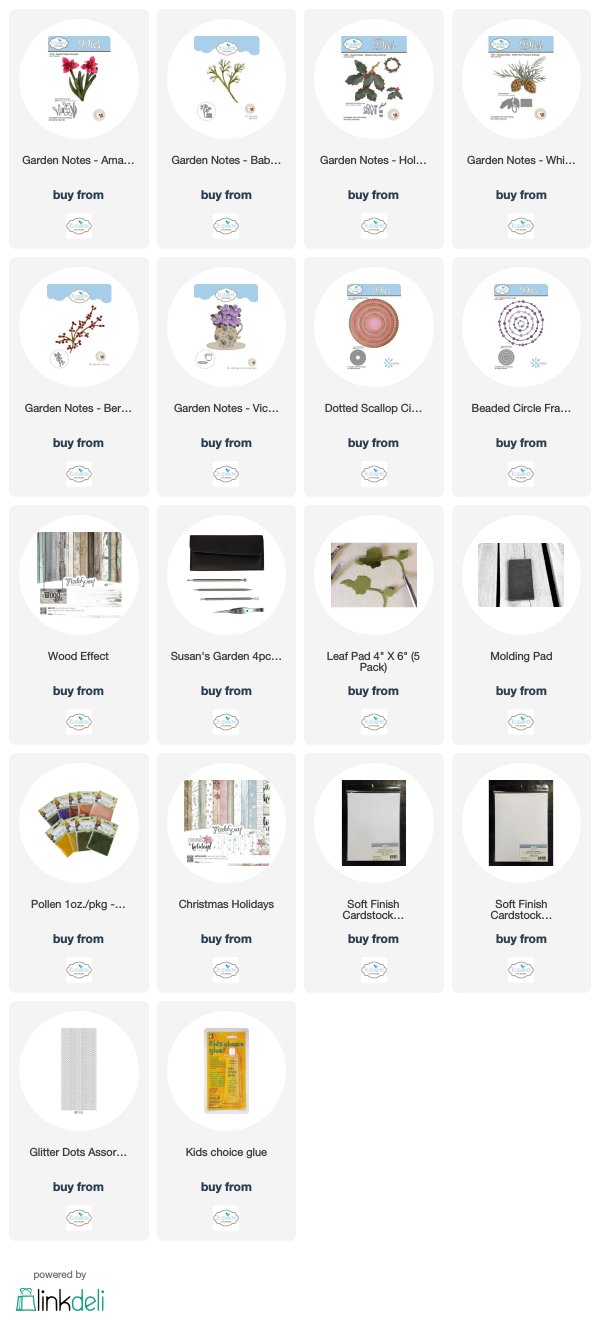
This is a bouquet created using Susan's Garden Notes Amaryllis die set. 

Use a 6-inch card and cover the front with a piece of the ModaScrap Christmas Holidays design paper.

Use the Dotted Scallop Circle die set and die cut a circle and use approximately 1/3 of the circle to create a doily at the bottom of the card.    

Use the Beaded Circle Frame die set and die cut one circle that fits behind the flowers.  Add Glittered Red Dot Peel Off Stickers on both the Beaded Circle and the doily.

Use the Garden Notes Pottery Pitcher die set and die cut it using a piece of the ModaScrap Wood Effects design paper.  Attach to the bottom of the card.  


Use Susan's Amaryllis die set and die cut three flowers.  Color the base of the petals with yellow green PanPastels.  Edge each petal using a red marker.  Shape the flowers using Susan's Flower Tool Kit and assemble using Kids Choice Glue.  Add pollen to the end of the stamens.

Use the Garden Notes Whitepine Bough & Pinecone die set and die cut 10 boughs.  

Use the Garden Notes Berry Spray and die cut one spray.  Add Autumn Red Nuvo Crystal Drops to create the berries.  This piece will be cut apart and used behind the flowers.

Use the Garden Notes Baby's Breath die set and die cut one branch.  Glue on the white flowers.  This piece will be cut apart and arranged behind the flowers.

Use the Garden Notes Holly die set and die cut four holly leaves.  Use VersaMark ink and clear embossing power on the top of the leaves to give them a waxy look.  Shape with the Flower Tool Kit.  

Arrange the Berry Spray, Whitepine Boughs, Baby's Breath and Amaryllis in the pitcher as shown. Attach the Holly leaves at the bottom of the arrangement, as shown.

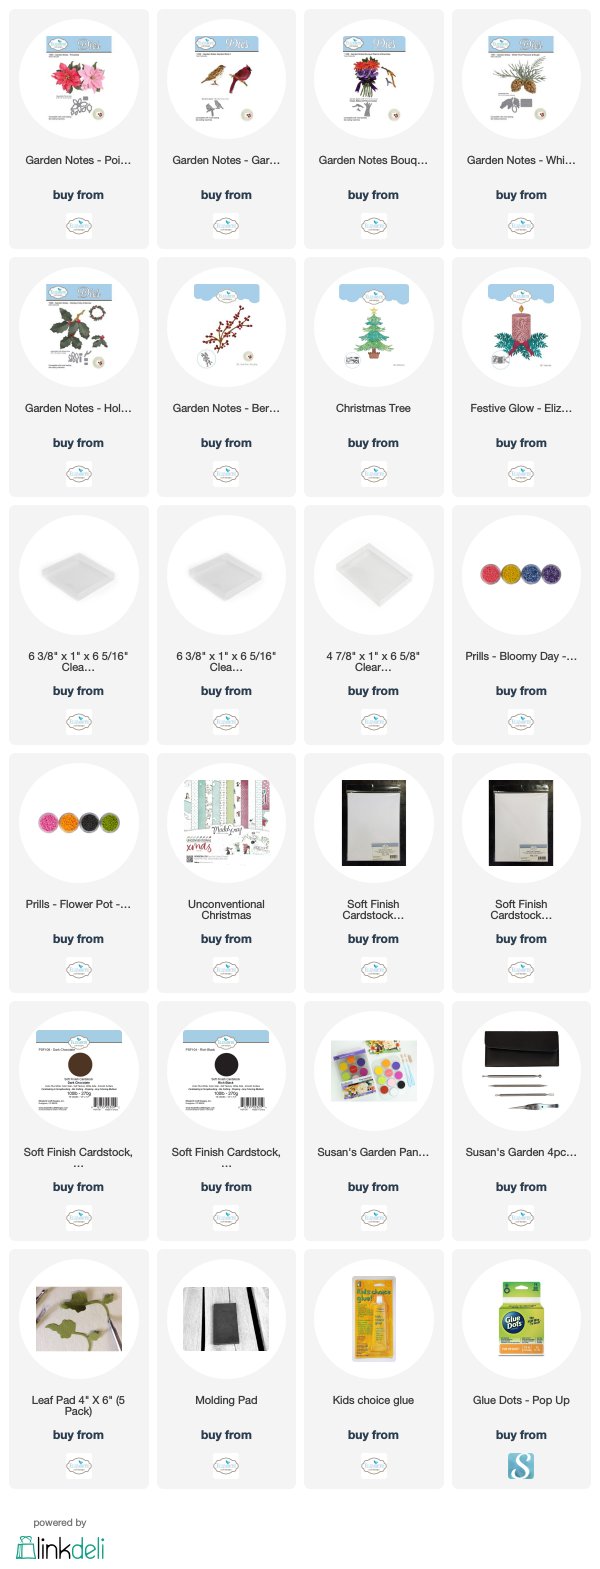
This card can be mailed in one of the clear acrylic boxes linked below. 


Wednesday, August 29, 2018

Winter Wishes


Today I have a  Winter Wishes card.  I love creating Susan's Poinsettias and finding different ways to display them on my cards.

Start with a 6-inch, bottom opening, card.  Cover the front with a piece of the ModaScrap Unconventional Christmas card stock.

Use the Words 5 - Winter Wishes die set and die cut the sentiment using black card stock.  Attach to the upper right side of the card.

Use Susan's Garden Poinsettia die set and die cut enough white pieces to create 2 poinsettias.  Color the leaves using the light pink PanPastels.  To help the color stay on, use a damp baby wipe and wipe across each leaf.  This helps seal the PanPastel so it doesn't come off on the molding pad.  Shape the poinsettia and leaves, using Susan's Flower  Tool Kit.  Assemble using the Kids Choice Glue.  Add Green and Yellow Prills to the center.

Use the Garden Notes Whitepine Boughs & Pinecones die set and die cut 7 pine branches.  

Use the Garden Notes Whitepine Boughs & Pinecones die set and create two pinecones.  To create an open pinecone, cup the petals using the flower tool kit.  When building the pinecone, attach each petal with the cup side up.  I like to pinch the base of each petal with my finger nails so the petal stands up a little.  Glue down the petals by starting at the tip and alternating petals all the way down to the base.  If you want a closed pine cone, glue the petals with the cup side down.  

Use the Garden Notes Bouquet Stems and Branches die set and die cut three dark brown branches.  

Use the Garden Notes Birds 1 die set and die cut the cardinal.  Color with markers.  Shape the bird using the large ball stylus in the Flower Tool Kit.  When attaching to the branch, add two layers of double sided foam tape to the center of the bird, so it will hold it's shape.

Use the Garden Notes Berry Spray and die cut one spray using light brown card stock.  Add Autumn Red Nuvo Crystal Drops for the Berries.  

Use the Garden Notes Holly Berry die set and die cut three holly leaves.  To get the shine on the leaves push the leaves on a VersaMark Pad and clear emboss.  Shape with the Flower Tool Kit.

Arrange all the die cut pieces to the left side of the card as shown.  

The small snowflakes were saved from the Christmas Tree and Festive Glow die sets.  They were randomly glued around the arrangement.


I love to create beautiful cards for my friends and family that they love to receive.    It is well worth the extra time to create amazing cards with Susan's Garden Notes die sets.  

This card can be mailed in one of the clear acrylic boxes from Elizabeth Craft Designs.

You can shop for the products used by clicking on the links below.


Monday, August 27, 2018

Southern Magnolia Wreath


Today I created a card with Susan's Garden Notes Grapevine Round Wreath and Southern Magnolia die sets

This is a 6-inch square card.

Cut a 5 3/4 inch piece of white card stock to go on the front. Score around the edges with a ScoreBoard.  Attach to the front of the card.  Use Gold Corner and Line Peel Off Stickers to decorate this piece, as shown.


Use Susan's Grapevine Wreath - Round to create the wreath.  Die cut three wreaths and attach them together to create a full wreath.  Only add glue dots in the center of each wreath, leaving the branches free to 'fluff' up to give it some dimension.


Use the Garden Notes Eucalyptus die set and die cut 8 branches, using white Soft finish Cardstock.  Sponge Bundled Sage ink on the leaves.  Use a green marker that is just a shade darker and darken the base of each leaf.  Use Nuvo gray Crystal Drops to create the berries.  Attach the Eucalyptus branches around the Grapevine wreath.

Use the Garden Notes Southern Magnolia die set and create three flowers.  For instructions on how to assemble the Magnolia, watch Susan's YouTube Video - Southern Magnolia at this LINK.  Attach the three magnolias on the wreath as shown in the photo and add the magnolia leaves.

Use Susan's Garden Notes Garden Birds 1 die set the die cut the bird.  Color with markers and add to the bottom of the wreath.

Use fine gold cording and create a bow.  Attach it under the feet of the bird.

This card can be mailed in one of the clear acrylic boxes, which are linked below.

Thank you for stopping by today.

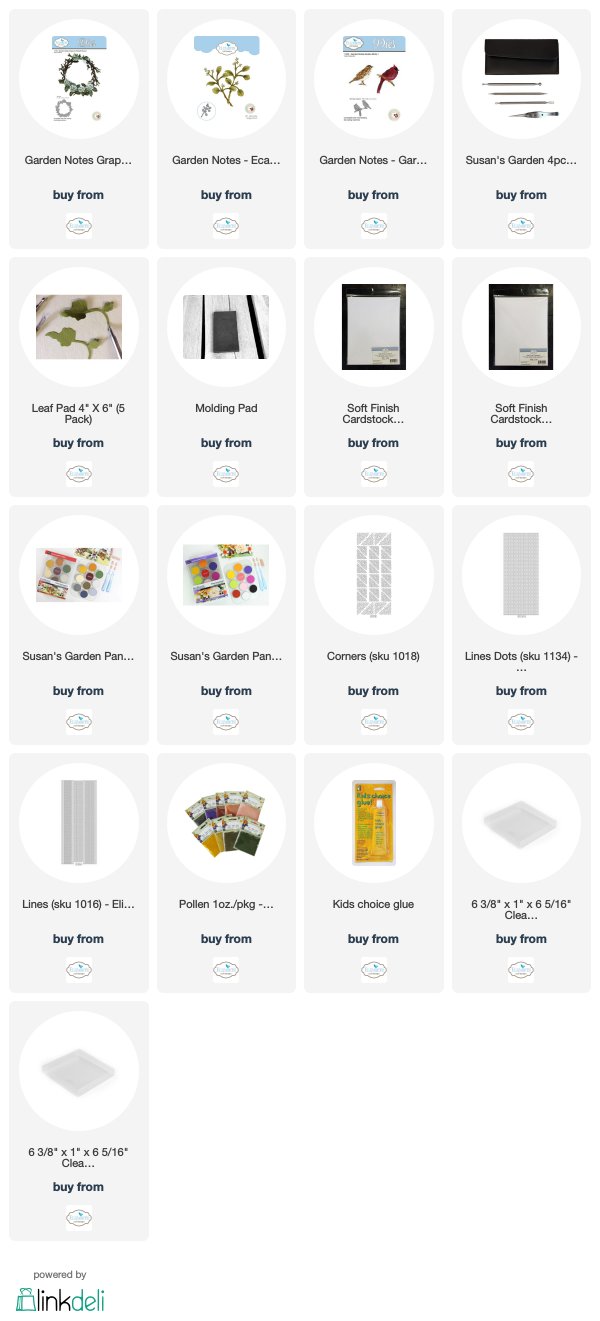
All the Elizabeth Craft Designs products are linked below.


Hot Chocolate


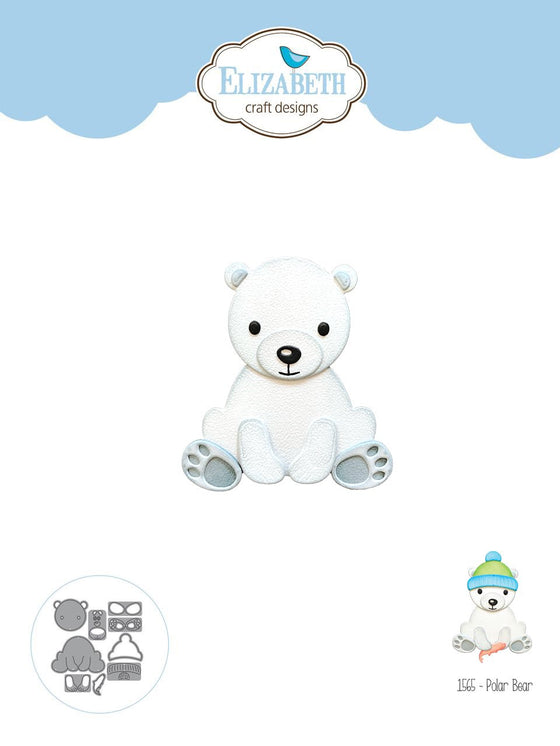
Today I have a card designed using two new Joset Designs Christmas die sets -- the Polar Bear and Hot Chocolate.

This is a 6-inch square card.  A piece of the ModaScrap, Let It Snow, design paper was added to the front of the card.  

Use the Lake Scene and Garden Notes Frame It/Stitched Square die sets to die cut the frame for the front of the card.

Use the Fitted Ovals die set and die cut one white oval to go on the center of the card.  Cut the lower portion of the oval off and sponge the edge with light blue ink.  Attach inside the frame.  Use the snowflake stamps from the Cute Winter Sentiments stamp set to stamp the snowflakes, using blue ink, randomly on the oval.  


Polar Bear


Use the Polar Bear die set and die cut the pieces for the bear.  Assemble.

Hot Chocolate

Use the Hot Chocolate die set and die cut the pieces for the cup, the whipped cream,  the foamy drip, marshmallows, and the steam, using white card stock.  Sponge blue ink on the cup.  

Cute Winter Sentiments

Use the stamp from the Cute Winter Sentiments to stamp the design on the cup, using blue ink.  Use VersaMark Ink and white embossing powder and the sentiment from the Cute Winter Sentiments stamp set, to stamp the sentiment on the cup.
  
Attach the cup, and other pieces die cut for the cup, onto the oval.  Attach the bear in the lower left corner.

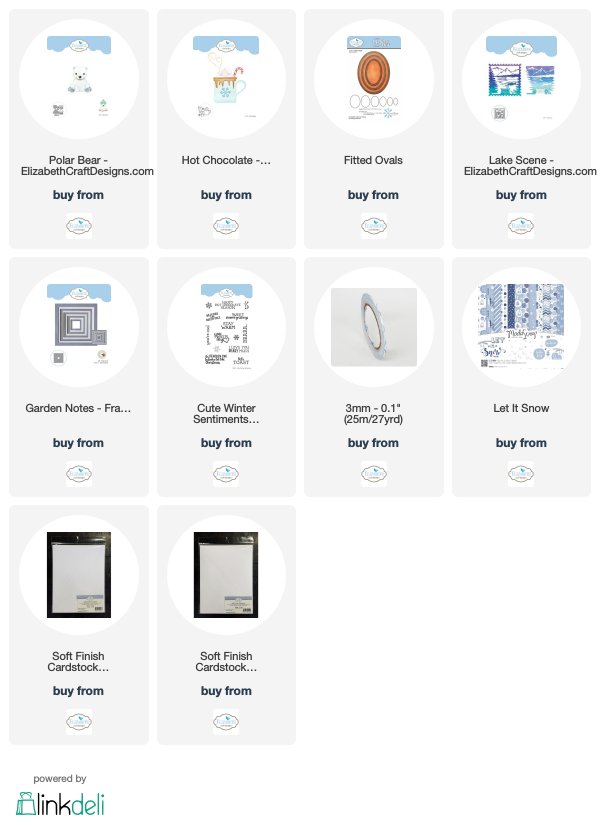
Links to the products used are shown below.


Sunday, August 26, 2018

Framed Autumn Arrangement


I had so much fun creating today's project.  It feels like Autumn these past few days with cooler temperatures and I was inspired to create an Autumn framed arrangement.  This piece took several days to create, but was well worth it.

For the frame for the project, use the Happy Frame XL die set and die cut the frame pieces using the ModaScrape Wood Effects card stock.  For the background, use a piece of the ModaScrap Manly Man Cardstock.  On the back, a heavy weight (100 lb) card stock was attached.

For the container for the arrangement, use the Garden Notes Wooden Fruit Crate.  Die cut it using a piece of the Through The Lens Wood Cardstock.  Back the crate with a piece of dark brown card stock.  Attach the crate to the bottom of the frame using dimensional tape.

Use the Festive Glow die set and die cut the solid candle, using white card stock and color with markers.  Die cut the flame using gold metallic card stock; attach it to the candle.  Attach the candle at the top of the Crate, using dimensional double sided tape.  Use a double layer of tape only on the bottom of the candle.  Leave the area unattached at the top so foliage can be added.

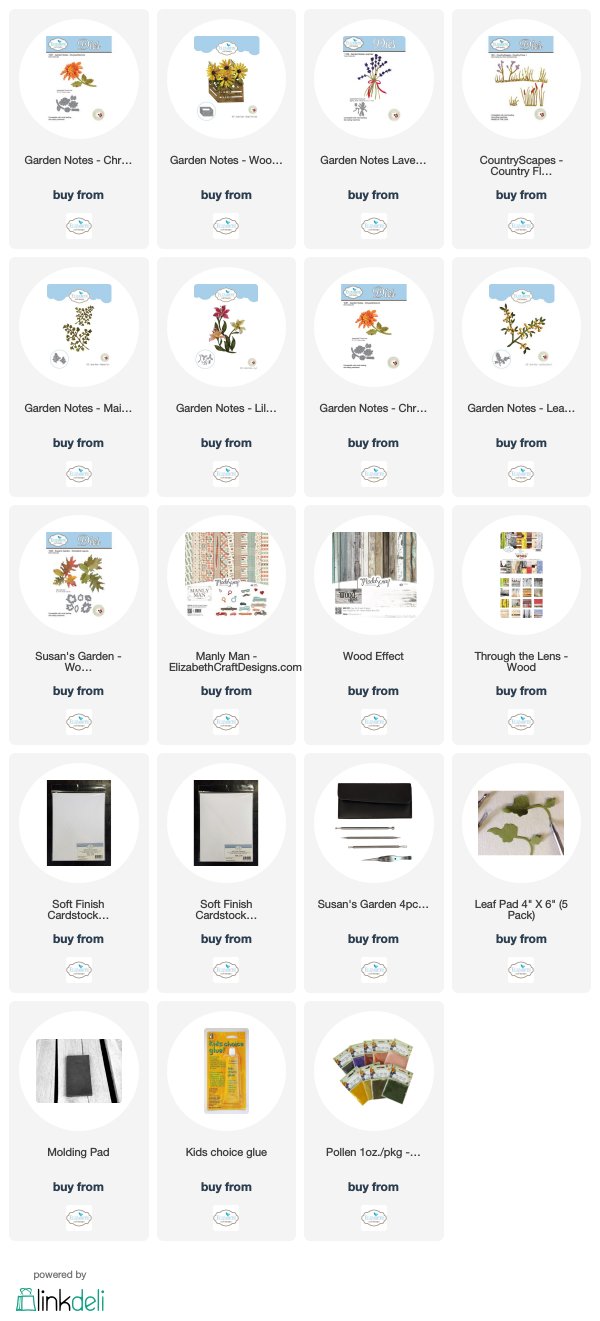
Use the CountryScapes Floral 1 die set and die cut all the cattails 3 times.  Color with markers.  Cut the larger group of cattails in half.  Arrange them from behind the candle.

Use the Garden Notes  Maidenhair Fern die set and die cut both sizes twice, using green card stock.  Shape the leaves with the Flower Tool Kit.  Arrange the ferns on the upper left corner,  and both sides of the crate.  I arranged ferns around the base of the candle, but they do not show very much after the flowers were added

Use the Garden Notes Lavender die set and die cut two Lavender pieces to create the yellow Goldenrod, which is on the left of the candle.  Die cut the little flowers using light yellow card stock and attach to the Lavender stems.  Cut apart and arrange on the left side of the candle.

Use the Garden Notes Leafy Berry Branch to create the Bittersweet berry branches.  On Susan's Garden Club Facebook Video entitled Colour and Composition, she shows how to create some of the items I have created for this project.  You can view that video at this LINK.  Susan has a lot of videos that are so helpful in learning how to create flowers with her dies and also has many other very helpful hints.   Add Orange Nuvo Crystal Drops on the Berry Branch to create the berries.  Once dry, use a red Copic marker to add a dot of red on each berry.  Cut the branch apart and attach some pieces on the upper left side and a few on the lower right side.  

Use the Garden Notes Chrysanthemum die set and create two deep red flowers.  Shape the flowers and leaves using the Flower Tool Kit.  Arrange the flowers beside the base of the candle.  Be sure to add the Chrysanthemum leaves.

Use the Garden Notes Lily 2 die set and create three Day Lilies.  

When creating the lilies, you want the petals to stand up and I found a perfect item to place them in while they dry.  I stopped by a garage sale one day and I saw the metal piece shown in the picture.  It was marked 50 cents.  I picked it up and the lady started explaining it was to bake stuffed jalapenos.  I told her she would laugh, but I didn't want it for that reason -- I wanted it to use in creating flowers out of card stock.  I was sure it would work great and it does!  Sometimes you can find something totally unrelated for what it is intended for our crafting needs!

Create three lilies.  Shape with the Flower Tool Kit.  Add red pollen to the end of the stamens.  Let dry and arrange around the base of the candle, as shown.

Use the Susan's Garden Woodland Leaves die set and create 7 or 8 small leaves to place around the edges of the arrangement.

Use a piece of natural twine for a bow.

I love that Elizabeth Craft Designs has the Happy Frame die sets - there are two different sets.  The Happy Frame XL was perfect for framing this Autumn Arrangement.

You can shop for the products used by clicking on the links below.


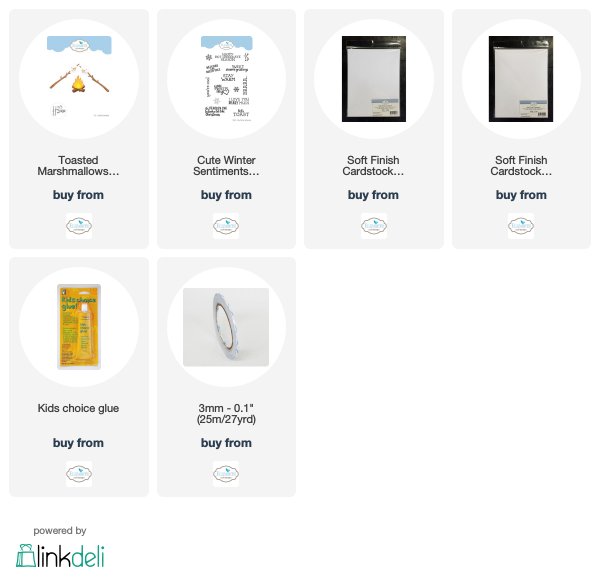
Let's Toast


What a fun die set to work with!  This card was designed using Joset's Toasted Marshmallows die set.  This set could be used for camping cards if you used the back of the marshmallows so you don't have the snowmen faces, but I love the marshmallows with the cute snowman faces!

This is a 5 1/2 x 4 1/4 inch card.  A piece of 5 1/4 x 4 inch card stock was cut to create the background.  The edges were masked so the background could be sponged on.  Blue Distress Ink was sponged on the top, brown Distress Ink on the bottom to represent the ground, and yellow/orange sponged in the center to represent light from the fire.  When the mask is pulled off, there will be a nice edge around the sponged inked.  A Score Board was used to draw lines around the edge of this piece.

The Cute Winter Sentiments stamp set was used to stamp the sentiment at the top of the blue sponged area.

Toasted Marshmallows

The Toasted Marshmallow die set was used to die cut all the pieces, using white card stock.  Color was sponged on each piece.  A second die cut was made for each of the sticks.  Only the tops of the sticks were used to be glued in the center of the top of the marshmallows.  A fine point marker was used to add the eyes and mouth.  The nose was glued on.  

The fire and logs were colored and attached to the bottom of the brown sponged area.  The Sticks and marshmallows were attached.  

The products used are link below.


Saturday, August 25, 2018

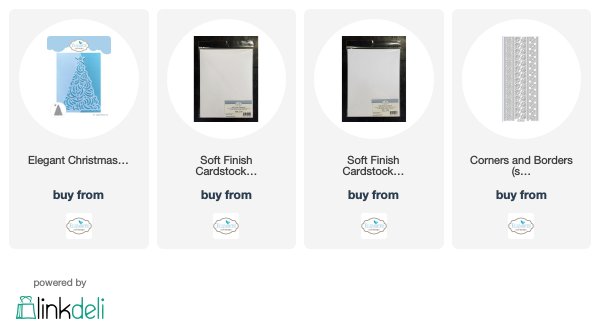
Elegant Christmas Tree


This is a beautiful, quick and easy, Christmas card designed using the new Joset Designs Elegant Christmas Tree die set from Elizabeth Craft Designs.

The detailed tree die from the Elegant Christmas Tree die set was centered on a piece of white Soft Finish Cardstock that measures 5 1/2 inches square, and run through the die cutting machine. (The outside tree die was not used.)   A piece of silver prism card stock was attached behind the die cut. This piece of card stock was purchased from Michael's Craft Store.  A piece of Fun Foam was attached behind the die cut square and attached to a 6 inch square card.  Adding the Fun Foam gives the card a little dimension.

When moved in the light, the tree seems to change colors, as shown in the photos above.

The stars in the same die set were used to die cut both using the same glittered silver metallic card stock.  They were each attached to the top of the tree, using dimensional tape.

Silver Peel Off Corners were used on the raised panel and Line Peel Off Stickers used around the card, on the edges of the 6-inch card front.

This card is beautiful and a silver embossed sentiment on the inside will complete it.

Have you started your Christmas cards yet?


Friday, August 24, 2018

Joy


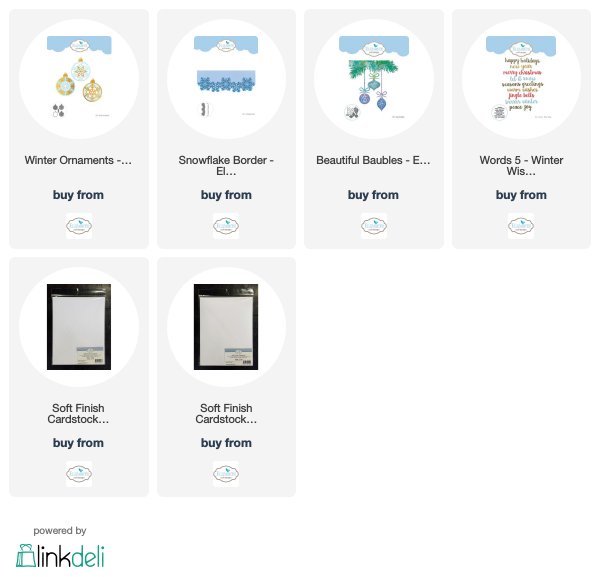
Three new die sets from the Joset Design Christmas collection were used to complete this Christmas card - Winter Ornaments, Snowflake Border, and Words 5 - Winter Sentiments.

This is a 6-inch square card.  A piece of white card stock was cut 5 3/4 inch square to be used on top.  Use the Snowflake Border die to die cut the design on the left side of this piece.  Use a piece of silver metallic card stock to attach under the die cut snowflake design.  Use a narrow piece of the silver card stock to attach to the edge next to the die cut design.  Cut a piece of Fun Foam slightly smaller and attach under this piece, to give it some dimension.  Attach to the front of the card.  Use Silver Line Peel Off Stickers to go around the edges of the 6-inch card front.

Use the Beautiful Baubles die set and die cut two pine branches.  Attach them at the top of the card as shown.

Use the Winter Ornaments die set and die cut one white ornament.  Use the solid die for the solid ornament and red metallic card stock to die cut the backing for the detailed ornament.  Use silver metallic card stock for the top of the ornament die cut.  Use silver metallic cord to string the ornament and hang it from the pine branch.

Use the Words 5 - Winter Wishes die set and die cut 'Joy' using silver metallic card stock.  Add the sentiment at the bottom of the card.

You can shop for the products used by clicking on the links below.


Happy Holidays Snowflake


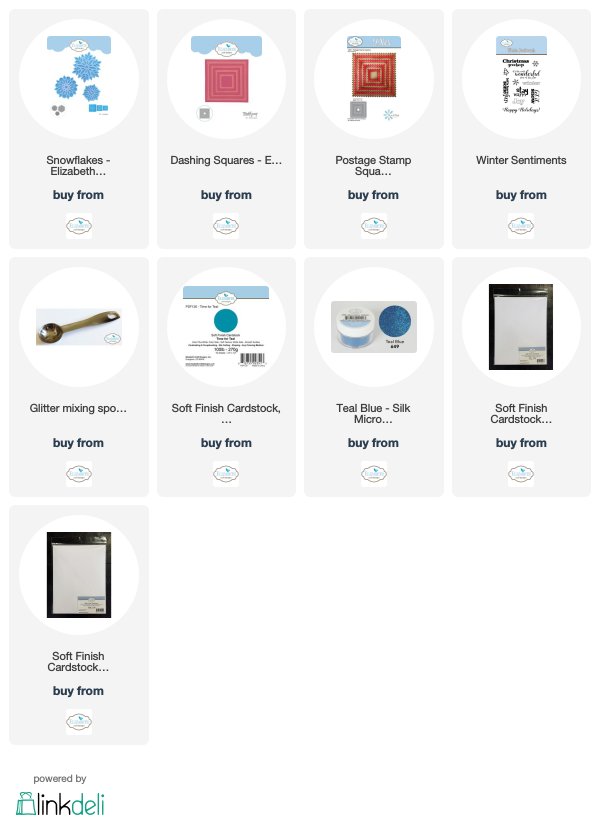
Today I watched the Elizabeth Craft Designs Technique Friday with Els - Sparkling Snowflake Card YouTube video at this LINK for inspiration for this card. The Snowflake is the large die from the  Snowflakes die set.  Joset shows how to create a very similar card using silver metallic card stock and silver Microfine Glitter for a very elegant Snowflake card.  

I used Soft Finish Teal Cardstock and Teal Silk Microfine Glitter for my card.  I included a sentiment from the Winter Sentiments stamp set.

The two dies I used to die cut the squares are the Dashing Squares and Postage Stamp Squares.  The Dashing Square was attached over the Postage Stamp Square and attached to the front of the card.

For complete instructions, please watch the Technique Friday with Els YouTube video linked above.  

This is a quick and easy, beautiful card that can be mailed in a regular 6-inch envelope.

Below are the links to products used.

Thanks for stopping by today.


Thursday, August 23, 2018

It's Penguin-ing to look a lot like Christmas


Joset has a new release with some of the cutest character die sets.  This card was designed using the new Penguin.  I also used some dies from the new Santa's Sleigh and Hot Chocolate die sets.

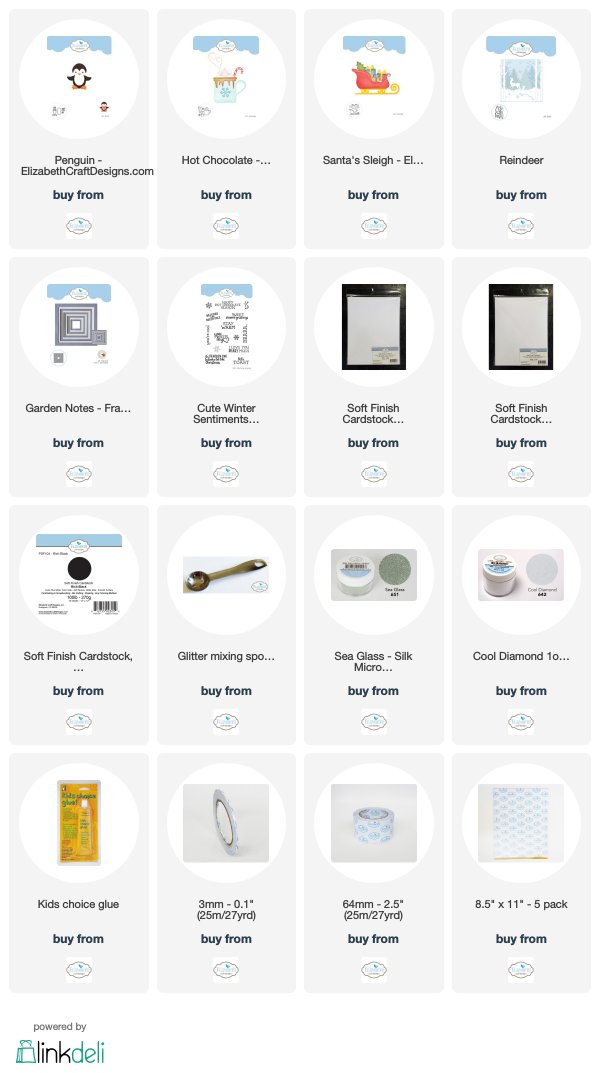
Use the Penguin die set and die cut the pieces for the Penguin.  Glue the pieces together.

Use the Santa's Sleigh die set and die cut the pieces for the gifts.  Use a piece of white card stock to die cut the ribbon that has clear double sided adhesive on top.  Sprinkle Cool Diamond Microfine Glitter on one bow and Sea Glass Silk Microfine Glitter on the smaller ribbon.  Attach to the gifts.

Use the Hot Chocolate die set and die cut seven snowflakes.  Use White Soft Finish Cardstock that has Clear Double Sided Adhesive on top.  Sprinkle Cool Diamond Silk Microsoft Glitter on the adhesive and polish with your fingers.

Use the Reindeer die set to create the snow bank behind the  penguin.  Attach to the bottom of the card.

This is a Window Popup Card.  

First use two of the Garden Notes Frame It/Stitched Square dies to die cut a narrow black frame.  Use the smallest of these dies to die cut an opening in the front of the card, to create a window.  Use 3mm Clear Double Sided Adhesive around the black frame and attach over the opening in the card.


I watched how Jennifer McGuire created a Window Popup card at this LINK, to learn how to create the Popup on the inside of the card.  For the white frame, on the black card stock inside the card, I used the Dotted Scallop Square die set.  The sentiment is one of the stamps in the new Cute Winter Sentiments stamp set.  


Assemble the die cuts on the front of the card, as shown.

Be sure to check out all the new die sets in Joset's Christmas release.

Product links are shown below.


Poinsettia Gift Tag


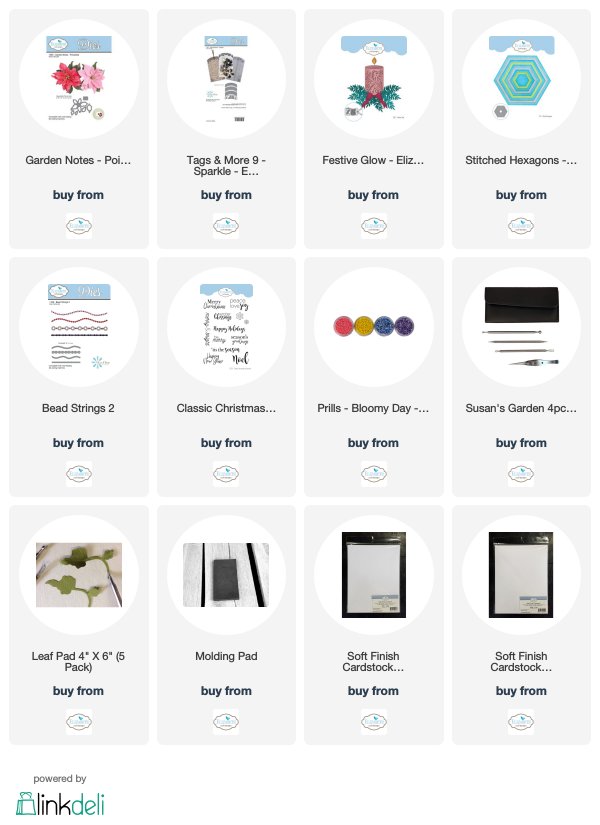
Today I wanted to show you that you can create beautiful tags using Susan's Garden Notes Poinsettia die set.  


To create the tag use one of the Els Van de Burgt Tags and More die sets.  Add a piece of gold card stock behind the open die cut area.  Glue the gold card stock on the back of the tag and trim around the edge of the tag with scissors.  

Use the Stitched Hexagon die set and die cut one gold Hexagon and one smaller ivory Hexagon. Attach the Hexagons together with dimensional tap alternating points of the Hexagons.

Use the Classic Christmas Sentiments stamp set to gold emboss the sentiments and the gold snowflakes.  Be sure to stamp the sentiments so they will be seen around the Hexagon, as shown in photo.

Attach the Hexagons to the center of the tag, using dimensional tape.

Use the Festive Glow die set and die cut one gold bow.  Assemble using 3mm Clear Double Sided Adhesive.

Use Susan's Garden Notes Poinsettia die set and die cut pieces to create one poinsettia.  Use Ivory card stock.  Use the Leaf Tool, from Susan's Flower Tool Kit, to draw veins on the leaves, as shown above.  Use the Copic marker RV34 and brush on color from center vein out towards the edges.  See photo above.  Shape the poinsettia and leaves using the Flower Tool Kit.  Assemble using Kids Choice Glue.  


To create the 'flower' (center of the poinsettia), use Bottle Green Nuvo Crystal Drops to create about 5 small dots in center.  Let set for a few minutes then sprinkle on a few yellow Prills. The Prills will stick to the Nuvo Crystal Drops.  

Attach the Poinsettia in the center of the ivory Hexagon.  Attach the gold Bow under the Poinsettia.

Use the Beads & Strings 2 die set and die cut one gold border.  Attach below the bottom sentiment.

This tag will look beautiful on any package or on the front of a gift bag.

You can shop for the products used by clicking on the links below.   


Wednesday, August 22, 2018

Be the Sunshine


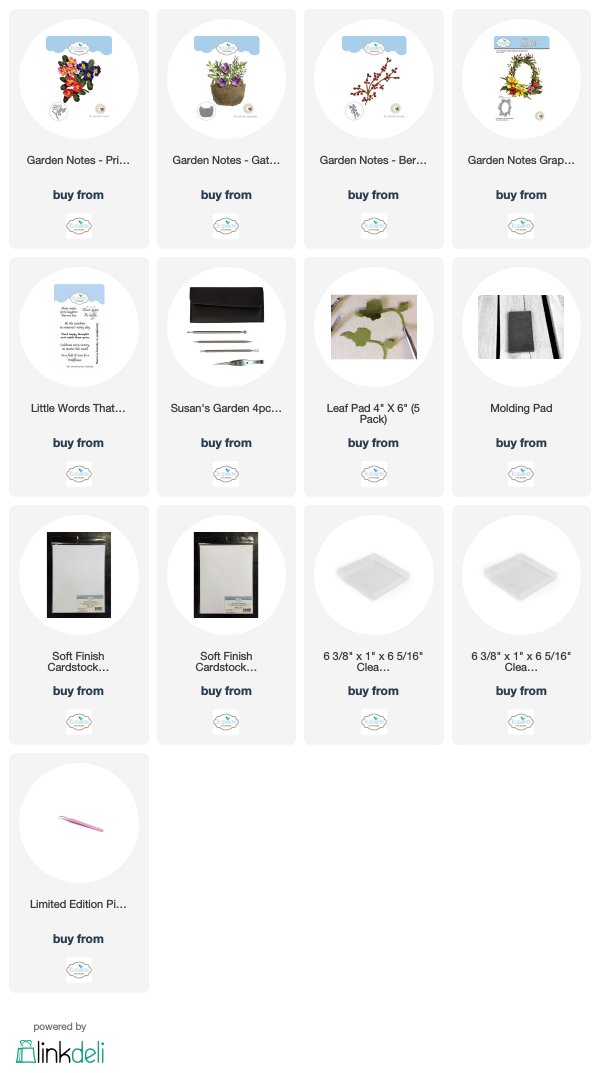
Today my inspiration came from watching Susan's Garden Club Video entitled "Spring Fever".  In this video Susan created the basket with the Grapevine handle, Primrose, Berry Branch, Ivy, and Lavender.  You can watch this step-by-step video at this LINK.

I don't like to copy anyone else's work, but after watching Susan's video I wanted to create all the items in the Spring Fever video. My card is similar to Susan's.   One of the most valuable tips I learned from this video was the correct arrangement of gluing the petals of the Primrose together.  I had been assembling the petals by gluing the two petal die cut on top of the three petal die cut.  They just didn't look right.  So, I learned that the correct layering of petals is very important in order to create the most accurate looking flower.  Sometimes we may think all the little details in creating flowers is not important, but in the end - it is important!  Susan has videos showing how to create just about all of her Garden Notes Flowers in her Facebook Garden Club page.  If you are interested in creating realistic flowers, you will find Susan's video most helpful.  She always shows step-by-step instructions to make it easy for us to learn this wonderful craft.  

Since I followed Susan's video for instructions, and have linked the video above, I won't go into detail about this card.

I have linked all the products used below.


LinkWithin

Related Posts with Thumbnails