Today I have a birthday card designed using Susan's Garden Notes Pom Pom Dahlia die set from Tonic Studios.
A card from the Tonic 6x6 Card Blank cards was used for the base card. Another piece of white card stock was cut 6x6 inches and scored around the edges with the Tonic Super Trimmer. It was attached to the front of the card using the Nuvo Adhesive Tape Runner. A piece of pink card stock from the Tonic Moonlight Rose 6x6 Card Pack was trimmed down to 5 1/2" square and scored around the edges, for a finished appearance. The Nuvo Blush Burst Sparkle Spray was sprayed lightly over the top portion of this piece of card stock. It was dried with the Heat Tool and attached to the front of the card.
Susan's Garden Notes Pom Pom Dahlia die set was used to die cut petals and leaves for the flowers. I love to work on my Tim Holtz Glass Media Mat.
This photo shows 8 of each size Pom Pom Dahlia die cuts after they were shaped.
Eight petals pieces were die cut for each size in this die set. The petals were die cut using Tonic Blossom Pink card stock and the center of each set of petals was sponged with hot pink ink. The petals were lightly misted with water using the Nuvo Light Mist Spray Bottle. Be sure to just lightly mist so the petal will hold their shape. If you don't spritz the petals with water, they tend to unroll.
This is a close up of the layered Pom Pom Dahlia Petals. I don't always use the same number of rows but the general rule is starting with the largest petals, layer 4 (alternating petals), then 3, and 1 each of the next three smaller layers. Use your judgement as you are gluing the rows together. You need enough rows of each size to fill in any gaps between the rolled petals. The flower above still needed a few more rows in the very center. Before gluing the rows together, be sure the petals are completly dry. If you lightly spritzed the petals, it will not take long to dry. Press down hard in the center of the flower, with a ball stylus, to cup that layer, when gluing the rows together.
Die cut the leaves for the Pom Pom Dahlia using white card stock. Shape with the Leaf Tool. Use a Nuvo Blending Dauber and sponge Pine Needles Distress Ink on the leaves. Shape with the tweezers.
In the background I used a leafy branch die cut and sponged on Iced Spruce Distress Ink.
On the upper right corner, I used the Altenew Mid Century Frame Die and die cut it using the Tonic Silver Mirror Card Stock. Use the Nuvo Smooth Precision Glue Pen to add adhesive to the back. A Dotted Scalloped Heart was also die cut using the same card stock. The heart was also die cut 4 more times out of white card stock and all the layers were glued together ending with the silver heart on top. A sticker was used for the sentiment.
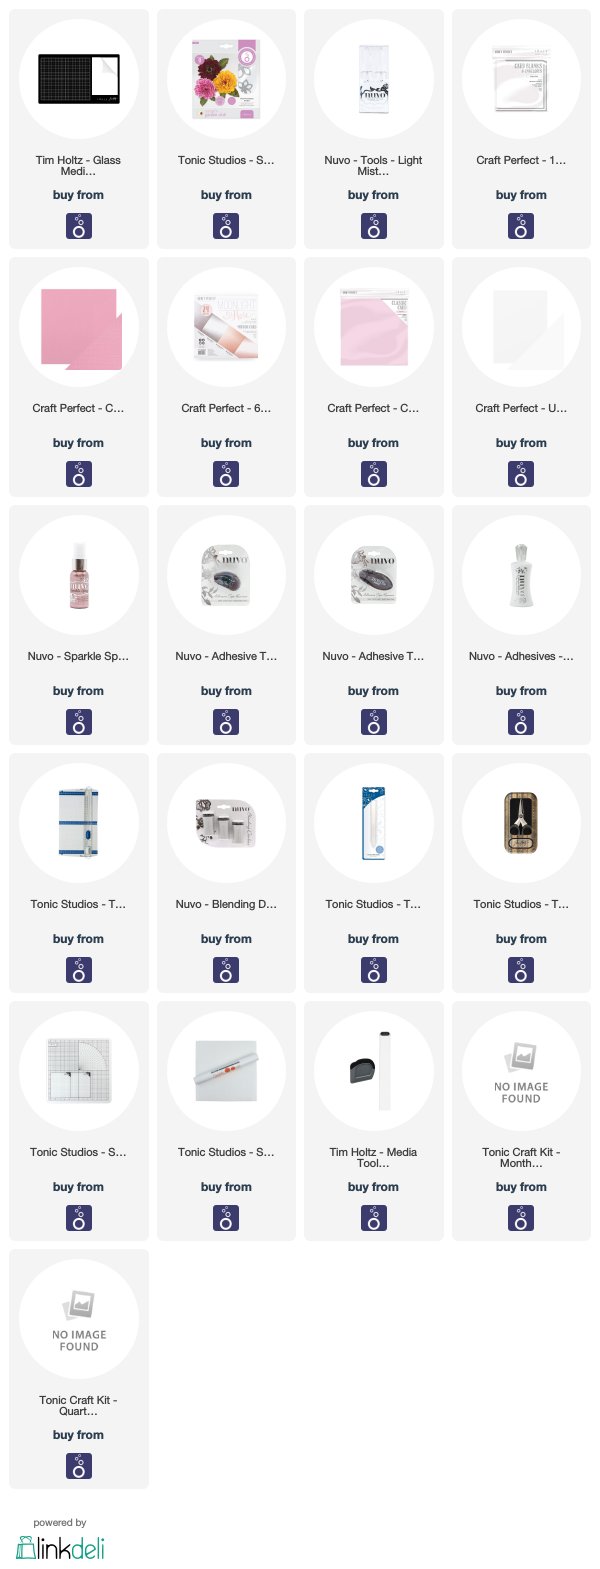
Below, I have added links to all Tonic Studio's products I use. If you use these links to purchase products, I will receive a small commission which helps me purchase supplies at no additional cost to you. I appreciate you visiting my blog and appreciate your support.


1 comment:
Selma, More beauty- You are so talented!
Post a Comment