
Welcome to my Creative Corner. I love to spend my spare time designing cards and especially enjoy creating beautiful flowers using Susan's Garden Club die sets. I love sharing my work and tutorials with you and really appreciate you taking time to visit my blog. Hope I can inspire you to create something beautiful.
Monday, November 27, 2017
Tuesday, November 21, 2017
Pop Up Card Challenge

It is time for another Elizabeth Craft Designs Challenge for the design team. This month we were challenged to use the General Pop Ups die set for our card. Pop Up cards are easy to create and are always so fun to receive because you are not expecting the pop up element.

This is a fabulous die set for creating many different types of pop up cards. Be sure to go over to the Elizabeth Craft Designs Blog to see all the creative cards designed by the design team at this LINK.
As with all challenges, Elizabeth Craft Designs is giving you another chance to win a prize.
For the Challenge today, Elizabeth Craft Designs is giving away a $20 Gift Card to use on the Elizabeth Craft Designs website to 3 winners.

To enter, simply leave a comment on the Elizabeth Craft Designs blog post and tell them "What Elizabeth Craft Designs dies or stamp sets would you use with the General Pop Ups die set if you were making a Pop Up Card?"
Elizabeth Craft Designs will select 3 lucky winners in a random drawing.
The winners will be announced on Friday, November 24, on the Elizabeth Craft Designs blog.
Good Luck!
Good Luck!
*******************
Here is how I created my Pop Up Card.

1. Use a piece of red card stock 12 x 6 inches and score across the middle to create a 6 inch card.
2. Cut a piece of the design paper from the White Christmas paper pack and attach to the front of the card.
3. Use the Dotted Scallop Rectangle die set to die cut one red rectangle and one white rectangle for the front of the card.
4. Use the Winter Sentiments stamp set and stamp the sentiment in the center of the white rectangle, using VersaMark Ink. Emboss using green embossing powder.
5. Use a piece of dimensional tape to attach the white rectangle over the red one. Center and attach on the front of the card.

6. To create the inside, use a piece of white card stock 1/4 inch smaller than the red card stock. Score down the center. When folded this piece will be 5 3/4 inches square.

7. Use the largest pop up die and place the small side tabs right on the fold line. Tape down. Use one of the smaller narrow pop up dies and tape on the right of the larger die. Use another small narrow pop up die and tape to the left side of the larger die. Run through the die cut machine. Push out all the pop up tags and close card and press folds well with a bone folder.
8. Use the Christmas Tree die set and die cut the tree and assemble.
9. Use the Snowman & Gifts Clear Stamps and stamp the large gifts. Color and die cut with the matching dies. Use the same stamp set and stamp the Snowflakes, color and die cut.
10. Use the Candy Land stamp set and stamp the candy pieces twice. Color and die cut using the matching dies. Add a little glue and sprinkle on Warm Diamond Silk Microfine Glitter for a little shine. Once the glue is dry, polish the glitter with your fingers.
11. Use the A Way With Words Wishing You A and the Merry Christmas die set and die cut the sentiments using red card stock. Die cut all the words again, twice, using white card stock. Glue all the words together with the red word on top. This will give the sentiment some dimension.
12. Attach the Christmas Tree with Clear Double Sided Adhesive to the top pop up tab of the large pop up. Add the Gifts to the lower tab. Clear Double Sided Adhesive is strong and will hold your die cuts very well.
13. Attach the striped peppermint sticks to each side of the large pop up.
14. Attach the Sentiments as shown.
15. Attach the die cut snowflakes to the upper corners of the card.
16. Attach the string of peppermint candies to the bottom of the card.
You can shop for the products used at the links provided below.
Thanks for stopping by and be sure to go over the the Elizabeth Craft Designs blog to view all the great Pop Up cards designed by the design team and also to leave for comment for a chance to win one of the $20 Gift Cards.

Monday, November 20, 2017
Let It Snow Framed Snowman

I have had so much fun creating cards using the Elizabeth Craft Designs Snowman die set. Here is a card using a partial snowman in a frame.
Start with a 6 inch square card. Cover the front with a piece of design paper from the Let It Snow paper pack.
Use the Snowman die set and die cut the head and middle circle to create the snowman. Cut a portion off the larger circle so it will fit on the edge of the frame. Decorate the snowman with accessory pieces in this set. If you want a glittery snowman, die cut pieces with Clear Double Sided Adhesive on the top of the cardstock. Add Soft Microfine Glitter and rub with fingers to bring out the shine. On the scarf, I used a white opaque pen to draw on the polka dots.
Use the Els van de Burgt Studio Candle die set and die cut six pine branches.
Use the Stitched Rectangles die set and die cut a white frame. Before removing from the die, sponge on blue ink that matches the design paper on the front of the card. Use a white opaque pen to draw snowflakes on the background.
Use the Dotted Scalloped Rectangles and die cut a rectangle slightly larger than the Stitched Rectangle.
Attached the Stitched Rectangle over the Scalloped Rectangle with dimensional tape.
Add the Snowman inside the frame, and add the pine branches in opposite corners. Add red glittered berries to the branches.
Use the Holiday Garlands 2 die set and die cut one garland. Use a piece of cardstock that has Clear Double Sided Adhesive on top. Add Cool Diamond Silk Microfine Glitter to the adhesive side and shine with your fingers. Attach across the top of the card.
Use Susan's Garden Notes Poinsettia and die cut pieces to create a white poinsettia. Add green and yellow Prills to the center.
Use Susan's Whitepine Bough & Pinecone die set to die cut six pine branches. Attach the branches to the upper left corner then attach the Poinsettia over them.
Use the Winter Sentiments stamp set and stamp the sentiment using VeraFine Black Ink and clear emboss. Use scissors to trim around the sentiment. Attach to the lower left corner.
I am sure you will have a lot of fun creating different snowmen using the new Elizabeth Craft Designs Snowman die set!
Thanks for stopping by.
You can shop for the products used by clicking on the links below.
Friday, November 17, 2017
Let it Snow

How are you doing getting all your Christmas cards created? I am still working on mine. As I have said many times, I love snowmen and today I want to show you some cute snowmen created with the Snowman die set from Elizabeth Craft Designs.

Here are five different snowmen created with the Snowman die set. Gosh, there are so many different ways you can dress them up. I'm sure you will have lots of fun creating your snow people!
This is a 6x6 inch card. Use a piece of 12x12 card stock cut to measure 6x12 inches and score across the middle to create a 6 inch square card.
For this snowman card, everything is glittered. You can glitter a piece of white card stock and die cut all the pieces. You can used different colors of Silk Microfine Glitter or use markers to color Warm Diamond Silk Microfine Glitter.
The Snowman was die cut using the Snowman die set. The Trees and Snowbanks were die cut using the Reindeer die set. The Sentiment was die cut using the A Way With Words 'Let It Snow' die set, and the small snowflakes were die cut using the die from the Christmas Tree die set that has all the snowflakes on the branches.
For dimension, you can attach the card stock to craft foam with Clear Double Sided Adhesive, and die cut using the Metal Adaptor Plate.
I will design more cards with the remaining snowmen I created, and post them soon.
You can shop for products by clicking on the links below.
Thursday, November 16, 2017
Noel

Today I used the new A Way With Words Flourished Frame die and A Way With Words Noel die sets along with Susan's Garden Notes Poinsettia and Whitepine Bough & Pine Cone die sets.
This is a 6 inch square card. For the background, I used a piece of the White Christmas design cardstock.
Both the Flourished Frame and Sentiment were die cut with Silver Glittered card stock.
The flower was created using Susan's Garden Notes Poinsettia die set. PanPastel was used to shade the flower and leaves, then the pieces were shaped using Susan's Flower Tool Kit. I used a mixture of lime green and pale yellow Prills for the center of the flower.
The Garden Notes Whitepine Bough & Pine Cone die set was used to die cut the boughs and pieces for the pine cones. The pine boughs were die cut using white card stock with Clear Double Sided Adhesive on top. Sea Foam Silk Microfine Glitter was added. The Pine Cones were assembled, then the tips of the petals were highlighted using a gold glitter pen. You can watch Susan's YouTube Whitepine Bough & Pine cone Video at this LINK to learn how to assemble the pine cones.
Attach the Flourished Frame and Sentiment to the lower portion of the card. Attach the flower arrangement in the upper left corner.
To finish the card, a silver cord bow and a few clear rhinestones were added.
You can shop the the Elizabeth Craft Designs Products by clicking the links below.
Tuesday, November 14, 2017
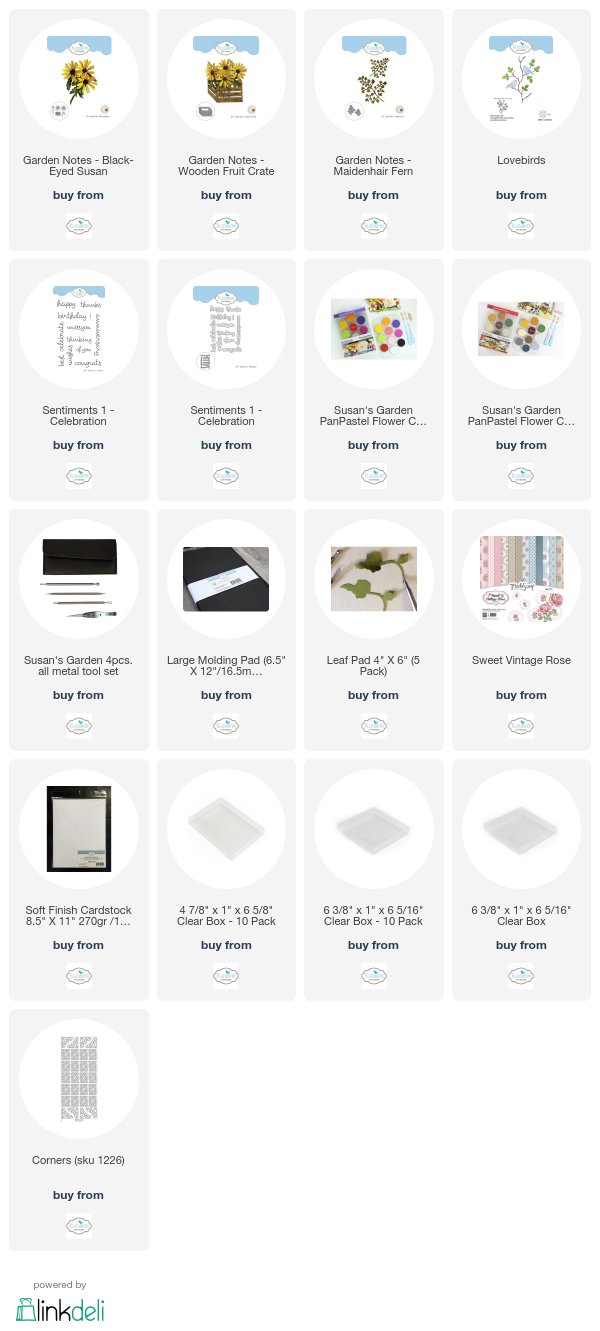
Susan's Garden Challenge

Good Morning. Today the Susan's Garden Design Team was challenged to create a card using at least three of the new Garden Notes die sets. I chose to use the Black-Eyed Susan, Wooden Fruit Crate, and Maidenhair Fern die sets.
To see all the creative cards created by the design team, be sure to visit the Elizabeth Craft Designs Blog at this LINK.
As with all design team challenges, Elizabeth Craft Designs will be give you a chance to win a gift.
For the Challenge today, Elizabeth Craft Designs is giving away a $20 Gift Card to use on the Elizabeth Craft Designs website to 3 winners.
To enter, simply leave a comment on the Elizabeth Craft Designs blog post and answer “What products from Susan's new release are at the top of your wish list?"
Elizabeth Craft Designs will select 3 lucky winners in a random drawing.
The winners will be announced on Friday, November 17, on the Elizabeth Craft Designs blog.
Good Luck!
Good Luck!
*******************
Here are instructions on how to create my card:
1. This is a 6 inch square card. For the background, a piece of design paper from the Sweet Vintage Rose pad was selected and attached to the front of the card.
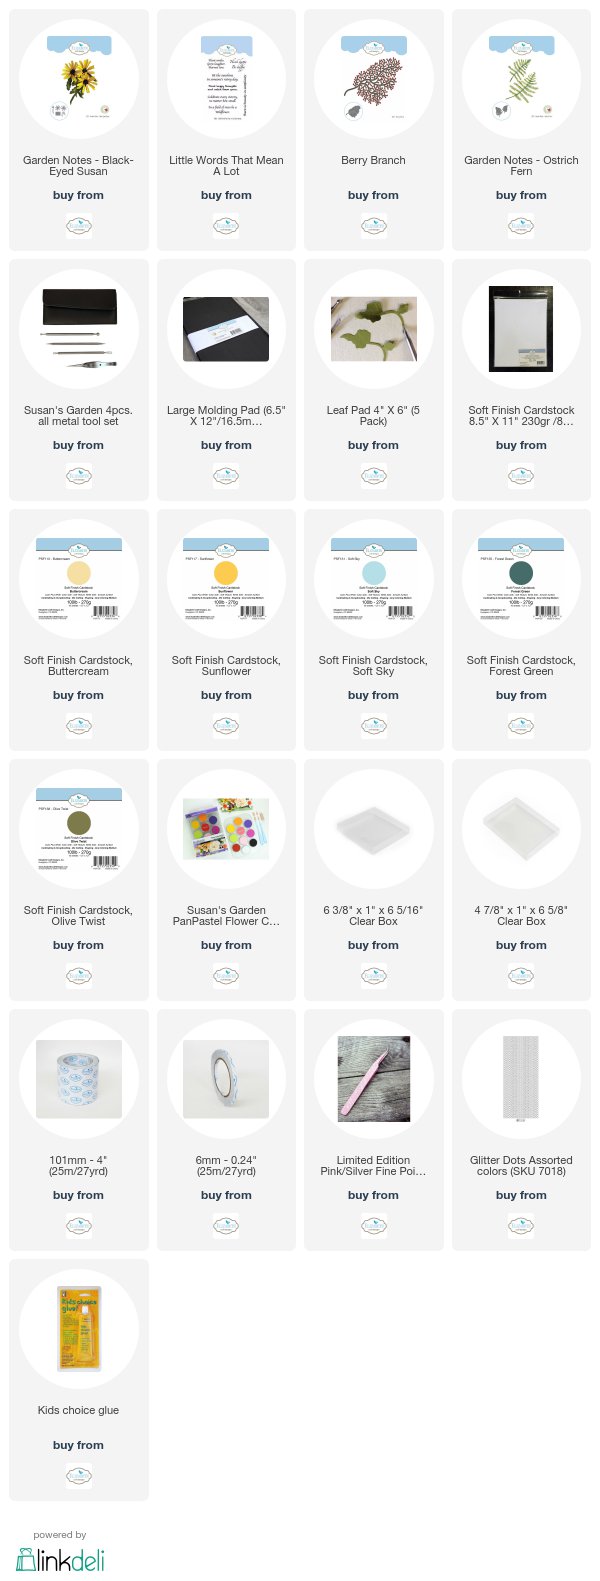
2. Use the Garden Notes Black Eyed Susan die set and die cut enough pieces to create four flowers. Use White Soft Finish cardstock to die cut the pieces and color with PanPastels. Shape the flowers using the 4 piece Flower Tool Set. Use Kids Choice glue to attach the die cut pieces together.
3. Use the Garden Notes Wooden Fruit Crate die set to die cut the crate out of White cardstock. Use PanPastels, or ink, to color the crate. Use a opaque white pen to trace the design in the crate.
4. Use the Garden Notes Maidenhair Fern die set to die cut three ferns out of green cardstock. Sponge on a dark in or PanPastel to shade the leaves. Shape the leaves using the Flower Tool Kit.
5. Use the Lovebirds die set to die cut the birds on the branches, using white card stock. Color by either sponging on color or use markers. I sponged on color.
6. Use the Sentiments 1 Celebration Clear Stamp set for the the sentiment. Die cut using the matching die. Sponge yellow around the edge of the sentiment.
7. Attach the crate to the bottom of the card and attach the flowers and fern as shown. Cut the Lovebirds die cut piece apart and arrange as shown.
8. Attach the sentiment with dimensional tape.
9. To complete the card, add the gold peel off sticker corners to all four corners.
This is a dimensional card. Below I have provided links to the Clear Boxes you can use to mail dimensional cards.
You can shop for the Elizabeth Craft Designs products from the links provided below.
Monday, November 13, 2017
Love In A Mist Thanks

Today I have a pretty Thanks card. I love creating flowers with Susan's new Love In A Mist die set. These are one of a very few flowers that are blue in nature. Aren't they pretty!
This is a 6 inch square card. A piece of green gingham design paper was attached to the front.
To create the frame, use the Fitted Circle die set and die cut three circle frames. Tape two dies that fit inside each other down on card stock and die cut. I die cut two white frames and one Whisper Blue frame. The three frames were die cut with Clear Double Sided Adhesive attached to the back of the cardstock. Attach the three frames together placing the blue one on top.
Use the Dotted Scallop Circle die set and die cut a circle one size larger than the circle frame.
For the inside of the frame, I used a piece of White Soft Finish Cardstock and applied Distress Oxide inks in yellow, blue and green. A circle was die cut to fit behind the circle frame. The sentiment was white embossed on the top portion of the circle. Attach this circle to the back of the open blue frame.
Use the Love In A Mist die set and die cut enough pieces to create three flowers. Today, I used light blue card stock and sponged blue PanPastels in the center of each petal, blending out toward the tip of the petal. Shape the flowers using Susan's Flower Tool Kit. This was a quick and easy way to shade the petals. On the tips of the stamen, I added olive Nuvo drops.
For the five small white flowers, use the small die in the Love In A Mist. Die cut using White Soft Finish Cardstock. Shape with the Flower Tool Kit and add Prills to the center.
Use the A Way With Words Thanks die set and die cut three sentiments, using 100 pound White Soft Finish Cardstock. Attach the three sentiments together for dimension. I used Clear Double Sided Adhesive on the back of the cardstock before die cutting. Attach the sentiment to the lower right side of the card front.
Attach the frame and flowers as shown. To complete the card, add a few pearls.
You can shop for the products from Elizabeth Craft Designs from the links below.
Sunday, November 12, 2017
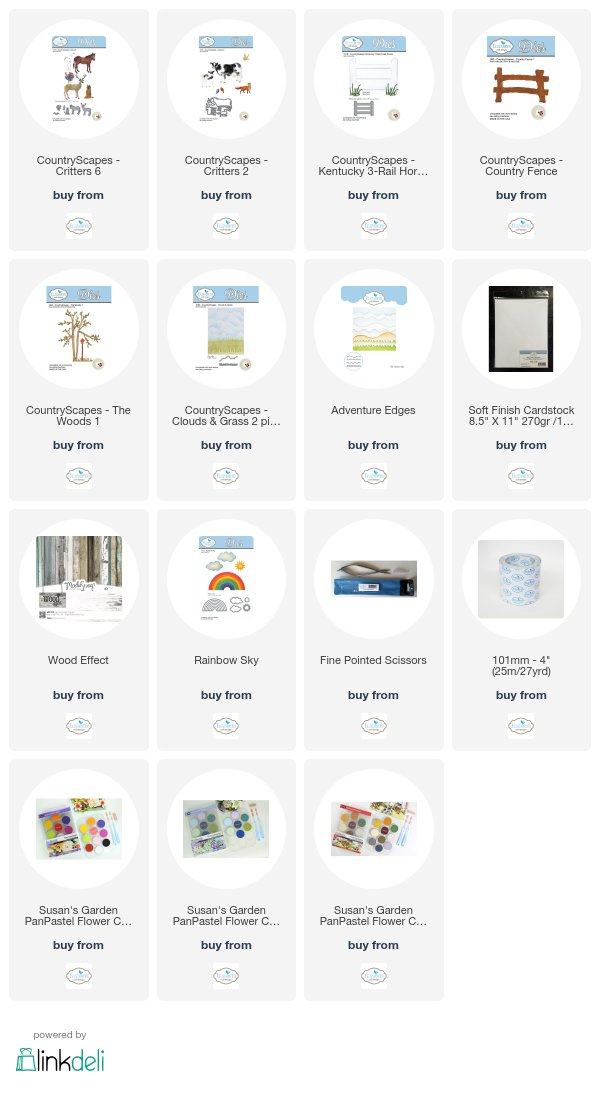
Turkey Scene

This is a card I designed last year. One of my followers asked if I would post it again. It was a very fun card to create. I hope it gives you inspiration to create a similar card.
This autumn scene was created using Susan's CountryScapes die sets.
This is a 6x6 inch card. A slightly smaller piece of white card stock was used for the background. The top portion of it was sponged with Stormy Sky Distress Ink.
Using the CountryScapes Cloud die, four cloud edges were die cut so they could be layered at different angles to form a cloudy sky. Using Adventure Edges, two landscapes were die cut using tan card stock. They were layered below the clouds.
Using the Woods 1 die set, four trees were die cut using Woods Effect design paper. Three of the trees were attached over the tan landscape. One of the trees was cut apart to become a bush in front of one of the fence posts. Using the leaf die in the Woods 1 die set, a lot of little leaves were die cut. They were colored using PanPastels.
The Kentucky 3-Rail Horse Fence was die cut twice to fit across the card. The fence had Clear Double Sided Adhesive on the back so it could be attached over the trees. One side of the fence had to be trimmed off to fit the card front. You can use a piece of the ModaScrap Woods Effect design paper to die cut the fence for a wood grain finish.
Using the CountryScapes Critters 6 die set, three turkeys were die cut and colored with markers. Using the CountryScapes Critters 2 die set, two of each of the birds were die cut and color sponged on.
Using the CountryScapes Cloud/Grass or Adventure Edges die set, a strip of grass was die cut, using tan card stock.
The tree top, that was cut down, was attached next to the center fence post. A few of the tiny leaves were attached to the branches. All the other little leaves were attached across the bottom of the card, to resemble fallen leaves on the ground.
The three turkeys were attached at the bottom of the card. The six little birds were attached in the trees and on the fence rail.
It is so fun to use your imagination to create a country scene using Susan's CountryScapes dies.
You can shop for the products from Elizabeth Craft Designs by clinking on the links below.
Saturday, November 11, 2017
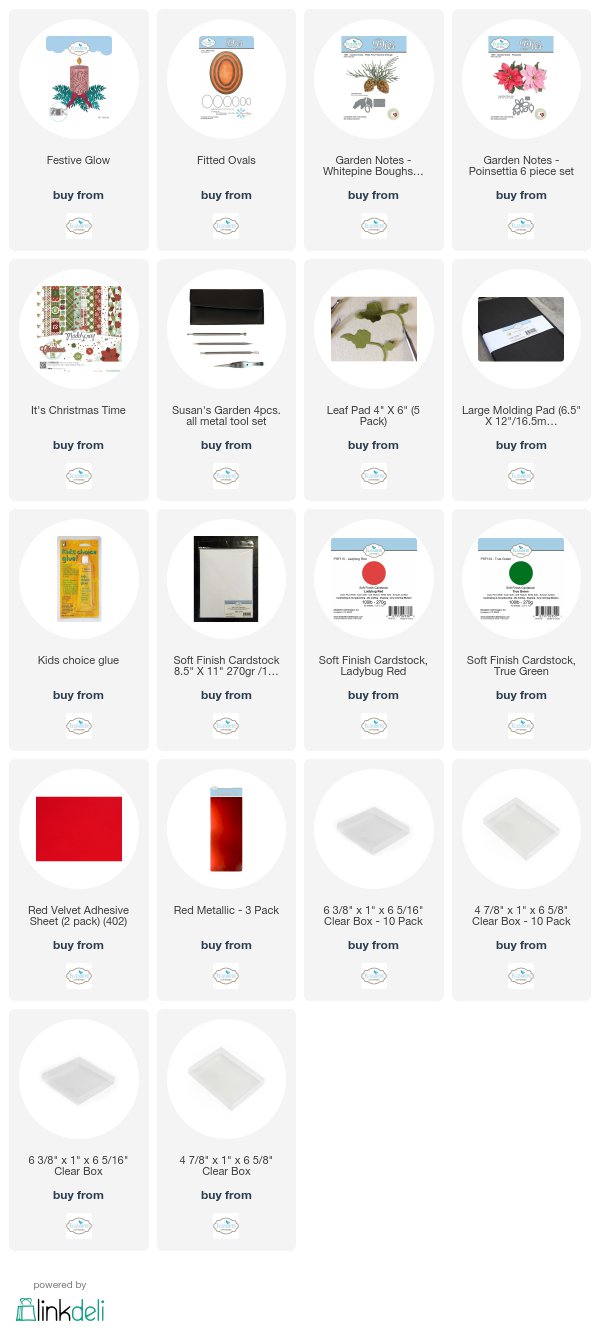
Festive Candles

Candles are always beautiful at Christmas time. Today I have a card designed using the new Elizabeth Craft Designs Festive Glow die set.
This is a 6 inch square card. On the front I used a piece of design paper from the new ModaScrap It's Christmas Time paper pack.
For the three candles, use the Festive Glow die set and die cut the overlay using White Soft Finish Cardstock that is backed with Clear Doubled Sided Adhesive for easy placement over the red back piece. For the backing using Red Metallic Shimmer Sheetz. Die cut the flames and attach to the top of the candles.
Use the Festive Glow die set to die cut six leafy pieces using green card stock. Using the same die set, use a piece of the red velvet and die cut the pieces for the bow. Assemble the bow.
Use the Garden Notes Whitepine Bough and Pine Cone die set and die cut and assemble two pine cones.
Use the Garden Notes Poinsettia die set to create the red poinsettia. Shape the petals and leaves using the Flower Tool Kit.
Use the Els van de Burgt Fitted Oval die set and die cut one oval to go behind the candles. Sponge yellow ink on the upper portion as shown.
Arrange the die cut pieces on the front of the card as shown. Use the small snowflakes that were "discards" from the candles on the upper portion of the card.
This card is dimensional, with the pine cones, and can be mailed in the clear boxes for shipping.
You can shop for the products used from Elizabeth Craft Designs from the links provided below.
Thanks for stopping by today.
Wednesday, November 8, 2017
Be the Sunshine

Good Morning. I have a pretty card designed using Susan's Garden Notes Black-eyed Susan die set. Also I want to show you how to mail the dimensional cards you create.

This is a 6-inch square card.
On the bottom of the card, use Susan's Little Words That Mean A Lot Clear stamp set and stamp the sentiment using VersaFine black in. Clear Emboss.
Cut a piece of yellow cardstock 5 3/4 inches square. Use the new Valentine Edges die set and die cut the decorative edge along one end. Trim the yellow card stock along the top so the die cut edge fits just above the stamped sentiment. Attach to the front of the white card front.
Use the Abstract Background die set and die cut it using White Soft Finish Cardstock.
Use a piece of glossy card stock to create the background behind the Abstract Background. Use light blue, yellow, and green Distress Oxide inks to create a background. Attach the Abstract Background to this piece and trim the edges to have 1/4 inch border around the edges. Attach to the yellow panel.

Use Susan's new Black eyed Susan die set and die cut enough pieces to create five flowers. When gluing in the seed head to the center of the flower, be sure to add glue to the back of each die cut seed and attach to the center of the flower to build the cone. If you add a lot of glue to the center of the flower and add the die cut seeds, it will be very hard to build a cone because the glue will flatten all the small shaped pieces.
Use the Berry Branch die set and die cut one branch. To add berries, use Nuvo Crystal Dots. Once the berries are dry, cut the branch a part and add pieces under the arranged flowers.
Use Susan's Garden Notes Ostrich Fern die set and die cut three ferns.
Assemble to flowers over the Abstract Background, as shown.

Something new at Elizabeth Craft Designs are clear boxes which are perfect for mailing dimensional cards. There are two sizes available: 6 3/8 x 1 x 6 5/16 inches OR 4 7/8 x 1 x 6 5/8 inches. You can order these clear boxes individually or in a pack of 10.

I have been using these clear boxes to mail my cards for years.


To mail the card in the clear box, I cut a 6-inch piece of card stock to place at the back of the card. On this piece write the mailing information. Use clear packing tape to seal the end tabs. If you prefer, you can enclose this box in a padded envelope, but I just mail in the clear box and the card always arrives just perfect. My post office loves to see me coming in with these clear boxes so they can see the cards I have created!
The Elizabeth Craft Designs products are linked below.
Thanks for visiting my blog today.
Sunday, November 5, 2017
Cute Snowman

I always love to create Christmas cards with snowmen. This type of card can be used for anyone. You could use it for a winter birthday by using a different sentiment.

How cute is this new Elizabeth Craft Designs Snowman die!!! There are so many different snowmen you can create with this one die set.
Use the Stylish Snowman die set to die cut all the pieces needed to create the snowman, using Soft Finish White Cardstock. Color the hat, scarf, buttons, and arms with markers. Sponge around the edges of the snowman's body pieces using a very light blue ink. Assemble the snowman as shown.
Use the Christmas Tree die set to die cut just the solid tree pieces. I die cut two of each size. For extra frilly branches, I used the small Elizabeth Craft Designs scissors to make small cuts along the lower edges of each branch. Assemble the tree using dimensional tape behind the branches.
Use the snow bank die from the Reindeer die set to die cut two snowbanks. Use the Adventure Edges die set to die cut another snow bank.
Use the Snowman and Gifts stamp set to stamp and die cut the gifts. Before die cutting this piece, color with markers.
Use the Reindeer and Birds stamp set and die cut the small holly, which is shown on the hat band of the snowman. Color the holly and die cut with matching die. Attach the holly to the hat.
Use the Let It Snow cardstock pack for the piece of designer paper used on the background of the card.
Use the Winter Sentiments Clear Stamp Set to stamp the sentiment in the upper left corner.
Arrange all the die cut pieces on the card as shown. Use glue to create snow and sprinkle on Cool Diamond Silk Microfine Glitter.
To finish the card, attach a bow on the top corner.
Links to all the products are provided below.

Thursday, November 2, 2017
All is Calm

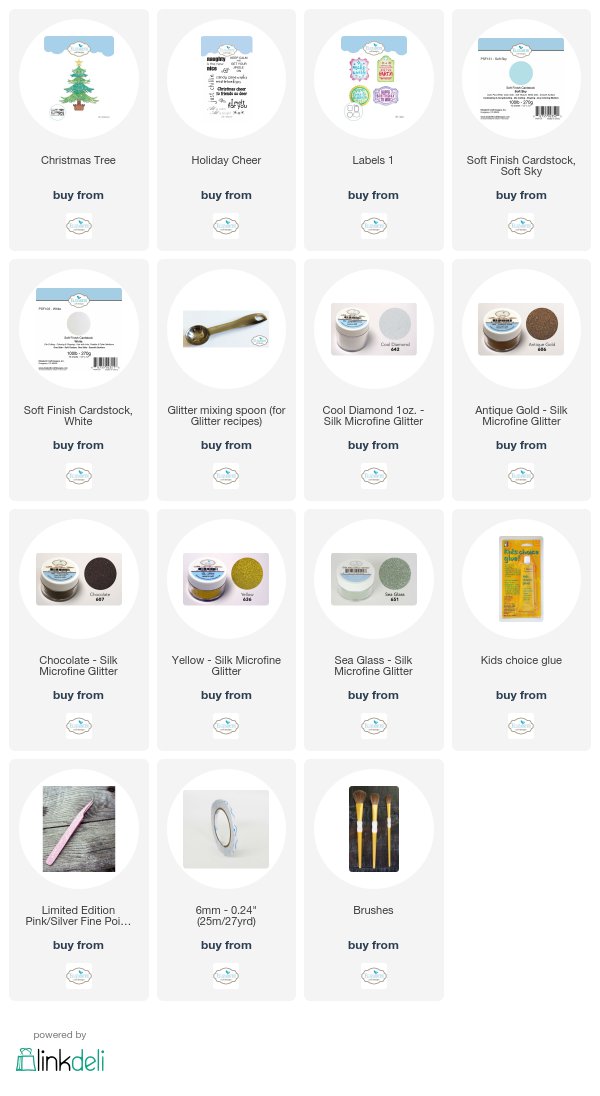
Creating cards with trees are always great to have on hand because they can be used for anyone but especially appropriate for masculine cards. I had fun creating a Christmas tree with a patina look. Patina is a thin layer that forms on the surface produced by oxidation or any change of a surface through age and exposure. I thought it would be fun to try and create the look of patina by using glitter on the new Christmas Tree die cut. Here is how the card was created.
Create a 6 inch card using a sheet of the Soft Sky Soft Finish Cardstock. Cut the 12-inch square piece down the center and score in center to create a 6 inch square card.
Cut a piece of White Soft Finish Cardstock 5 3/4 inches square.
Create a 6 inch card using a sheet of the Soft Sky Soft Finish Cardstock. Cut the 12-inch square piece down the center and score in center to create a 6 inch square card.
Cut a piece of White Soft Finish Cardstock 5 3/4 inches square.

To create the background for the Christmas Tree, sponge on several colors of blue ink on the upper 3/4 of the card. Start by sponging on a light blue then sponge on a darker shade of blue around the edges.

Once you are happy with the blue background, add some splattered snow. Use white acrylic paint watered down and a brush to splatter on white dots.

Load the brush with the white paint and pounce the handle of the brush over your hand to make the paint splatter over the area you want the snow. It should look similar to the above picture.
Use the Christmas Tree die set to die the Christmas Tree (all ten layers, tree trunk, picket container and star, out of White Soft Finish Cardstock. Save the snowflakes from the lacy layer. Glue the lacy overlay to the solid background.
Working with one piece at a time, add glitter to each of the die cut pieces. Place a dab of Beacon’s Kids Glue on your craft mat and add a little water. Use your finger to brush a little glue over each of the tree pieces. Sprinkle on Sea Glass Silk Microfine Glitter, brush off the excess and rub the glitter with your fingers. The Sea Glass Glitter is a great patina color. Repeat this process on each of the tree pieces.
Attach the two container pieces together. Add a little glue over the top and sprinkle Gold Microfine Glitter the same as you did on the tree pieces.

Once the container is assembled and glittered, add two pieces of double sided adhesive tape down the center, as shown above. Bend the die cut so it has a rounded shape.

Use Chocolate Silk Microfine Glitter to add color to the tree trunk. Attach the Tree Trunk at the bottom of the card and attach the glittered container over it.
Attach double sided tape to the top of each of the Christmas Tree die cuts.

Before attaching the tree die cuts, shape each pieces in a semi-circle. Attach the largest tree die cut over the tree trunk. Be sure you only push down on the double sided adhesive, when attaching, so you still have the domed shape.

Attach the second largest branch die cut slightly over the largest branch. Continue adding all the branch die cuts all the way to the smallest.

The tree should look very dimensional as shown in the picture above.
Using the Christmas Tree die set, die cut the Star. When die cutting, use a piece of cardstock that has Clear Double Sided Adhesive on top. Add Yellow Silk Microfine Glitter to the Star pieces and glue the two pieces together. Attach with double sided dimensional tape to the top of the tree.
Use the Holiday Cheer Stamp Set and stamp the sentiment using VersaMark Ink on white card stock. Gold emboss.
Use the Holiday Cheer Stamp Set and stamp the sentiment using VersaMark Ink on white card stock. Gold emboss.
Use the Labels 1 die set and die cut the Sentiment. Before removing the die cut, sponge on the same blue ink used for the sponged sky, around the edges. By leaving on the die, you will have a white edge around the sentiment. Attach the die cut sentiment on the upper left corner.
Use the die cut snowflakes, which have been removed from the overlay of the Christmas Tree to add around the tree. You might want to die cut the second largest lace branch again to have additional snowflakes. Glitter the snowflakes with Cool Diamond Silk Microfine Glitter before adding to the card.
For additional dimension, add packaged snowflakes around the base of the card.
Subscribe to:
Posts (Atom)
LinkWithin
