Don't you love all the creative ways you can use your die sets to create fun scenes. Very soon we will be seeing lots of pumpkins so I decided to create a scene you might see out in the country. I have used White Soft Finish Cardstock to die cut all the pieces for this card, and used ink pads and a sponge dauber to color each piece. I added a black cat to the card in the picture below. Here is how the card was created.

- Start with a 6-inch card base.
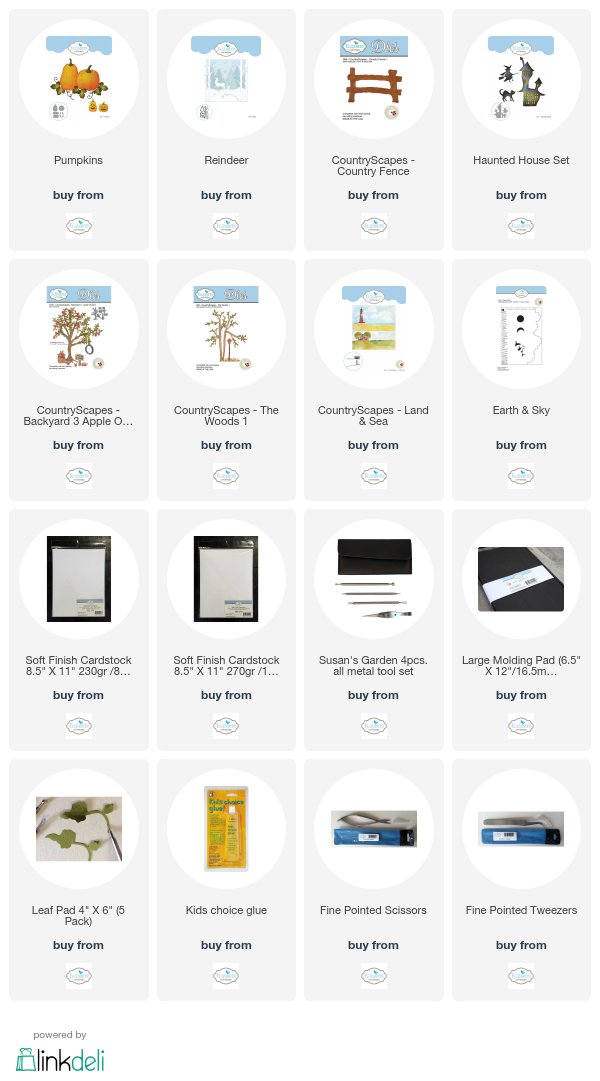
- Using a 5 1/2 inch square piece of white Soft Finish Cardstock and Susan's CountryScapes - Land & Sea die set, die cut the barn border down about 1/4 of the way down from the top of the card stock. Color the barn trees and ground using Distress inks and a red marker. Below the barn, sponge brown down from the barn door for a path and the rest sponge on green ink.
- Cut another piece of white Soft Finish Cardstock 5 1/2 inches square. Use Susan's Earth & Sky Stencil to sponge blue ink over the cloud stencil to create a cloudy sky. You only need to do this on the top portion because the barn die cut landscape will layer over the top of the sponged sky. Attach the Barn border over the sponged sky using glue.
- Use the the Pumpkin die set to die cut two each of the pumpkins. First sponge on yellow ink then go around the edges sponging on orange ink. Use a fine point brown marker to add little brown dots on the bottom and tops of the pumpkins for a shadowing effect. Use the same die set to die cut the leaves and vines Use Susan's Flower Tool Kit to shape the leaves and pumpkins. Sponge on two shades of green ink.
- Use the Haunted House Die set to die cut one cat. Sponge black ink on to color.
- Use Susan's CountryScapes Country Fence die to die cut one fence. Cut a small portion of the rails off and attach the end post over the cut end to make the fence a little shorter.
- Use one of Susan's Tree die sets to die cut a bare tree. Attach the tree, as shown, and cut off the branches that hang off the left side. You can use the CountryScapes Backyard 3 Apple Orchard die set or the CountryScapes Woods 1 die set for this die cut tree.
- Die cut two evergreen trees using the Reindeer die set. Attach these trees on the right side of the pathway using dimensional tape.
- Attach the fence in front of the evergreen trees using dimensional tape.
- Attach three pumpkins in front of the bare tree on the left side of the card. Use dimensional tape on the pumpkin in the front. When adding small die cut pieces, it is made easier to use the Elizabeth Craft Fine Pointed Tweezers.
- Attach one of the tall pumpkins to the right lower edge of the card using dimensional tape. Cut off the right edge of the pumpkin that hangs over the side of the card. Add the leaves and vine.
- Add the black cat along the lower edge of the card.
Wouldn't this be a cute card included with a loaf of delicious pumpkin bread for a friend or neighbor!


2 comments:
Great scene and puts Halloween front and center! Super card, Selma.
Such a cute fall scene. I can just hear all the children's voices as they race to the farmer's field to pick out the perfect pumpkin to take home!
Post a Comment