Monday, September 25, 2017

Winter Sweater Blog Hop


Welcome to my blog and the Elizabeth Craft Designs Winter Sweater Blog Hop.

Today the Elizabeth Craft Designs Design Team is having a special blog hop featuring the Winter Sweater die set.  This is a die set I love to use because you can create so many different sweaters with it.  Below I have three cards I designed using this die set

Winter Sweater - Die - ElizabethCraftDesigns.com


This hop starts on the Elizabeth Craft Designs blogso if you are starting on my blog first, you may want to head over there now so you can start at the beginning of the hop. I'm sure you do not want miss anything because there is lots to see!  Here are the links to all the Winter Sweater Blog Hop blogs:


To celebrate the Winter Sweater Blog Hop Elizabeth Craft Designs will be offering customers 15% off the Winter Sweater die using the code  “BRRR” at checkout.  This offer will last until Sunday, October 1.


It is always cool where I live in late October and I thought it would be fun to create a Halloween Sweater with the Winter Sweater die set.

This is a 6-inch card.  A piece of the design paper from the Cucina With Love design paper pack was added to the front.

The Sweater was die cut using black card stock.  The cuffs were die cut using orange card stock then a thin line marker used to draw lines and dots on them.  A black peel off  wavy line sticker was used to add to the top and bottom of each of the cuffs.

The Halloween stamp set was used for the candy corn witch, boo, and bat.  They were colored with markers and die cut using the matching die set.

The Spooky Sentiments stamp set was used for the Happy Halloween Sign.  It was die cut using the Labels 1 die set.  The sentiment was stamped on orange card stock, and black embossed.  The label was attached to black card stock and trimmed around the edges with scissors.

The ModaScrap Leafy Branch 2 die set was used to die cut three sets of leaves, using Mustard card stock.  Brown and Orange ink was sponged on the leaves.  Susan's Flower Tool Kit was used to shape the leaves.

The Label was attached with dimensional tape and the Leafy Branches were attached under the label.

The bat was die cut using the Halloween stamp set and die cut with the matching die set.  It was attached with dimensional tape.

To finish the card, black flat backed beads were attached to the corners of the card.


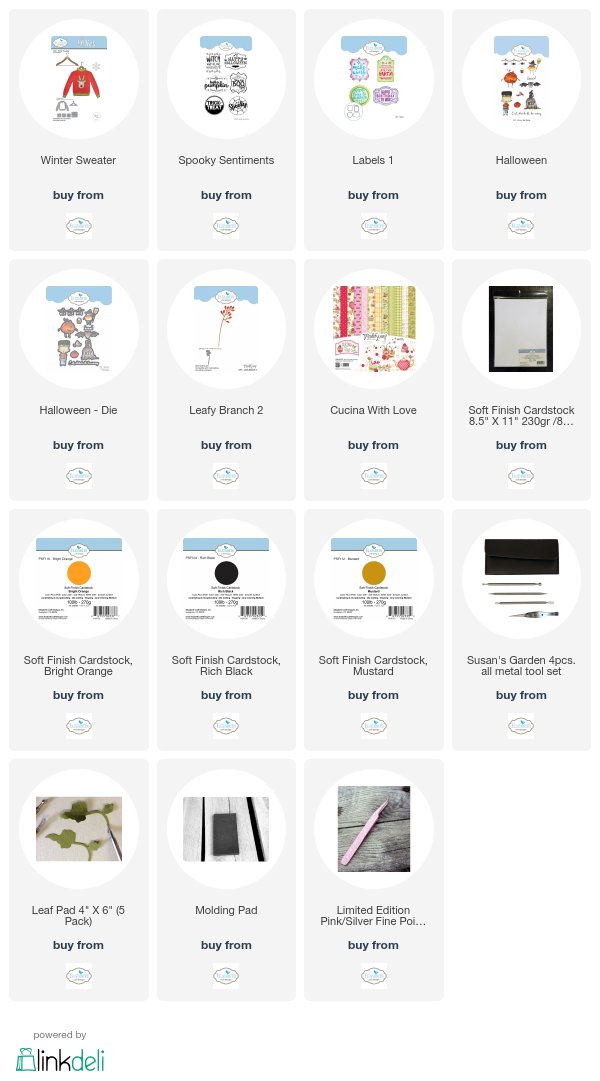
Below are two Winter Sweater cards I want to show you to give you additional ideas for your cards.  All the products used for all three cards are linked below.   


For this sweater I used a red yarn to cover the sweater.  The sweater was die cut with Clear Double Sided Adhesive on the front so the yard would stick the body of the sweater.  A Way With Words dies were used for the Sentiment.  The Holiday Garlands 2 die set used to die cut the gold border.

This sweater was die cut using felt adhered to Clear Double Sided Adhesive.  You could also use one of the Velvet Adhesive Sheets from ECD.  For the background, a piece of the new Unconventional Christmas Paper was used.  The sentiment was stamped using the new Fashionable Phrases stamp set and die cut using the ModaScrap Stitched Fishtail Banners die set.  The ovals used are Fitted Ovals and Fitted Frames 4 - Curvy Ovals die sets.

Be sure to check out all the other design team's cards using this fun die set. 


Let's Have Some Fun


Playing in the snow is so much fun!  

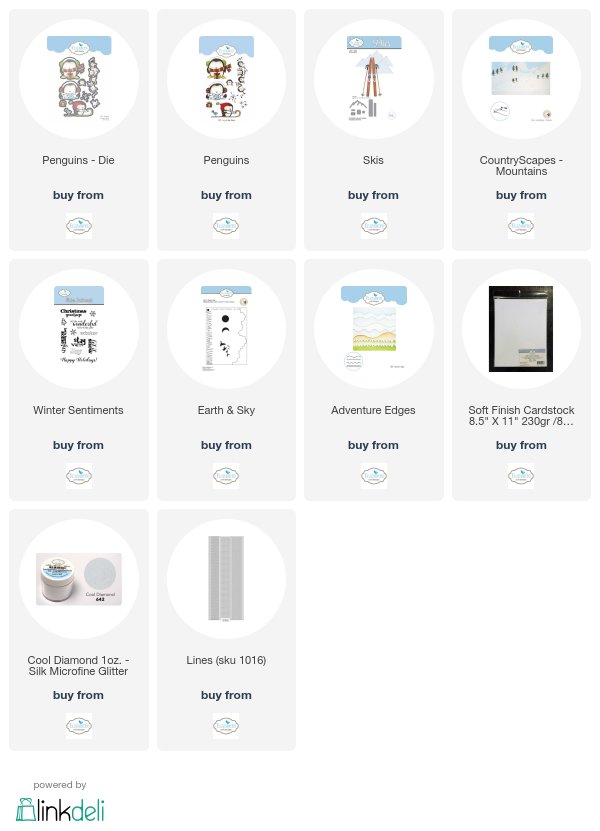
Have you seen all the cute clear rubber stamps designed by Krista Schneider?  Today I used the new Penquins stamp set and the matching dies to create my card.

1.  Start with a six-inch card.
2.  Use a piece of white Soft Finish Cardstock cut 5 1/2 inches square.  Use the Earth & Sky Stencil and sponge on blue ink over the cloud stencil to cover the upper half of the card, creating clouds.
3.  Use the Skis die set and die cut two mountains.  Attach the mountains over the cloudy sky.
4.  Use the CountryScapes Mountain die set and cut three slopes to be layered under the mountains.  Cut the trees off one, which will be used lower, where the penguin is sledding. 
5.  Use the Adventure Edges die set and die cut one edge, which is used in the center of the different snow banks.  
6.  Layer two of the snow banks with the pine trees right under the mountains.  Color the trees before adding.
7.  Layer the other snow banks on the lower section.
8.  Die cut the two penguins, color and die cut.  Attach the penguins with double sided dimensional tape, as shown
9.  Use the Winter Sentiments  stamp set and stamp the sentiment on the lower left corner.
10.  Use the Snowflake stamp from the Penguins stamp set and white emboss snowflakes on the upper portion of the card.

 You will be able to create many different very cute cards with is stamp set.  


Tuesday, September 19, 2017

Design Team Challenge - Halloween Card


The design team for Elizabeth Craft Designs was challenged to create a Halloween Themed card this month.  The team has created a variety of great Halloween cards for you and you can view them all on the Elizabeth Craft Designs Blog at this LINK.

As with all the Elizabeth Craft Design challenges, you are given a chance to win a prize.  Here are the details:

******************
For our Challenge today Elizabeth Craft Designs is giving away a $20 Gift Card to use on the Elizabeth Craft Designs website to 3 winners. 


To enter, simply leave a comment on the Elizabeth Craft Designs blog post and answer this question: "What are some of your favorite products you choose when creating spooky scenes for Halloween?" 

Elizabeth Craft Designs will select 3 lucky winners in a random drawing.

The winners will be announced on Friday, September 22nd, on the Elizabeth Craft Designs blog.

Good Luck!

*******************

Now for the details on how I created by Halloween card:

Start with a 6-inch card.  

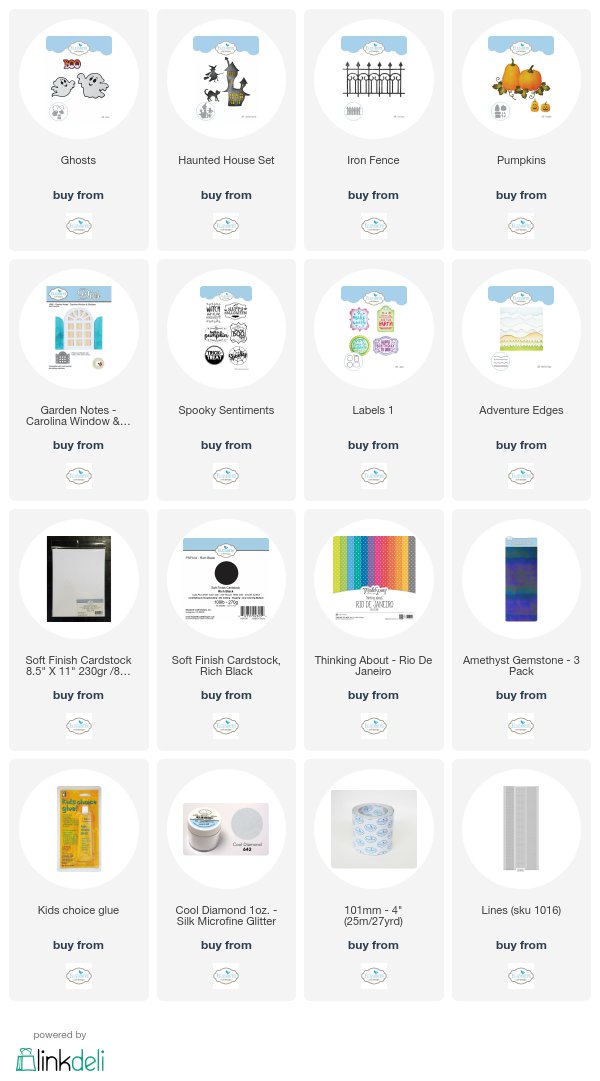
Use the orange polka dot design paper from the new ModaScrap Rio De Janeiro paper pack to create the background.  Use a Scoreboard to score around the edges, for a finished appearance.

Use the Ghosts die set and die cut the two ghosts.  For the overlay, use a piece of white card stock that has Clear Double Sided Adhesive attached.  You will be adding glitter to the adhesive.  Once die cut, add Cool Diamond Silk Microfine Glitter to each of the ghost overlays.  Attached the glittered ghosts to the black backing.

Die cut the Garden Notes Carolina Window, using black card stock.  Adhere a piece of Amethyst Gemstone Shimmer Sheetz to the back of the window.  Attach the window in the upper center of the card.  

Die cut the Witch using the Haunted House Die set, using black card stock.  Die cut the Cat using White Soft Finish Cardstock and sponge with black ink.  The reason I didn't die cut the cat using black card stock, is that he didn't show up very well being a deep black.  When sponged with black ink, the cat is a gray/black color and shows up very well.

Use the Iron Fence die set and die cut two fences, using black card stock.  Fit the fence pieces across the bottom of the card.

Use the Adventure Edges die set to die cut two grass pieces, using black card stock.  

Use the Pumpkin die set to die cut two white pumpkins.  Sponge on yellow and orange ink.  Add the stems and black Halloween faces.  Attach the pumpkins on the low right side in front of the fence. Add dimensional tape behind the round pumpkin.   Attach the grass across the bottom of the card.  Attach the cat to the left side.

Use the Spooky Sentiments stamp set to stamp Happy Halloween.  Die cut with the die from the Labels 1 die set. Sponge orange and black ink around the edges of the Label.   Attach the sign below the window, with dimensional tape,  as shown.

Attach the two ghosts with dimensional tape over the window.   Glue the witch in the upper left corner to complete this cute Halloween card. 

This card is sure to make someone smile.

The links to the Elizabeth Craft Products used, are linked below. 


Wednesday, September 13, 2017

Autumn Window


Fall is a beautiful season.  I designed a card combining Susan's Garden Notes Square Window & Flower Box and Carolina Window and Shutters die sets.  It was fun creating a new type window using both these die sets.


Here is how the card was created:
  1.  Create a 6-inch square card.
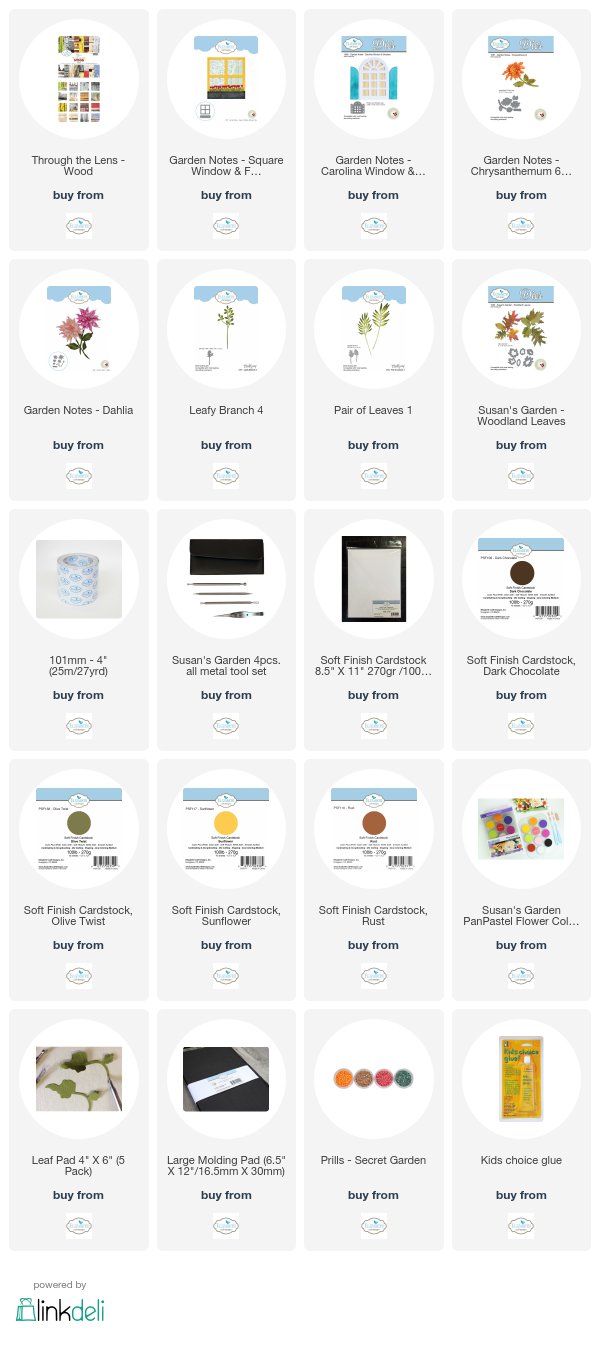
  2. Use a sheet of the Through The Lens -Wood cardstock to cover the front of the card.
  3. Sponge around the edge of the card front using black ink.
  4. Use brown cardstock and die cut the window frames using the window dies in both the Square Window and Carolina Window die sets.
  5. Cover a piece of white cardstock large enough to fit behind both window frames.  Cover it with a piece of Clear Double Sided Adhesive.  Cut this cardstock to create a backing for both windows.
  6. Use a piece of gold/bronze foil to cover the adhesive covered cardstock. Attach the die cut window frames over the foil.
  7. Attach the Carolina Window Frame, centered, over the Square Window as shown in the above picture.
  8. Attach the window on the right side of the card.
  9. Use Susan's Chrysanthemum die set and assemble two burgundy flowers.
  10. Use Susan's Dahlia die set and die cut enough petals yellow petals for one flower.  Sponge the tips of the petals with orange ink.
  11. Use the ModaScrape Leafy Branch 4 die set and die cut three rust branches.  Use the Leaf Tool and pad to draw a vein down the center of each leaf.
  12. Add Prills to add berries to the Leafy Branches.  (It is time consuming but I picked out the dark red Prills in one of the Secret Garden jars.  You an use yellow or orange Prills instead.)
  13. Use the ModaScrap Pair of Leaves 1 die set and die cut three sets of leaves using Olive Twist cardstock.  Draw a vein down the center of each leaf using the Leaf Tool.  Use the dark red PanPastel to sponge a little color to the edges of the leaves.
  14. Use Susan's Garden Woodland Leaves die set to die cut two Oak Leaves.   Draw veins on leaves using the Leaf Tool.  Color the leaves using PanPastels.  Push the leaves down onto VersaMark Ink and clear emboss.
  15. Arrange flowers and leaves as shown in picture.
There are many different Garden Notes flower die sets you can use to embellish your window.

Elizabeth Craft Designs Products are linked below.


Tuesday, September 12, 2017

Susan's Garden Challenge - Home Decor


What a fun challenge Susan's Garden Design Team has this month.  We have been challenged to use Susan's products to create a Home Decor piece.  It is the perfect time to create a frame to celebrate the Fall Season!

******************
For our Challenge today Elizabeth Craft Designs is giving away a $20 Gift Card to use on the Elizabeth Craft Designs website to 3 winners. 


To enter, simply leave a comment on the Elizabeth Craft Designs blog post and answer this question: What Home Decor items do you like to create to use in your home?

Elizabeth Craft Designs will select 3 lucky winners in a random drawing.

The winners will be announced on Friday, September 15th, on the Elizabeth Craft Designs blog.

*******************
Here is how the project was created:

The frame used was purchased from Ikea.  It is ten inches square and has a small mirror indented down in the center.

To decorate the little square, use a piece of watercolor paper and add Distress Oxide Inks to create the colorful background.  Splatter on black ink for the dots.  Cut the paper to fit inside the small square.  Add Black Peel Off Sticker Corners to each corner for a finished appearance.


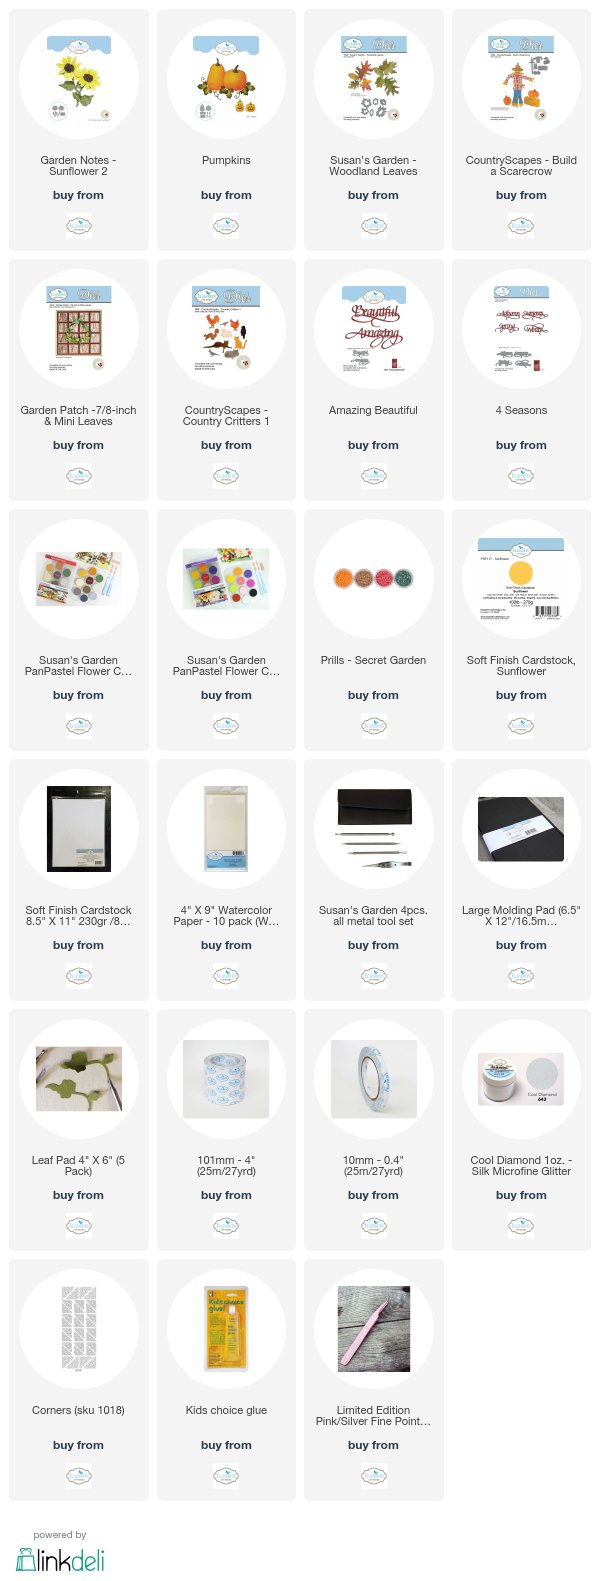
Use Susan's Build a Scarecrow die set and create the scarecrow.  Use the CountryScapes Critters 1 die set and die cut the black crow.  Use a white opaque marker to add a white dot for the eye.  Attach the crow to the arm of the scarecrow.  Attach the square over the mirror, using strips of Clear Double Sided Adhesive.

Use Susan's Garden Notes Sunflower 2 die set and create five sunflowers.  Shape the flowers and leaves using the Flower Tool Kit.  Add a little Cool Diamond Silk Microfine Glitter to some of the flower petals for a little sparkle.  After completing the flowers, you can add Prills over the die cut centers of each flower for a little additional dimension.


Use the Pumpkin die set and create three pumpkins.  I used two tall pumpkins and one short pumpkin.  Once you have the pumpkins and leaves colored, pat them down on a VersaMark Pad and clear emboss them for a shiny finish.

Use Susan's Garden Woodland Leaves die set and Garden Patch Mini Leaves die set to create leaves.  Shape the leaves using the Leaf Tool from Susan's Flower Tool Kit.  The leaves were colored using PanPastels.  Small black dots were added to some of the leaves.      All the leaves were patted onto a VersaMark Pad and clear embossed.

Use the A Way With Words - Amazing, Beautiful - and 4 Seasons die sets to die cut Beautiful Autumn.  Die cut using White Soft Finish Cardstock and sponge on PanPastel Fall colors.  If you die cut the sentiments with Clear Double Sided Adhesive on the back of the cardstock, it makes it very easy to attach the words to the frame.

Arrange all the die cuts as shown.  Creating your own home decor is very fun and you will be proud to hear - "Wow, You Made That!".   What fun ideas do you have for a  fun Autumn decorated frame?

The Elizabeth Craft Designs products used are linked below.


Thursday, September 7, 2017

Fall Pumpkin Scene


Don't you love all the creative ways you can use your die sets to create fun scenes.   Very soon we will be seeing lots of pumpkins so I decided to create a scene you might see out in the country.  I have used White Soft Finish Cardstock to die cut all the pieces for this card, and used ink pads and a sponge dauber to color each piece.    I  added a black cat to the card in the picture below.    Here is how the card was created.

LinkWithin

Related Posts with Thumbnails