Saturday, October 13, 2018

Phaleanopsis Orchid


Orchids are such a beautiful exotic flower.  Today I have designed my card using the new Garden Notes Phalaenopsis Orchid die set.

This is a 5x7 inch card.  Cut a piece of of white card stock to cover the front and emboss with a dotted background embossing folder.  Use a scoreboard and score around the edges.  Attach to the front of the card. 

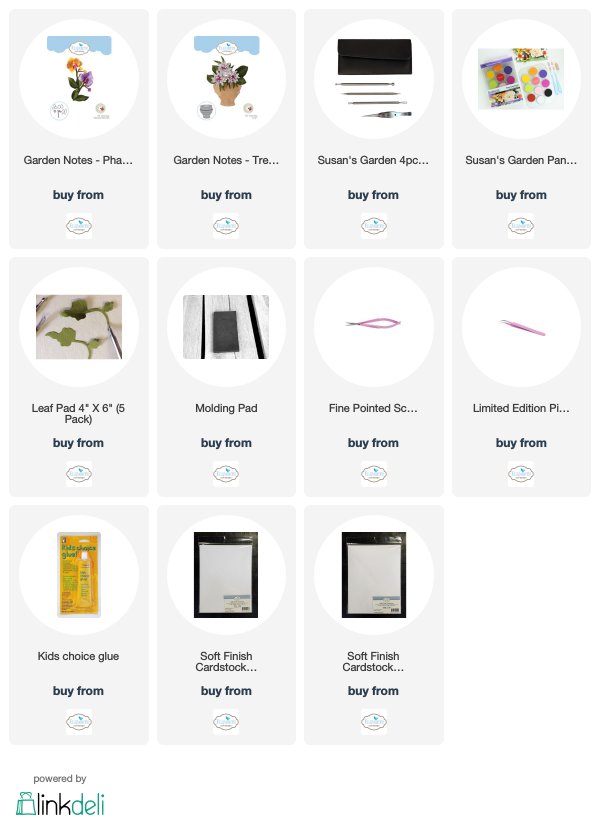
Use the Garden Notes Trevi Urn and die cut two urns, using a light gray card stock.   Glue the two urns together.   Use Pewter metallic paste to shade the urn and to bring out the embossed design.  Attach to the bottom of the card using a piece of dimensional  tape in the center and glue around the edges.  This will give the urn a little rounded shape.

Use the Garden Notes Phalaenopsis Orchid die set and die cut pieces to create seven orchids.  Color with markers, or PanPastels.  I used two shades of pink PanPastels.  Draw lines on the petals and add small dots.  I went to Pinterest and found pictures of Orchids.  There are many different colors of Phalaenopis Orchids.   Color the stems and the orchid buds.  Cut extra stems with the buds and cut the buds off to make longer stems of buds.  Glue down the stems then add the orchids.  Add the extra buds at the end of the buds on the stems and around the orchids as shown.  Add Spanish Moss to the top of the Urn.  Die cut the Orchid leaves  Shape with the Flower Tool Kit.  Use the yellow green PanPastel to go down the center of each leaf.  Use brownish red PanPastel to lightly touch around the edges of some of the leaves.  Use Nuvo Crystal Glaze to give the leaves the glossy appearance.  I added a little to the leaf and rubbed it over the leaf with my finger.  As soon as the glaze is dry, shape the leaves and attach at the base of the flowers.

If you need help to learn how to assemble the Phalaenopsis Orchid, you can watch Susan's Garden Club Facebook Video at this LINK.

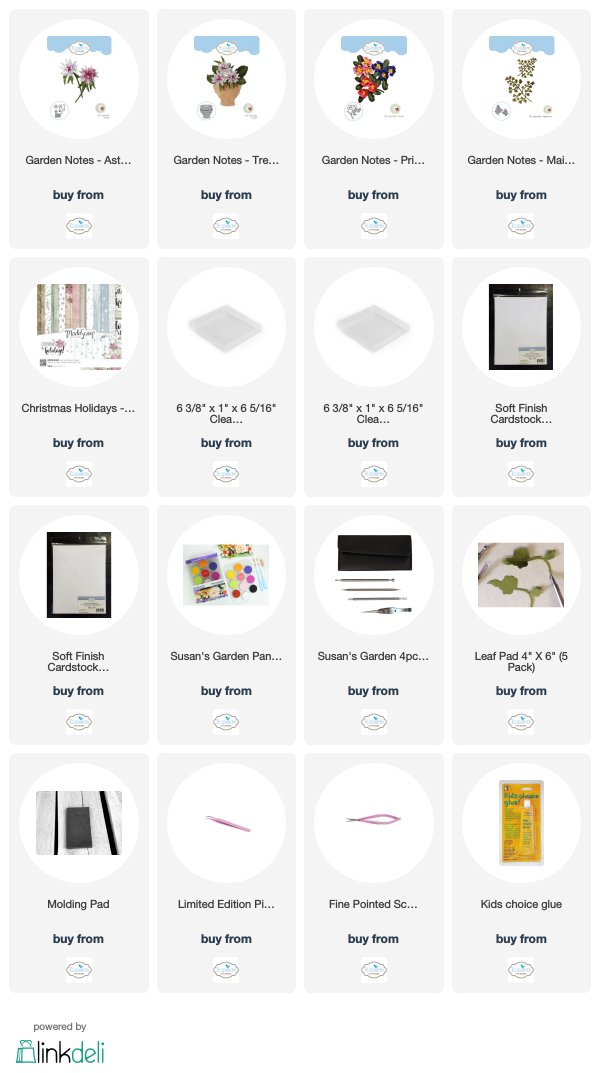
Links to the products used are listed below.


Friday, October 12, 2018

Ho Ho Ho


I am always excited when there is a new A Way With Words release.  Anything you create with Suzanne Cannon's calligraphy die sets or stamps will give your project an elegant appearance.  For this card I used one of her newest die sets.  

Today I created a Z shaped card.  There are many ways to create Z shaped cards.  You can Google it and find instructions.  I followed the basic instructions for a card I saw by Jennifer McGuire.  

This card uses only two pieces of card stock.  

Use a piece of Kraft card stock cut 5 x 10 inches.  Score at 2 1/2 and 5 inches.  Fold the 2 1/2 inch score line into a mountain fold and the 5 inch score line into a mountain fold.

Use a piece of ivory card stock cut 4 x 9 inches.  Score at 4 inches and 6 1/2 inches.  The 4 inch section is folded into a mountain fold and the 6 1/2 inch fold is a valley fold.


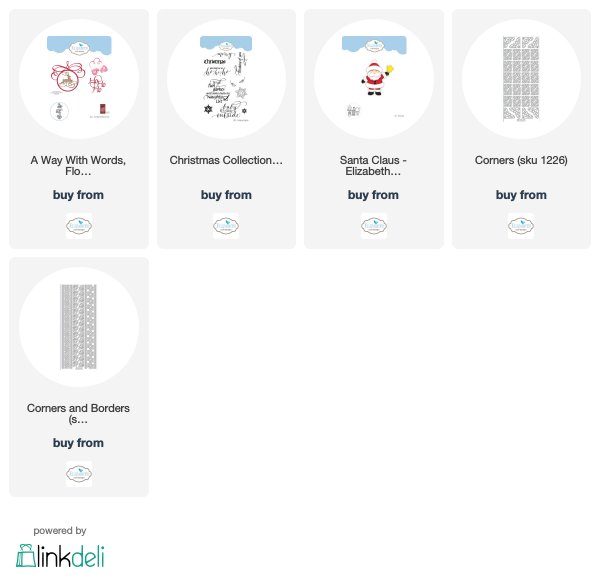
Use the A Way With Words Flourished Christmas Minis die set.  Die cut the ornament and Ho Ho Ho using gold metallic card stock.  On the  ivory card stock, attach these die cut pieces in the center of the square.  Use a fine gold cording to create a bow to attach at the top of the ornament.

Use the Joset Designs Santa Clause die set and to create the Santa.  Attach to the middle section of the ivory piece.

Christmas Collection

Use the A Way With Words Christmas Collection stamp set and stamp the sentiment  (It's all fun & games until Santa checks the Naughty List) using VersaMark Ink.  Gold Emboss.  This sentiment is on the right panel of the ivory card stock. 

Use Gold Line Peel Off Stickers to outline the front panel (around the ornament), and around the panel with the stamped sentiment.  Use Gold Corner Peel off Stickers to decorate each of the corners of the Kraft card stock.  

This is a picture of how the card will look when pulled open.  It folds flat for mailing.  The finished size is 5 1/2 inches square.


To attach the ivory panel to the front of the folded Kraft card stock, close the Kraft card, add glue to only the left half on the back of the Ornament panel.  Center that square so it is centered on the front of the card when it is closed.  By looking at the last two pictures above, I think you will understand.  Add glue to the whole backside of the left rectangle of the ivory piece.  Pull the card all the way open and press the glued rectangle to the Kraft card stock.  When the card is closed, the right edge of the top panel will be even with the edge of the ivory edge on the right side.  

This is not a difficult card to create.  If you have any questions, please let me know.


Thursday, October 11, 2018

Happy Holidays Snow Globe


Today I decided to be creative.  Elizabeth Craft Designs has a very cute Snow Globe die set, but it is smaller than what I wanted.  I decided to create my own snow globe.

This is a 6-inch square card.  

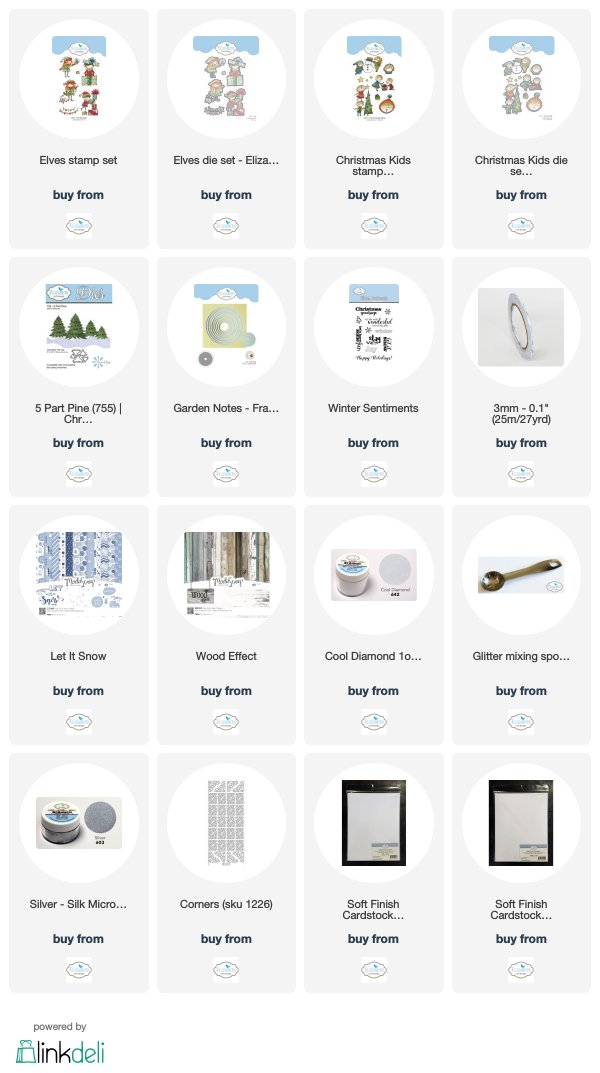
To cover the front of the card, a 6-inch square piece of the ModaScrape Let It Snow design paper was used.  To create the round cirecle (globe) the largest Frame It/Stitched Circle die was centered on the Let It Snow design paper.  

Behind the die cut circle is a piece of white card stock that has Cool Diamond Silk Microfine Glitter.  A 6-inch square piece of white card stock was covered with Clear Double Sided Adhesive and Cool Diamond Glitter added.  Polish the glitter with your fingers.  Attach behind the die cut circle.  Attach these pieces to the front of the card.

Use a piece of the ModaScrap Wood Effects card stock and cut a base for the snow globe.  Sponge around the edges using black ink.  Use the Winter Sentiments stamp set and stamp the sentiment on the snow globe base.  Attach the base, using dimensional tape, at the bottom of the die cut circle, being sure to align the top outer edges of the base with the edge of the die cut circle.  You want the circle (globe) to appear that it is inside the base.

Use the new Krista Elves stamp set and stamp and color the Elf with gifts.  Die cut using the matching die.

Use the new Krista Christmas Kids stamp set and stamp and color the boy and girl with the gift.  Die cut using the matching die.

Use the Els Van de Burgt Studio 5-Part Pine die set and die cut one tree using silver metallic card stock.   Attach the pieces together using dimensional tape at the bottom of each branch section  Attach the tree in the snow globe toward the upper right side.

Attach the Elf on the left side of the tree with clear double sided adhesive.  Attach the children on the lower right side of the snow globe.

For a finishing touch, add silver Peel Off Sticker Corners to the upper corners of the card.


Wednesday, October 10, 2018

Joy


Today I used one of the stamps in Krista Schneider's new release for this quick and easy Christmas card.  

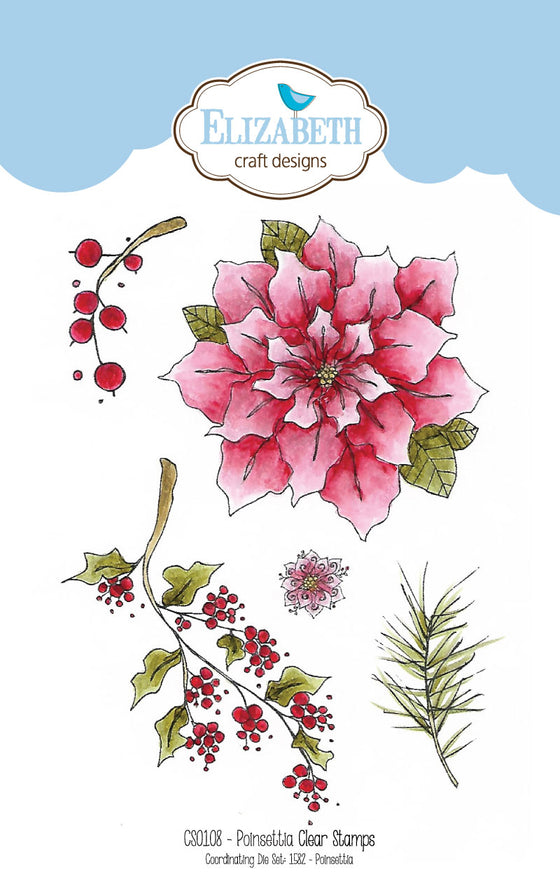
Poinsettia stamp set

The name of this stamp set is 'Poinsettia'.  This stamp set also has a matching die set.

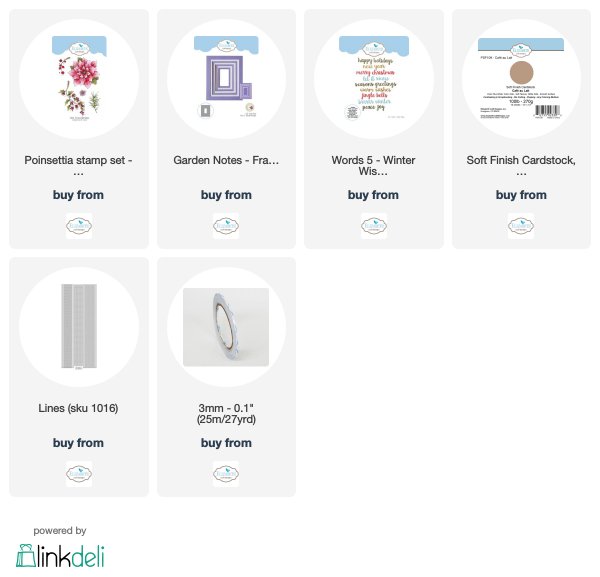
Use a piece of the Cafe au Lait  Soft Finish card stock cut 10 x 6 1/2 inches.  Score at 5 inches to create a card 5 x 6 1/2 inches.  Optional:  The back of this card can be attached to a piece of gold metallic card stock.

Use the Garden Notes Frame It/Stitched Rectangles die set to die cut the Ivory card stock frame.  Use a smaller Frame It/ Stitched Rectangles die to die cut a piece of ivory card stock to fit inside the frame (5 x 3 inches).

Use the berry branch stamp in the Poinsettia stamp set to stamp the branch in the center of the rectangle piece.  Use masking tape to go around the edges of this piece to mask the center of the card.  Use Tea Dye Distress Ink to sponge inside the masked area to create a border for the stamped image.  Color the berry branch.  Use a thin line black marker to create small dots on the ends of each berry.  

Use the Words 5- Winter Sentiments die set, and gold metallic card stock, to die cut the word 'Joy'.  Attach to the card as shown.

Use Gold Line Peel Off Stickers to outline the outer edge of the frame.


Tuesday, October 9, 2018

Open Front Christmas Card


This is a silver and white card, which looks quite elegant in real life.  The front panel is open between the die cut openings of the geometric background.

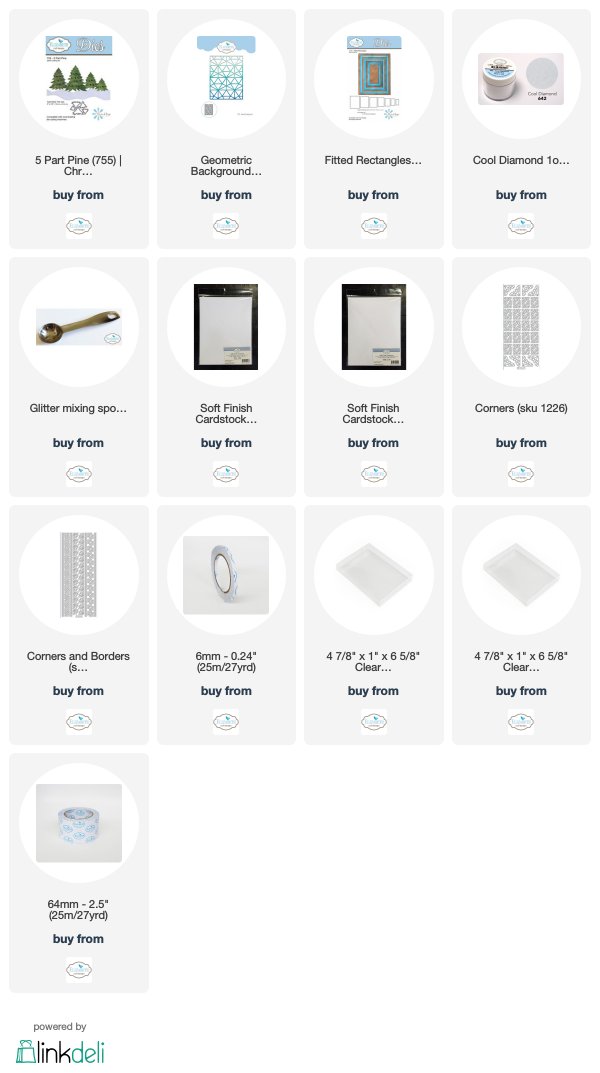
Use the Geometric Background die and die cut three white backgrounds using white Soft Finish Cardstock.  Glue (stack) the three die cuts together to create strength.  This die cut piece will be the front of the card.

Cut a piece of white card stock 5 1/4 x 4  inches.  Score across the 4 inch end, 1/2 inch down from the edge.  Crease this score line with a bone folder.  This piece will be the back of the card.  With the score line at the top, it allows for the card to open.  Put glue along the top edge of the Geometric Background down 1/2 inch.  Press the top of the geometric background down on the top of the scored back piece.  The glue should only be above the score line so the card will open.

Cut a piece of white card stock 4 x  4 3/4 inches.  If you want, draw a double score line around the edges and attach inside the card, onto the back piece, fitting behind the Geometric Background.  It should fit right up to the score line at the top of the card.  The card base will now be very sturdy.


Use the Fitted Rectangle die set and die cut 2 rectangles, using white card stock.  Have clear double sided adhesive on top of one of the rectangles.  The one with the adhesive will be sprinkled with Cool Diamond Silk Microfine Glitter.  Use 6mm Clear Double Sided Adhesive to put around the back edges of the card stock with the glitter, and on one side of the second rectangle.  Attach the glittered piece, centered, on the front of the card.  Attach the other rectangle with the adhesive on top, down on the inside of the card front, right behind the rectangle on the front.  This piece will cover the adhesive on the bottom of the rectangle that is on the front of the card -- a nice neat appearance.


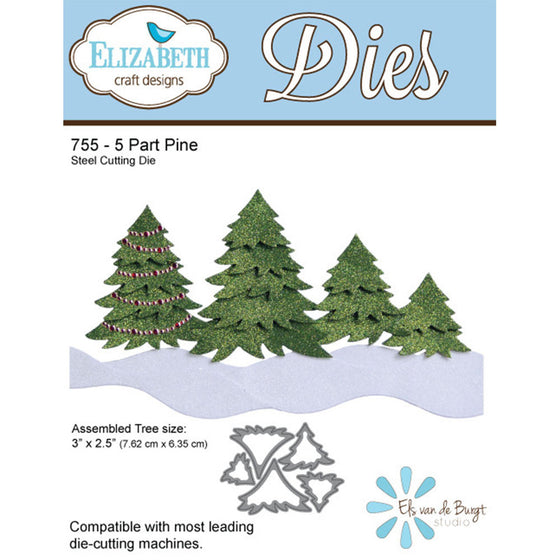
5 Part Pine - ElizabethCraftDesigns.com

Use a piece of brushed silver metallic card stock to die cut the 5-part pine Christmas tree.  Assemble the tree using thin dimensional tape between layers, to give the tree dimension.  Make sure the tree will fit within the frame.  Attach the tree to the Glittered background, using dimensional tape.

Use Silver Peel Off Sticker Corners and Borders (lines) for a finishing touch.  When you pull the corners off, there will be small circle stickers on the release sheet.  Use these circles to decorate around the top of the tree.

Even though this card is a little dimensional, it could be mailed in a regular envelope, but I will probably mail it in one of the smaller clear acrylic mailing boxes, which are available from Elizabeth Craft Designs.

I love this Els Van de Burgt 5-Part Pine Tree die set.  It is beautiful, and so realistic, no matter what card stock you use to die cut it.  You can use just a few layers for a shorter  tree or all 5 pieces as I have done for this card.  


Monday, October 8, 2018

Bird with flowers


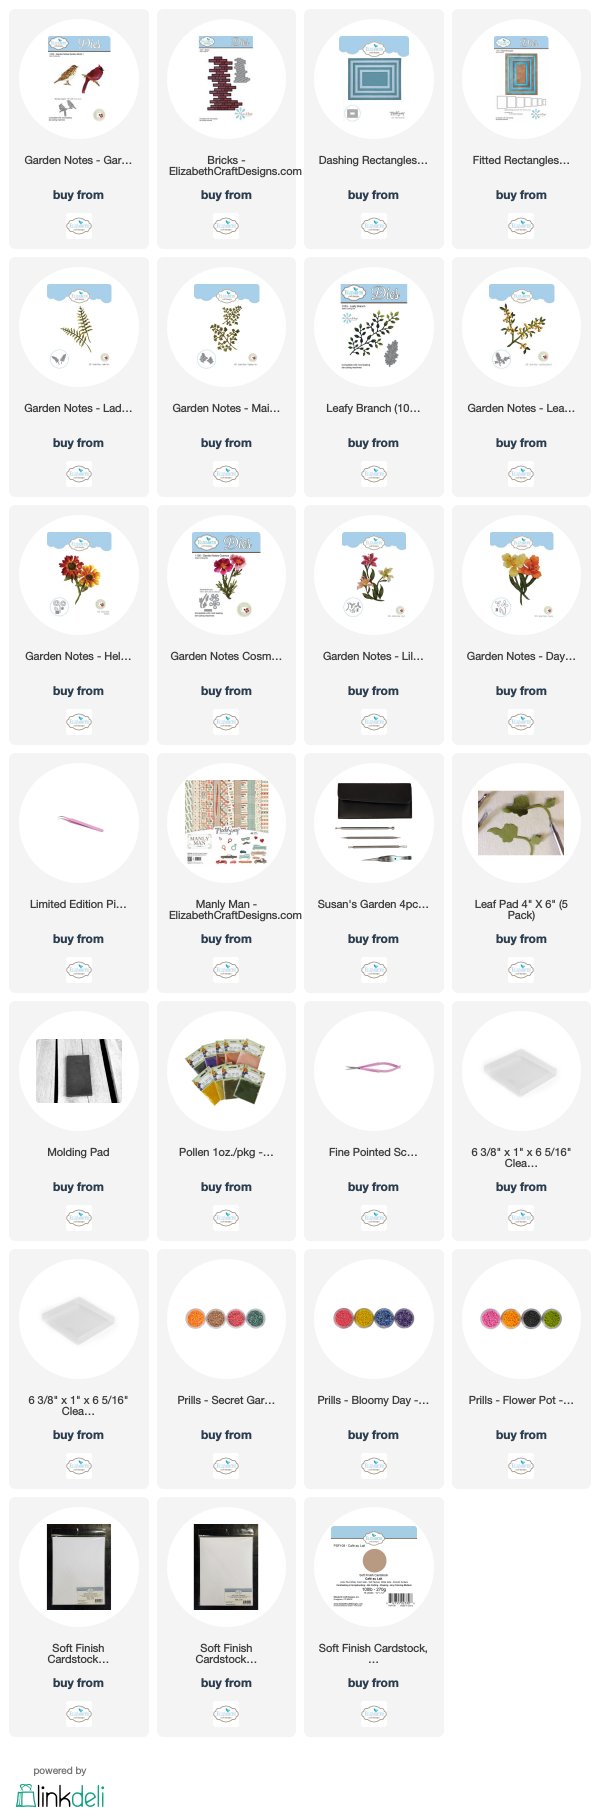
Today I wanted to create a card using some of the flowers I have in my flower 'stash'.  I also created one of Susan's new flowers using the Garden Notes Helenium die set.  

This is a 6-inch square card.  The front is covered with a piece of the ModaScrap Manly Man card stock. 

A frame was created using the Dashing Rectangles and Fitted Rectangles die sets.  The edges of the white Dashing Rectangle frame were sponged using green and brown distress inks.  

The background inside the frame was created using the Els Van de Burgt Bricks die set. To die cut, a piece of clear double sided adhesive was attached to the back of a piece of white card stock, which held the small bricks in place.  The bricks were sponged using tan and brown ink.   The brick die cut was centered behind the Dashing Rectangle Frame and attached to the back of the frame using 6mm clear double sided adhesive. The covering on the clear double sided adhesive, that is on the back of the brick die cut, was removed and the frame attached to the card.

The Els Van de Burgt Leafy Branch die set was used to die cut the branch behind the bird in the frame.  

The Garden Notes Garden Birds 1 die set was used for the bird.  Color and attach at the bottom of the frame, as shown, using a piece of dimensional tape.

The flowers used on this card include the Garden Notes Helenium, Cosmos, Day Lily, Lily 2, and Forsythia.  Also used for background fillers are the Garden Notes Leafy Berry Branch, Maidenhair Fern, and Ladder Fern.  Purple Nuvo Crystal Drops were used for the purple berries on the Leafy Berry Branch.  In the center of the Forsythia, orange Prills were added.  All the flowers and leaves were shaped using Susan's Flower Tool Kit.   The glue used was Kid Choice Glue.
Arrange the ferns, berry branch and flowers on the right side of the frame, as shown.

This card can be mailed in one of the clear acrylic boxes from Elizabeth Craft Designs.


Thursday, October 4, 2018

Purple Clematis

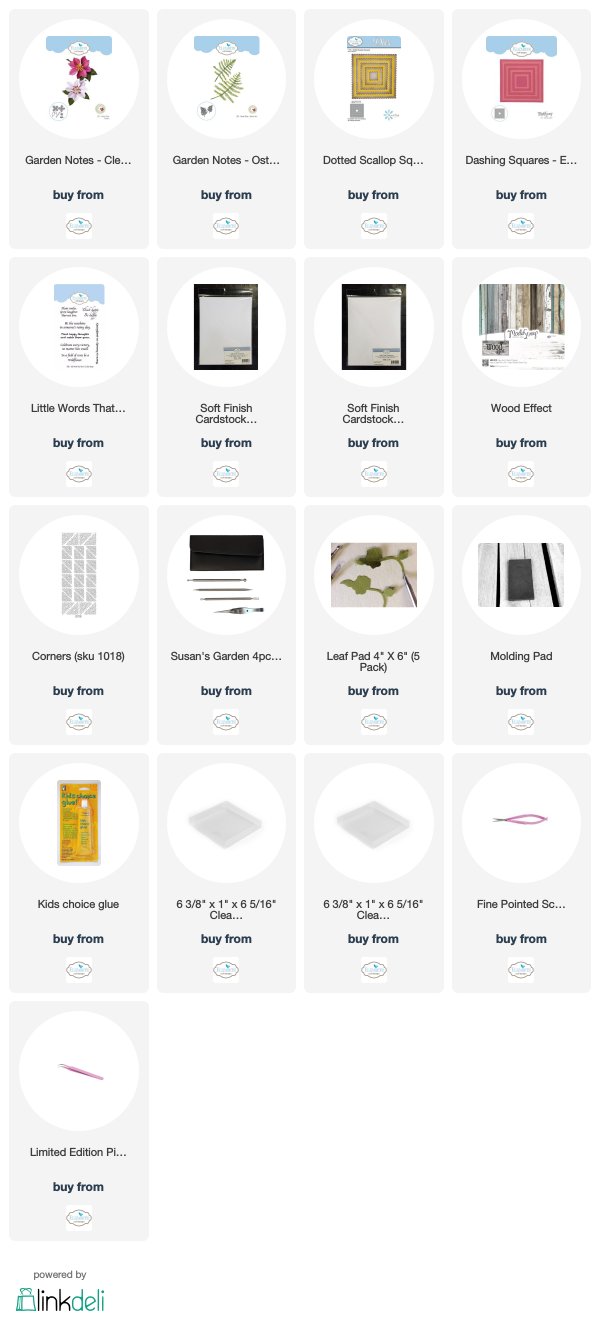
Clematis are such beautiful flowers and are very easy to create with Susan's Garden Notes Clematis die set.
  
To create this card, begin with a 6-inch square card.  Cover the front of the card with a piece of the ModaScrap Wood Effects card stock.  Add gold  Corner Peel Off Stickers to each corner.

Create a water colored background by blending Distress Oxide Inks on a piece of white card stock.  Use the Dashing Square die set to die cut a narrow square frame.  Use the Dotted Scallop die set and die cut a slightly larger square.  Cut a piece of the colored background to fit behind the inside of the narrow frame.  Attach the frame on top of the Dotted Scallop Square.  Attach to the card as shown. 

Use the Garden Notes Clematis die set to create three flowers. Use 85lb white Soft Finish Cardstock.   For a smooth application, sponge purple ink around the edges of each petal, leaving the center white.  Shape the petals with the Flower Tool Kit.  Die cut three of the round stamens.  Use the Fine Pointed Scissors to cut down each spoke to create a frilly stamen.  Use scissors to cut down each spoke of the long die cut stamen piece.  Glue along the bottom and roll with tweezers. Assemble the three flowers.  Color and shape the leaves of the Clematis.  

Use the Ostrich Fern die and die cut 4 ferns, using green card stock.  Use a light brown marker to color the center stem of the fern.  Shape the leaves using the small Elizabeth Craft Tweezers.  

Arrange the ferns and flowers along the left side of the card, as shown.

This card can be mailed in one of the clear acrylic boxes sold at Elizabeth Craft Designs.  Links to products used as shown below.


Wednesday, October 3, 2018

Christmas Shadow Box Tutorial

Inside of Shadow Box Card


Close-up of shadow box


Side view of shadow box

Front of Shadow Box Card


This is a 6-in square card when closed, with a dimensional shadow box inside.  The instructions for the cover for this shadow box was posted yesterday.  Here is the LINK.

To create the shadow box, begin with a piece of white card stock 6 x 12 inches.
Score at 6 and 6 1/2 inches.  Crease score lines with a bone folder.  This piece becomes the outside cover of the card.  For the sentiment on the  inside left side cover, use the A Way With Words-Merry Christmas die set and die cut one gold metallic sentiment.

Cut a piece of white card stock 6 x 6 1/2 inches.  Score at 1/2 inch, 5 1/2 inches, and 6 inches.  Crease with a bone folder for a crisp fold line.


Use the Garden Notes Frame It/Stitched Square die set to die cut an opening.  Use the 2nd largest die and center and tape in the middle of the 5x6 inch section of the piece previously scored.  


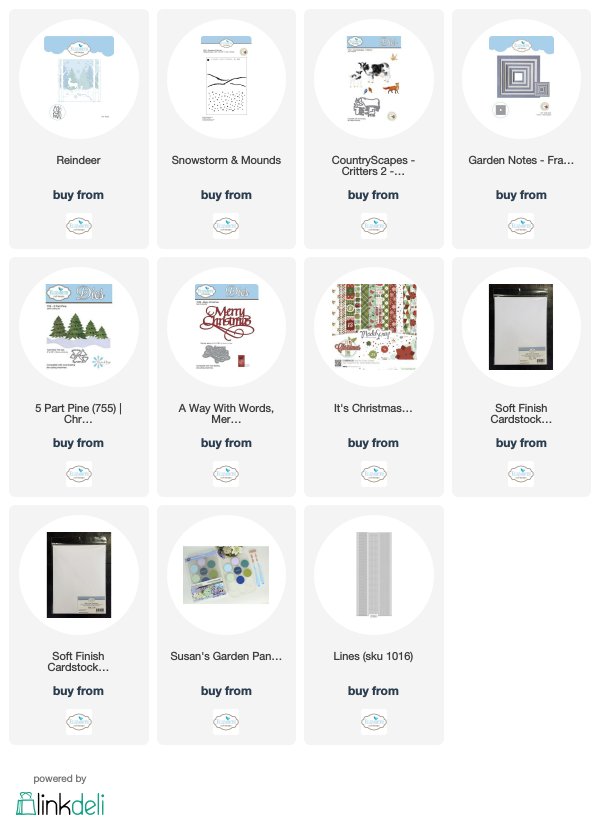
Cut a piece of white card stock 5 x 6 inches.  This piece will become the background in the shadow box.  Use Susan's Snowstorm and Mounds Stencil to sponge on snow mounds in the middle of this piece.  Use light gray or light blue ink.  Sponge light blue ink above the snow mounds - this will be the sky.  Use the same stencil to sponge VersaMark Ink over the falling snow portion of the stencil - above the snow mounds.  White emboss the  falling snow.


Use the Reindeer die set and die cut two snow mound pieces.  Attach these pieces together to create two levels of snow mounds.  They will be uneven on the ends, but you can trim them straight.   


Attach the snow mounds to the backside of the open frame, using 3mm Clear Double Sided Adhesive, only along the sides and bottom.  You will be adding die cuts between the snow levels.


Add a strip of 6mm Clear Double Sided Adhesive to each end of this shadow box.  

Use the Reindeer die set and die cut three large birch trees and one small tree.  To add dimension to the shadow box, the trees are attached at different levels.   Glue two large trees into snow - one on the left behind the lower snowbank and one behind the edge of the frame on the right. Ends of the branches can be pulled over the edge of the frame.  Add a second large tree next to the tree on the left but behind the higher snow bank.  This will give it dimension.  The small birch tree is attached to the background piece so it shows to the right of the two trees on the left.

Use the Five Part Pine die set and create the green pine tree.  Cut a narrow long strip of card stock to attach to the back of the tree to make it sturdy.  Attach at the bottom of the frame, as shown.  

Use the Reindeer die set and die cut two reindeer.  Glue the two pieces together.  Sponge on color and attach as shown.  Only the legs are attached at the bottom of the shadow box.  

Use the CountryScapes Critters die set and die cut the small birds.  Color them red and attach as shown on the branches and the flying bird to the background, which gives dimension when the card is opened.  

 Use the ModaScrap Christmas Time Card stock to cut two narrow strips of stripped paper to go along the top and bottom of the shadow box window.

Attach the shadow box to the inside of the card.  Remove the covering on the Clear  Double Sided Adhesive on the left side and attach to the cover which was created at the beginning of this tutorial.  To attach the right side, you might want to make a light pencil mark 3/4 inches from the right side of the card back for placement of the right side of the shadow box.  The shadow box should fit perfectly square when the front cover of the card is pulled back so the front is level.  

Glue the back of the inside panel (the one with the snow, one tree and flying bird) behind the shadow box frame.  Slide down inside the shadow box frame.  It is easier to use glue to attach this so you can slide it around to fit perfectly behind the frame.  To make sure it is pressed down, use a ruler to press it down.


The depth of the shadow box is 1/2 inch.  Because it is attached 3/4 inch from the right side of the cover, it will fold down flat for mailing.

To decorate the edges of the stripped pieces at the top and along the right side of the shadow box, add Gold Peel Off Line Stickers.

The front of this card is dimensional.  It will fit nicely in one of the clear acrylic boxes which is linked below.


Tuesday, October 2, 2018

Dec 25


This was a fun card to design.  I love to go through my die sets and create a card using a variety of different die sets.

Start with a 6-inch square card.  

Use a narrow strip of the stripped design paper from the ModaScrap- It's Christmas paper pack to fit along the left side of the card.  Use Gold Line Peel Off Stickers to go along each side of this piece.

Cut a piece of white card stock to fit the front of the card measuring from the side of the stripped strip and full height of the card front.  Score around the edges and attach to the card.

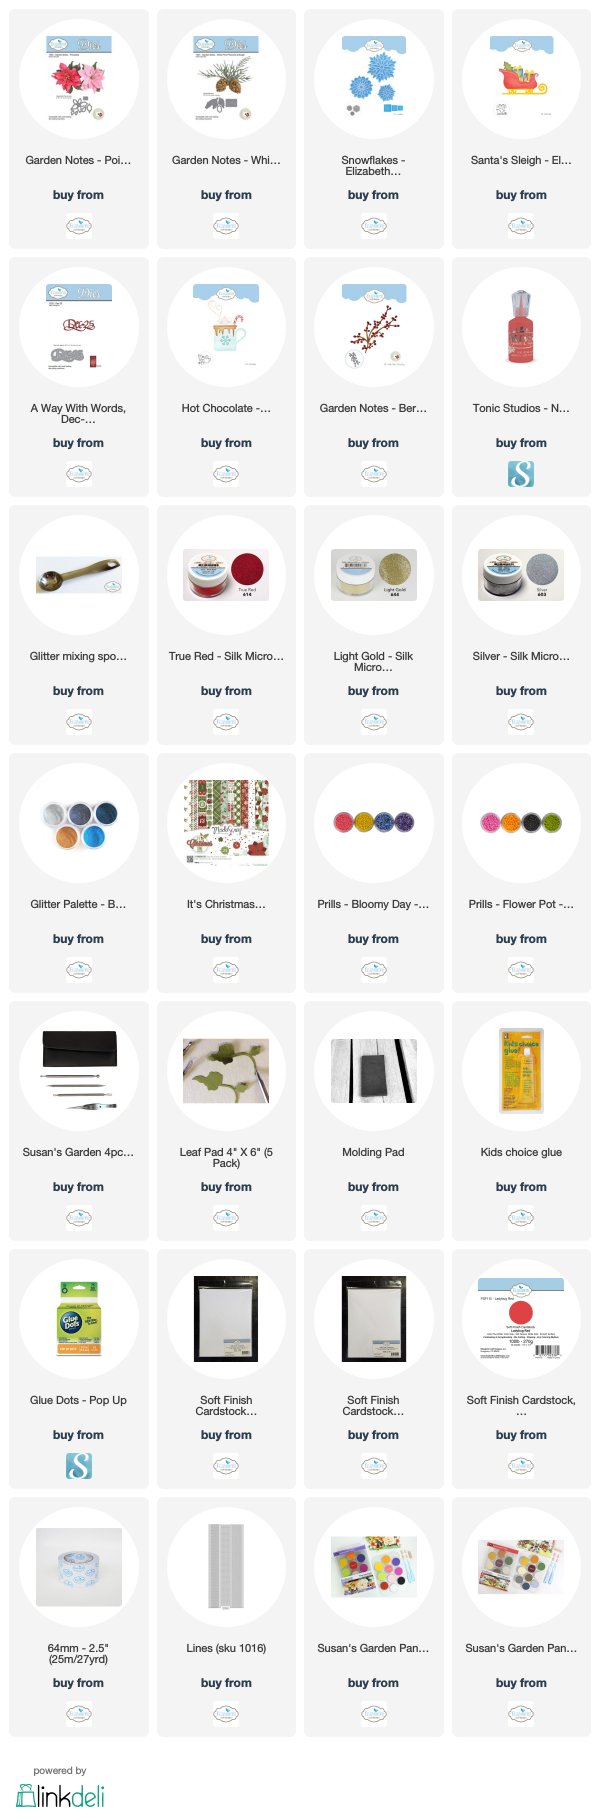
Use the new Joset Designs Snowflake die set and die cut two snowflakes.  Use a piece of white card stock that has Clear Double Sided Adhesive on top.  Once die cut, peel off the adhesive covering and sprinkle on Silver Silk Microfine Glitter.  Rub with your fingers to bring out the shine.  Attach to the front of the card, as shown.

Use the A Way With Words-Dec 25 die set and die cut one gold metallic sentiment.  Attach to the upper right corner of the card.

Use the Garden Notes Poinsettia and die cut pieces to create one red poinsettia.  Shape the petals with the flower tool kit.  Create the center of the flower using yellow and green Prills.

Use the Garden Notes Berry Spray and die cut one spray.  Use red Nuvo Crystal Drops for the berries.  Allow the berries to dry.  Cut the spray into small branches.

Use the Garden Notes Whitepine Bough & Pine Cone die set and die cut 5 boughs, using green card stock.  Arrange the pine boughs, berry spray and poinsettia between the two glittered snowflakes.

Use Joset Designs Hot Chocolate die set and die cut one candy cane, using red and white card stock.  Insert behind the poinsettia as shown.

Use the Reindeer die set and die cut one reindeer.  Sponge on color and attach behind the poinsettia using dimensional tape.

Use Joset Designs  Santa Sleigh to die cut three sleighs.  Use white card stock with Clear Double Sided Adhesive on top so you can add glitter.  With Scissors, cut off the bottom of the sleigh and the top edge of the sleigh.  Add gold Silk Microfine Glitter to these two pieces.  Add Red Silk Microfine Glitter to the body of the sleigh.  Attach the glitter pieces to another die cut sleigh.  Add to the bottom of the card.

This is the front of a Shadow Box card.  I will post the Shadow Box in a separate post.


Monday, October 1, 2018

Ho Ho Ho


Suzanne Cannon has a new A Way With Words release at Elizabeth Craft Designs that I am sure you will want to add to your collection for creating your Christmas cards.  Today I used her new Flourished Christmas Minis die set.  

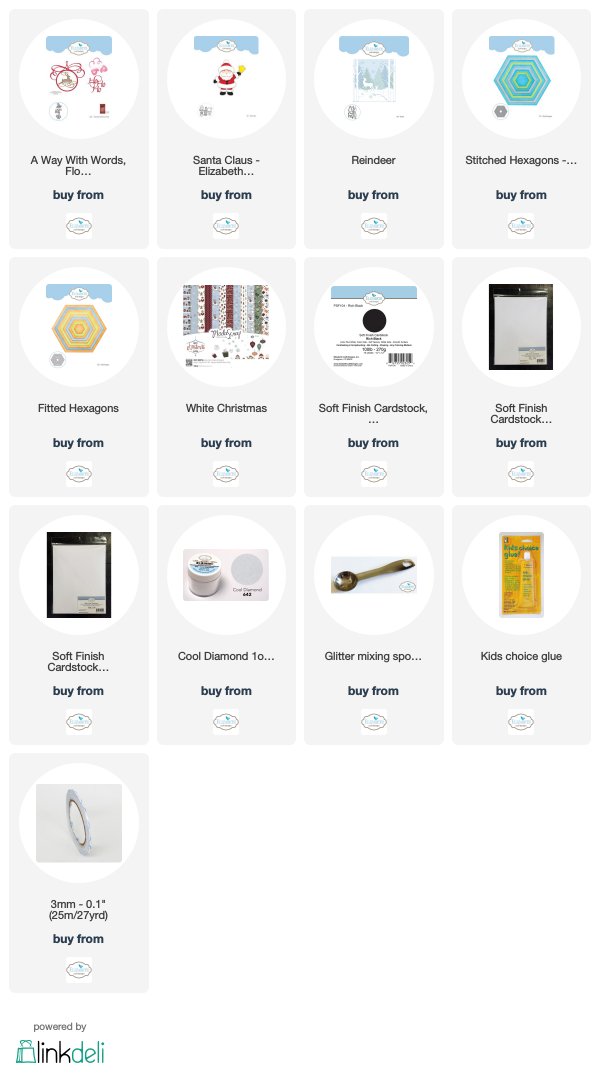
Use a 6-inch square card.  Cut a piece of the ModaScrap White Christmas design paper, 5 3/4 inches square, and attach to the front of the card.

Use the Stitched and Fitted Hexagon die sets and die cut a white hexagon frame.  To create the frame, tape the smaller Fitted Hexagon inside the Stitched Hexagon and run through your die cutting machine.  Save the solid hexagon for another project. Use the Stitched Hexagon die and die cut a piece of white vellum.  Attach the vellum to the back of the hexagon frame, using 3mm clear double sided adhesive.  Add more  3mm clear double sided adhesive on the back of the vellum and attach to the front of the card, as shown.

Use the A Way With Words Flourished Christmas Minis die set and die cut the Ho Ho Ho. Attach this die cut in the center of the hexagon frame, as shown.  

Use the Reindeer die set and die cut the snowflakes twice, using white card stock.  Glue the snowflakes around the sentiment.

Use the Reindeer die set and die cut two snow banks.  Attach the die cut pieces together to create a snowy base for the bottom of the card.  Add a thin layer of glue across the top edges of the snow and sprinkle on Cool Diamond Silk Microfine glitter.  

Use the Joset Designs Santa Clause die set and create one Santa.  Attach Santa with Double Sided Foam Tape.  Place Santa so his hand is at the edge of the bottom 'Ho' in the sentiment.


Astrantia


Susan's Garden Notes has a fabulous new release now available.  Good Morning, today  I have a card designed using two of the new die sets, Astrantia and Trevi Urn, along with a pair of of previously-released favorites, Maidenhair Fern and Primrose.

Step 1.  Use a 12x6 inch piece of white card stock.  Score across the middle and create a 6-inch square card.

Step 2.  Cover the front of the card with a piece of the ModaScrap Christmas Holidays card stock.   Use Susan's Little Words That Mean A Lot stamp set for the sentiment in the upper right corner.   Using a ruler, draw two parallel lines across the bottom, approximately an inch from the bottom, using a thin line black marker.

Step 3.  Use the new Garden Notes Trevi Urn die set and die cut two urns, using white Soft Finish Cardstock.  On one of the urns, sponge tan and brown inks on the urn.  Use a thin line brown pen to draw in the designs on the urn.  The die cut has scored lines to make this easy.  Attach the two die cut urns together, for dimension.  Attach the bottom of the card.

Step 4.  Use the Maidenhair fern die set and die cut 4 ferns.  If using white card stock, sponge the ferns with green ink.  Shape the leaves, using the Flower Tool Kit.

Step 5.  Use the Garden Notes Astrantia die set and die cut three flowers.  Color the petals light pink.  Color the base of the petals using a bright pink ink or PanPastel.  Color the tips of each petal using a light gray marker.  Shape the flowers using Susan's Flower Tool Kit and assemble using the Kids Choice Glue.   Use two stamen pieces for each flower, for fullness.  Die cut the tiny white flowers that are attached to the tips of the stamen pieces.  Press the flowers down into the shaping mat using a gray thin line marker.  Attach the tiny flowers to the tips of the stamens.   Die cut the leaves and shape with the Flower Tool Kit.

Step 6.  Use the Garden Notes Primrose die set and create three flowers. Use the lime green PanPastel to lightly color the base of the petals.  Assemble using the Flower Tool Kit and Kids Choice Glue.

Step 7.  Arrange the Maidenhair Fern, Astrantia, and Primrose in the Trevi Urn.

This card can be mailed in one of the clear acrylic boxes from Elizabeth Craft Designs.

Links to the products are listed below.


LinkWithin

Related Posts with Thumbnails