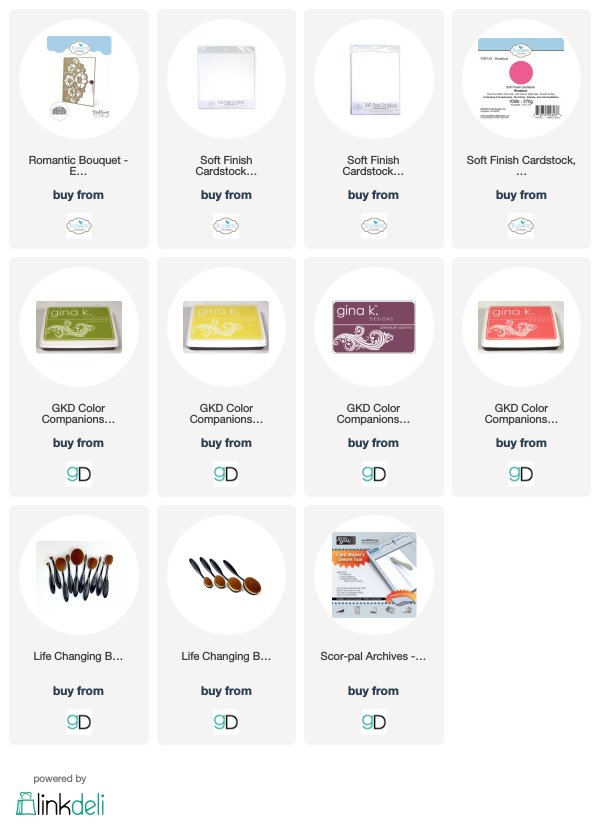
Today I designed a non-dimensional floral card, using the ModaScrap Romantic Bouquet die, from Elizabeth Craft Designs.
This is a 6-inch card. Use a piece of 12-inch white Soft Finish card stock cut 6x12 inches. Score and crease across the middle to create a 6-inch card.
Cut a piece of white Soft Finish card stock 6-inches square. Use the ModaScrap Romantic Bouquet die and die cut the design at the top. Use the Score-Pal and score a line 1/8 inch from the edge, all the way around this square.
Use the Romantic Bouquet die and die cut the design into a piece of scrap card stock. This will be used for a stencil. I did not do it, but it will make it easier if you line the top edge of the die up with the top edge of the scrap cardstock. (The above piece shows the stencil I cut after I used ink to color in the design.) Cut a piece of white glossy card stock 6-inches square. Glossy card stock will give a pretty shiny effect under the white Soft Finish cardstock. Tape the die cut stencil to the top of glossy card stock, using removable tape so you can sponge on color.
Use the Life Saving Brushes (linked below), or sponges, to color in the die cut flowers and leaves. I used GinaK Designs Dusty Rose and Plum Punch ink for the flowers, and Jelly Bean Green ink for the leaves. I love using the Life Saving Brushes because they come in a variety of sizes and make it easy to add color, and blend colors, to any size area. They are very easy to clean and will not wear out like sponge daubers do.
Attach the 6x6 inch piece of card stock that was die cut with the Romantic Bouquet die on top of the glossy card stock. This is the overlay for the sponged design. Align the two pieces together. If the outside edges are off a little, just trim with scissors. Attach this piece to the front of the card. Use Lemon Drop ink and lightly sponge color on the center of the flower overlay, as shown. Use a Wink Of Stella Clear Glitter Marker to add shine to the yellow centers.
Use a border embossing folder to emboss the design for the bottom of the card. I pulled an embossing folder out of my stash and do not know which company it is from. Line the border with a piece of Elizabeth Craft Designs Rosebud Soft Finish Cardstock. Attach to the bottom of the card. White pearls were added across this border and a few added around the Romantic Bouquet.
A piece of the Rosebud Soft Finish Cardstock was cut slightly larger than the card and attach to the back.


3 comments:
Beautiful as always my friend!
What a beautiful card.
Hugs from Eva in Sweden
You always make such elegant cards. Thanks for sharing with us.
Post a Comment