Today I have a card I sent to one of my granddaughters for her 21st birthday.
1. Start with a 6 inch card.
2. Cut a piece of white card stock slightly smaller for the front of the card. Score around the edges using a ScoreBoard. Attach to the front of the card.
3. The Beaded Circle Frames die set was used to die cut the pink circle that is glued inside the edge of the black circle. Add pink pearls in the small circles around the edge.
4. The largest Fitted Circles die was used to die cut a white circle. Use the second largest Fitted Circles to cut a black circle. Attach the black circle over the white circle.
5. The Garden Notes Peony 2 die set was used to die cut petals for 3 flowers. Each peony was created using about 10 layers of petals. The petals were colored using two shades of PanPastels. The petals were shaped using the Flower Tool Kit.
6. Use the Garden Notes Alstroemeria die set to create two flowers. Color the petals using the bright pink PanPastels. Add pollen to the end of each stamen.
7. Use the Trio of Leaves die set to die cut 2 leaf branches.
8. Use the Small Flowers die set to create the three purple flowers. Shape them with the Flower Tool Kit and add Prills to the center of each.
9. Attach all the flowers and leaves to the left side of the die cut circles.
10. Use the Sentiments 1 - Celebration Stamp and Die sets for the sentiments and attach with dimensional tape.
11. Use the Blackboard Numbers die set and die cut the numbers to represent the birthday year.
12. Use the Dancing Butterfly die set and die cut one butterfly and attach to the upper right corner.
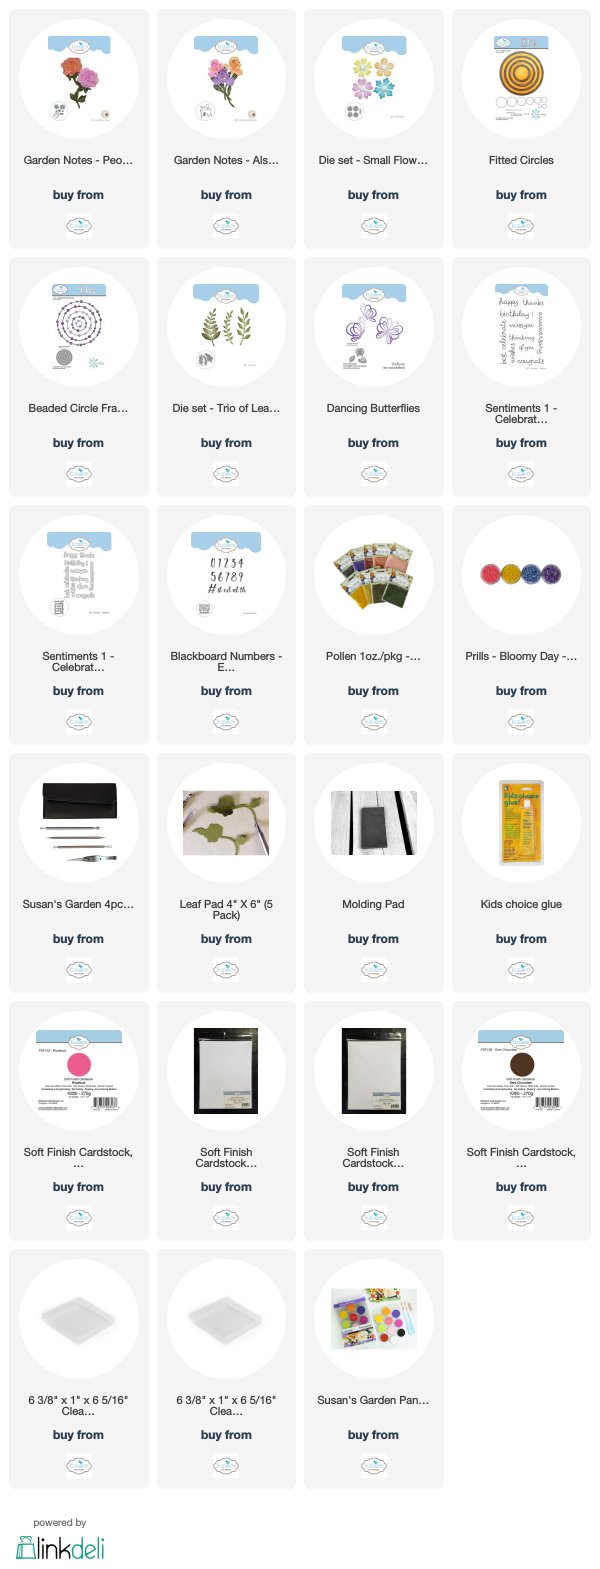
You can shop for the products I used by clicking on the product links below.
Thank you for stopping by today.


1 comment:
I am sure she will always treasure this card. Happy Birthday to her!
Post a Comment