


Begin with a 6-inch square card Cover the front with gold metallic card stock. Add a piece of white card stock cut 5 3/4 inches square. Layer a piece of the ModaScrap Wood Effects design paper on top for the rustic background.
Use the A Way With Words Warm Thoughts die set and die cut the sentiment using gold metallic card stock. Attach to the top of the card, as shown.
Use the A Way With Words Flourish Candle die set and die cut the candle once using gold metallic card stock. Use the same die and die cut the candle, and extra flame and melting wax, using ivory card stock. Color the flame using yellow and orange markers. Add a small amount of Kids Choice glue to the flame with your finger, then sprinkle on Warm Diamond Silk Microfine Glitter. Attach the ivory candle and flame on top of the gold metallic candle. Use a clear glaze and spread over the candle to give it a waxy appearance.
Use the Garden Notes Whitepine Bough & Pine Cone die set to die cut 8 green pine branches.
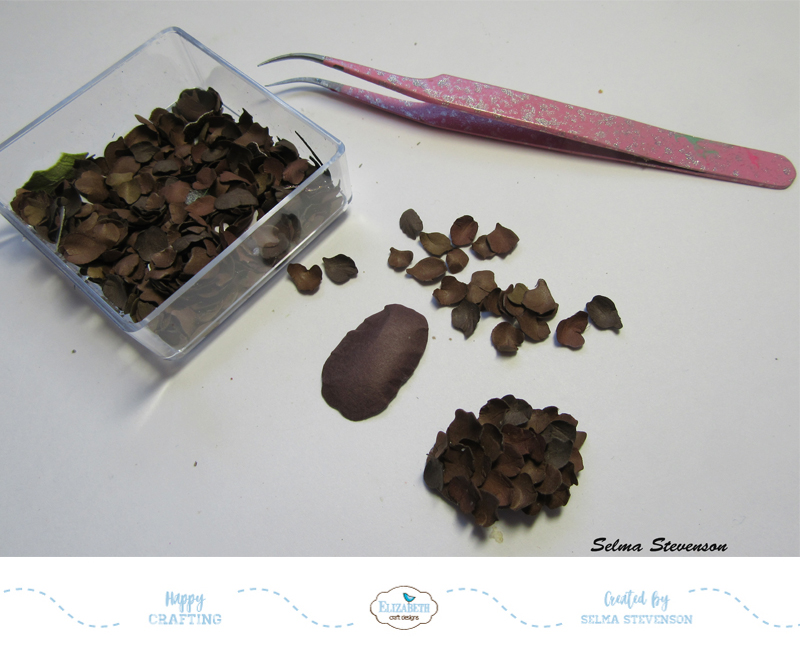
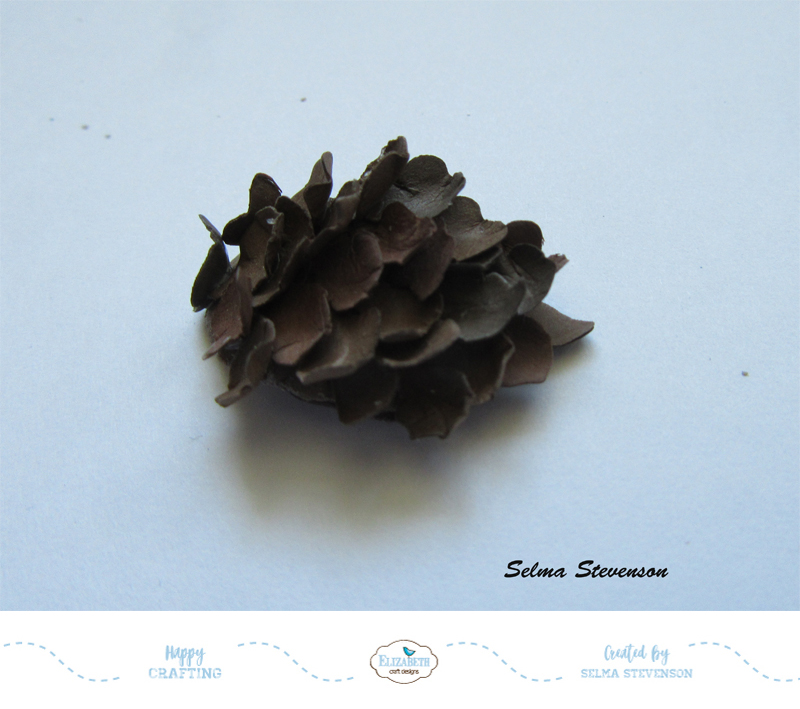
Use the Garden Notes Whitepine Bough & Pine Cone die set to die cut pieces to create two pine cones. Die cut 4 oval pieces and 6 plates of the pine cone petals. To assemble, shape the oval pieces with the large ball stylus. Glue two oval pieces together, adding glue to only the edges of the oval. By using two oval pieces it will help hold the rounded shape of the pine cone.
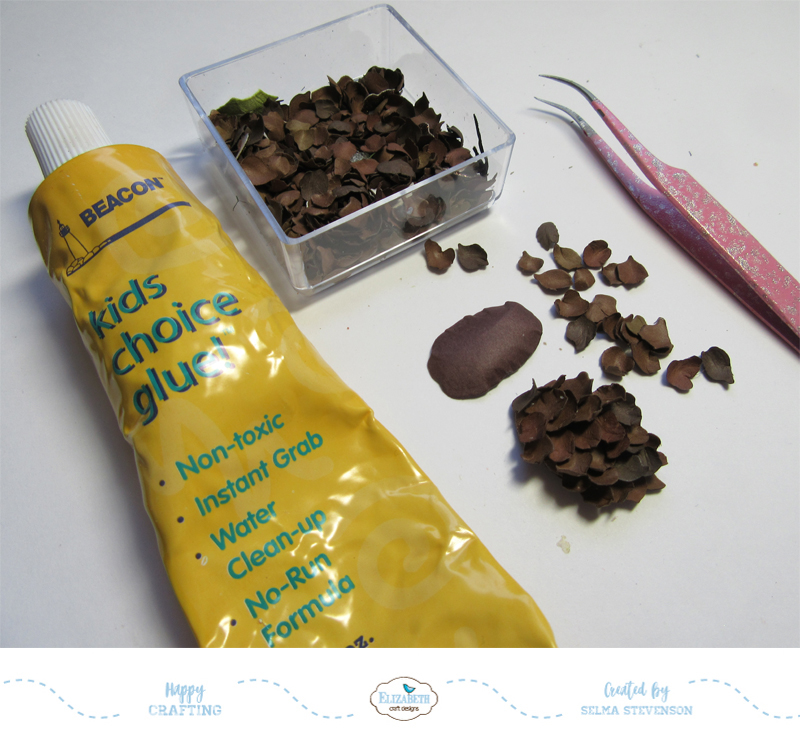
There are two ways you can create the pine cone. Susan shows in her Facebook Susan's Garden Club video to glue the petals on the oval with the cupped side down and you will have a pinecone that hasn't yet opened. She pulls the tips of the petals back once they are glued, for a more open pinecone.
Use the Garden Notes Leafy Berry Branch die set and die cut two branches, using a very light brown card stock. Shape the leaves using the Elizabeth Craft Designs Fine Pointed Tweezers. Place the point of the tweezers on the end of the leaf and pinch up. This will give the leaves dimension. Add red Nuvo Crystal Drops for the berries. Allow to dry before assembling the centerpiece.
Glue four pine boughs on the lower left side of the card and four boughs on the left. Glue the longest branch from the Leafy Berry Branches on each side, over the pine boughs.
Attach the assembled Candle Flourish, with dimensional tape, in the center between the pine boughs and berries.
Use the Garden Notes Poinsettia die set and assemble one white poinsettia. Use the very pale yellow PanPastel from Set #3 to shade the lower half of each petal then use the light yellow green PanPastel from Set #1 to shade over the the light yellow just at the base. Shape the poinsettia using the Flower Tool Kit. Attach the poinsettia at the base of the candle. Use yellow green Nuvo Crystal Drops to make 5 dots in the center of the poinsettia. While the Nuvo Drops are still we, drop in a few yellow Prills.
Add the pine cones on each side of the poinsettia, as shown.
This card will mail nicely in one of the large clear acrylic boxes.


2 comments:
So pretty. You are very special to make these beauties!
My name is Mrs Aisha Usman, am a Citizen Of Singapore. Have you been looking for a loan? Do you need an urgent personal loan or business loan?contact Dr. Mark Thomas FOIRM Ronnie Finance Ltd he help me with a loan of $85,000 some days ago after been scammed of $8,000 from a woman claiming to been a loan lender but i thank God today that i got my loan worth $85,000.Feel free to contact the company for a genuine financial service. Email: markthomasfinanceltd@gmail.com
Whats-App no +919667837169
Dr. Mark Thomas
LOAN APPLICATION DETAILS
Name:…………
Address…………
Loan Amount:……
Loan duration…
Monthly income…………
Nationality……
Country………
Occupation......
State…………
Zip/Code………
Gender…………
Age…………
Marital Status……………
Telephone………………
FORM Ronnie Finance Ltd
Dr. Mark Thomas
Post a Comment