Christmas is not far away. Have you started creating your Christmas cards? I have a card designed using the Reindeer & Birds Clear Stamp Set from Elizabeth Craft Designs.
Create a card measuring 6 inches high x 6 1/2 inches wide.
Use a piece of design paper from the 12x12 Let It Snow design paper pad. Cut a 6 1/4 x 5 3/4 inch piece and attach to the front of the card.
Cut a piece of White Soft Finish Cardstock 6 1/4 x 3 1/2 inches and score around the edges using a scoring board. Attach to the front of the bottom of the design paper leaving a small border (approx 1/4 inch) of the design paper showing at the bottom.
TIP: Before the next step I would like to how you a time saving tip when you need card stock that has Clear Doubled Sided Adhesive on one side. Prepare in advance. Use the 6-inch wide (152mm) Clear Double Sided Adhesive Roll and a sheet of 6 x 11 inch piece of white card stock . Cover one side of the card stock with the adhesive - pull out a length of the adhesive and lay down the card stock aligning the sides. You can prepare a lot of these pieces and store them in a drawer for future use. You can die cut images with the adhesive on the back for quick and easy placement, or die cut with the adhesive side up to apply glitter, etc.
Use the Reindeer & Birds stamp set and stamp and color the pieces shown. Use the matching die set to die cut the pieces. Arrange die cut pieces as shown, being sure to leave room to stamp the sentiment.
Use black VersaFine ink to stamp the sentiment from the Winter Sentiments clear stamp set.
Use the A Way With Words - Merry Christmas 2 die set to die cut Christmas. Use a piece of black cardstock with Clear Double Sided Adhesive on the back. Attach Christmas centered at the top of the card.
For an extra little embellishment, stamp, color and die cut the star from the Snowman & Gifts clear stamp set. Attach at the end of the Christmas die cut.
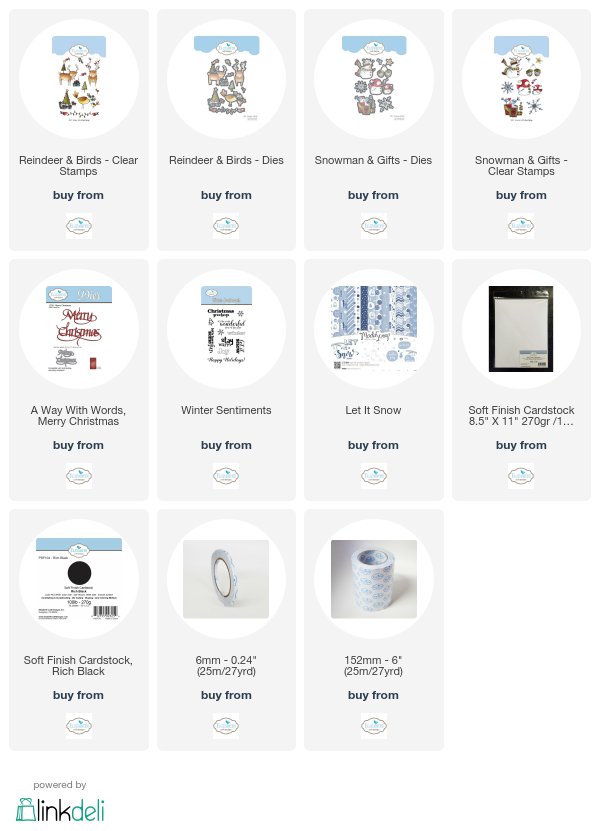
Below are the links to the Elizabeth Craft Designs products used.


No comments:
Post a Comment