Showing posts with label Susan's Garden Club Spellbinders. Show all posts

Friday, November 17, 2023

Slimline Christmas Card


Good Morning,

I am still working on a few more Christmas cards.  Today I have a slimline card created using a Spellbinders Christmas border die set and Susan's Garden Poinsettia.

Using the Spellbinders Christmas Strip & Borders die set, a variety of dies in this set were used to create the pretty border. This die set originally sold for $40 and is on sale right now at Spellbinders for $10.  I have it linked below.   The borders were die cut using white card stock and layered over red cardstock.  Some red flat-back pearls were added to the berries on the border and a yellow rhinestone added to the center of the die cut poinsettia in the design.

Susan's new Hemlock & Chickadee die set was used to die the hemlock branches.  They were die cut using watercolor paper, colored with OLO markers and shaped using tools in Susan's Flower Tool Kit.

Susan's Poinsettia die set was used to create the poinsettia.  Sorry but I couldn't find this die set to link.  The poinsettia and leaves were die cut using Susan's Specialty Cardstock, colored using OLO markers and shaped using her Flower Tool Kit.  I used Beacon Kids Glue to assemble.  In the center I used small Styrofoam balls colored yellow green and on top added a red Prill.  A tiny bit of yellow pollen was added.

I used Susan's new Snow Garden Sentiment set to red foil the Merry Christmas and die cut it using the matching die in this set.  It was attached using dimensional tape.    

For additional embellishment, I added a few tiny rhinestones around the border and additional red flat pearls.  Along the top, I added a narrow strip of red mirror cardstock. 

This card can be mailed in a slimline acrylic box purchased from clearbags.com.

If the links aren't showing below, click on this post title (Slimline Christmas Card) right above the picture of the card.


Wednesday, November 1, 2023

Black-Eyed Susan Shadow Box


Good Morning,

Today I have a 5x7 inch Shadow Box Card.  For instructions for this style card, I followed instructions on Jennifer McGuires YouTube Video - Shadow Box Cards.  On both the top and bottom edges, I used the Score Board to add three score lines. On the inside of the card, I used the Spellbinders Leafy 3-D embossing folder to emboss a 5x7 inch piece of white cardstock.  This shadow box does fold down flat.  

Using Susan's new Black Eyed Susan Die Set, the three flowers were created.  They were die cut using Susan's Specialty Cardstock, colored with OLO Markers.  For the center I used a half pearl bead and glued pollen over the top.  You could cut a Styrofoam ball in half and do the same thing.  Our neighbor has a yard full of these flowers and I was trying to duplicate them.

Susan's Autumn Foliage die set was used for the Acacia leafy branch.  They were did cut using watercolor paper, colored and shaped using the tools in Susan's Flower Tool Kit.  Red Styrofoam berries were added.  

On the outside of the shadowbox, I used the Autumn Foliage die set and die cut the maple leaves.  Ranger Mica Stain was used to color the leaves.  

On of Susan's stamps was used for the Sentiment.  It was die cut using a rectangle die.  A slightly larger rectangle was also die cut and the sentiment added in the center with dimensional tape.  One leaf was added behind the smaller rectangle on the upper right corner.


Saturday, October 21, 2023

Pink Asters


Hello,

Today I decided to go through some of my older Spellbinders die sets to come up with a background for today's card.  I used the Romantic Rectangles and Shapabilities Floral Oval die sets.  

For the pretty flowers, I used Susan's new Aster and Autumn Foliage die sets from her new Birds & Bees Garden Release.  

The Asters were die cut using Susan's Specialty Cardstock and colored using OLO markers.  They were shaped using the tools in Susan's Flower Tool Kit.  To give the aster petals shape, they were lightly misted with water on the back then each petal was pinched around the tip of the tweezers.  Prills were added to the center once each flower was completed.  

For additional foliage, the leafy branch (acacia) in the Autumn Foliage die set was die cut using water color paper, colored and shaped then tucked behind the arrangement.

For the sentiment, I used one of the Spellbinder's BetterPress Sentiments.

It was fun going through all my older Spellbinders sets to come up with a different background for these pretty asters.

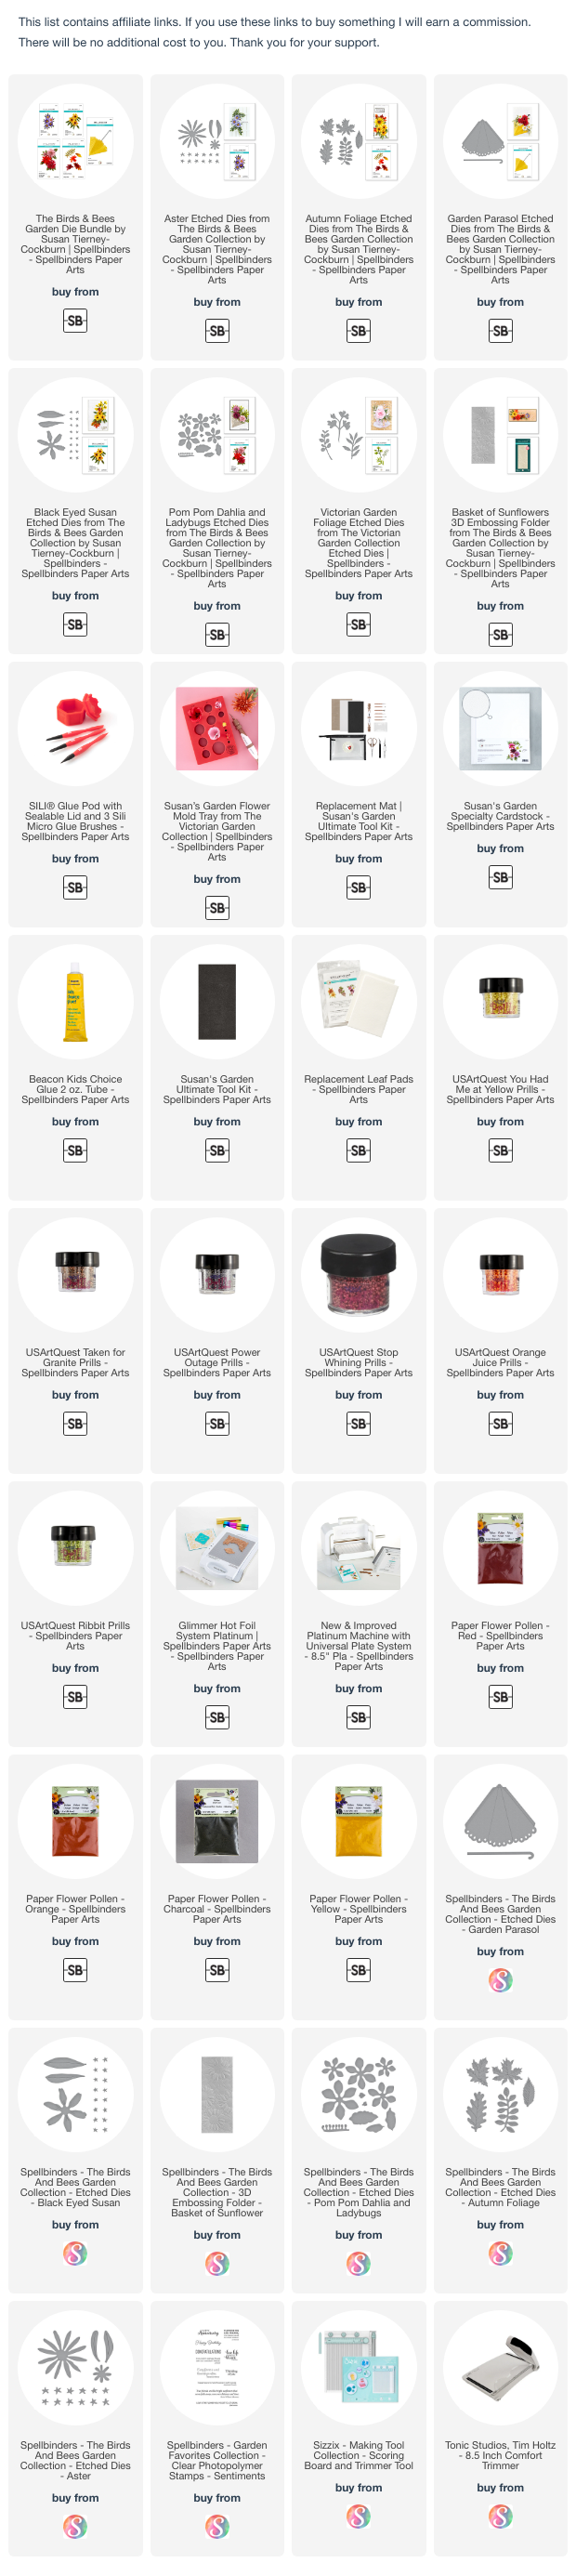
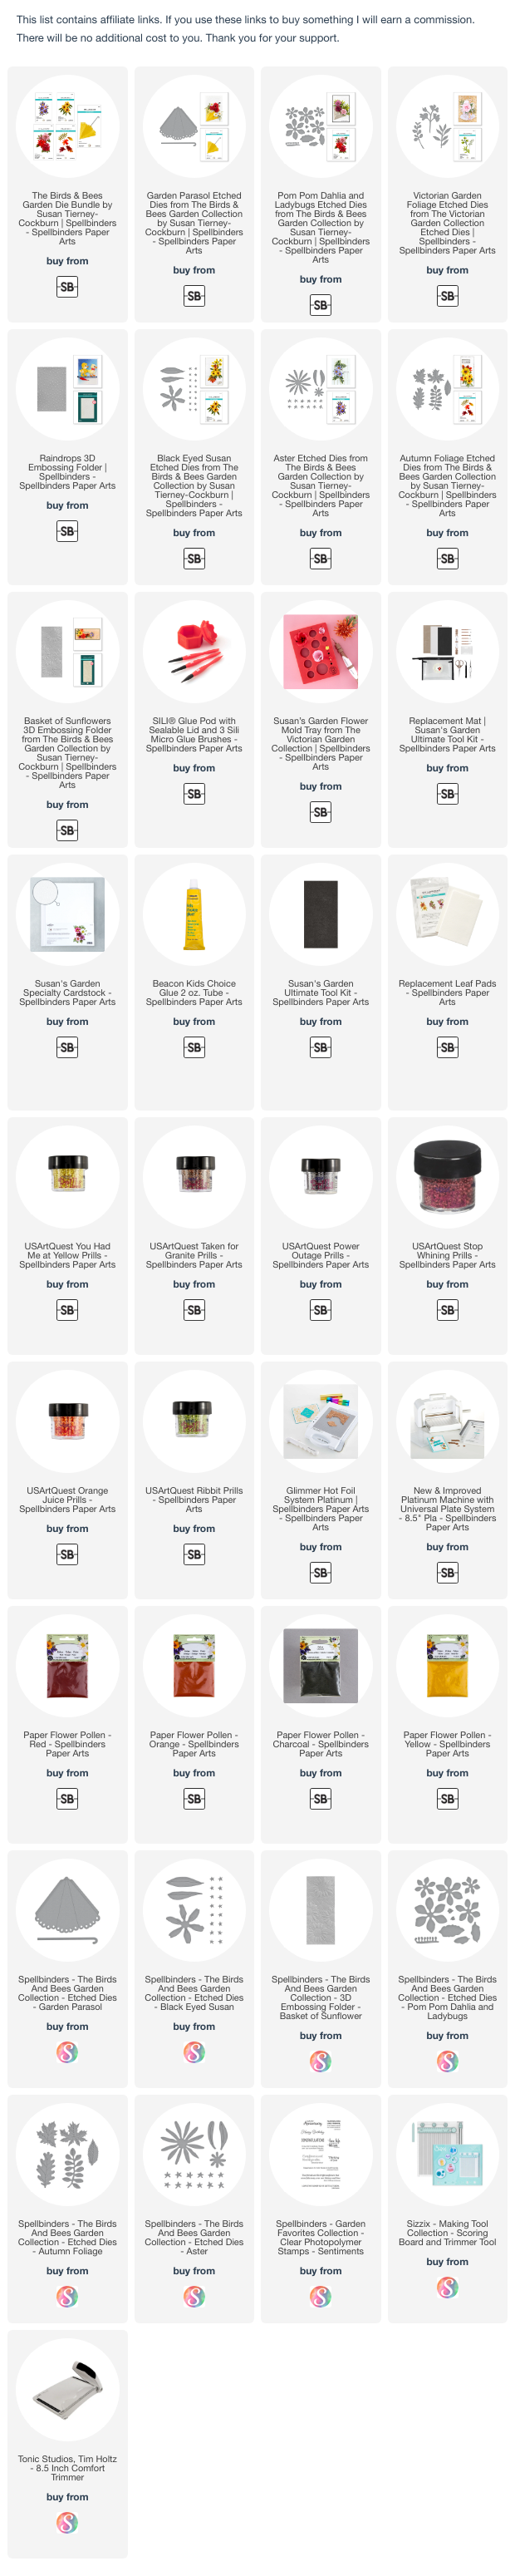
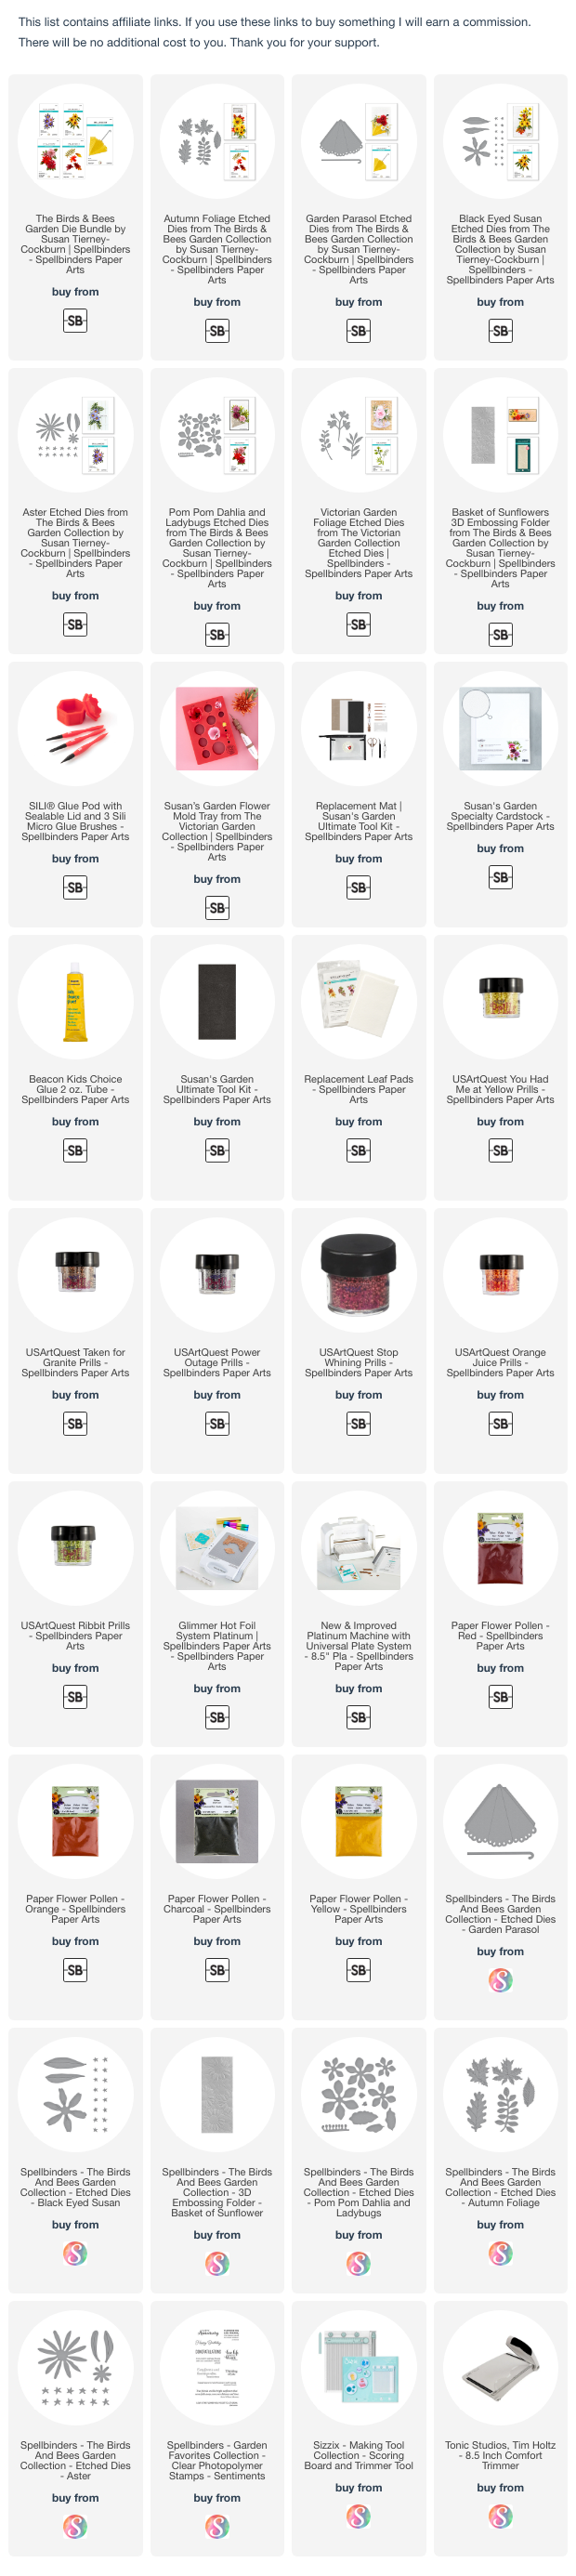
I have links below for Susan's new Birds & Bees Garden Release.

Thanks for visiting my blog.


Thursday, October 19, 2023

Garden Parasol with Pom Pom Dahlias


Hello Paper Crafters,

Today I have a card designed with Susan's new Parasol and Pom Pom Dahlias.  These die sets are in her new Birds & Bees Garden Release from Spellbinders.

I used the Spellbinders Raindrops 3-D embossing folder for the background.  

The Parasol was die cut using a piece of design paper from my stash. The handle and tip at top of parasol were die cut using mat silver metallic cardstock.   It was created just like Susan's shows us in her YouTube Video.   It has a small brace inside the parasol to help it from collasping when flowers are added.

The Pom Pom Dahlia die set was used to create all the flowers.  They were die cut using Susan's Specialty Cardstock then colored with markers. The flowers and leaves were shaped using the tools in Susan's Flower Tool Kit and assembled using Beacon Kids Choice Glue.   I used dimensional Pop-up glue dots to attach them.  

For the additional foliage I used Susan's Autumn Foliage die set.  The lemon verbena was die cut using watercolor paper, colored and shaped.  Purple berries were added plus one little lady bug.  Susan has included her little lady bug in many different die sets. 

I have included links below for Susan's new Birds & Bees Garden Release plus other products used.  Thank you for visiting my blog.   

Thursday, October 5, 2023

Tutorial for Creating Berries


Hello Paper Crafters,

There have been a lot of questions on how to create berries for our floral arrangements created with Susan's Garden die sets.  Below I have prepared a tutorial for you so you can add these realistic berries to your creations.


The berries are made with small Styrofoam balls.  Above is a picture of the package of balls that Susan and I both use.  These can be purchased from Michael's Craft Store and are $2.99 a package. Michaels has a coupon for 20% off.  All the balls in this package are of uniform size and perfect for creating berries.  There are many other packages of Styrofoam balls from different craft stores and Amazon, however they seldom are a uniform size.


To color the balls, place them in a medium size zip lock bag.  Use any alcohol ink to color them.  Squirt in some ink, close bag and roll the balls around in the ink until they are all colored.  If you want them darker, open the bag and add more ink and roll them around again.  Sometimes to get the color you want, you might need to mix colors of ink.  When you roll them around inside the bag, be sure to try and get all the 'puddles' of ink that might be stuck to the inside of the bag rolled onto the balls.  You don't want to waste any ink coloring the bag.  The inside of the bag will be colored - just don't leave any puddles of ink on the bag.  The alcohol inks I have on hand are Copic Refills and Ranger Alcohol inks.


Once the balls are all covered in ink, scrape them out onto a coated paper plate.  Try to spread them out so they can dry.  If some stick together, they will come apart when dry.


To store your berries, you can put them in small zip lock bags, or in small plastic jars.  You can get cheap jars and bags from the Dollar Store.  


Use one of the Berry Branches from Susan's Foliage die sets to glue the berries on.  I like to add a drop of glue on the branch and place the ball into the glue.  You can also hold the ball with tweezers and dip the bottom in glue then place on the branch.  If you want a cluster of berries, let the bottom row dry then dip a ball in glue and place on top of the dry berries to create a cluster.  I use a black, gray or brown fine tip pen to press down on the end of the berries, once they are all dry.    I die cut the branch out of watercolor paper and color them either green or brown, depending on the arrangement it will be added to.


For my card above, I used Susan's new Birds & Bees Autumn Foliage Die set.  All the leaves were die cut using water color paper and colored using a variety of  inks to color.  They were shaped using her Flower Tool Kit.  The design on the background is the Spellbinders Diamonetta Background Glimmer Plate.  I used red foil.  The sentiment is one of the Spellbinders BetterPress Sentiments.  


LinkWithin

Related Posts with Thumbnails