Showing posts with label Design Team Project. Show all posts

Tuesday, August 15, 2017

Design Team Challenge - Gift Box


The Elizabeth Craft Designs design team has a fun challenge this month.  We are challenged to create a gift giving project.    I love to decorate boxes and give them away with either a small gift or maybe a set of greeting cards inside.  Today I have a small wood cigar box that I decorated.  You can see all the projects the team designed at this LINK.

Before I explain how I decorated this box, I want to tell you how to enter for a chance to win a prize from Elizabeth Craft Designs.

*****************

For today's challenge Elizabeth Craft Designs is giving away a $20 Gift Card to use on the Elizabeth Craft Designs website to 3 winners. 


To enter simply leave a comment on the Elizabeth Craft Designs Challenge post and tell us "What are some homemade and crafty gifts you have created over the years?


Elizabeth Craft Designs will select 3 lucky winners in a random drawing 


The winners will be announced on Friday, August 18 on the Elizabeth Craft Designs blog.

*************************


Here are instructions on how I decorated this box:

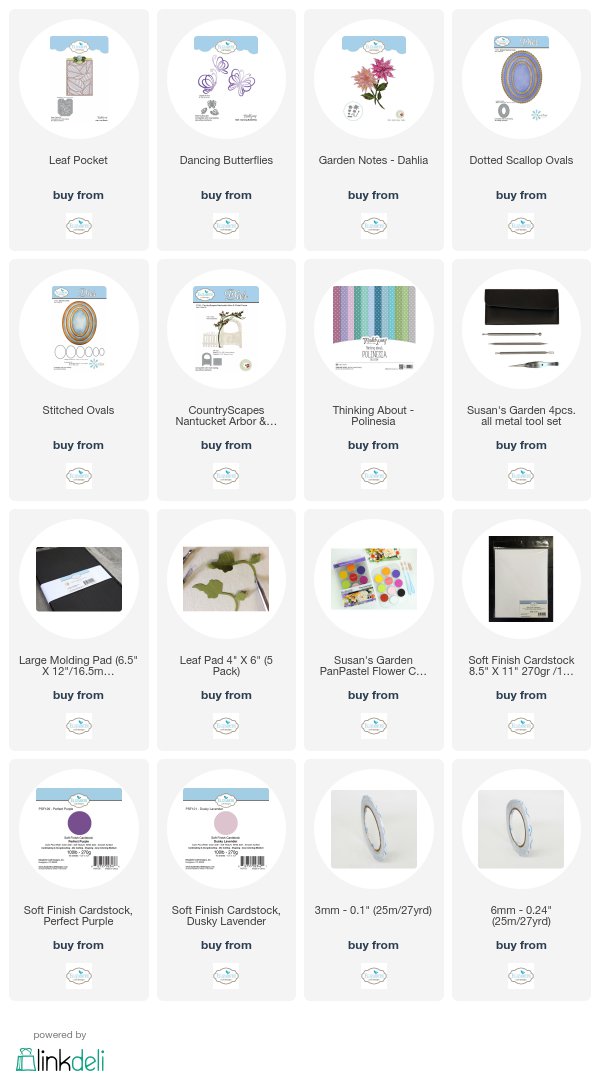
1.  Use ModaScrap Polinesia lavender polka dot design paper to cover the sides of the box.  I used scrapes of white card stock to cut templates to exactly fit each side before cutting the design paper.  Use  6mm Clear Double Sided Adhesive strips to attach to the sides of the box.  Cover all four sides.
2.  Use a piece of Dusky Lavender card stock to cover the top of the lid of the box.
3.  Use the CountryScapes  Nantucket Arbor and Picket Fence die set to die cut enough fence pieces to fit around the box.  Glue pieces to sides of box as shown.
4.  Use the Leaf Pocket die set to die cut one white leafy pocket.  Use  3mm Clear Double Sided Adhesive strips around outside edges of die cut and attach to lower portion of lid.  Attach this pocket with the half circle on the end toward the top of the box.  (It will be covered up with the die cut ovals.


5.  Use the Dotted Scallop Ovals and Fitted Ovals to die cut the lavender frame for the butterfly.  Use double sided mounting tape behind both ovals for dimension.  Attach the ovals centered at the top of the Leaf Pocket die cut.
6.  Use the Dancing Butterfly die set and die cut the butterfly using Soft Finish White Cardstock.  Attach it to the center of the die cut Oval Frame.  Add lavender rhinestones to the body and below the butterfly.
7.  Use Susan's Garden Notes Dahlia die set and create one lavender dahlia.  Attach it to the lower left edge of the lid.
8.  Add round lavender rhinestones across the top edge of the lid.  


9.  Measure the inside of the box, cut templates, then cut lavender pieces to line the inside of the box.

Covering any box and decorating with pretty die cuts always makes a treasured gift.

Links to the products used are below.


Monday, July 24, 2017

Baby Card


Good Morning.  Today I designed a cute baby card using the Krista Schneider Zoo Babies Clear Stamp Set and the matching dies.  Here is how the card was created.
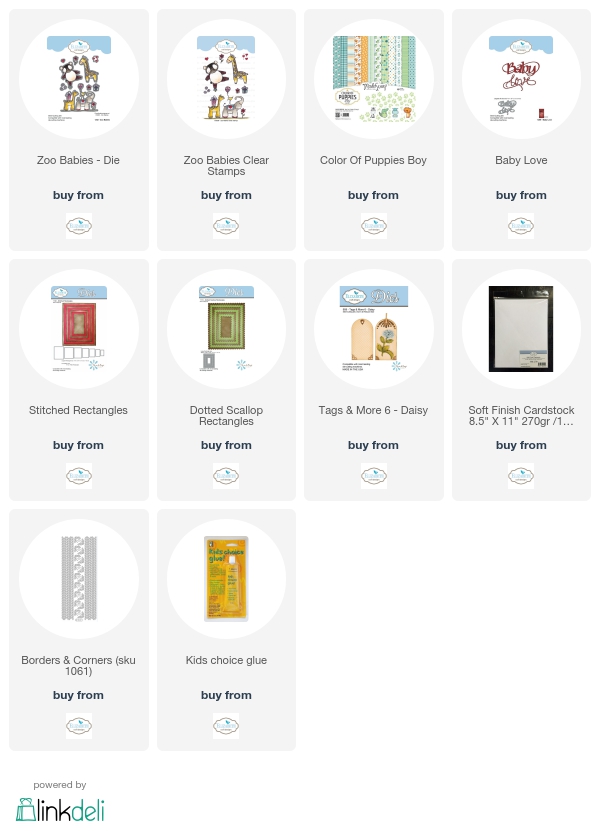
  1.  Create a six inch square card and add the design paper from the new ModaScrap Color of Puppies Boy design paper pad to the front.
  2. Use  silver Borders and Corners Peel Off Stickers to add a border around the outside edges of the design paper.
  3. Use the Zoo Babies Clear Stamp Set and stamp the design used on this card using VersaFine Black Ink.  Color the images with markers of your choice.  Die cut with the matching die.
  4. Use the Dotted Scallop Rectangles die set and die cut one small rectangle, using White Soft Finish Cardstock.
  5. Use the Stitched Rectangle die set and die cut the rectangle that is slightly larger, using White Soft Finish Cardstock.
  6. Use the Tags & More 6 - Daisy die set and die cut one small tag.  You only need the top portion of this tag because only the top portion will be used to go behind the balloon on the stamped image.
  7. Glue the stamped image on the small Dotted Scallop Rectangle, with the balloon above the top edge.  Attach this rectangle to the slightly larger Stitched Rectangle, using dimensional tape.  Add two silver Peel Off Corners to the top corners of the Dotted Scalloped Rectangle.
  8. Glue the tag, with only the die cut design showing, to the back of the Rectangle, as shown.  Attach this on lower portion of the card.
  9. Use the A Way With Words Baby Love die set and die cut Baby using White Soft Finish Cardstock.  Attach at an angle on the upper left corner.
The Zoo Babies stamps are so cute for creating baby cards.

The products from Elizabeth Craft Designs are linked below.


Tuesday, July 18, 2017

Technique Friday Challenge Card

Today the Elizabeth Craft Designs Design Team is challenged to creating a card shown on the Technique Friday with Els YouTube Videos.  All the projects completed by the design team for this challenge can be found on the Elizabeth Craft Designs Blog at this LINK.

*********************


For today's challenge Elizabeth Craft Designs is giving away a $20 Gift Card to use on their website to 3 winners. 


To enter  simply leave a comment on the Elizabeth Craft Designs Challenge post and tell us " "What is your favorite technique learned from the Technique Friday With Els series". 

Elizabeth Craft Designs will select 3 lucky winners in a random drawing 


The winners will be announced on Friday, July 21 on the Elizabeth Craft Designs blog.

*******************

When I need a beautiful quick and easy card, I always think about some of the beautiful techniques Els has shown us on her Technique Friday YouTube Videos.  One of my favorite techniques is the Sparkly Flower Lace Card.  These cards are so beautiful and can be used for just about any occasion.

Here is how the card was created:
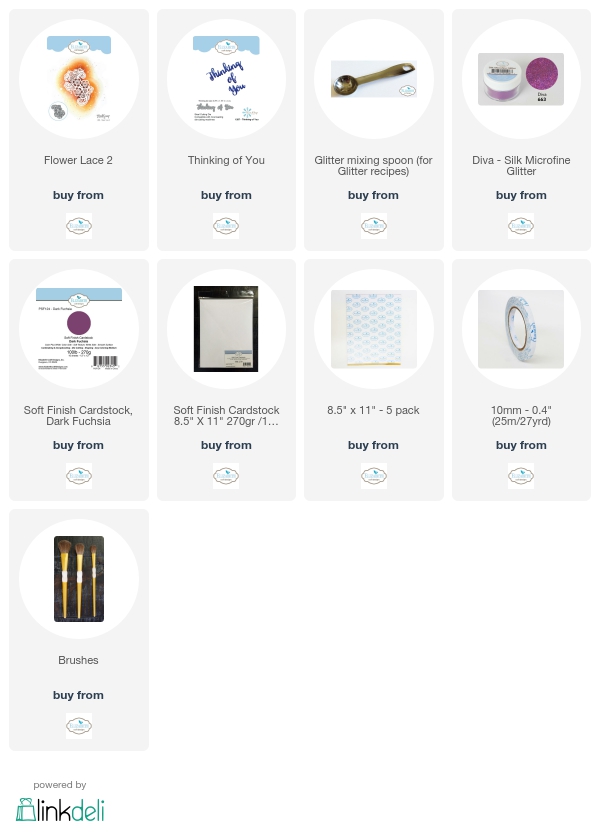
  1.  Create a folded card out of Dark Fuchsia Soft Finish Cardstock measuring 5 1/4 by 6 1/4 inches.  The Soft Finish Cardstock is colored on one side and white on the other, which makes it nice for adding your sentiment to the inside of the card.
  2. Die cut the Flower Lace 2 out of White Soft Finish Cardstock.  
  3. Cut a piece of white cardstock  4 3/4 x 5 3/4 inches.  Cover it with Clear Double Sided Adhesive.  
  4. Peel the release sheet off the  adhesive and attach the Flower Lace 2 die cut, being careful not to touch the adhesive with your fingers.  Use the release sheet to press the die cut down firmly.
  5. Get out your glitter tray so you can add glitter to the adhesive.  Els uses a lid with a Swifter in the bottom.  Also needed is a coffee filter and brush.  These items are shown in Els YouTube Video.
  6. Put the release sheet down on one corner so you can hold it. Holding card over the coffee filter, pour  Diva Silk Microfine Glitter over the card front to cover all the adhesive.  Remove the release sheet and finish adding glitter.  Brush excess glitter off into coffee filter.  Pour loose glitter back into glitter jar.  Polish the glitter, for a shiny finish, with your finger.  Rub the glitter in circles until the whole thing is sparkly.
  7. Add the glittered piece onto a slightly larger white card stock, using strips of 10 mm Clear Double Sided Adhesive.
  8. Use the Thinking of You die set and die cut the sentiment using White Soft Finish Cardstock.
  9. Add the panel to the front of the card.
  10. Before starting, you can watch the YouTube, Technique Friday with Els - Sparkly Flower Lace Card at this LINK.
Be sure to go over to the Elizabeth Craft Designs Blog and leave a comment stating what your favorite Technique Friday with Els YouTube Video is your favorite so you will be eligible to enter the drawing for the $20 Gift Card.  Good Luck.

Products used are linked below.


Wednesday, June 21, 2017

Lilies


Don't you love all the beautiful flowers you can create with Susan's Garden Note flower dies!   There is  a Lily 2 die set in Susan's new release, which I have used to design this card.  These flowers are so easy to die cut and assemble.

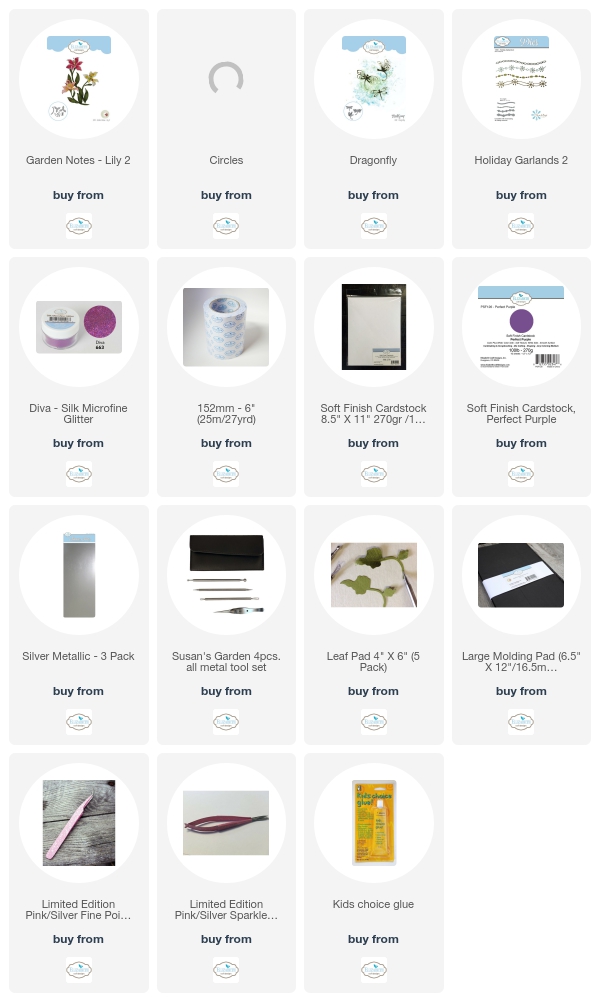
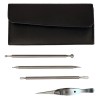
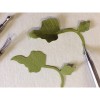
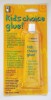
 Create three lily flowers using the Lily 2 die set.  To create a realistic look, use a marker to draw a line down the center of each petal and little short lines on each side.  Shape the flowers with Susan's Flower Tool Kit and glue petals together using the Kids Choice Glue.  Die cut stems and leaves, shape and attach the flowers.  You can add pollen to the ends of each stamen.

Use a 5 1/2 inch piece of Soft Finish White Cardstock for the top of the card.  Use the Circles die set to die cut the image across the center of the card stock, as shown above.  Poke out the center of each circle and discard these pieces.  Use a Scoreboard to score around the outside edges of this piece, for a finished look.  Use the Scoreboard to draw five lines down from the top right corner as shown in picture.

Use another piece of 5 1/2 inch white card stock and attach a piece of Clear Double Sided Adhesive to cover one side.

Attach the negative of the Circles Background over the Adhesive, matching outside edges.

Attach the die cut Circles inside the opening of the negative die cut background. You will now have adhesive inside all the circles.  Try not to touch any of the adhesive with your fingers.   Place the protective sheet from the Adhesive over the die cut Circles and rub hard over the die cut to make sure it is attached well.

Use your glitter tray and Diva Silk Finish Microfine Glitter to cover the adhesive inside the circles die cut.  Be sure to use your fingers to rub over the glitter to bring out the sparkle.

Use the ModaScrap Dragonfly die set to die cut one Dragonfly.  Use a small piece of white card stock that has Clear Double Sided Adhesive on the top so you can add Dive Microfine Glitter to it.

Use the Holidays Garland 2 die set to die cut the border on the bottom of the card.  Use Silver Metallic Shimmer Sheetz that you add a piece of Clear Double Sided Adhesive on the backside.  If you add the Double Sided Adhesive to the back of the Shimmer Sheetz before die cutting, it will be easier to attach the die cut to the card.  Add white flat back pearls in between each of the loops in the border.

Add the Lilies, Dragonfly and Border as shown.

Susan's flower die sets are so easy to create beautiful flowers that will wow anyone who receives your cards.


Wednesday, May 3, 2017

Yellow Roses


Do you like to walk through the rose garden and smell the sweet scent of all the flowers?  I have designed a card today, for my Susan's Garden Design Team blog post, using all three roses die sets in the Susan's Garden Club collection.  Here is how the card was created.

 Start with a 6-inch square card.  Add a piece of design paper, of choice, to the front which has been cut to 5 1/2 inches square.  Outline the design paper with Black Peel Off Line  Stickers.

Use Susan's Garden Rose 1 die set to create one large yellow rose. Shape the petals with Susan's Flower Tool Kit and assemble.

Use Susan's Garden Notes Rose 2 die set and die cut enough petals to create three medium roses.  Shape with the Flower Tool Kit and assemble.

Use Susan' Garden Notes Rose 3 die set to die cut two enough petals for two small roses.  The number of petals you die cut for the roses will depend on how full you want your flower to be.

To create three rosebuds, die cut three of the largest double rose petals using the dies in the Garden Notes Rose 3 die set.  Shape the double petals to cup up and glue them together, forming a bud.

Use all leaf dies from the three Rose die sets to die cut a variety of rose leaves.  (Tip: You can use green card stock for the leaves, but it is also fun to color a piece of white card stock with different shades of green inks.  For the leaves on this card, Peeled Paint Distress Oxide Ink was sponged all over the card stock, sprayed with light mist of water, then dried well with a heat tool.  Once dry, Peeled Paint Distress Ink was sponged over the Oxide Ink, lightly misted, to mix the color, then dried with a heat tool.  The final step was to sponge on Forest Moss Distress Ink, mist with water, and dry again.  The finished look will be a very realistic shaded color, perfect for leaves.  Once the card stock is completely dry, place all the rose leaves dies on the sheet, and die cut as many leaves as you want for your card.)

Use Susan's Brighten The Lives of Others stamp set to stamp the sentiment, using VersaFine Black Ink, onto white card stock.  Die cut the sentiment using the Dotted Scallop Oval die set.

Arrange and attach the roses, with the largest rose in the lower left corner, one each of the Rose 2 flowers on each side, then add the smaller roses.  Glue the rose leaves under the flowers.  Add the three small rose buds at the top of the arrangement adding some of the smallest green leaves over the buds.

Attach the stamped sentiment as shown on the card.  Attach a ribbon on the lower left corner, under the largest rose.

Susan's Rose dies help you create beautiful, realistic roses.  This card would be very pretty to give for Mother's Day.

For Instruction on how to assemble Susan's Roses, you can watch these YouTube Videos:


Wednesday, April 5, 2017

Spring


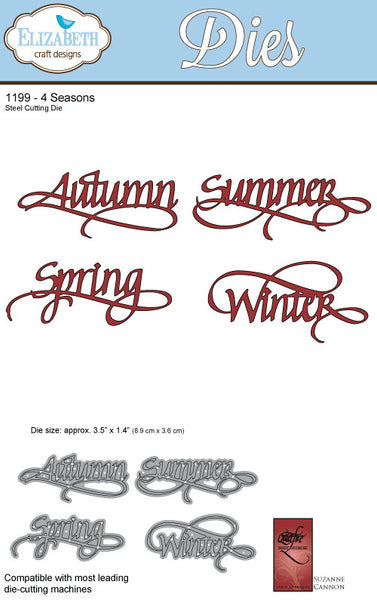
Spring has finally arrived and soon the air will be filled with the wonderful fragrance of lilacs. We can create realistic lilacs for our cards and other projects using Susan's Garden Notes Lilac die set.  Using the A Way With Words 4-Seasons die set we can complete a perfect Spring card.  Here is how this card was created.

Start with a 6 inch square card base in dark lilac or other color of choice.  Die cut a white cardstock panel 5 1/2 inches square to fit on front of the card.

Use the 3rd largest die from the Stitched Circles die set to die cut a round opening in the center of the 5 1/2 inch square.


 Use the 2nd and 3rd largest dies in the Stitched Circles die set to create the narrow frame that goes around the die cut circle in the 5 1/2 inch square.  To make the frame: Tape the two dies down on a piece of white cardstock, centering the smaller die inside the larger die.  Run through the die cutting machine.  Glue this narrow frame over the die opening in the 5 1/2 inch square.

Use the Fleur de Lis Embossing Folder to emboss a piece of light green cardstock that is slightly larger than the opening within the circle frame. Attach to the back of the opening. Now attach the completed 5 1/2 inch square to the front of the card base.

Garden Notes - Lilac

Use Susan's Garden Notes Lilac die set to create two lilac branches.  The more little flowers you add to the branches, the fuller the flower will be.  Watch Susan's Garden Notes Lilac YouTube Video at this LINK if you haven't made the lilacs before. Use lavender cardstock for the flowers and white cardstock for leaves and branches. Color the leaves and branches with Susan's Garden PanPastels.   Adhere the two Lilac branches as shown in the project photo. Add a sheer ribbon bow with double loops where the stems join for the look of a lilac bouquet.

4 Seasons - ElizabethCraftDesigns.com

Use the A Way With Words 4-Seasons die set to die cut Spring 6 times out of black card stock.  Glue the die cuts one on top of the other for a dimensional sentiment.  Adhere to the card front toward the bottom right, overlapping the circle frame.
Because of the dimensional nature of this card, extra postage may be required. Square envelopes require extra postage as well.


Links to the products are listed below.


Monday, February 20, 2017

Spring Blooms


This is a  card designed using the new Krista Schneider stamp set 'Spring Blooms'.  Also used are the ModaScrap Dandelion Fluff, Dancing Butterflies, A Way With Words - Sweet Smiles and Els van de Burgt Studio Fitted Oval Frames die sets.  The embossing on the white inside oval was done with the Curvy Leaves Embossing Folder. 


Spring Blooms

For a watercolor effect on the flowers, use Watercolor Paper and VersaMark Ink to stamp the Spring Bloom flower and flower bud.  Emboss using white embossing power.  The embossing helps hold the watercolor within the lines.  Lightly dampen the paper and color the petals of the flower using Zig Clean Color Real Brush Markers.  Use yellow in the center of the flowers, brushing strokes out from the center about 1/4 inch.  Working on one petal at a time, color the petals using a pink marker.  Add the color, starting just above the yellow, going up a short distance.  Use a waterbrush or wet brush to blend the color up to the outside edge of the petal, leaving the ends of the petal lighter than the lower part. Blend the yellow and pink together, which will turn a peachy color.  Color the bud using the same markers.  Color the leaves green, using the same technique.  Die cut the images using the matching dies.

Use the ModaScrap Dandelion Fluff die set to die cut one white Dandelion Fluff, using White Soft Finish Cardstock.

 Use a piece of colored cardstock, that coordinates with your colored flower, to create a frame for the front of the card.  This is a 6-inch square card.  Use the second largest Fitted Oval Frame die set to die cut an open frame.  Use a score board to score around the outside edge of this frame, for a finished look.  Add two layers of dimensional tape around the edges on the back of the frame, to give it height.

Use a piece of White Soft Finish Cardstock and the Curvy Leaves embossing folder to create the embossed background under the flower.  Attach this piece to the front of a 6x6 inch card.  Attach the Oval Frame over the embossed background.

Attach the large flower inside the frame using just one layer of dimensional tape on the back.  One layer of tape will lift the flower from the background, but be slightly lower than the frame which has two layers of dimensional tape.  Glue or use glue dots to tuck the Dandelion Fluff behind the flower.  You will need to cut the stem off this die cut, to get it to fit under the flower. Attach the flower bud, as shown in the picture, with the bottom edge under the larger flower.  Use glue or glue dots to attach.

Die cut the A Way With Words 'Sweet', using White Soft Finish Cardstock. Attach the sentiment to the lower right corner.   For easy placement, attach Clear Doubled Sided Adhesive on the back of the card stock before die cutting.

Use the ModaScrap Dancing Butterflies die set to die cut the two butterflies, using White Soft Finish Cardstock.  Attach to the card as shown.  Attach Clear Double Sided Adhesive on the back of the cardstock, before die cutting, for easy attachment.

Add three sticky back pearls in the lower left corner to finish the card.

I love the watercolor on this flower.  I hope you will try this technique.


LinkWithin

Related Posts with Thumbnails