Showing posts with label Design Team Challenge. Show all posts

Tuesday, December 18, 2018

December Challenge


It is time for the December Design Team Challenge.  The name of our challenge is:  Garden Notes - Frame It/Stitched Inspiration.  

 For our challenge this month, we are to use any of the Garden Notes - Frame It/Stitched nested dies to create a card or project. There are four different die sets in this collection … squares; rectangles; ovals and circles.  You can view all the cards/projects created by the design team at this LINK on the Elizabeth Craft Designs Blog.

As in the past, you will be eligible to win a prize by commenting on the Elizabeth Craft Designs challenge post.

* * * * * * * * * * * * * * * *

For today's challenge, Elizabeth Craft Designs is giving away a $20 Gift Card to use on their website to 3 winners


To enter simply leave a comment on the Elizabeth Craft Designs Challenge post and tell us  Which of the Garden Notes - Frame It/Stitched die sets would you use on a project and how would you use it    

Three lucky winners  will be selected in a random drawing and will be announced on Friday, December 21st on the Elizabeth Craft Designs blog.

Good Luck in the drawing.

* * * * * * * * * * * * * * * * * *

To create my card, begin with a 7 x 5 1/2 inch card base.

1.  Cut two pieces of white card stock 7 x 5 1/2 inches.

2.  Cut two pieces of ivory card stock 7 x 5 1/2 inches.

3.  Use the Garden Notes Frame It/Stitched Oval die set and use the next to the largest die to die cut an oval in the center of one of the white pieces of card stock.

4. For the second layer, use the same die set and the next smallest die.  Die cut an opening in one of the ivory card stock pieces.  To get the oval centered perfectly in the center of the white die cut, place the white oval piece over the ivory card stock, center the smaller die, leaving an even border all around.  Tape to the ivory card stock.  Remove the white die cut piece and die cut the oval in the ivory card stock.

5.  For the third layer, use the same die set and the next smallest die.  Using the instructions in step 4, die cut an oval in the last white piece of card stock.

6.  For the fourth layer, use the same die set and the next smallest die.  Use the same instructions and die cut an oval in the last piece of ivory card stock.

7.  Use dimensional double sided tape to attach all the ovals together.  Attach to the base card.

8.  Use the A Way With Words Rejoice die set and die cut the sentiment using Gold Mirror Card Stock.  Attach down in the center of the die cut ovals

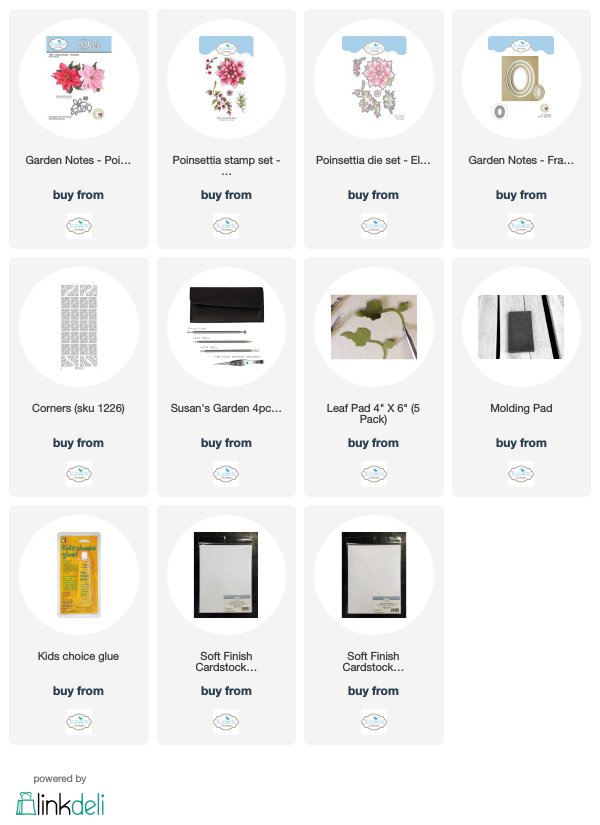
9.  Use the Poinsettia stamp set and stamp the berry branch and pine boughs, using black ink.  Color with markers.  Use the matching die set to die cut the pieces. Arrange around the lower edge of the oval, as shown.

10.  Use the Garden Notes Poinsettia die set and create one flower. Shape using the Flower Tool Kit and glue together using Kids Choice Glue.  Use yellow pollen and green Prills for the center of the poinsettia.  Attach in the corner, over the berry branches and pine boughs.

11.  For a little sparkle, add some glue to the berry branches and pine boughs, and sprinkle on Cool Diamond Micro Fine Glitter.

12.  Use gold Corner Peel Off Stickers on all four corners of the card, for a nice finishing touch.


Tuesday, November 20, 2018

Design Team Challenge - Floral Card


It is time for the November Design Team Challenge at Elizabeth Craft Designs.  This month we are to create a card or project that features either flowers, foliage, etc to create something Christmas related.  I chose to create a Christmas card.  You can be inspired by all the projects created by the design team at this LINK.

As in the past, you will be eligible to win a prize by commenting on the Elizabeth Craft Designs challenge post.

* * * * * * * * * * * * * * * *

For today's challenge, Elizabeth Craft Designs is giving away a $20 Gift Card to use on their website to 3 winners


To enter simply leave a comment on the Elizabeth Craft Designs Challenge post and tell us Which Elizabeth Craft Designs flower or foliage die or stamp set would you chose to create a Christmas card or decoration.  

Three lucky winners  will be selected in a random drawing and will be announced on Friday, November 23rd on the Elizabeth Craft Designs blog.

Good Luck in the drawing.

* * * * * * * * * * * * * * * * * * * *

A small square frame was die cut using the Fitted Frames 2 die set.  Behind it is a piece of watercolor paper that was dipped in Brusho powders that was sprayed with water.  

Use the Classic Christmas stamp set and stamp the sentiment in the lower right corner, using black ink.

Use the Garden Notes Trevi Urn die set to die cut the urn.  Use Cafe au Lait Soft Finish Cardstock to die cut the urn and use a darker brown ink and sponge lightly over it to bring out the embossed areas.  Attach to the bottom of the card.

Use the Leafy Berry Branch die set and die cut three branches.  Add berries with Autumn Red Nuvo Crystal Drops.  

Use the Garden Notes  Whitepine Bough die set and die cut 6 pine branches, using green card stock.

Use the Garden Notes Whitepine Bough die set and create two pine cones.

Use the Garden Notes Poinsettia die set and create three poinsettias.  Shape with the Flower Tool Kit and assemble with the Kids Choice Glue.  Add green and yellow prills to the center of each poinsettia.

Assemble the Leafy Berry Branch, Whitepine Boughs and Poinsettias inside the Urn.  Add the pine cones.

Use the Garden Notes Hydrangea die set and die cut 16 small white flowers.  Glue them around the edges of the arrangement.  Add yellow Nuvo Crystal drops in the center of each white flower.


Tuesday, October 16, 2018

Reindeer


It is time for the design team challenge at Elizabeth Craft Designs.  This month we are challenged to create a Christmas or Winter card using any of Krista Schneider's new Christmas/Winter themed stamp sets.  You can see all the great cards created by the design team at this LINK.

As in the past, you will be eligible to win a prize by commenting on the Elizabeth Craft Designs challenge post.

For today's challenge, Elizabeth Craft Designs is giving away a $20 Gift Card to use on their website to 3 winners


To enter simply leave a comment on the Elizabeth Craft Designs Challenge post and tell us
Which of the new Krista Schneider stamp sets would you use to create a Christmas card.

Three lucky winners  will be selected in a random drawing and will be announced on Friday, October 19th on the Elizabeth Craft Designs blog.

Good Luck in the drawing.

* * * * * * * * * * * * * * * * * * * *


Reindeer stamp set

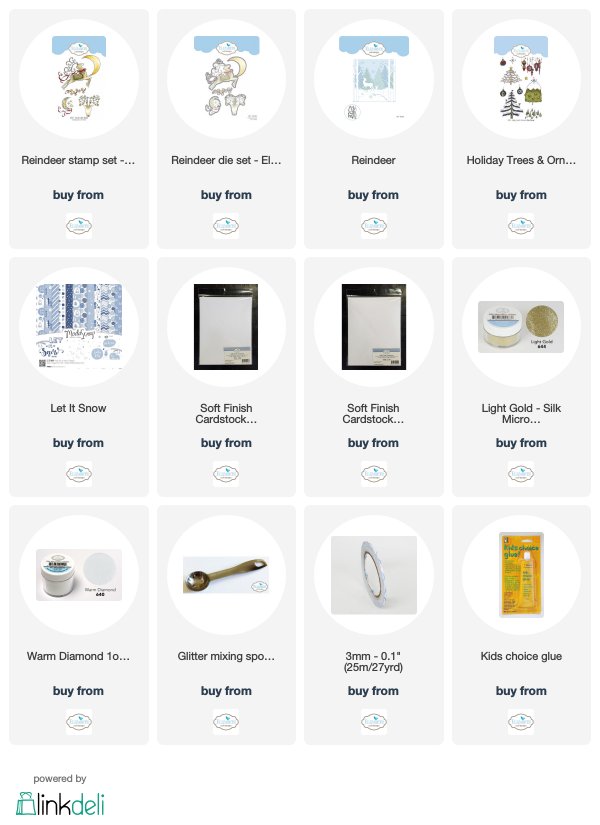
The new Krista stamp set used for this card is the Reindeer stamp set and matching dies.  

The card is 6 inches square. A piece of the ModaScrap Let It Snow design paper was added to the front

Use the Reindeer stamp set and stamp the reindeer/moon.  Color with markers.  Die cut with matching die.  Use a marker the same color as the blue in the design paper and color around the antlers and ribbon.  Use a white opaque pen to color in the white snow dots.  Attach to the top portion of the card, as shown.

Use the Reindeer die set and die cut two snow banks.  Use scissors to create a larger snow bank that will be part of the back snow.  Attach the larger snow bank to the lower half of the card.  Attach the  small snow banks at the bottom of the card by gluing only around the sides and bottom.  The top of the snow banks should be left open so the trees can be pushed down in the snow.

Holiday Trees & Ornaments - Clear Stamps

Use the older Krista Holiday Trees & Ornaments stamp and die set for the trees.  Stamp and color three of the large trees and one of the small group of trees. Use the matching dies to die cut the trees.   Cut the birds off one of the larger trees.  Attach the two larger trees, with birds, with dimensional tape on the left side and the other tree on the right side.  Each of the trees are tucked down in a different level of snow.  Add the small trees on the back snow bank, as shown.

To add sparkle to the card, add glue to the snow on the trees, and the snowbanks.  Sprinkle with Cool Diamond Silk Microfine Glitter.  Use your finger to add a little glue to the moon and sprinkle on Gold Silk Microfine Glitter.

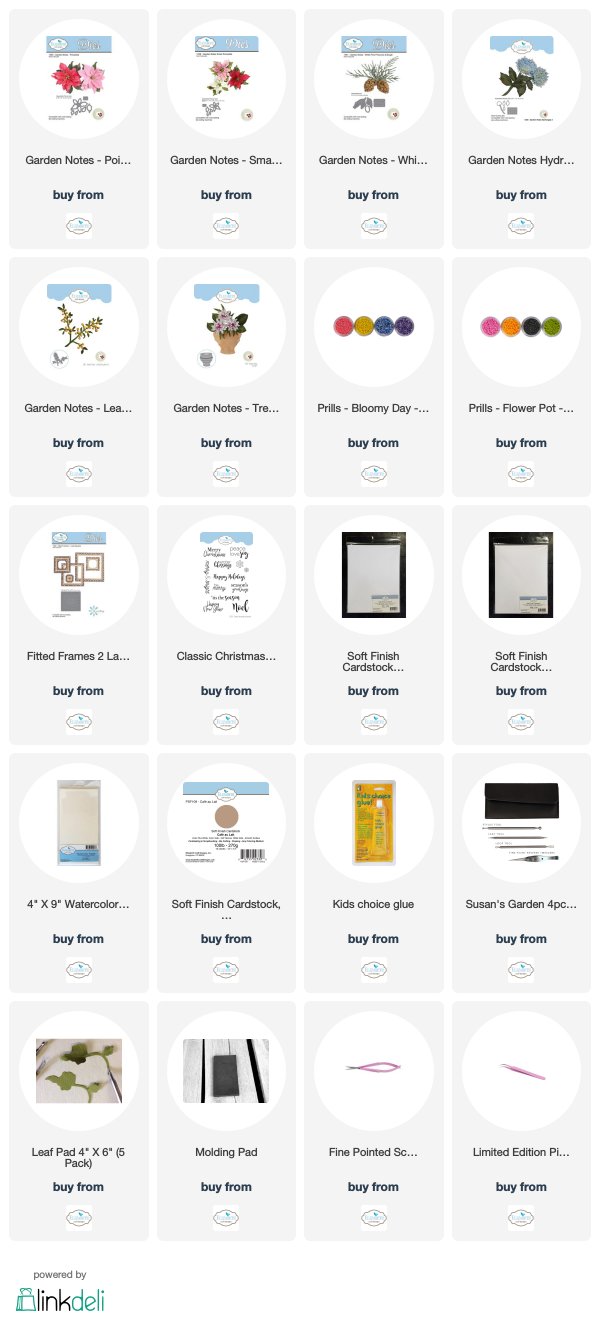
Links to the products used a shown below.


Tuesday, June 19, 2018

Design Team June Challenge - Hexagons


It is challenge time again for the Elizabeth Craft design team.  This month we were challenged to use the new Stitched and/or Fitted Hexagon die sets.    I used both these sets along with two new Garden Notes die sets.

You can view all the cards designed for this challenge at this LINK on the Elizabeth Craft Designs blog.

*******************
For today's challenge Elizabeth Craft Designs is giving away a $20 Gift Card to use on their website to 3 winners

To enter simply leave a comment on the Elizabeth Craft Designs Facebook Giveaway Blog Post, or the Elizabeth Craft Designs Challenge post, and tell us What is your favorite way to use Elizabeth Craft Designs Stitched Hexagons or Fitted Hexagons dies. 


Three lucky winners will be selected in a random drawing. 

The winners will be announced on Friday, June 22nd on the Elizabeth Craft Designs Blog and Facebook page.

*****************

To create my card begin with a 6-inch square card.

Step 1.  Cut a piece of ModaScrap Under the Sea design paper to cover front of card.

Step 2.  Use Misty Mauve Soft Finish Cardstock and the third largest Stitched Hexagon and die cut one Hexagon.

Step 3.  Use White Soft Finish Cardstock to create the white Hexagon frame.  Use the 3rd largest Stitched Hexagon and 4th Fitted Hexagon to create the frame.  Glue the frame to the Misty Mauve Hexagon.  Attach with dimensional tape.

Step 4.  Use the new Garden Notes Rhododendron die set to create the flower.  Use the Copic Markers RV19 and R59 to color center of each petal.  Shape the dome for the flower base and the flower petals using Susan's Flower Tool Kit.  Color the stamens with Copic YG21 and add pollen to the tips of the stamens.  Glue the flowers to the shaped dome then glue in stamens.  Color the leaves green, and use light green PanPastel to color the line down the center of each leaf.  Place the leaves face down on a VersaMark pad and clear emboss each leaf for the shiny (waxy) appearance.  Attach the flower and leaves to the lower left corner of the Hexagon.

Step 5.  Use the new Garden Notes Baby's Breath die set and create one stem.  Cut the stem into four sections; attach them under the Rhododendron, as shown.

Step 6.  Use the Dancing Butterflies die set and die cut one butterfly.  To die cut use white card stock with Clear Double Sided Adhesive on Top.  Once die cut, peel off the adhesive covering and sprinkle on Lavender Ice Silk Microfine Glitter.  Polish with your fingers to bring out the shine.  Attach as shown.

Step 7.  Use the Corners 1 die set and die cut two corners using Misty Mauve Soft Finish Card Stock.  Attach to the upper corners of the card.

Step 8.  Use the Bead Strings 2  die set and die cut the border, as shown, along the bottom of the card.  Use Misty Mauve Soft Finish Cardstock.  Glue to bottom of card.

Step 9.  Use the Sentiments 1 - Celebrate die set to stamp and die cut the sentiment.  Use the die to die cut two additional pieces to glue to the back of the stamped sentiment, to give it dimension.

The new Hexagon die sets are a great addition to our die collection.  How would you use these dies?

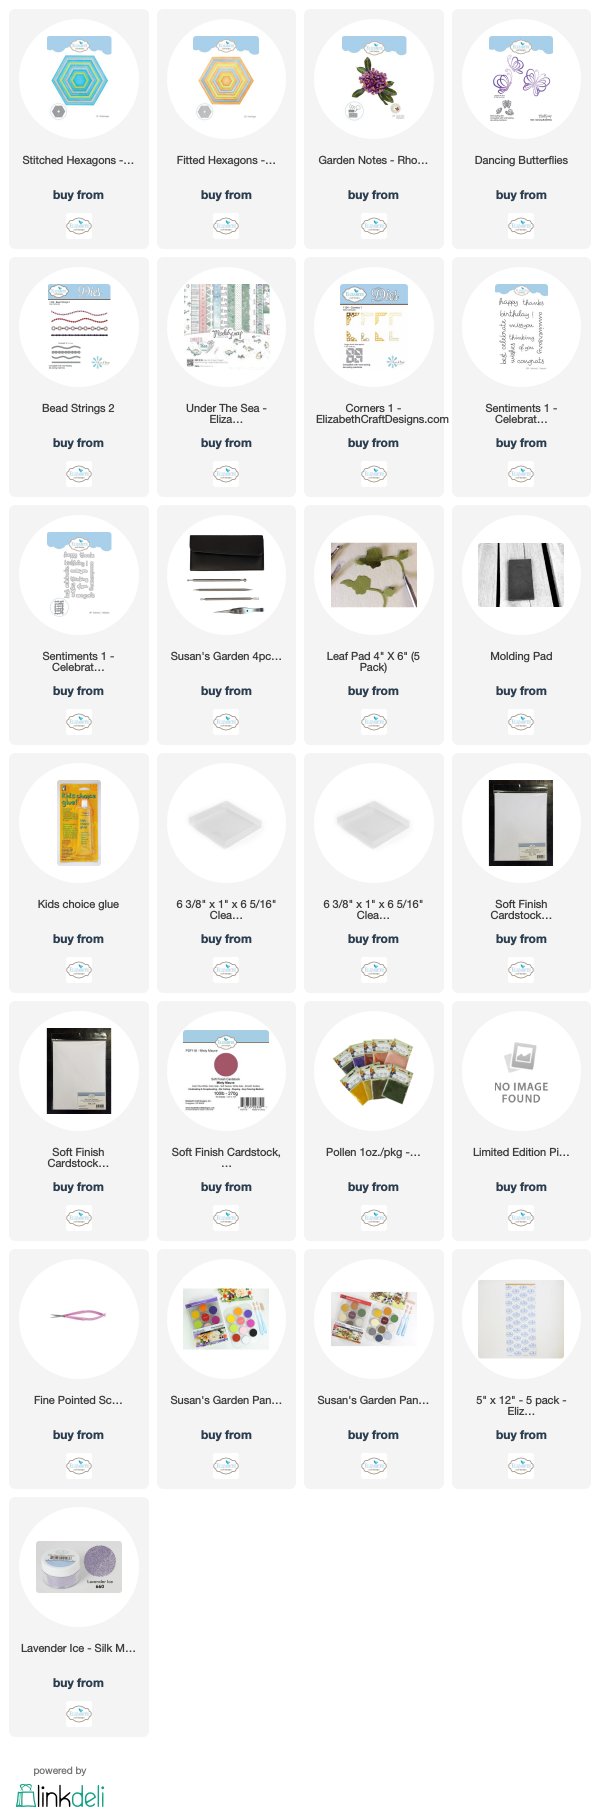
You can shop for the products used by clicking on the links below.

Be sure to check out all the cards created by the design team on the Elizabeth Craft Designs Blog.  


Tuesday, May 15, 2018

Glitter Challenge


Good Morning.  Today the design team for Elizabeth Craft Designs was challenged to create a project using some of the new Silk Microfine Glitters.  The team has been busy creating some beautiful cards and you can view them at this LINK.

Below are the beautiful new Silk Microfine Glitter Palette colors.


Glitter Palette - Bloom
Glitter Palette Bloom

Glitter Palette - Earth
Glitter Pallete - Earth


Glitter Palette - Beach


*******************
For today's challenge Elizabeth Craft Designs is giving away a $20 Gift Card to use on their website to 3 winners

To enter simply leave a comment on the Elizabeth Craft Designs Facebook Giveaway Blog Post, or the Elizabeth Craft Designs Challenge post, and tell us Which of the new Silk Microfine Glitter Palettes is your favorite, Earth, Beach or Bloom?

Three lucky winners will be selected in a random drawing. 

The winners will be announced on Friday, May 18th on the Elizabeth Craft Designs Blog and Facebook page.

*****************
Here are the directions for creating my card.

Step 1.  Create the background.  Add a piece of Clear Double Sided Adhesive to the top of white card stock 6 inches square.  Use the Flowers and Lace die set and die cut the frame.  Cool Diamond Silk Microfine Glitter will be added to the top of this die cut.  Leave the adhesive sheet on this die cut piece.

 Step 2.  Cover a piece of white card stock, 6 inches square, with Clear Double Sided Adhesive.  Peel off adhesive covering and attach the Flowers & Lace die cut piece on top. Insert the center  piece leaving on the adhesive covering.  The only sticky parts should be the flower die cut openings of the frame.  Sprinkle on the Rose Red glitter from the Bloom glitter set, adding glitter to all the design.  Rub the glitter in well with fingers, then use brush and/or Swifter cloth and clean off all stray glitter.  

Step 3.  Being sure all lose Rose Red Glitter if cleaned off work area, peel off the adhesive covering on both the die cut frame and the center piece of the frame.  Pour Cool Diamond Silk Microfine glitter over the entire front of the card.  The Cool Diamond Glitter will not stick to the Rose Red Glitter if it was rubbed in well.  Rub Cool Diamond Glitter in well with fingers and brush off excess.  Trim edges of frame as needed to fit front of 6 inch square card.

Step 4.  Use a piece of white card stock, covered with Clear Double Sided Adhesive,  large enough to die cut three dragonflies. Die cut the three dragonflies of choice.   Sprinkle on Lilac, Periwinkle and Sea Foam Silk Microfine glitter, using a spoon to layer the glitters.  The Lilac and Periwinkle glitters are in the Bloom glitter set.

Step 5.  Use the Garden Notes Blue Bonnet/Lupine die set and create one pink flower.  Use the Flower Tool Kit and Kids Choice glue for shaping and assembly.  

Step 6.  Use the Garden Notes Dahlia die set and create one flower.

Step 7.  Use the Garden Notes Chrysanthemum die set and create one flower.

Step 8.  Use the Garden Notes Ostrich Fern die set and die cut two ferns.

Step 9.  Attach the ferns, flowers and dragonflies as shown.

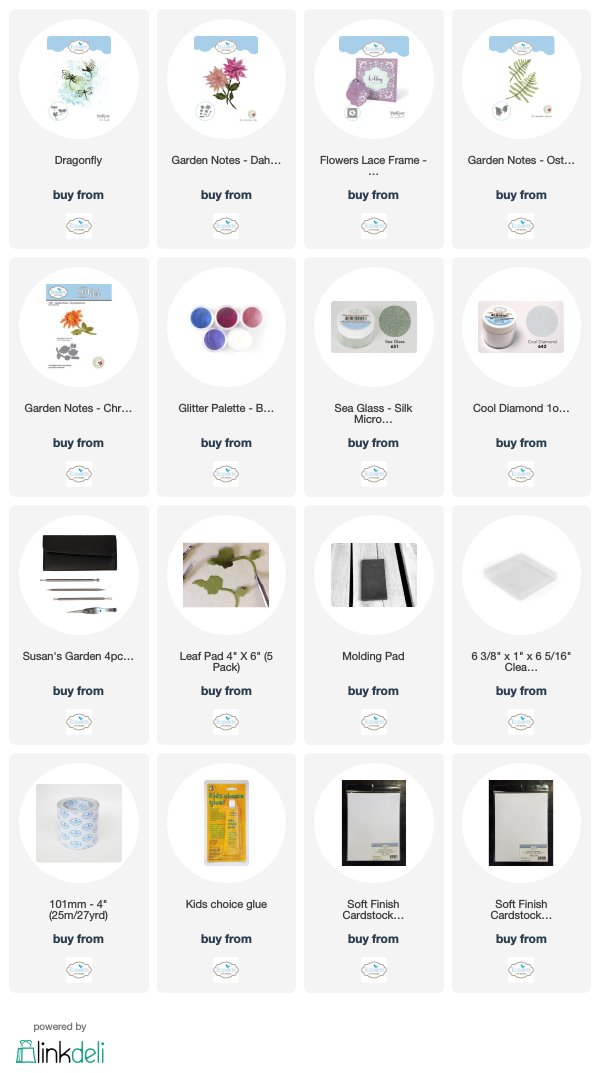
You can shop for the products used by clicking on the product pictures below.


Tuesday, April 17, 2018

Design Team April Challenge


Today the Elizabeth Craft Design team has a fun challenge to use the Scissor Spring Mechanism.  I have used the Scissor Spring to pop up the Bee on my card.  Be sure to go over to the Elizabeth Craft Designs Blog at this LINK to see all the fun ideas you can use this die set for.


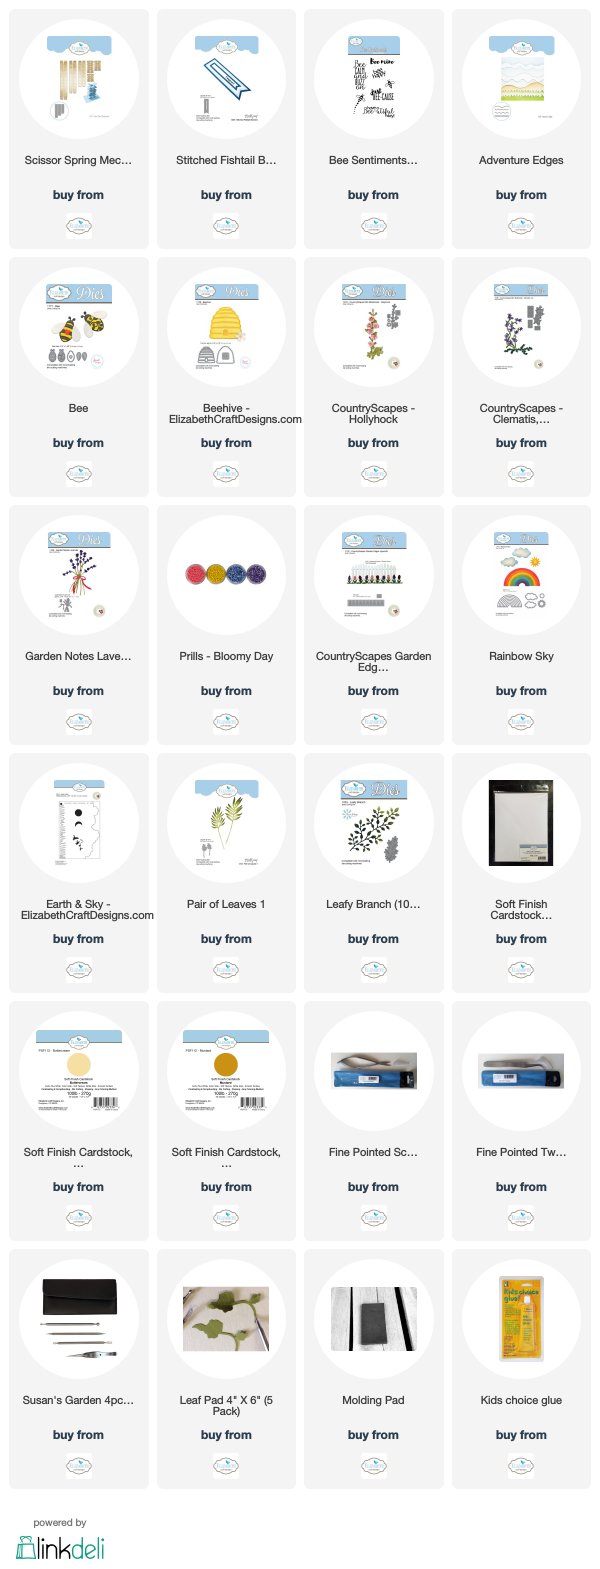
This is a picture of the Scissor Spring Mechanism die set.  

Before I describe my card, I want to tell you about your chance to win a Gift Card from Elizabeth Craft Designs.

*******************
For today's challenge Elizabeth Craft Designs is giving away a $20 Gift Card to use on their website to 3 winners

To enter simply leave a comment on the Elizabeth Craft Designs Facebook Giveaway Blog Post, or the Elizabeth Craft Designs Challenge post, and tell us What Elizabeth Craft Designs dies or stamp sets would you use with the Scissor Spring Mechanism die set to create a card, scrapbook layout of home decor item?

Three lucky winners will be selected in a random drawing. 

The winners will be announced on Friday, April 20th on the Elizabeth Craft Designs Blog and Facebook page.

*****************

To create my card start with a 6-inch square card.

Step 1.  Cut a 5 3/4 inch square piece of white card stock, that will be used for the background.

Step 2.  Use Susan's Earth & Sky Stencil to sponge blue ink over the cloud stencil onto the top half of the white card stock. 

Step 3.  Use the Adventure Edges die set and die cut a green 'hilly' edge that will cover the lower half of the card. Attach the edge to the lower portion of the card.

Step 4.  Use Joset's Bee die set to die cut one Bee.  Use Vellum to die cut the wings.  Assemble.

Step 5.  Use Joset's Bee Hive die set to die cut the bee hive.  Glue the pieces together.

Step 6.  Use the CountryScapes Hollyhock die set to die cut pieces for the hollyhock.  Shape with Susan's Flower Tool Kit and assemble.   Use yellow Prills in the center of each flower. 

Step 7.  Use the CountryScapes Clematis die set to die cut the white flowers.  Shape the flowers using Susan's Flower Tool Kit.  Add Prills to the centers of the flowers.  

Step 8.  For the flower stems for the white flowers, use the Garden Notes Lavender die set.  Use only the lower portion of this die cut and attach the white flowers.  Using the lower section of the Lavender die cut will create a wide bushy flower 'bush'.  

Step 9.  Use the CountryScapes Garden Edges - Hyacinth die set and create the purple hyacinth edge.  Cut two hyacinth off to separate the flowers for the bottom edge of the card.  

Step 10.  Use the Adventure Edges die set and die cut two strips of grass.  

Step 11.  Use the Pair of Leaves l  die set and die cut one set of leaves.  These leaves will resemble a bush beside the bee hive.

Step 12.  Use the Leafy Branch die set to die cut one branch.  A small portion of these leaves will be used behind the white flower bush.  
Step 13.  Use the Rainbow Sky die set to die cut two clouds and one sun.  Lightly sponge blue ink around the edges of the clouds and yellow ink on the edges of the sun.  Attach these pieces to the top of the card, over the sponged cloud sky.  

Step 14.  Use the Bee Sentiments stamp set and stamp the sentiment, using VersaFine black ink and clear emboss.  Die cut using the Stitched Fishtail Banner die set.  Sponge yellow ink around the edges.  Use another larger Stitched Fishtail Banner die and die cut one black banner slightly larger.  Glue the pieces together.  Cut the left edge at an angle and attach over the lower edge of the die cut sun.

Step 15.  Assemble all the die cut pieces, as shown, to complete the scene.


Step 16.  Use the Scissor Spring Mechanism die set and die cut the smallest mechanism, using clear acetate.  Use Clear Double Sided Adhesive on both the top and bottom of the mechanism to attach the bee to the card.

This card is just a little dimensional.  The bee presses down flat, but some of the flowers are dimensional.  I would recommend mailing this card in one of the clear acrylic boxes from Elizabeth Craft Designs

Be sure to go over the the Elizabeth Craft Designs Blog to view all the creative ways the design team has used the Scissor Spring Mechanism, and be sure to leave a comment for a chance to win one of the $20 Gift Cards.

You can purchase the products used for this card by clicking on the product pictures below.


Tuesday, March 20, 2018

March Challenge - Frame It

This month the design team has a challenge to use one of the Happy Frames for our project.  There are two size frames and I chose to use the Happy Frame XL to create a shadow box.  Be sure to go over to the Elizabeth Craft Designs Blog to see all the creative projects the team has designed.  

Before I tell you about my frame, I want to give you the information about how you can be eligible to win a $20 Gift Card from Elizabeth Craft Designs.

**************************

For today's challenge Elizabeth Craft Designs is giving away a $20 Gift Card to use on our website to 3 winners

To enter simply leave a comment on the Elizabeth Craft Designs Challenge post and tell us What Elizabeth Craft Designs dies or stamp sets would you use to frame something on a card, scrapbook layout of home decor item?

Three lucky winners will be selected in a random drawing  and winners will be announced on Friday, March 23rd on the Elizabeth Craft Designs blog.

**********************************

In order to create a deep shadow box for the dimensional flowers, die cut pieces to create two large frames, which are stacked together.

Use the Happy Frame XL and die cut 8 pieces.   Assemble the four sides for both frames.  These frames are scored and very easy to assemble.

For the background on the bottom frame, cut a piece of white cardstock a little larger than the opening in the frame.  Add Clear Double Sided Adhesive all over one side.  Pull off the covering.  Use Sea Foam Micro Soft Glitter and sprinkle over the adhesive and rub in well with your fingers to bring out the sparkle.  Attach this piece to the back of one of the frames.

Use the Garden Scene die set to  die cut the scalloped frame.  Use the Fitted Squares die set and tape the large square die inside the Garden Scene die and run through die cutting machine to create a narrow frame.  Attach 3mm Clear Double Sided Adhesive along edge of the die cut frame and attach down inside frame, over the glittered background.  Press the frame down well to make sure it sticks down.  

Use the Garden Notes Dogwood die set and die cut pieces to create three flowers.  Color the ends of the petals with PanPastels and add Prills to the center of each flower.  Use Susan's Flower Tool Kit to shape the flowers and leaves.  Attach the Dogwood branch to the upper left corner, over the glittered background.

Use the Garden Notes Lily 2 die set and create three pink lilies.  Add pollen to the ends of the stamens.

Use the Garden Notes Berry Branch die set and die cut one branch.  Color the stem brown and add white Nuvo drops for the berries.

Use the Garden Notes Ostrich Fern die set and die cut one fern.

Use the Trio of Leaves die set and die cut three leaf branches.  

Attach the berry branch, fern, leaves and flowers in the lower right corner.


The lower frame is now complete.  Add two strips of 6mm Clear Double Sided Adhesive on the top of the frame, as shown above.  Later, this bottom frame will be attach to the top decorated frame.

Next decorate the top frame.

Cut a piece of acetate to fit over the top of the open frame.  Cut it so you have approximately a 1/4 inch border around each edge so you can attach it over the opening.  Add 3mm Clear Double sided Adhesive to both the top and bottom edge of the acetate.  Peel off the adhesive and center it over the opening.  

Use the Valentine Edges die set an die cut four edges.   Peel off the covering on the Clear Double Sided Adhesive on the top of the acetate.   Attach the Valentine Edges over the tape, keeping the edges even with the edge of the frame.

Use the Garden Notes Ivy Vine die set and die cut four of the larger ivy pieces.  Attach pieces of the ivy on the corners of the frame.

Use the Dragonfly die set for the three dragonflies.  Use a piece of white card stock with Clear Double Sided Adhesive on top and die cut  Peel off the adhesive and sprinkle on Silk Microfine Glitter.  Use a mixture of Teal, Dark Mint, and Lavender glitter; this gives the dragonflies that iridescent color you see on dragonflies.  Rub the glitter in well with your fingers to give it a beautiful shine.  Attach the dragonflies, using small pieces of the Double Sided Adhesive to the bodies, over the acetate.  

Peel the cover off the Clear Double Sided Adhesive off the top of the lower frame, then press the top frame on top, making sure the edges are very even.

Use Susan's Winter Spring rubber stamp for the sentiment.  Use black VersaFine ink and clear emboss.  Die cut using one of the small Dotted Scalloped Oval dies.


 Cut four pieces of the same card stock used for the frame to fit each side of the frame.  Attach the strips around the outside edges of the frame, for a finished appearance.


This is a side view of the completed frame.  You can attach a plastic hanger to the back of the frame, for hanging.

This frame did take a little time to create but will make a beautiful gift for someone.  

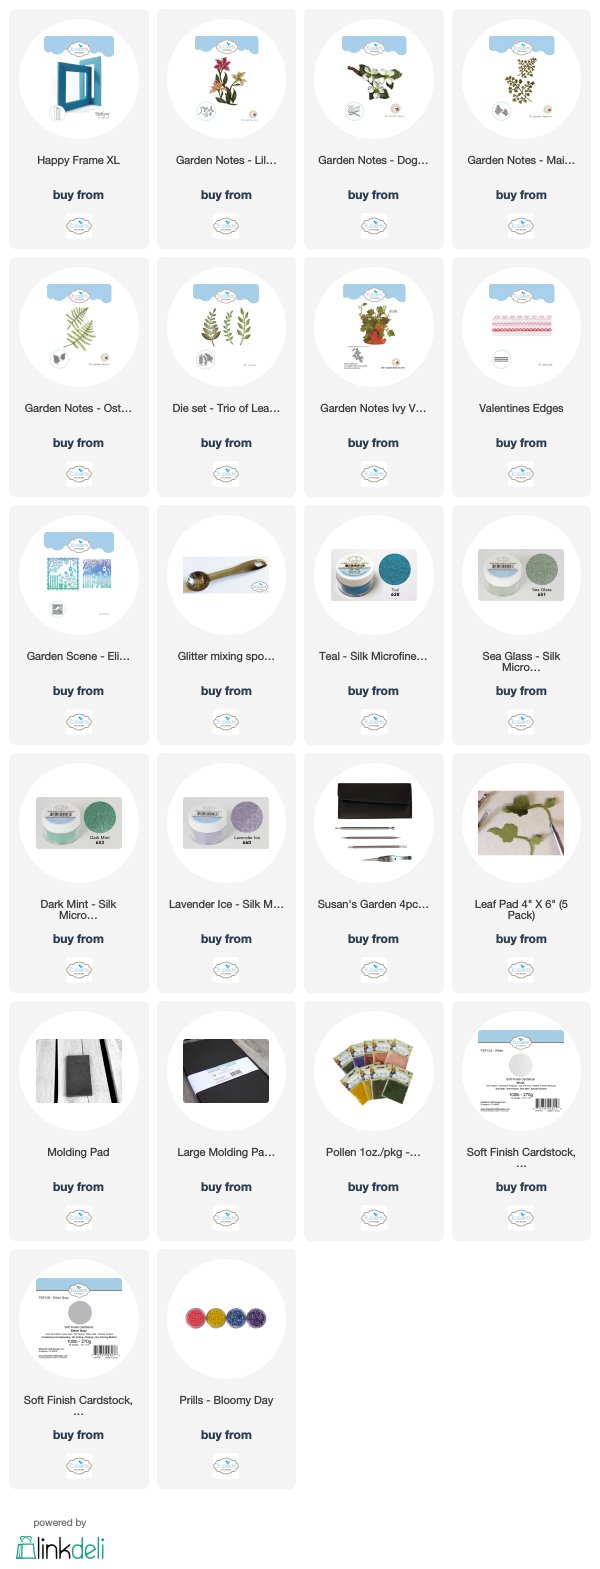
You can shop for the products used by clicking on the links below.


Tuesday, February 20, 2018

Easter Basket


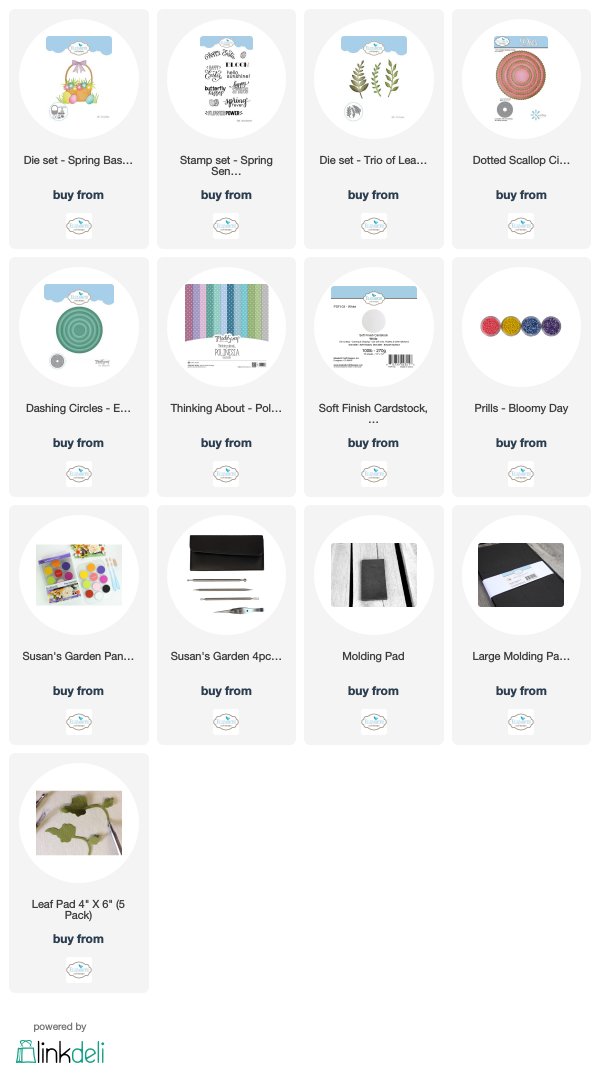
This is a second card I designed for the design team Easter Card Challenge.   Be sure to go over to the Elizabeth Craft Designs Blog at this LINK so see all the fabulous cards created by the design team for this challenge.

As in the past, you will be eligible to win a prize by commenting on the Elizabeth Craft Designs challenge post.

For today's challenge, Elizabeth Craft Designs is giving away a $20 Gift Card to use on their website to 3 winners


To enter simply leave a comment on the Elizabeth Craft Designs Challenge post and tell us "What Elizabeth Craft Designs dies or stamp sets would you use to create an Easter Card?

Three lucky winners  will be selected in a random drawing and will be announced on Friday, March 2nd on the Elizabeth Craft Designs blog.

Good Luck in the drawing.

* * * * * * * * * * * * * * * * * * * *

1.  Cover the front of a 6-inch square card with a piece of the ModaScrap Thinking About Polinesia design paper.

2.  Use the Dotted Scallop Circle die set and die cut the largest circle, using white card stock.

3.  Use the Dashing circles die set and die cut the largest cirlcle, using white card stock.  

4.  At the top of the Dashing Circle, use the Spring Sentiments stamp set and stamp the sentiment using VersaFine black ink and clear emboss.

5.  Use yellow PanPastel and a sponge to color  below the sentiment.  

6.  Attach the circles in the center of the card.

7.  Use the Spring Basket die set and die cut the basket, bow, five eggs, seven grass and  nine daisy flowers.  You can use design paper or use markers to color the eggs.  Shape the flowers using the Flower tool kit and add Prills to the center of each flower.

8.  Use the Trio of Leaves die set and die cut four branches.  Shape using the leaf tool in the flower tool kit.

9.  Attach the basket using dimensional tape around the sides and bottom, as shown.

10.  Fill the basket with the eggs, grasses, leaves and flowers.   


Easter Card Challenge


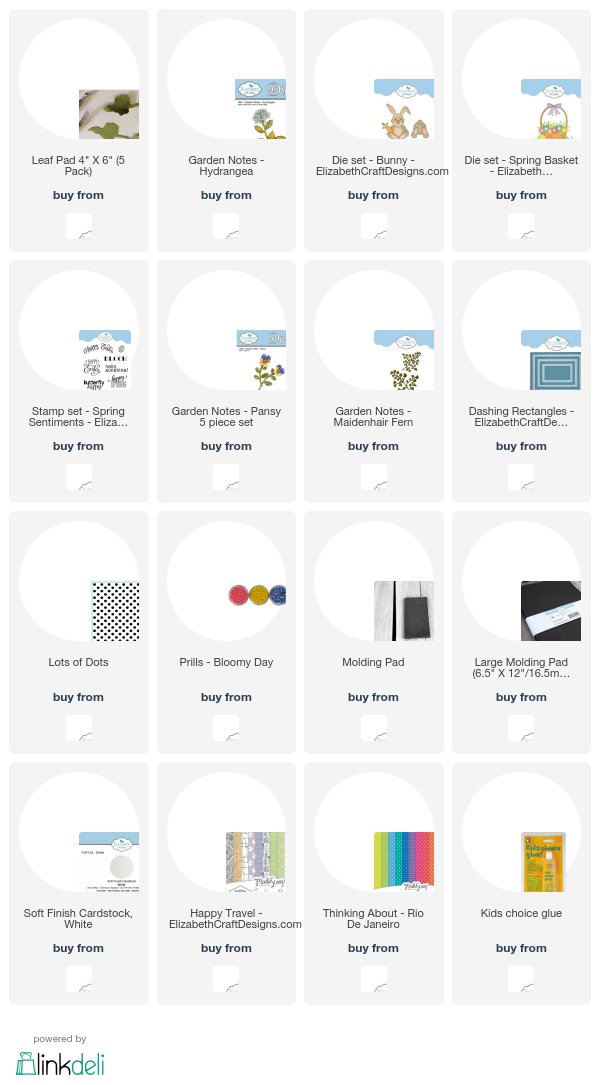
Today the design team was challenged to design Easter cards.  Joset Designs has a new release with really cute die sets that I used for my window Easter card.  Be sure to go over to the Elizabeth Craft Designs Blog at this LINK so see all the fabulous cards created by the design team for this challenge.

As in the past, you will be eligible to win a prize by commenting on the Elizabeth Craft Designs challenge post.

For today's challenge, Elizabeth Craft Designs is giving away a $20 Gift Card to use on their website to 3 winners


To enter simply leave a comment on the Elizabeth Craft Designs Challenge post and tell us "What Elizabeth Craft Designs dies or stamp sets would you use to create an Easter Card?

Three lucky winners  will be selected in a random drawing and will be announced on Friday, March 2nd on the Elizabeth Craft Designs blog.

Good Luck in the drawing.

* * * * * * * * * * * * * * * * * * * *

For my Easter card I created a window card.


This is a 6-inch square card.  


Step 1.  Cut a piece of white card stock 5 3/4 inches square and attach around the edges with a removable tape, to the front of the 6 inch square card front.  

Step 2.  Use the 5th die down in the Dashing Rectangles die set to die cut an opening in the two front pieces for the front of the card. Tape the die down on the front of the card using removable tape.  Lift the back panel up and run through the die cutting machine.


Step 3.  The two pieces you have will be the 5 3/4 inch piece of card stock with a rectangle opening and a rectangle opening in the front panel of the 6 inch card.  


Step 4.  A frame to go over the die cut opening is created by die cutting it using the 3rd and 5th down dies in the Dashing Rectangle die set.  Die cut two of these frames - pictured on the left side in the photo above.  One frame will be used on the front of the card, and one will be used on the back of the front panel for a finished appearance (picture shown below).

Step 5.  Use the 3rd and 4th down Dashing Rectangles to die cut a narrow frame to go on top of the previous rectangle - pictured on the right side in the photo above.  Only die cut one that will be used for the front of the card.  

Step 6.  Use the 4th down Dashing Rectangle die and die cut a piece of acetate.  The acetate rectangle is attached with 3mm Clear Double Sided Adhesive over the opening in the rectangle die cut on the 5 3/4 inch square card.

Step 7.  Attach the wider frame over the acetate then attach the narrow die cut frame on top.  This gives the window opening a dimensional looking frame.

Step 8.  Attach the second wider frame you die cut on the inside of the card, around the die cut rectangle opening.

Step 9.  For the front of the card, use the Lots of Dots Embossing Folder and emboss a piece of white card stock.  Cut a strip to fit along the left side of the frame.

Step 10.  Use the Bunny die set and die cut and assemble the bunny and carrots.

Step 11.  Use the Spring Basket die set and die cut grass to go by the bunny and two pieces that will be used on the inside of the card.  Die cut four eggs using this same die set.  Use design paper for eggs with designs.

Step 12.  Use the Garden Notes Pansy die set to die cut the violets.  Color and shape using the Flower Tool Kit.  Add Prills to the center of the flowers.

Step 13.  Use the Garden Notes Maidenhair Fern die set and die cut one fern.  

Step 14.  Use the Garden Notes Hydrangea die set to die cut a few small purple flowers.  Shape the flowers and add a Prill to the center of each.

Step 15.  Arrange the Bunny, Carrots, Grass, Violets and Maidenhair Fern, and small purple flowers on the lower left side of the card front.


Step 16.  The above picture shows the inside of the window card.  Arrange the die cut eggs and grass so they will show through the window  when the card is closed.  

Step 17.  Use the Spring Sentiments stamp set and stamp the sentiment inside the card so it will show through the window, when the card is closed.


Be sure to go over to the Elizabeth Craft Designs Challenge Blog Post and leave a comment for a chance to win one of the prizes.


LinkWithin

Related Posts with Thumbnails