Showing posts with label CountryScapes. Show all posts

Friday, October 19, 2018

Merry Christmas Deer Scene


I live in an area where  we see deer almost every day.  I love to create cards with the Elizabeth Craft Designs Reindeer die set.  You have probably noticed that I love this die set, because I use it so much!    It is a great die set to use alone or in combination with a lot of other die sets.  It is a great die set to create Christmas/Winter cards, but can also be used for many other types of cards.

This is a 6-inch square card.  There are many layers to create this card.

Use a piece of white card stock 5 3/4 inches square to create the cloud background.  Use the Earth & Sky Stencil to sponge blue ink around the cloud stencil.  This only needs to be sponged about half way down.  Attach this piece to the front of the card.

Use the A Way With Words Merry Christmas die set and die cut the sentiment using metallic silver card stock.  Attach to the upper right corner of the card.

CountryScapes - Mountains

Use the CountryScapes Mountains die set and die cut the three different mountain  layers.  Color the trees and attach each layer under the sentiment.  These die cuts are going to give a lot of depth to this scene.

Use the Reindeer die set and die cut four snow banks.  Attach each one to the front of the card, alternating the snow mounds.  You want different layers of snow to tuck the pine trees in.

Use the Reindeer die set and die cut 5 pine trees, using white Soft Finish Cardstock.  Color with markers.  Tuck the trees down in the snowbanks.  Use dimensional tape behind the four trees in the foreground and the back tree can be glued to the card.

Use the Reindeer die set and die cut both reindeer.  Color and attach the jumping reindeer behind the pine tree on the left.  Use dimensional tape.   Color and attach the other reindeer near the bottom of the card, as shown.

This type of card is great to use when you need a masculine card.

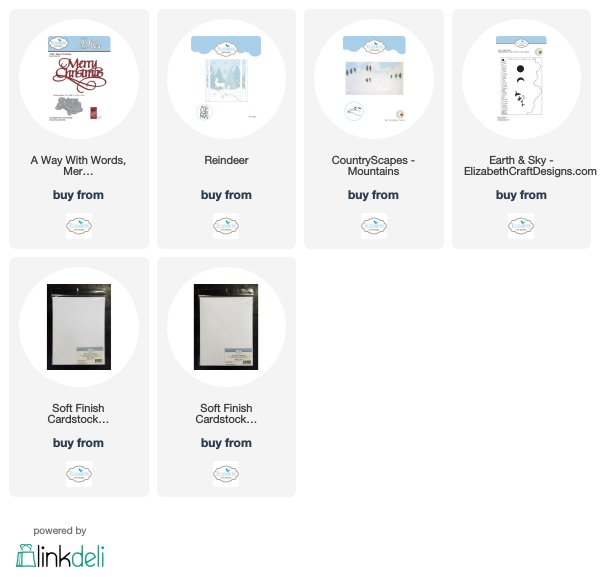
Links for the products are listed below.


Wednesday, October 17, 2018

Peace


I love Christmas cards with trees for a peaceful winter scene.

This is a 6 inch square card.  Cut another piece of white card stock 6 inches square and tape the largest Frame It/Stitched Squares die, centered, on it.  This will die cut the white frame.  

Cut a piece of the ModaScrap Let It Snow design paper 5 3/4 inch square and use 3mm Clear Double Sided Adhesive along the edges to attach to the back of the white frame.  Attach the frame to the front of the card.

Use the Reindeer die set and die cut 3 trees, and 2 snow banks using white Soft Finish Cardstock. 

Glue the two snowbanks together, alternating mounds, cutting to fit inside the frame, and glue only around the outside edges.  Leave the top of the snow open so you can tuck in the trees.

Attach the 3 trees, gluing down the tree in the middle and using dimensional tape for the other 2 trees.  

Use the CountryScape Woods 1 die set and die cut 1 white tree.  Attach to the right side of the card, using glue.

Use the A Way With Words Love, Joy, Peace  die set and die cut Peace using blue card stock.  Attach to the bottom of the card below the pine trees.

Use Kids Glue and add small amounts of glue on the tips of the pine trees, on the branches of the birch tree, and along the edges of the snowbanks.  Sprinkle on Cool Diamond Silk Microfine glitter.


Tuesday, May 8, 2018

Life's A Picnic


The new Elizabeth Craft Designs,  Joset Designs product release, is now available.  The design team has completed cards with all the new products.  You can see these cards on the Elizabeth Craft Designs Blog at this LINK.

I have created an outdoors BBQ scene for this card.  

Step 1.  This is a 6 inch card.  Cut a piece of white card stock  5 3/4 inches square.  Use the Earth & Sky Stencil to sponge on clouds on the top half.  Attach to the front of the card.  

Step 2.  Use the CountryScapes Mountains die and die cut two edges with the trees.  Only one of these edges will be used, but the a couple of the trees will be added to one die cut.

Step 3.  Use the Adventure Edges die set and die cut one rolling hills edge.  This piece must be long enough below the top die cut edge to fit a along the bottom of the card.  Use the Earth  Sky Stencil to add grass to this piece.  

Step 4.  Use the Backyard Barbeque die set to die cut the grill, fire and steak.  Glue the pieces together as shown.

Step 5.  Use the CountryScapes Backyard 3 die set to die cut the tree.  Use the Leafy Branch die set to die cut the green leaves for the tree.  Cut the leaves from the branch and attach to the die cut tree branches.

Step 6.  Use the CountryScapes Nantucket Fence die set for the white fence.

Step 7.  Use the CountryScapes Garden Edges Tulip die set for the Tulips.  Shape the tulips using the Flower Tool Kit and using Kids Choice Glue.  

Step 8.  Use the Adventure Edges die set for the die cut grass at the bottom of the card.

Step 9.  Use the Rainbow Sky die set and die cut two clouds.  

Step 10.  Attach all the pieces as shown.


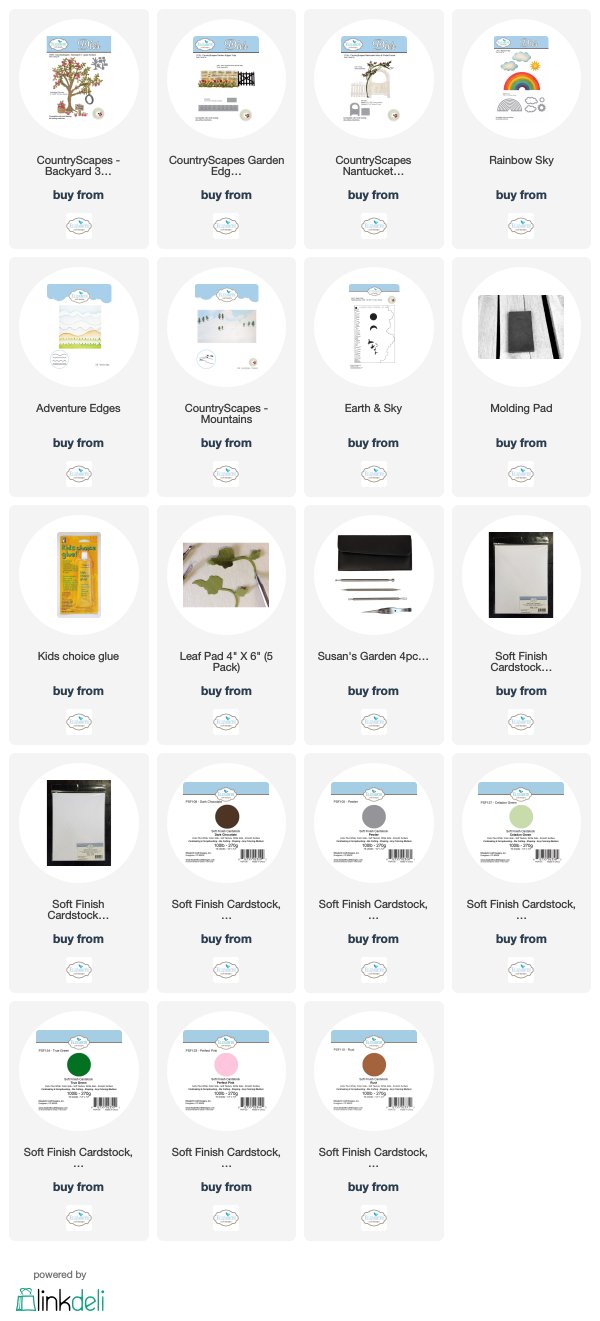
All the products used for this card are pictured and linked below.


Tuesday, April 17, 2018

Design Team April Challenge


Today the Elizabeth Craft Design team has a fun challenge to use the Scissor Spring Mechanism.  I have used the Scissor Spring to pop up the Bee on my card.  Be sure to go over to the Elizabeth Craft Designs Blog at this LINK to see all the fun ideas you can use this die set for.


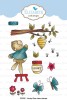
This is a picture of the Scissor Spring Mechanism die set.  

Before I describe my card, I want to tell you about your chance to win a Gift Card from Elizabeth Craft Designs.

*******************
For today's challenge Elizabeth Craft Designs is giving away a $20 Gift Card to use on their website to 3 winners

To enter simply leave a comment on the Elizabeth Craft Designs Facebook Giveaway Blog Post, or the Elizabeth Craft Designs Challenge post, and tell us What Elizabeth Craft Designs dies or stamp sets would you use with the Scissor Spring Mechanism die set to create a card, scrapbook layout of home decor item?

Three lucky winners will be selected in a random drawing. 

The winners will be announced on Friday, April 20th on the Elizabeth Craft Designs Blog and Facebook page.

*****************

To create my card start with a 6-inch square card.

Step 1.  Cut a 5 3/4 inch square piece of white card stock, that will be used for the background.

Step 2.  Use Susan's Earth & Sky Stencil to sponge blue ink over the cloud stencil onto the top half of the white card stock. 

Step 3.  Use the Adventure Edges die set and die cut a green 'hilly' edge that will cover the lower half of the card. Attach the edge to the lower portion of the card.

Step 4.  Use Joset's Bee die set to die cut one Bee.  Use Vellum to die cut the wings.  Assemble.

Step 5.  Use Joset's Bee Hive die set to die cut the bee hive.  Glue the pieces together.

Step 6.  Use the CountryScapes Hollyhock die set to die cut pieces for the hollyhock.  Shape with Susan's Flower Tool Kit and assemble.   Use yellow Prills in the center of each flower. 

Step 7.  Use the CountryScapes Clematis die set to die cut the white flowers.  Shape the flowers using Susan's Flower Tool Kit.  Add Prills to the centers of the flowers.  

Step 8.  For the flower stems for the white flowers, use the Garden Notes Lavender die set.  Use only the lower portion of this die cut and attach the white flowers.  Using the lower section of the Lavender die cut will create a wide bushy flower 'bush'.  

Step 9.  Use the CountryScapes Garden Edges - Hyacinth die set and create the purple hyacinth edge.  Cut two hyacinth off to separate the flowers for the bottom edge of the card.  

Step 10.  Use the Adventure Edges die set and die cut two strips of grass.  

Step 11.  Use the Pair of Leaves l  die set and die cut one set of leaves.  These leaves will resemble a bush beside the bee hive.

Step 12.  Use the Leafy Branch die set to die cut one branch.  A small portion of these leaves will be used behind the white flower bush.  

Step 13.  Use the Rainbow Sky die set to die cut two clouds and one sun.  Lightly sponge blue ink around the edges of the clouds and yellow ink on the edges of the sun.  Attach these pieces to the top of the card, over the sponged cloud sky.  

Step 14.  Use the Bee Sentiments stamp set and stamp the sentiment, using VersaFine black ink and clear emboss.  Die cut using the Stitched Fishtail Banner die set.  Sponge yellow ink around the edges.  Use another larger Stitched Fishtail Banner die and die cut one black banner slightly larger.  Glue the pieces together.  Cut the left edge at an angle and attach over the lower edge of the die cut sun.

Step 15.  Assemble all the die cut pieces, as shown, to complete the scene.


Step 16.  Use the Scissor Spring Mechanism die set and die cut the smallest mechanism, using clear acetate.  Use Clear Double Sided Adhesive on both the top and bottom of the mechanism to attach the bee to the card.

This card is just a little dimensional.  The bee presses down flat, but some of the flowers are dimensional.  I would recommend mailing this card in one of the clear acrylic boxes from Elizabeth Craft Designs

Be sure to go over the the Elizabeth Craft Designs Blog to view all the creative ways the design team has used the Scissor Spring Mechanism, and be sure to leave a comment for a chance to win one of the $20 Gift Cards.

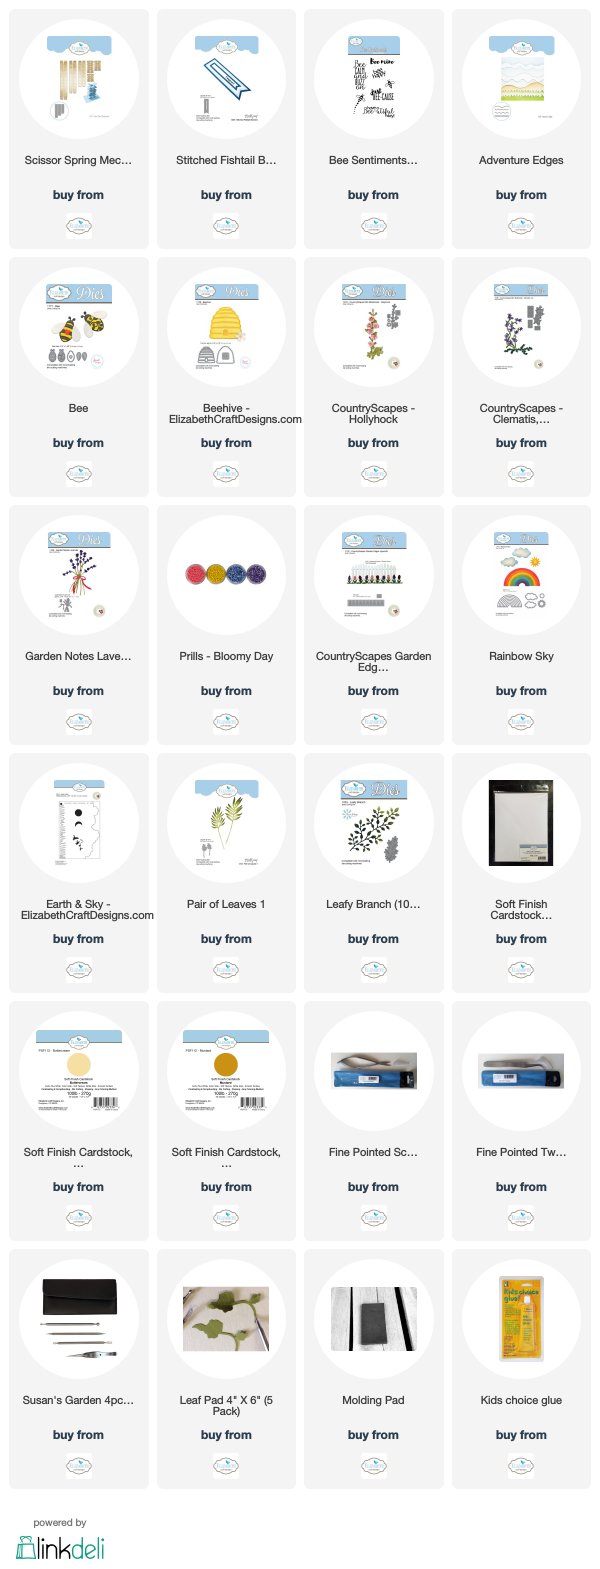
You can purchase the products used for this card by clicking on the product pictures below.


Thursday, March 29, 2018

Lupine Mountain Scene


It is fun to create different types of cards.  As you know, I love creating floral cards, but today I wanted to work with Susan's Stencils to create a mountain scene.  I still wanted to create a pretty flower for dimension, so I added one Lupine flower, which is commonly found up in the mountains.

The piece stenciled is a rectangle die cut using the largest rectangle from the Dashing  Rectangles die set.  

Using a variety of Distress Inks, Susan's stencils were used for the scene.  First the Earth & Sky stencil was used to create a cloudy sky which comes down about half way.

The Mountain & Split Rail stencil was used to sponge on blue mountains just below the clouds.

The Snowstorm and Mounds stencil was used to create different levels of grass mounds below the mountains.

The Shade Tree Stencil was used to create the shade tree.

The Evergreen Grove Stencil was used to sponge on four evergreens on the right side and one evergreen on the left of the Shade Tree

The Behind the Scenes Stencil was used to sponge on three deer.  The stencil was turned over to create a deer facing the two deer on the right.  A green marker was used to add a few grass blades around the feet of the deer and the base of the Shade Tree.

The lower portion of the piece was sponged with green ink then the grass was sponged on using the Earth &  Sky Stencil.  

The flying Geese were added using the Earth & Sky Stencil.

The Dashing Rectangle used previously, was used again to die cut an opening in a piece of white card stock that is approximately 3/4 inch larger than the die.  This created an open frame to fit around the completed scene that was created on the Dashing Rectangle.  Use a Score Board to score around the edges of the frame, for a finished appearance.  

Susan's Garden Notes Bluebell-Lupine die set was used to create the pink flower.  It was shaded using pale lime green, light and dark pink markers.  The flower and leaves were shaped using Susan's Flower Tool Kit.  

Two Ladder Ferns were die cut using green card stock and placed behind the flower.  

Joset's Spring Basket die set was used to die cut two grass die cuts  These were placed in front of the flower.

Have you tried using the stencils to create a scene.  It is very easy to do and a lot of fun to use your imagination.  I hope you will give it a try.

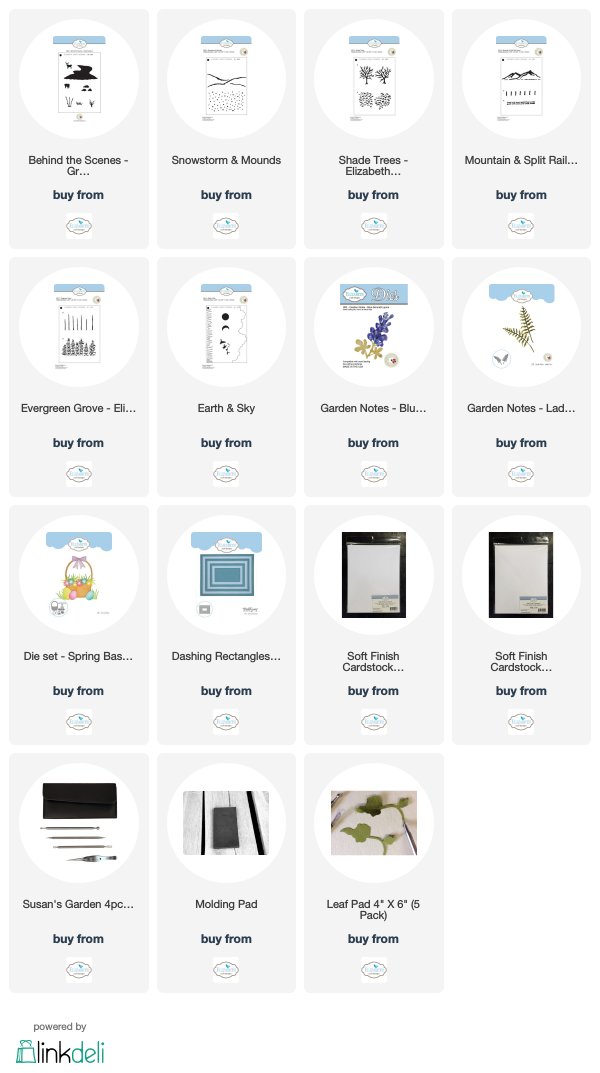
The products used a linked below.   



Thursday, March 22, 2018

Spring


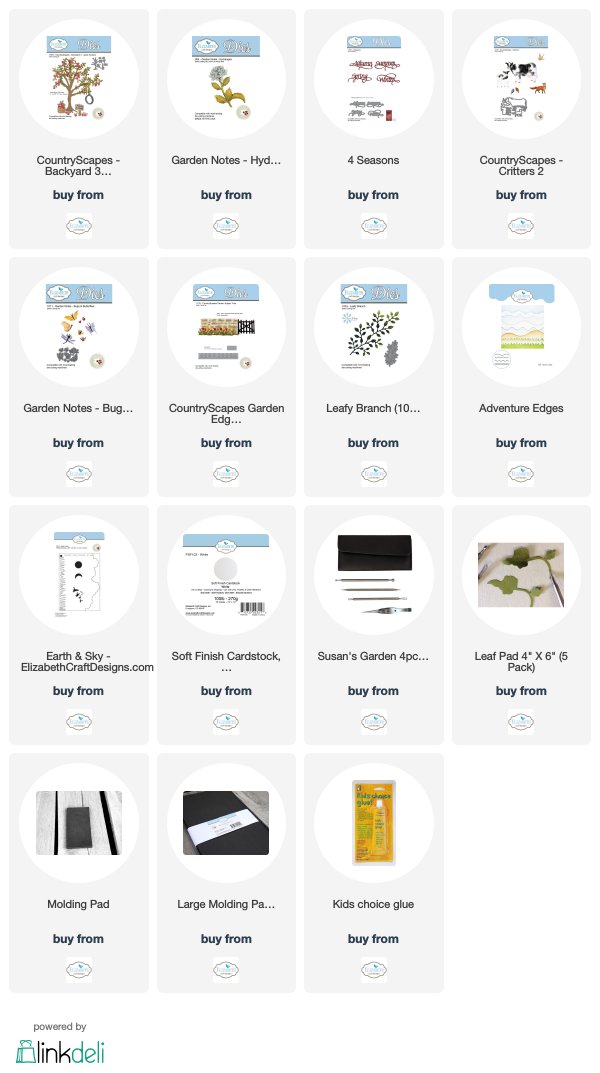
I love working with Susan's CountryScapes die sets.  Today I used the Backyard 3 die set to create a Spring Tree.

This is a 6-inch card.

Use a piece of white card stock slightly smaller than the front of the card.  Use Susan's Earth & Sky Stencil and sponge blue ink around the cloud stencil, on the upper half of this piece.  

Use the Adventure Edges die set and die cut two green landscape pieces.  Glue the two pieces together to create a hilly background on the bottom of the card.  

CountryScapes - Backyard 3 Apple Orchard

Use the Backyard 3 die set to die the tree plus a few of the branches.   Use the Kids Glue to add the as many branches as you want to build the tree to the size you want.

Use the Leafy Branch die set to die cut the several branches.  Cut the leaves off this branch to add to the tree branches.  There are leaves in the Backyard 3 die set, but for this tree I preferred to use the leaves from the Leafy Branch.

Use the Garden Notes small Hydrangea die set to die cut pink flowers for the tree.  Shape the flowers using the Flower Tool Kit.  Use a fine point marker to add a dark pink center to each flower.

Use the CountryScapes Garden Edges - Tulip die set to create the Tulips.  Cut the line of tulips apart to create a bunch on the left side of the tree.  

Use the A Way With Words - 4 Seasons die set to die cut the sentiment.  Attach to the right of the tree.

Use the Critters 2 die set to die cut the birds.  Glue two birds on the lower branches of the tree and the flying bird on the upper right corner.  Add a small piece of dimensional tape behind the flying bird, for dimension.

Use the Garden Notes Bugs & Butterfly die set to die cut the little butterfly above the tulips.

You can shop for the products used by clicking on the products shown below.
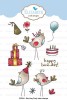

Thank you for stopping by today.


Monday, March 5, 2018

Country Scene


I love to create flowers with Susan Tierney-Cockburn's flower die sets, but I also love to create scenes working with her CountryScape die sets.  

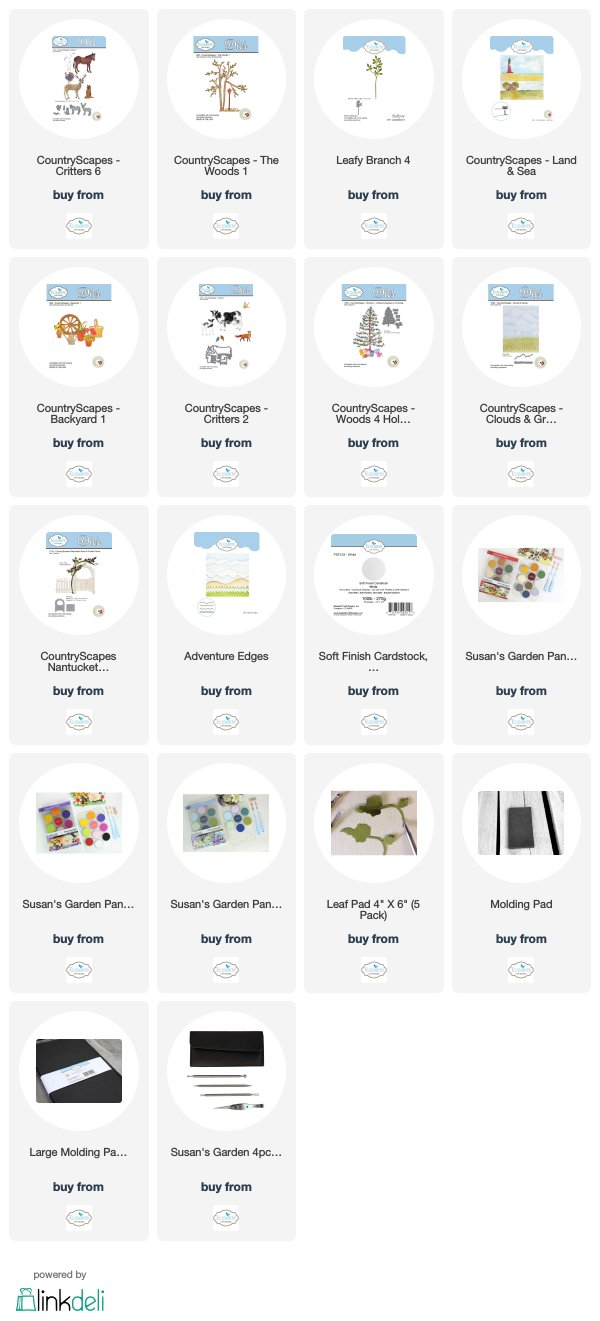
This is a 6-inch square card.  All the CountryScape pieces were die cut using white 100 lb Soft Finish Cardstock.  A variety of Susan's PanPastels and Distress Inks were used to color the background and each die cut piece.

Susan's Clouds and Grass Stencil was used to create the cloudy sky.  

Garden Notes Land & Sea die set was used to die cut the barn background.  A variety of colors were sponged on the ground below the barn - yellows, oranges, red, brown and green.

The CountryScapes Nantucket Fence was die cut three times and lightly sponged with Gray PanPastels.

Two CountryScapes Woods 1 trees were die cut and colored.  For the leaves I used were die cut using the Leafy Branch 4 die set.  The leaves were colored in Fall colors.

The CountryScapes Woods 4 die set was used to die cut the pine tree.  A portion of the bottom of the tree was cut off, so it fit behind the fence.

Using the Adventure Edges die set, four grass pieces were cut.  Each blade of grass was cut, using the Elizabeth Craft Designs Fine Pointed Scissors, to create thinner blades of grass.  Two strips of grass were glued behind the bottom of the fence and two pieces were glued to the front of the fence.

Use the CountryScapes Backyard 1 die set to die cut the tall grass next to the birch tree on the right.  Use the same set to die cut the plant next to the birch tree on the left.  Use the Garden Notes Sunflower die set to die cut small yellow flowers to put on the green plant on the left. 

Use the CountryScapes Critters 6 die set and die cut three turkeys.  Color and attach them using dimensional tape.  

Use the CountryScapes Critters 2 die set and die cut the flying bird and three of the small birds.  Attach two of the small birds to the fence and one bird in the tree.  Attach the flying bird at top of card.

You can shop for the products used to create this card by clicking on the products below.

Thank you for visiting my blog today.


Sunday, November 12, 2017

Turkey Scene


This is a card I designed last year.  One of my followers asked if I would post it again.  It was a very fun card to create.  I hope it gives you inspiration to create a similar card.  

This autumn scene was created using Susan's CountryScapes die sets.  

This is a 6x6 inch card.  A slightly smaller piece of white card stock was used for the background.  The top portion of it was sponged with Stormy Sky Distress Ink.  

Using the CountryScapes Cloud die, four cloud edges were die cut so they could be layered at different angles to form a cloudy sky.  Using Adventure Edges, two landscapes were die cut using tan card stock. They were layered below the clouds.  

Using the Woods 1 die set, four trees were die cut using Woods Effect design paper. Three of the trees were attached over the tan landscape.  One of the trees was cut apart to become a bush in front of one of the fence posts.  Using the leaf  die in the Woods 1 die set, a lot of little leaves were die cut.  They were colored using PanPastels.

The Kentucky 3-Rail Horse Fence was die cut twice to fit across the card.  The fence had Clear Double Sided Adhesive on the back so it could be attached over the trees.  One side of the fence had to be trimmed off to fit the card front.  You can use a piece of the ModaScrap Woods Effect design paper to die cut the fence for a wood grain finish.

Using the CountryScapes Critters 6 die set, three turkeys were die cut and colored with markers.  Using the CountryScapes Critters 2 die set, two of each of the birds were die cut and color sponged on.

Using the CountryScapes Cloud/Grass or Adventure Edges die set, a strip of grass was die cut, using tan card stock.  

The tree top, that was cut down, was attached next to the center fence post.  A few of the tiny leaves were attached to the branches.  All the other little leaves were attached across the bottom of the card, to resemble fallen leaves on the ground.

The three turkeys were attached at the bottom of the card.  The six little birds were attached in the trees and on the fence rail.

It is so fun to use your imagination to create a country scene using Susan's CountryScapes dies.  

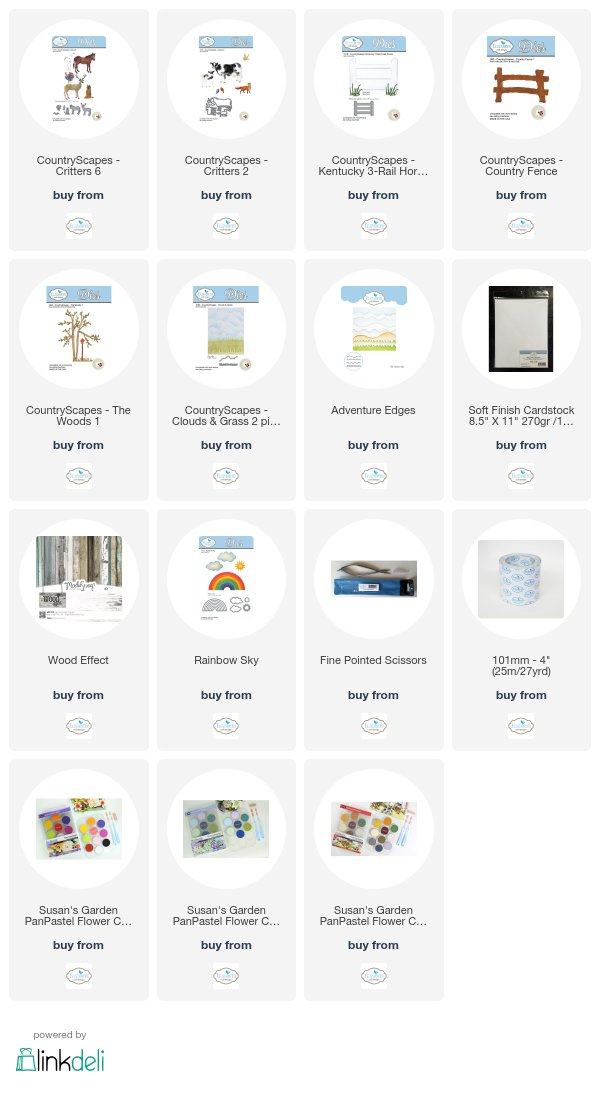
You can shop for the products from Elizabeth Craft Designs by clinking on the links below.
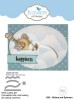


Wednesday, August 9, 2017

Window with Flower Box


Good Morning.  Today I have designed a card using Susan's new Garden Notes Square Window & Flower Box die set.  Here is how the card was created:

  1.  This is a 6 inch square card.  Cover the front of the card with a piece of the Through The Lens-Wood card stock.
  2. Use White Soft Finish Cardstock and die cut the Garden Notes Square Window and Flower Box.
  3. Use the Romantic Corner die set and die cut the largest corner using White Soft Finish Cardstock.  Attach the corner so it looks like a lacy curtain at the top of the window, trimming off the pointed corner.  Glue to the window frame.
  4. Cut and glue a piece of Buttercream Soft Finish Cardstock to fit behind the window.
  5.  Attach the Window Box to the bottom of the window.
  6. Use the CountryScapes Garden Edges Hyacinth die set for the flowers in the flower box.  Die cut the stems using Forest Green Soft Finish card stock and Perfect Purple Soft Finish Cardstock for the flowers.  Attach the Hyacinths along the top of the flower box.
  7. Use the Garden Notes Ivy Vine to die cut four vines.  Attach the ivy along the front of the Flower Box.
  8. Use the CountryScapes Wisteria Vine die set and create the Wisteria Vine to go over the top of the window.  Use Perfect Purple, Lavender and Dusty Lavender Soft Finish Cardstock to die cut the purple flowers.  Using three shades of purple gives the flowers more dimension.  When gluing the flowers to the branch, be sure to mix up the shades of purple on each flower.
What creative idea do you have for this fun new Garden Notes Square Window and Flower Box?

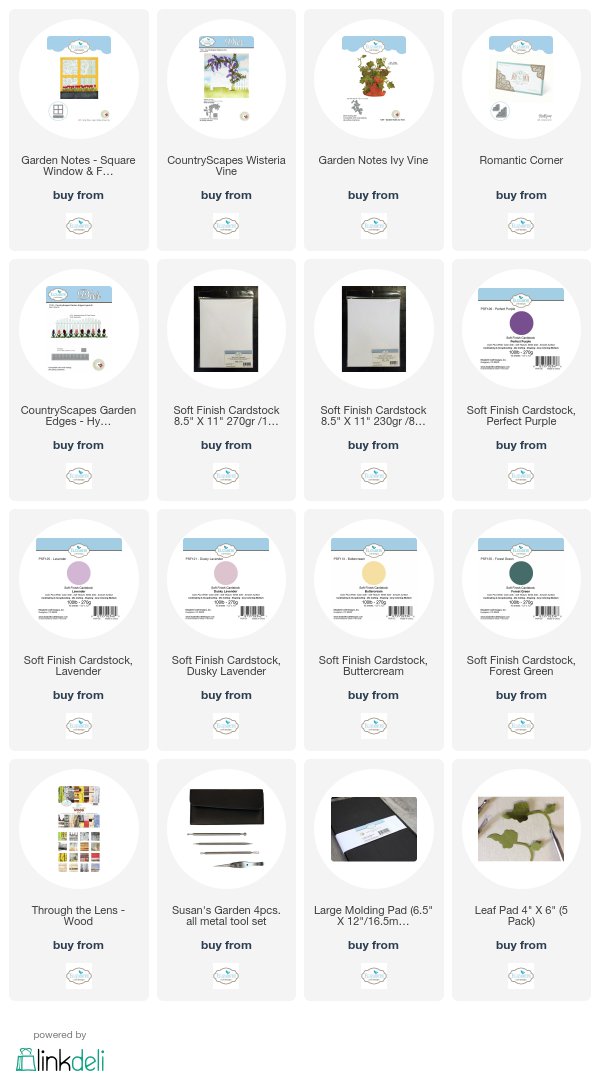
Links to all the products are shown below.



Wednesday, July 5, 2017

Christmas Cottage


 It is a little early to start thinking about Christmas, but I couldn't resist using one of Susan Tierney-Cockburn's new Cottage die sets to create a Christmas scene.  I also used a variety of Susan's CountryScapes die sets to complete this card.

Cut two 5 1/2 inch square pieces of White Soft Finish Cardstock.

On one of the square pieces, use Susan's Earth & Sky Stencil to sponge blue ink around the cloud stencil on the top fourth of the 5 1/2 square.

From the second square, die cut the Mountain border using the CountryScapes Mountains die set.  Color the trees with a green marker.

Use the CountryScapes Woods 4 die set to die cut three Evergreen trees.

CountryScapes - English Cottage 2


 Use the CountryScapes English Cottage 2 die set to die cut all the pieces from White Soft Finish Cardstock.  Color all pieces with sponged-on inks or with markers, or a combination. Note that the windows are shown as horizontal on the die set packaging, but on the project they are vertical, with lines drawn on each side to resemble shutters. Assemble the cottage.


Use the CountryScapes New England Stonewall & Gate die set to cut three gates.  On two of the gates, use the Elizabeth Craft Designs Fine Pointed Scissors to cut off the cross bars, but leave the cross bars on one gate. (That one will be placed in front of the door on the cottage in an upcoming step).

 Use the CountryScapes Backyard 2 die set to die cut the mailbox.  Color with markers and assemble.  Use the same die set to die cut the small red bow.
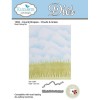
 Use the CountryScapes Backyard 4 die set to die cut the small boughs and poinsettia flowers.

 Use the The CountryScapes Mountains die set to create the snow bank at the bottom of the scene.  Cut off the Evergreen trees.

 Attach the 5 1/2 inch square with the die cut Mountains at the top, overlapping the clouds.

 Add the Cottage in the center of the card.

 Attach a single Evergreen tree on the right side of the Cottage.

 Add the fence in front of the Cottage as shown.  Place the gate so it is in front of the door of the Cottage.  Cut off a couple of fence posts to add over to the right side of the card.  Add the other fence pieces to the left of the fence.

Use two of the Evergreen die cut trees and glue them together down the trunk of the tree, offsetting and alternating the branches to create a fuller tree.  Attach this tree to the left side of the Cottage.

 Attach the mailbox next to the large Evergreen and to the left of the gate.

 Add the die cut snow mound to the bottom of the card.

To add snow to the scene, add White Flower Soft.  Add dots of glue with a toothpick or corsage pin where you want the snowflakes and gently press on the Flower Soft.

 Trim the edges of the square. Mount the completed card front to a top- or side-fold card base in a dark color of choice. (For example: Forest Green Soft Finish Cardstock)

The products from Elizabeth Craft Designs are linked below.
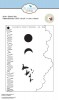


Tuesday, April 18, 2017

April Design Team Color Challenge


It is time for the April Elizabeth Craft Designs, Design Team Color Challenge. This month our challenge is to design a card plus to complete the inside.  You can see all the cards created by the Design Team on the Elizabeth Craft Designs Blog at this LINK.
For today's challenge, Elizabeth Craft Designs is giving away a "$20 gift card to use on the Elizabeth Craft Designs website” to 3 winners. 

To enter simply leave a comment on the Elizabeth Craft Designs Challenge post (LINK above) and tell us "What is your favorite or most used sentiment when creating a card?

Three lucky winners will be selected in a random drawing.  The winners will be announced on Friday, April 21 on the Elizabeth Craft Designs blog.

*****************

For my card I chose the Krista Schneider Bird-day Party stamps for the theme. I also used Krista's Honey Bear stamp set.

This is a 6-inch square card. Use a 5 1/2 inch square piece of card stock for the front of the card.  Use Susan's Earth & Sky Stencil to sponge on clouds and grass, as shown in the picture above.  

 I created a Slider Card using the Joset Designs Slider and Spinners die set.  For instructions on how to create a Slider/Spinner card, you can watch the Els van de Burgt Technique Friday with Els Spinner Card Video at this LINK.  For the Slider, use the Scalloped Heart Die set to die cut the heart.  Use the sentiment from the Bird-day Party stamp set and stamp it inside the heart using black ink.  Assemble the slider as shown on the video.

Use the Bird-day Party stamp set to stamp the birds, gifts and balloons.  Color with either markers or watercolors.  Die cut the pieces using the matching dies.

Use the Honey Bear stamp set to stamp three trees.  Color and cut out with the matching dies.  (Note:  The tree i created is the branch that has the bee hive attached.  Die cut the branches and carefully cut off the bee hive, to create trees.) 

Attach all the Bird-day Party and Honey Bear tree die cut pieces to the card as shown.

Use Susan's CountryScapes Cloud & Sky die set to die cut grass for the bottom of the card.

Use the Els van de Burgt Corners 1 die set to die cut two blue corners and attach to the top of the card.


To complete the inside of the card, I used the A Way With Words Happy Birthday die set.  It was die cut using blue card stock.  One of the birds from the Bird-day Party was attached on the lower right corner.  

Links to the Elizabeth Craft Designs products are below.


LinkWithin

Related Posts with Thumbnails