Today the Elizabeth Craft Design Team was challenged to create a card or project using Susan's Garden die sets in a Christmas Theme. We are to use traditional Christmas colors -- red, green, gold/silver. You can see all the design team projects on the Elizabeth Craft Designs Blog at this LINK.
I chose to create a Christmas Votive using Susan's Garden Notes Carolina Window and Shutter die set for the votive and decorated it with Garden Notes Poinsettia die sets.
As with all challenges, Elizabeth Craft Designs is giving you another chance to win a prize.
For the Challenge today, Elizabeth Craft Designs is giving away a $20 Gift Card to use on the Elizabeth Craft Designs website to 3 winners.

To enter, simply leave a comment on the Elizabeth Craft Designs blog post and leave a comment stating "What Susan Garden products would you like to find under your Christmas tree this year?”
Elizabeth Craft Designs will select 3 lucky winners in a random drawing.
The winners will be announced on Friday, December 15, on the Elizabeth Craft Designs blog.
Good Luck!
Good Luck!
*******************

Here are the directions for creating the votive:
Start by die cutting four Garden Notes Carolina Windows. Also cut a long strip of cardstock approximately 1/4 inch wide, that will be used to connect the windows to form the square votive. Score the long strip down the center.

Cut four pieces of the long strip, cut the length of the square part of the window. Add a piece of Clear Double Sided Adhesive along the outside edges of the long pieces. Attach the pieces to the backside of each die cut window, to create a square box.

Create a bottom for the votive. Place the square window, you just completed, on top of a piece of card stock and mark the insides lightly with a pencil. Remove votive and cut the square with 1/4 inch margins on each side. Score the square along the pencil lines and crease well. Cut a slight 'V' shape on each corner, which will help the bottom fit easy inside votive sides.

Cut two squares the same size as the inside of the square just created. These will be glued inside, on the bottom, to create a firm bottom base. (There will be three layers of cardstock on the bottom.)

Die cut four additional windows. Cut four pieces of acetate the shape of the window.

Attach Clear Double Sided Adhesive around the outside edges of these four windows then attach the acetate.

Attach Clear Double Sided Adhesive to the outside edges of the bottom square piece. Attach the bottom piece ito the inside of the square votive. Be sure bottom piece is even with the lower edge of the die cut windows.
Peel backing off the extra die cut windows and attach to the inside of the votive making sure all edges are attached evenly. By adding the extra die cut window pieces inside, it will make the votive strong. The acetate should be between the two die cut window pieces.

Use the Dotted Scallop Circle die set and die cut three of the largest circles. Attach the three circles together to create a firm base.

Use the Garden Notes Whitepine Bough & Pinecone die set to die cut 8 pine boughs. Use the Garden Notes Mistletoe die set to die cut 4 branches. Attach all these branches around the die cut circle. Attach the Mistletoe pieces first, then the pine branches on top.

Use the Berry Branch die set and die cut 4 branches. Use Gold Nuvo Crystal Dots to create berries on the branches. Let dry thoroughly and attach over the pine boughs.
Add Clear Double Sided Adhesive to the bottom of the votive and attach to the center of the decorated circle.

Use the Garden Notes Poinsettia die set and create four poinsettias, using red card stock. Attach one poinsettia to each corner of the votive, using dimensional glue dots. Using gold cording, create 4 bows to be added to each corner, behind the poinsettia.
Use the Snowflake die set and die cut one gold snowflake and attach to the front of the votive. Add a, battery operated, small candle inside the votive.
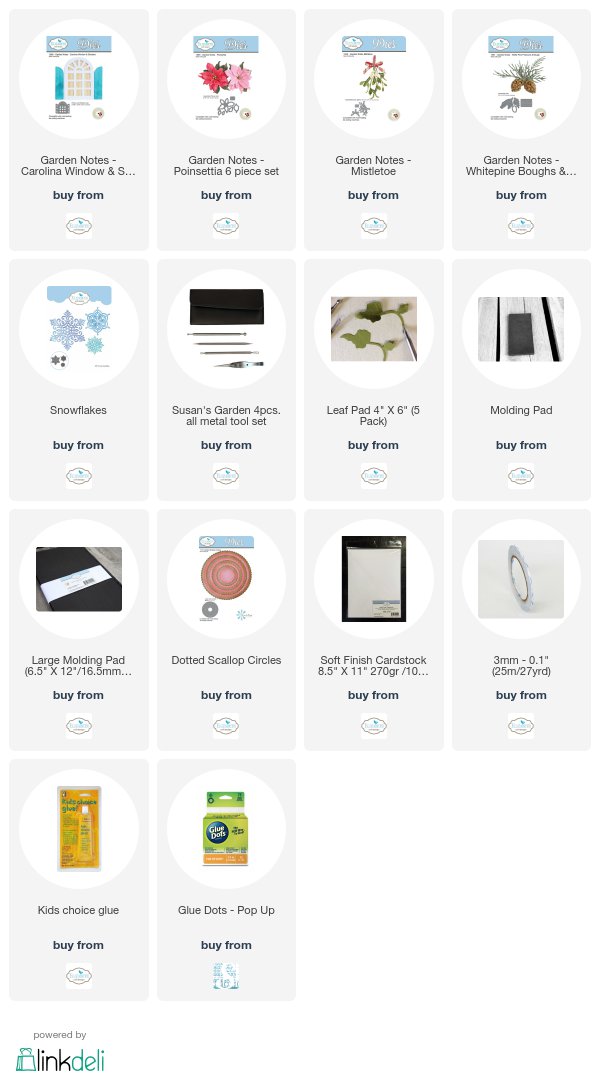
Hope you enjoyed my project. You can shop for the products used by clicking on the products listed below.