Showing posts with label Krista Schneider. Show all posts

Thursday, November 8, 2018

Winter Blessings

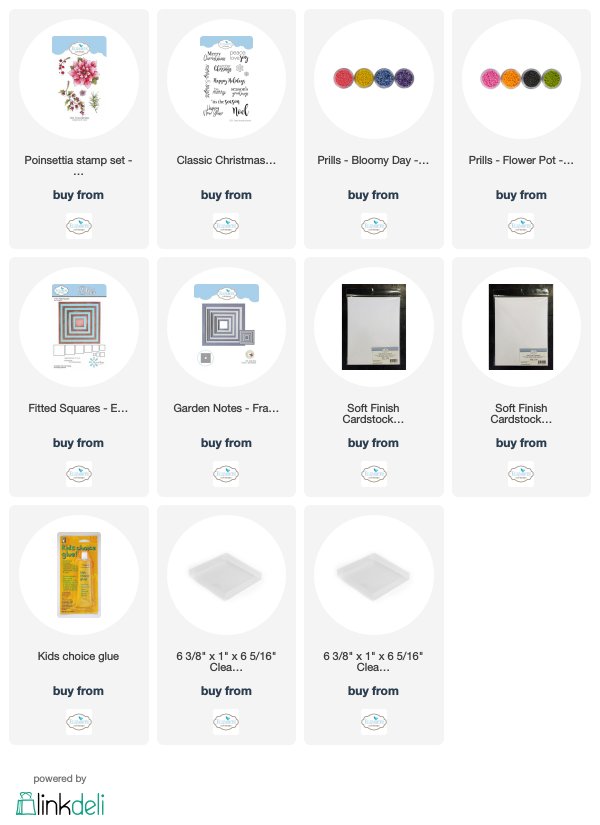
This new poinsettia stamp set by Krista Schneider is so beautiful.  

This is a 6-inch card.  Cut a piece of white card stock 6 inches square, score around the edges and attach to the front of the card.

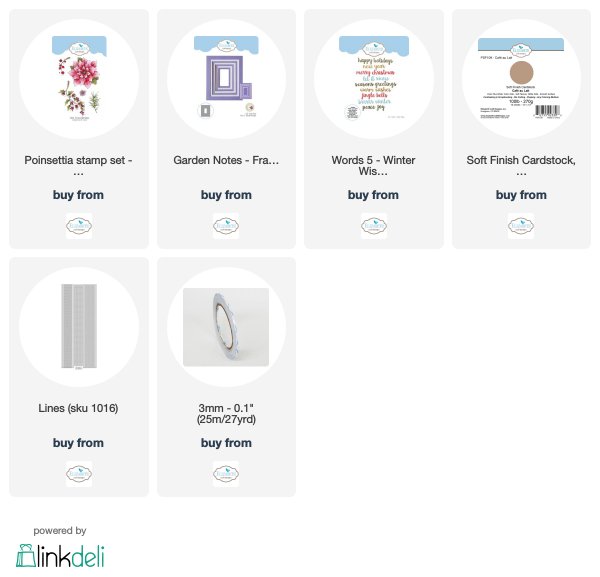
Use the Fitted Square die set and die cut the a solid piece of card stock, using the largest die.  In the center of this square, use the Garden Notes Frame It/Stitched Square die set and die cut an opening.  This piece should be attached to the front of the card using dimensional tape.

Use the Fitted Squares and  the same Garden Notes Frame It/ Stitched Square die used above, to die cut the narrow frame for the front of the card.  Glue the narrow frame over the opening in the piece created with the die cut opening in the center.

Use the Classic Xmas Sentiments stamp set and stamp the sentiment in the upper left Corner, using black ink.
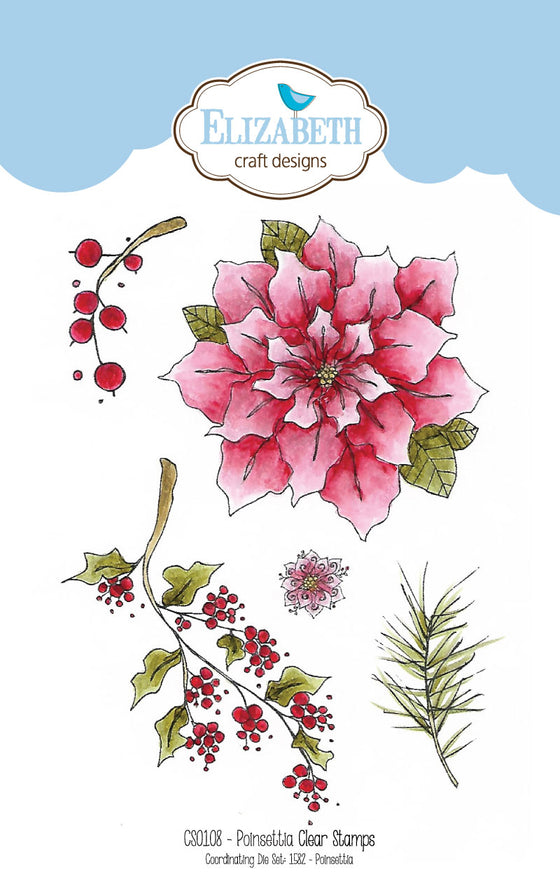
Poinsettia stamp set

Use the Poinsettia Stamp Set and stamp one poinsettia, three berry branches, and four pine branches.  Color with markers and die cut using the matching dies to cut the pieces out.  Before adding the arrangement, use a sponge and light sponge pale yellow PanPastel inside the square frame to give a little highlight behind the flower.  Arrange the die cut pieces inside the frame.  Add yellow and green Prills to the center of the Poinsettia.

This card is flat enough to be mailed in a regular 6 inch square envelope.  


Tuesday, October 16, 2018

All Is Calm All Is Bright

It is time for the design team challenge at Elizabeth Craft Designs.  This month we are challenged to create a Christmas or Winter card using any of Krista Schneider's new Christmas/Winter themed stamp sets.  You can see all the great cards created by the design team at this LINK.


As in the past, you will be eligible to win a prize by commenting on the Elizabeth Craft Designs challenge post.

For today's challenge, Elizabeth Craft Designs is giving away a $20 Gift Card to use on their website to 3 winners


To enter simply leave a comment on the Elizabeth Craft Designs Challenge post and tell us
Which of the new Krista Schneider stamp sets would you use to create a Christmas card.

Three lucky winners  will be selected in a random drawing and will be announced on Friday, October 19th on the Elizabeth Craft Designs blog.

Good Luck in the drawing.

* * * * * * * * * * * * * * * * * * * *

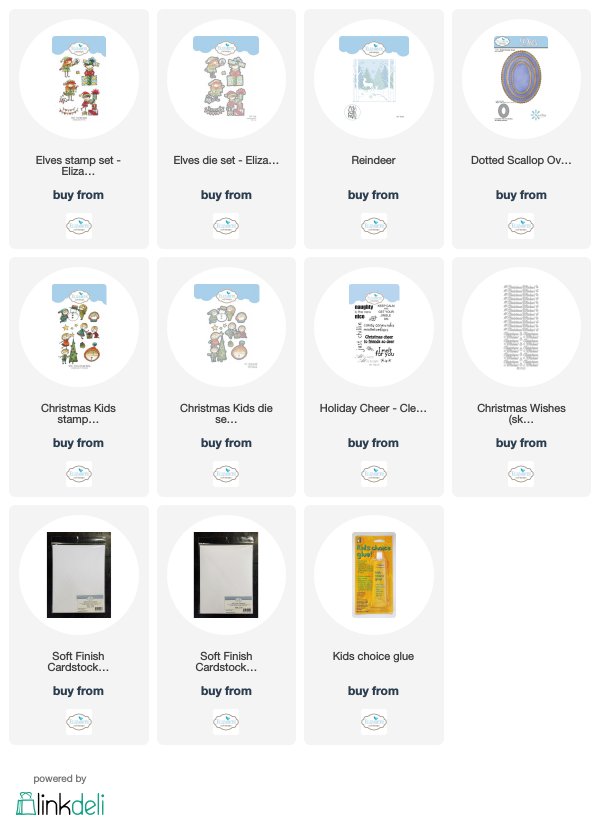
The new Krista die set used for my card today is the Elves clear stamp set and matching die set.

The size of this card is 6 1/2 x 5 inches.  A piece of white card stock cut 6 x 4 1/2 inches was cut and the edges scored, and attached to the front of the card.  An aqua ink was sponged in the center of this piece.

Use the new Krista Schneider's Elvs clear stamp set and stamp the Elf with the Christmas Lights.  Color and die cut with the matching die.  Attach her to the lower left side of the card using dimensional tape.

Use the Reindeer die set and die cut the tree.  Sponge on color.  Attach with dimensional tape beside the Elf.  

Use the Elvs stamp set and stamp the Banners.  Color and die cut with the matching die.  Attach to the tree as shown.

Use the Christmas Kids die set and die cut the large star from a piece of white card stock that has Clear Double Sided Adhesive on top.  Peel off the protective covering and add Gold Silk Microfine Glitter.  Polish the glitter with your finger.  Add to the top of the tree.

Use the Holiday Cheer stamp set and stamp the sentiment.  Use the Dotted Scallop die set and die cut the sentiment.  While the die is still on the die cut sentiment, sponge aqua ink around the edges.  Attach the oval to the top of the card as shown.

Use a light gray marker to add color below the tree and elf.


Reindeer


It is time for the design team challenge at Elizabeth Craft Designs.  This month we are challenged to create a Christmas or Winter card using any of Krista Schneider's new Christmas/Winter themed stamp sets.  You can see all the great cards created by the design team at this LINK.

As in the past, you will be eligible to win a prize by commenting on the Elizabeth Craft Designs challenge post.

For today's challenge, Elizabeth Craft Designs is giving away a $20 Gift Card to use on their website to 3 winners


To enter simply leave a comment on the Elizabeth Craft Designs Challenge post and tell us
Which of the new Krista Schneider stamp sets would you use to create a Christmas card.

Three lucky winners  will be selected in a random drawing and will be announced on Friday, October 19th on the Elizabeth Craft Designs blog.

Good Luck in the drawing.

* * * * * * * * * * * * * * * * * * * *


Reindeer stamp set

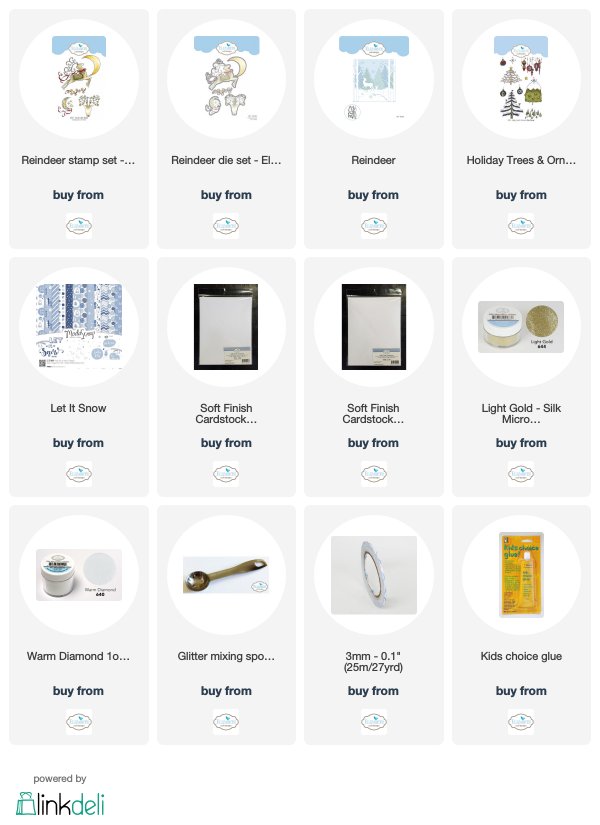
The new Krista stamp set used for this card is the Reindeer stamp set and matching dies.  

The card is 6 inches square. A piece of the ModaScrap Let It Snow design paper was added to the front

Use the Reindeer stamp set and stamp the reindeer/moon.  Color with markers.  Die cut with matching die.  Use a marker the same color as the blue in the design paper and color around the antlers and ribbon.  Use a white opaque pen to color in the white snow dots.  Attach to the top portion of the card, as shown.

Use the Reindeer die set and die cut two snow banks.  Use scissors to create a larger snow bank that will be part of the back snow.  Attach the larger snow bank to the lower half of the card.  Attach the  small snow banks at the bottom of the card by gluing only around the sides and bottom.  The top of the snow banks should be left open so the trees can be pushed down in the snow.

Holiday Trees & Ornaments - Clear Stamps

Use the older Krista Holiday Trees & Ornaments stamp and die set for the trees.  Stamp and color three of the large trees and one of the small group of trees. Use the matching dies to die cut the trees.   Cut the birds off one of the larger trees.  Attach the two larger trees, with birds, with dimensional tape on the left side and the other tree on the right side.  Each of the trees are tucked down in a different level of snow.  Add the small trees on the back snow bank, as shown.

To add sparkle to the card, add glue to the snow on the trees, and the snowbanks.  Sprinkle with Cool Diamond Silk Microfine Glitter.  Use your finger to add a little glue to the moon and sprinkle on Gold Silk Microfine Glitter.

Links to the products used a shown below.


Thursday, October 11, 2018

Happy Holidays Snow Globe


Today I decided to be creative.  Elizabeth Craft Designs has a very cute Snow Globe die set, but it is smaller than what I wanted.  I decided to create my own snow globe.

This is a 6-inch square card.  

To cover the front of the card, a 6-inch square piece of the ModaScrape Let It Snow design paper was used.  To create the round cirecle (globe) the largest Frame It/Stitched Circle die was centered on the Let It Snow design paper.  

Behind the die cut circle is a piece of white card stock that has Cool Diamond Silk Microfine Glitter.  A 6-inch square piece of white card stock was covered with Clear Double Sided Adhesive and Cool Diamond Glitter added.  Polish the glitter with your fingers.  Attach behind the die cut circle.  Attach these pieces to the front of the card.

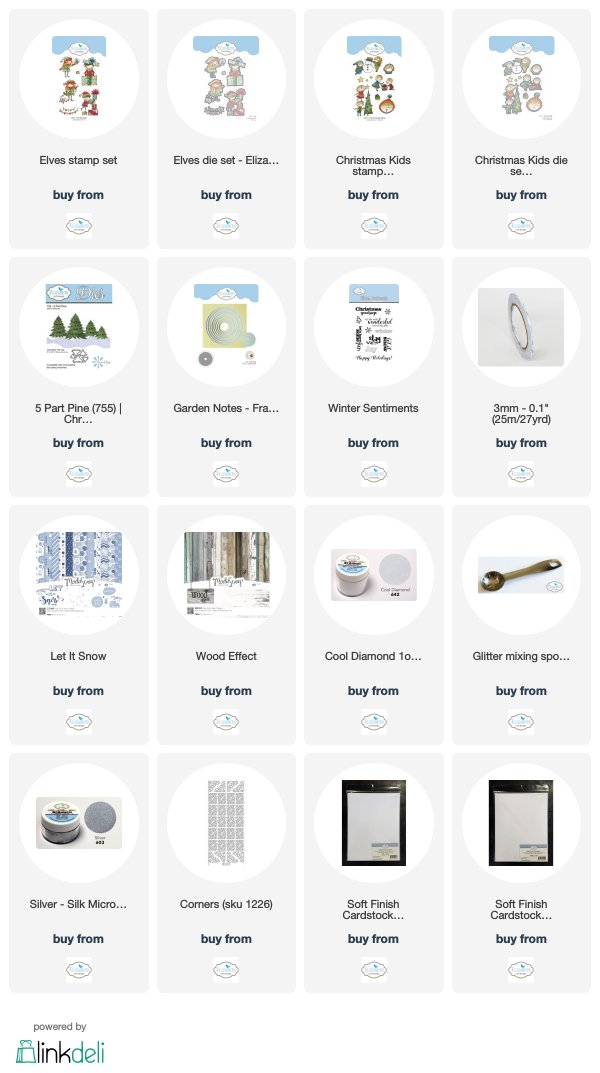
Use a piece of the ModaScrap Wood Effects card stock and cut a base for the snow globe.  Sponge around the edges using black ink.  Use the Winter Sentiments stamp set and stamp the sentiment on the snow globe base.  Attach the base, using dimensional tape, at the bottom of the die cut circle, being sure to align the top outer edges of the base with the edge of the die cut circle.  You want the circle (globe) to appear that it is inside the base.

Use the new Krista Elves stamp set and stamp and color the Elf with gifts.  Die cut using the matching die.

Use the new Krista Christmas Kids stamp set and stamp and color the boy and girl with the gift.  Die cut using the matching die.

Use the Els Van de Burgt Studio 5-Part Pine die set and die cut one tree using silver metallic card stock.   Attach the pieces together using dimensional tape at the bottom of each branch section  Attach the tree in the snow globe toward the upper right side.

Attach the Elf on the left side of the tree with clear double sided adhesive.  Attach the children on the lower right side of the snow globe.

For a finishing touch, add silver Peel Off Sticker Corners to the upper corners of the card.


Wednesday, October 10, 2018

Joy


Today I used one of the stamps in Krista Schneider's new release for this quick and easy Christmas card.  

Poinsettia stamp set

The name of this stamp set is 'Poinsettia'.  This stamp set also has a matching die set.

Use a piece of the Cafe au Lait  Soft Finish card stock cut 10 x 6 1/2 inches.  Score at 5 inches to create a card 5 x 6 1/2 inches.  Optional:  The back of this card can be attached to a piece of gold metallic card stock.

Use the Garden Notes Frame It/Stitched Rectangles die set to die cut the Ivory card stock frame.  Use a smaller Frame It/ Stitched Rectangles die to die cut a piece of ivory card stock to fit inside the frame (5 x 3 inches).

Use the berry branch stamp in the Poinsettia stamp set to stamp the branch in the center of the rectangle piece.  Use masking tape to go around the edges of this piece to mask the center of the card.  Use Tea Dye Distress Ink to sponge inside the masked area to create a border for the stamped image.  Color the berry branch.  Use a thin line black marker to create small dots on the ends of each berry.  

Use the Words 5- Winter Sentiments die set, and gold metallic card stock, to die cut the word 'Joy'.  Attach to the card as shown.

Use Gold Line Peel Off Stickers to outline the outer edge of the frame.


Thursday, September 27, 2018

Krista Schneider Reindeer


Christmas is not far off.  Have you seen all the new Krista Schneider Christmas stamps and matching die sets from Elizabeth Craft Designs?  Today I used her new Reindeer stamp set.

This is a 6-inch square card.  A piece of white card stock cut 5 3/4-inch square was cut and scored around the edges, then attached to the front of the card.  A piece of Navy blue card stock was cut 5 inches square, scored around the edges, and attached in the center of the card.

Krista Schneider's Reindeer was stamped using black Archival ink.  The image was water colored, then die cut using the matching die.  The moon on the Reindeer stamp was stamped on gold metallic card stock and die cut. The moon was attached over the moon on the original die cut.  Attach the reindeer to the lower portion of the card.

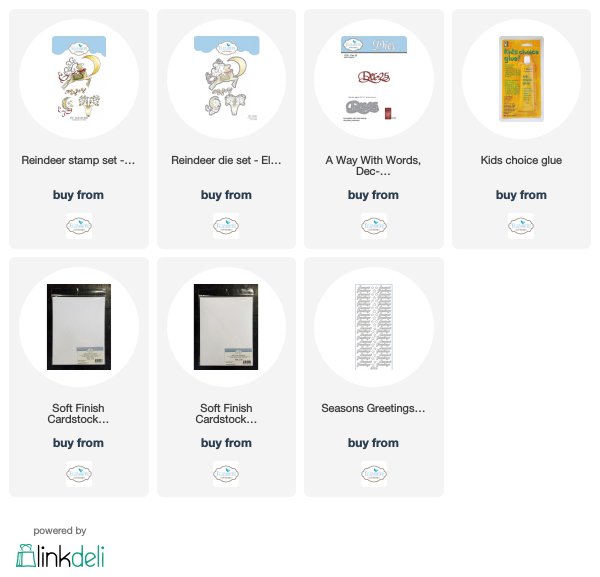
Use Suzanne Cannon's A Way With Words - Dec 25 die set and die cut the date using gold metallic card stock.  Attach at an angle above the Reindeer.

Use the gold Season's Greetings Peel Off Stickers sheet for the gold stars.  Attach the stars around the die cut image.

Links to the products used are provided below.


Wednesday, September 26, 2018

Peace, Love, Joy


This card was designed using one of the new Krista Schneider clear stamp sets available from Elizabeth Craft Designs.

Poinsettia stamp set

The Poinsettia Clear Stamp set also has coordinating dies.

For my card today, I only used the Poinsettia stamp.  The image was stamped on watercolor paper and watercolors were used to color it.  A mask was die cut with the coordinating die and the pine branch was stamped along the bottom.  While the mask was still on, light blue ink was sponged around the flower.

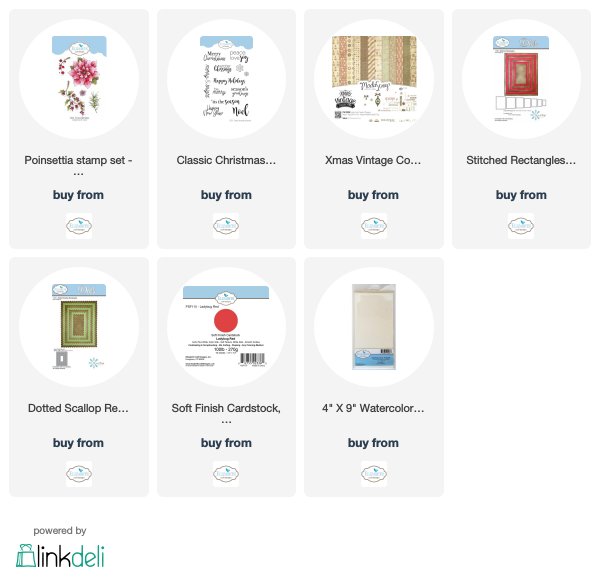
The Stitched Rectangle die set was used to die cut out the stamped image.  For a red border, the Dotted Scallop Rectangles die set was used.  

The Classic Christmas Sentiment Clear Stamp Set was used for the sentiment.  It was stamped using VersaFine Black Ink.

A piece of the ModaScrap Christmas Vintage Collection card stock was used for a small border along the bottom of the card.  This piece was bordered with a piece of the Ladybug Red Soft Finish Cardstock and attached below the stamped image.

A green polka dot bow was added.

The product links are shown below.


LinkWithin

Related Posts with Thumbnails